
Remote controls are everywhere in our daily lives. They operate TVs, air conditioners, fans, sound systems, and even garage doors. But have you ever looked closely at your remote and noticed a sticky film, dust between the buttons, or stains from food and drink? If so, you are not alone. Remote controls are some of the most touched devices in any home or office, yet they are often ignored during cleaning. Germs, dirt, and grime can build up fast, leading to poor performance and even spreading illness.
Cleaning your remote control is not just about making it look better. It can help keep your family healthy and your devices working properly. In this detailed guide, you will learn step-by-step how to clean a remote control safely and effectively.
Whether you have a universal TV remote, a game console controller, or a smart device remote, the tips here will help you get the job done right. You will also discover common mistakes to avoid, the best cleaning tools, and how to handle different types of remotes.
With clear explanations and practical advice, even beginners will feel confident cleaning their remotes without causing damage.
Why Clean Your Remote Control?
Many people rarely clean their remote controls, but this small device can become a magnet for germs, bacteria, and viruses. Research shows that remote controls in hotels and homes often carry more germs than toilet seats or bathroom doorknobs. A University of Virginia study found that up to 50% of remotes in homes with sick people had cold viruses present. Remote controls are touched by many hands, often while eating, sneezing, or coughing.
Cleaning your remote control regularly reduces the risk of spreading sickness. It can also stop sticky buttons and improve device response. Dust and debris can cause buttons to stick or stop working, and liquid spills can damage the internal circuit board. Taking a few minutes to clean your remote can save you the trouble and cost of replacing it later.
Understanding Your Remote Control
Before you start cleaning, it’s important to know what kind of remote you have and how it works. Most remotes are made of plastic, with rubber or silicone buttons and a small circuit board inside. Some newer remotes have touchscreens or voice control features, while older ones have simple push buttons.
Types Of Remote Controls
There are many kinds of remotes, but most fall into three main groups:
- Standard TV or device remotes – Simple design with physical buttons.
- Universal remotes – Control multiple devices, sometimes with extra buttons or screens.
- Smart remotes – Include touchpads, voice commands, or Bluetooth/Wi-Fi connections.
Each type may need a slightly different cleaning approach. For example, smart remotes with screens or touchpads require gentle cleaning to avoid scratching.
Common Remote Control Materials
Remotes usually have:
- Plastic shells (hard, easy to wipe)
- Rubber/silicone buttons (flexible, can trap debris)
- Circuit boards (inside, sensitive to moisture)
- Metal battery contacts (can corrode if wet)
Knowing these parts helps you clean safely without causing damage.
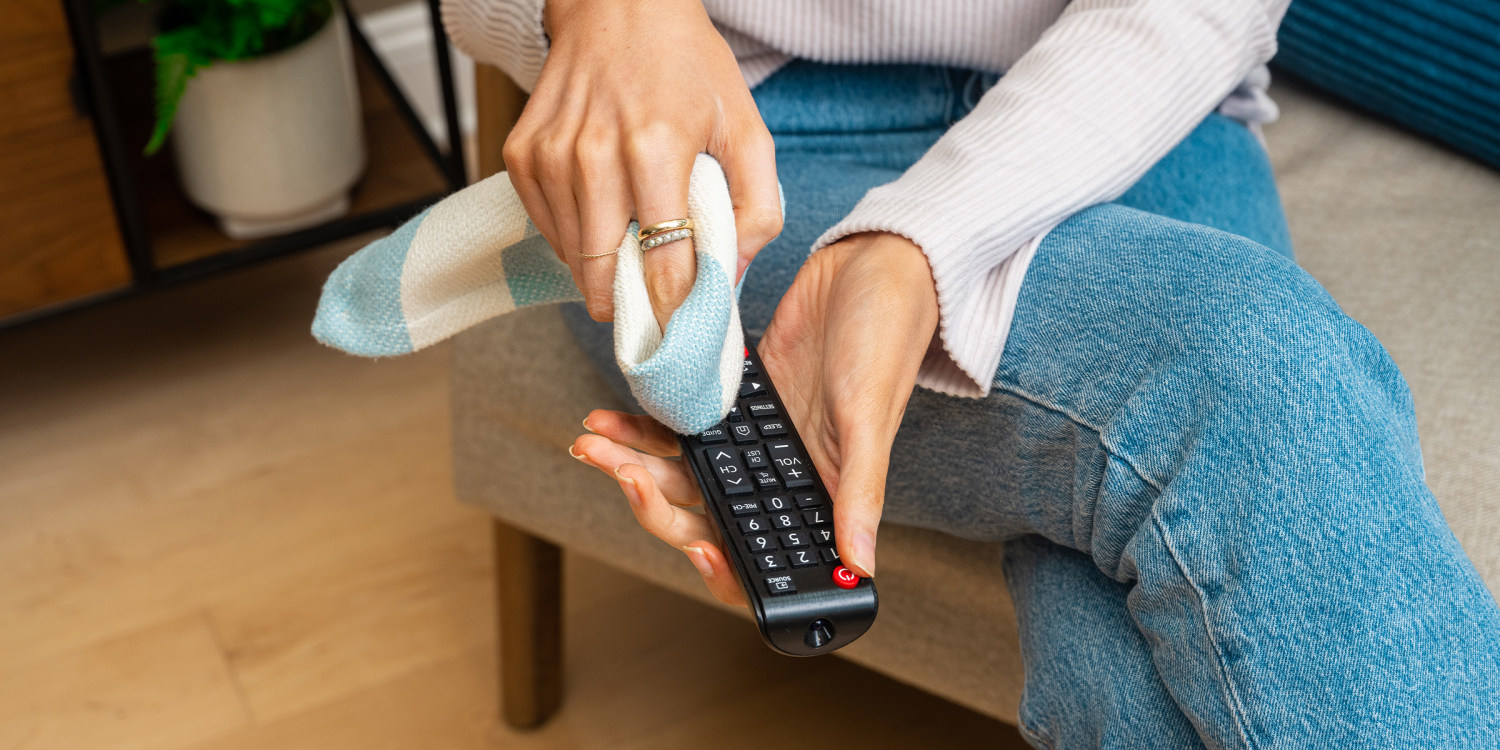
Credit: www.today.com
What You Need: The Best Tools And Products
Cleaning a remote control does not require special equipment, but using the right tools makes the job faster and safer. Here are the most effective items:
- Microfiber cloth – Soft, leaves no lint, ideal for wiping surfaces.
- Cotton swabs (Q-tips) – Reach tight spaces between and around buttons.
- Isopropyl alcohol (70% or higher) – Disinfects and evaporates quickly.
- Toothpicks – Remove debris lodged in button gaps.
- Compressed air can – Blows out dust without touching electronics.
- Small brush – A clean, soft-bristled paintbrush or old toothbrush works well.
- Mild dish soap – For sticky or greasy messes.
- Distilled water – For gentle cleaning, especially on screens.
- Disposable gloves – Optional, for hygiene.
Avoid using bleach, ammonia, or harsh cleaners, as these can damage the plastic or remove button labels.
Comparing Cleaning Methods
The table below shows key differences between popular cleaning approaches.
| Method | Pros | Cons | Best For |
|---|---|---|---|
| Dry Wipe | Quick, safe for all remotes | Does not disinfect, leaves oils | Light dust, quick clean |
| Alcohol Wipe | Kills germs, dries fast | May fade labels if overused | Deep clean, disinfection |
| Soap & Water | Removes sticky messes | Risk of water damage if too wet | Food stains, heavy grime |
| Compressed Air | No contact, safe for electronics | Does not remove sticky residues | Dust in tight spaces |
Step-by-step Guide: How To Clean Your Remote Control
Cleaning a remote the right way means following careful steps. Rushing or skipping parts can lead to damage or ineffective cleaning.
1. Remove The Batteries
The first step is always to remove the batteries. This prevents accidental button presses and protects the device from short circuits if moisture gets inside. If your remote has a battery cover, slide or pop it off gently.
- Take out all batteries.
- Set them aside in a dry place.
- If you see any signs of battery leakage (white powder or liquid), do not touch it with bare hands. Wear gloves, and clean the compartment with a cotton swab dipped in alcohol. Dispose of old or leaking batteries safely.
2. Shake Out Loose Debris
Hold the remote with the buttons facing down. Tap it gently against your hand or a soft surface. This knocks out crumbs, dust, or pet hair stuck between buttons.
3. Dry Dusting
Use a small, clean brush or a dry microfiber cloth to wipe the surface. Brush between buttons and around the edges. A compressed air can works well for blowing out dust from tight spots. Aim the air in short bursts, keeping the nozzle a few inches from the remote.
4. Cleaning With Alcohol
Isopropyl alcohol is best for disinfecting and removing oils. Pour a small amount on a microfiber cloth or cotton swab—never pour directly on the remote.
- Wipe the front, back, and sides with the dampened cloth.
- Use a swab for narrow spaces around buttons.
- For sticky buttons, gently press and twist the swab around each button edge.
- Do not soak the remote or let liquid drip inside.
If the remote is especially dirty, you may need to repeat this step.
5. Deeper Cleaning For Sticky Buttons
If buttons are sticking or not working well:
- Dip a toothpick or cotton swab in alcohol.
- Work around the button edges, removing grime.
- If possible, gently pry up the button (if designed for removal) and clean underneath.
For tough, dried spills, mix a tiny drop of mild dish soap with distilled water. Dampen a cloth or swab, clean the affected area, then wipe again with a cloth dampened in plain water to remove any soap.
6. Cleaning Touchscreens Or Smart Remotes
Smart remotes with screens or touchpads need extra care.
- Use a soft microfiber cloth slightly dampened with distilled water or a screen-safe cleaner.
- Wipe gently—do not press hard or use paper towels (these can scratch).
- Never spray cleaner directly onto the screen.
7. Clean The Battery Compartment
Dust or battery corrosion can cause power problems.
- Use a dry cotton swab to remove dust.
- For corrosion, gently rub the contacts with a swab dipped in alcohol until shiny.
- Let everything dry completely before reinserting batteries.
8. Let The Remote Dry
After cleaning, let the remote air dry for at least 10–15 minutes. Make sure all moisture is gone, especially around the battery area and buttons.
9. Reinsert The Batteries
Once dry, put the batteries back in. Test the remote to ensure all buttons work smoothly.

Credit: www.youtube.com
Advanced Cleaning: Disassembling Your Remote
Sometimes, surface cleaning is not enough. If buttons are still sticky or unresponsive, or if a spill has seeped inside, you may need to open the remote for a deeper clean. This step is optional and should only be done if you feel confident.
When To Disassemble
- Buttons do not work after cleaning.
- You spilled liquid on the remote.
- There is heavy dust or pet hair inside.
How To Open A Remote
- Remove batteries.
- Look for screws (often under the battery cover or rubber feet). Use a small screwdriver.
- If there are no screws, the case may snap together. Use a thin plastic tool (like a guitar pick) to gently pry apart the edges.
- Lift the top cover. Be careful with the circuit board and button pad.
Cleaning Internal Parts
- Wipe the circuit board with a dry microfiber cloth.
- Clean the rubber button pad with a cloth dampened in alcohol. Let dry fully.
- Remove stubborn grime with a soft brush.
- Do not touch or soak electronic components.
Reassembly
- Make sure all parts are dry.
- Align the button pad and circuit board correctly.
- Snap or screw the case back together.
- Insert batteries and test the remote.
Note: Opening your remote may void the warranty. If you are unsure, check the manual or contact the manufacturer.
Cleaning Special Types Of Remotes
Not all remotes are the same. Some need special care:
Game Controllers
Game remotes (like PlayStation or Xbox controllers) have more crevices and are touched for longer periods. Clean them the same way, but pay extra attention to:
- Joysticks and triggers (use a brush and alcohol swab)
- Charging ports (blow out dust with compressed air)
- Grips (wipe with alcohol to remove oils)
Air Conditioner And Ceiling Fan Remotes
These often have larger buttons and may sit in damp rooms. Clean as above, but check for signs of battery corrosion, as humidity can cause leaks.
Universal And Smart Remotes
Universal remotes can be expensive and complex. Use only screen-safe cleaners on any display or touch area. Avoid soaking or spraying any part.
Waterproof Remotes
Some remotes (for pools, outdoor equipment) are waterproof. You can use a damp cloth or even rinse under water if the manual allows. Always check the manufacturer’s guidelines.
How Often Should You Clean Your Remote Control?
How often you clean depends on usage and environment. Here are some general guidelines:
- Weekly: If you have children, pets, or eat while using the remote.
- Monthly: For most homes with average use.
- After Illness: Clean daily if someone is sick to prevent spreading germs.
- After Spills: Clean immediately if any liquid or food touches the remote.
In hotels, hospitals, or shared spaces, remotes should be cleaned between each user.
Common Mistakes To Avoid
Cleaning a remote is simple, but some errors can damage your device or make cleaning less effective.
- Using too much liquid: Moisture inside the remote can cause short circuits. Always use a damp, not wet, cloth or swab.
- Spraying cleaner directly: Spray onto the cloth, never on the remote itself.
- Ignoring the battery compartment: Dirt or corrosion here can stop the remote from working.
- Scrubbing too hard: This can remove button labels or scratch the plastic.
- Skipping drying time: Inserting batteries before the remote is dry can lead to damage.
- Forgetting to remove batteries: Always remove them before cleaning to avoid shocks or leaks.
- Using harsh chemicals: Bleach, ammonia, or window cleaner can damage the surface and fade letters.

Credit: www.nytimes.com
How Germy Are Remote Controls? Surprising Facts
You might be shocked to learn just how dirty remotes can be:
- A 2012 study from the University of Houston found that hotel TV remotes had high levels of bacteria, sometimes more than bathroom sinks.
- According to a UK survey, 90% of remotes tested positive for cold and flu viruses.
- Remotes are the fourth most contaminated item in a typical household, after kitchen sponges, sinks, and toothbrush holders.
These facts show why regular cleaning is not just about looks, but also about health.
Cleaning For Households With Children, Pets, Or The Elderly
If you have kids, pets, or elderly family members, cleaning your remote is even more important. Children often put remotes in their mouths or touch them after playing outside. Pets may sit on or chew remotes, leaving behind saliva and hair.
Elderly people may have weaker immune systems, so reducing germs is vital.
- Clean remotes more often in these households.
- Consider using a remote cover that is easy to wipe.
- Teach children not to put remotes in their mouths.
Choosing Cleaning Products: What Really Matters
Not all cleaning products are equal. Here’s a quick comparison of what works best:
| Product | Effectiveness | Safe for Electronics | Cost |
|---|---|---|---|
| Isopropyl Alcohol (70%-90%) | Excellent | Yes | Low |
| Bleach/Ammonia Cleaners | High | No | Low |
| Mild Dish Soap & Water | Good (for surface dirt) | Yes (if not soaked) | Low |
| Electronics Cleaning Wipes | Good | Yes | Medium |
| Vinegar Solution | Moderate | Yes (diluted) | Low |
Always choose alcohol-based cleaners or electronics-safe wipes over harsh chemicals.
Tips For Remote Control Maintenance
- Store remotes in a clean, dry place.
- Avoid eating or drinking near your remote.
- Use a protective cover if available.
- Keep remotes out of reach of young children and pets.
- Check batteries every few months and replace as needed.
If you notice buttons wearing out or labels fading, consider labeling them with clear tape or buying a replacement.
Can You Use Uv Light Sanitizers?
Recently, UV light sanitizers have become popular for cleaning phones and remotes. These devices use ultraviolet light to kill germs without chemicals. Studies show they can reduce bacteria by up to 99.9% when used as directed.
- Place the remote in the sanitizer box and run the cycle (usually 5–10 minutes).
- UV sanitizers do not remove dirt or sticky residue, so wipe first for best results.
UV sanitizers are a good option for those wanting extra disinfection, but they are not a substitute for regular physical cleaning.
For more on UV sanitizers, you can check Ultraviolet Germicidal Irradiation on Wikipedia.
How To Clean Remotes In Hotels, Hospitals, And Public Spaces
In places where many people use the same remote, regular cleaning is critical. Hotels, hospitals, and conference rooms often overlook this.
- Use alcohol wipes between guests or patients.
- Consider disposable plastic sleeves for remotes.
- Staff should wear gloves when cleaning remotes in high-risk areas.
Some hotels now offer remotes sealed in plastic bags or single-use covers for extra safety.
What If Your Remote Gets Wet?
Accidents happen. If you spill water or another liquid on your remote:
- Remove batteries immediately.
- Shake out as much liquid as possible.
- Place the remote (without batteries) in a sealed bag of uncooked rice or silica gel packets for 24–48 hours to absorb moisture.
- After drying, clean as described above.
- If the remote still does not work, consider opening it to check for damage or replacing it.
Never use a hair dryer or oven to dry your remote—excess heat can warp plastic or damage electronics.
Disposing Of Or Recycling Old Remotes
When a remote is beyond repair, dispose of it responsibly.
- Do not throw electronics in household trash.
- Check if your city has an e-waste recycling program.
- Remove batteries before recycling.
- Some stores accept old remotes for recycling.
Proper disposal keeps harmful materials out of the environment.
Two Insights Many Beginners Miss
- Residue from cleaning products: Even safe cleaners like alcohol can leave residue if not allowed to dry fully. Always finish with a dry cloth and wait before using the remote again.
- Label fading: Excessive scrubbing, especially with alcohol, can wear off button labels over time. Use gentle motions and avoid over-cleaning the same spots.
Frequently Asked Questions
How Often Should I Clean My Remote Control?
Aim for at least once a month for average households, and once a week in homes with kids, pets, or during cold and flu season. Clean immediately after spills or illness.
What Is The Safest Cleaner For Remote Controls?
Isopropyl alcohol (70% or higher) is safe and effective. Electronics cleaning wipes are also good. Avoid bleach, ammonia, and abrasive cleaners.
Can I Put My Remote In The Dishwasher?
No, never wash remotes in a dishwasher or submerge them in water. This will damage the electronics and make the remote unusable.
What Should I Do If The Buttons Still Stick After Cleaning?
Try deeper cleaning with a toothpick or cotton swab dipped in alcohol around the button edges. If that fails, you may need to open the remote and clean inside.
Is It Safe To Use Disinfectant Sprays?
Do not spray disinfectant directly on the remote. Instead, spray it onto a cloth, then wipe the remote. Avoid products with bleach or ammonia.
Cleaning your remote control may seem small, but it makes a big difference in health, hygiene, and device performance. With the steps and tips above, you can keep your remotes looking new and working perfectly for years to come.