Opening a LiftMaster remote control might seem simple, but many people feel nervous about it. They worry about breaking the device, losing small parts, or not being able to close it again. However, learning how to open a LiftMaster remote is a handy skill.
It lets you change the battery, clean the inside, or even troubleshoot small problems. You do not need special tools or expert knowledge. Most remotes can be opened with just a few careful steps and the right approach. Understanding how these remotes work will help you feel confident, save money, and avoid unnecessary trips to a repair shop.
Many users do not realize that each LiftMaster remote model has small differences. Some need a screwdriver, while others just need a firm push. Knowing your model makes the job easier. This article will guide you step-by-step, using clear language and helpful tips.
Whether you have a newer LiftMaster MAX series or an older 971LM, you will find the advice you need. We will also discuss common mistakes, safety tips, and what to do if something goes wrong. By the end, you will be ready to open your LiftMaster remote control safely and efficiently.
Understanding Liftmaster Remote Controls
Before starting, it helps to know a little about LiftMaster remote controls. LiftMaster is a well-known brand for garage door openers. Their remotes are popular because they are reliable and easy to use. Each remote sends a signal to your garage door opener, telling it to open or close the door.
There are several types of LiftMaster remotes, including single-button, multi-button, keychain, and visor models. Newer remotes often use Security+ 2.0 technology, which makes your signal safer and harder to copy. Most remotes use small coin-cell batteries like CR2032 or CR2016. Knowing the type of battery inside your remote helps you prepare for opening it.
Some remotes have screw-on battery covers, while others have a snap-together case. If you use the wrong method, you could crack the plastic or damage the electronics. Always check your remote’s model number, which is usually printed on the back, to find the right opening technique.
Why You Might Need To Open Your Liftmaster Remote
People usually open their remote for a few main reasons:
- Replacing the battery – Most remotes stop working because the battery is dead.
- Cleaning the inside – Dust, dirt, and even small insects can get inside, making the buttons stick or stop working.
- Resetting or reprogramming – Sometimes, you need to press a button inside the remote to reset it or match it with your garage door opener.
- Checking for damage – If the remote was dropped or got wet, opening it lets you check for rust, broken parts, or loose connections.
Many users think a dead remote means they need a new one. In reality, replacing the battery or cleaning the contacts often fixes the problem. This can save you $20–$40, which is the price of a new remote.

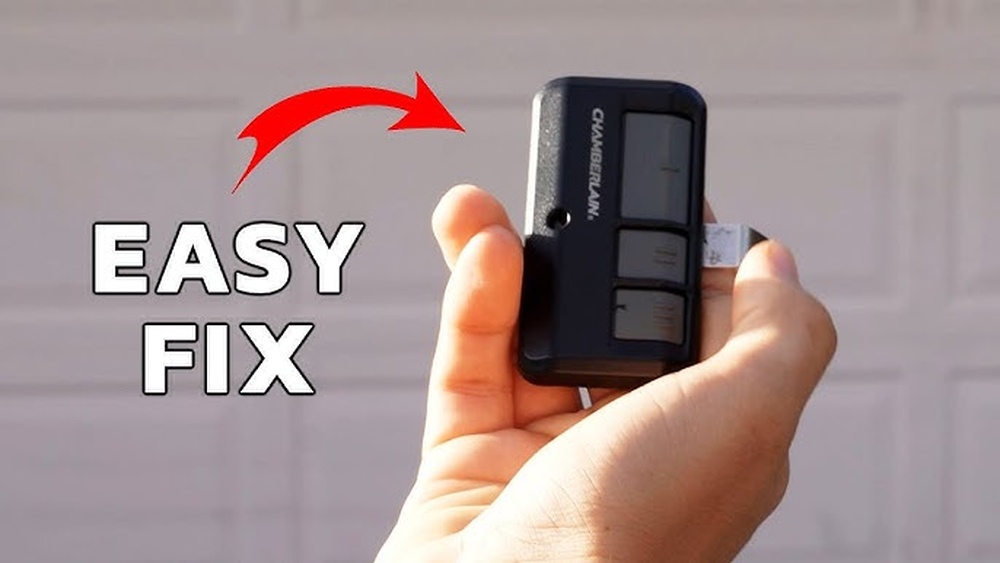
Credit: www.youtube.com
Tools And Preparation
You do not need a toolbox full of equipment to open a LiftMaster remote. Most of the time, you only need a few items:
- Small flathead screwdriver (jeweler’s or eyeglass size)
- Phillips screwdriver (for some models)
- Plastic pry tool (like those used for smartphones, optional but helpful)
- Clean cloth or cotton swab
- New battery (check your model)
- Small bowl or tray to hold screws
Before starting, work in a bright, clean area. Put down a towel or cloth to catch small screws. If you have the remote’s manual, check it for battery replacement instructions. You can also look up your model on the LiftMaster website.
Choosing The Right Tools
Some people try to use kitchen knives or metal objects. These can scratch the remote or slip and hurt your hand. Always use a proper screwdriver or a plastic tool. The plastic tool is especially good for prying open the case without leaving marks.
Identifying Your Liftmaster Remote Model
LiftMaster remotes come in many shapes and sizes. The model number is key to opening it correctly. You can usually find this number on a label on the back or inside the battery cover. Common models include:
- 371LM, 373LM, 375LM (older Security+)
- 893MAX, 890MAX, 877MAX (newer MAX series)
- 890LM, 893LM (mini and visor styles)
If you cannot find the number, compare your remote to pictures on the LiftMaster website. The button layout and case shape often match only one or two models.
Table: Common Liftmaster Remote Models And Their Opening Methods
| Model | Opening Method | Battery Type | Buttons |
|---|---|---|---|
| 893MAX | Snap case, prying slot on side | CR2032 | 3 |
| 971LM | Single screw on back | CR2032 | 1 |
| 375LM | Snap case, pry at seam | CR2032 | 2 |
| 890MAX | Keychain with snap case | CR2032 | 3 |
| 893LM | Snap case, pry at bottom | CR2032 | 3 |
If you are not sure, start by looking for a small screw. If there is none, your remote likely snaps open.
Step-by-step Guide: How To Open A Liftmaster Remote Control
Opening your remote is not difficult if you follow the right steps. Here’s how to do it safely.
1. Examine The Remote
Look for any visible screws. Most LiftMaster remotes either have a small Phillips screw or none at all. If you see a screw, remove it first. If you do not, look for a small notch or seam around the edge.
2. Remove The Screw (if Present)
Use a small Phillips screwdriver. Turn the screw counterclockwise and put it in a safe place. These screws are tiny and easy to lose.
3. Pry Open The Case
Find the seam where the two halves of the case meet. Use your fingernail, a plastic pry tool, or a small flathead screwdriver. Gently insert the tool and twist. Work your way around the edge. Do not force it—if it does not open easily, check again for hidden screws.
Tip: Some remotes have a small slot for a coin or tool. Insert a coin, twist gently, and the case will pop open.
4. Separate The Halves
Once the case loosens, carefully pull the two halves apart. Inside, you will see the circuit board and the battery. Do not pull too hard or you might break the plastic clips.
5. Remove The Battery
Note the battery’s position and type. Most use a CR2032 coin cell. Use a small tool or your finger to lift the battery out. Be gentle—do not bend the metal contacts.
6. Clean And Inspect
Look for any dirt, dust, or corrosion. Use a cotton swab and a little rubbing alcohol to clean dirty spots. Do not use water.
7. Replace The Battery
Insert the new battery with the positive side facing up (usually marked with a “+”). Make sure it sits flat and touches the contacts.
8. Close The Remote
Line up the two halves. Press firmly until you hear a snap. If you removed a screw, put it back in now. Test the remote before putting it back on your keychain or visor.
Example: Opening An 893max Liftmaster Remote
- Locate the seam on the side of the remote.
- Use a small flathead screwdriver to gently pry open the case.
- The case will snap apart, revealing the battery and circuit board.
- Replace the CR2032 battery and snap the case back together.
Common Mistakes To Avoid
- Using too much force and cracking the plastic.
- Losing the tiny screw.
- Installing the battery upside down.
- Not cleaning the contacts, leading to poor button response.
Most issues can be avoided by working slowly and paying attention to small details.
Troubleshooting: What To Do If Things Go Wrong
Sometimes, things do not go as planned. Here’s what you can do:
- Case won’t open: Double-check for hidden screws under the sticker or battery cover.
- Plastic clips break: If only one breaks, the remote may still close tightly. If several break, use a small piece of tape until you can replace the remote.
- Remote does not work after closing: Open it again and check the battery position. Make sure the contacts are not bent and the battery is new.
- Lost screw: Most hardware stores sell replacement screws in the eyeglass repair section.
If the remote still does not work, you may need a new one. But always test with a fresh battery first—many remotes are thrown away when only the battery is dead.
Cleaning And Maintenance Tips
Regular cleaning helps your remote last longer. Here’s how to keep it in good shape:
- Wipe the outside with a clean, damp cloth.
- Open the case every 6–12 months to check for dirt or corrosion.
- Clean sticky buttons with a little rubbing alcohol and a cotton swab.
- Never use water inside the remote.
- Store the remote in a dry place, away from direct sunlight.
Many remotes stop working because of dirty or corroded contacts. Cleaning them is a fast fix that costs nothing.
Battery Types And Lifespan
Most LiftMaster remotes use CR2032 lithium coin cell batteries. These batteries last 2–5 years, depending on use. If you use your garage door several times a day, the battery may wear out faster.
Some older remotes use CR2016 or CR2025 batteries. Always check your remote before buying a replacement. Using the wrong battery can damage the remote or make it unreliable.
Table: Common Battery Types For Liftmaster Remotes
| Battery Type | Diameter (mm) | Thickness (mm) | Voltage | Typical Lifespan |
|---|---|---|---|---|
| CR2032 | 20 | 3.2 | 3V | 2-5 years |
| CR2016 | 20 | 1.6 | 3V | 1-3 years |
| CR2025 | 20 | 2.5 | 3V | 1-3 years |
Many people do not realize that cheap batteries from unknown brands can leak or die faster. Always choose a trusted brand like Energizer or Duracell.
Safety Considerations
Opening a remote is usually safe, but there are a few things to remember:
- Keep small batteries away from children and pets. Swallowing a coin cell battery is dangerous.
- Do not touch the metal contacts with wet hands.
- If you see green or white powder inside, the battery may have leaked. Clean it with gloves and do not touch your eyes.
- Dispose of old batteries properly. Many stores have recycling boxes for coin cell batteries.
When To Replace Vs. Repair
Sometimes, opening and cleaning your remote will not fix the problem. Here are signs you may need a new remote:
- The case is cracked and will not stay closed.
- The circuit board is broken or has burn marks.
- The remote gets hot or smells strange.
- Buttons do not work even after cleaning and battery replacement.
If your remote is more than 10 years old, it may be cheaper to buy a new one. Newer remotes are more secure and often work better. If your garage door opener is also old, check that new remotes are compatible.
Programming After Battery Replacement
Most LiftMaster remotes keep their programming after a battery change. However, sometimes you need to reprogram the remote. Here is a quick guide:
- Press the “Learn” button on your garage door opener (usually on the motor unit).
- Within 30 seconds, press and hold the button on your remote.
- Release when the opener light blinks or you hear a click.
Your remote should now work as before. If not, check the opener’s manual for details. If you have a multi-button remote, you can program each button to a different door or gate.
Advanced Tips: For Older Or Damaged Remotes
If your remote is very old or has a unique design, opening it can be trickier. Here are some extra tips:
- Search online for a video showing your specific model.
- If the case is glued, use a hair dryer on low to soften the glue before prying.
- For remotes with sliding battery covers, do not try to pry the main case—look for arrows or symbols showing the direction to slide.
Some rare remotes have hidden screws under stickers or rubber pads. Gently peel these back to check.
Comparing Liftmaster Remotes To Other Brands
You might wonder if opening a LiftMaster remote is different from other brands. In most cases, the process is similar. However, some brands use more screws, more glue, or odd-shaped batteries.
Table: Comparison Of Remote Control Opening Methods
| Brand | Tool Needed | Case Type | Typical Battery |
|---|---|---|---|
| LiftMaster | Small screwdriver, plastic pry tool | Snap or screw | CR2032 |
| Genie | Phillips screwdriver | Screw or sliding cover | AAA or CR2032 |
| Chamberlain | Flathead screwdriver | Snap | CR2032 |
| Craftsman | Small screwdriver | Snap or screw | CR2032 |
LiftMaster and Chamberlain often share the same designs, as they are made by the same company. Genie remotes sometimes use regular AAA batteries, which last longer but make the remote larger.
What Most People Miss When Opening A Remote
Many first-time users miss two important things:
- Battery contacts must be clean. Even a small bit of corrosion can block the signal. Scratching the contacts lightly with a clean screwdriver or using a cotton swab with rubbing alcohol can solve mysterious problems.
- Case alignment matters. If the two halves are not lined up perfectly, the buttons may not press properly, or the remote may not close. Always check that the plastic hooks and slots are matched before snapping the case shut.
Another common mistake is not testing the remote before putting it back in your car or on your keys. Always test near your garage door after closing the case.
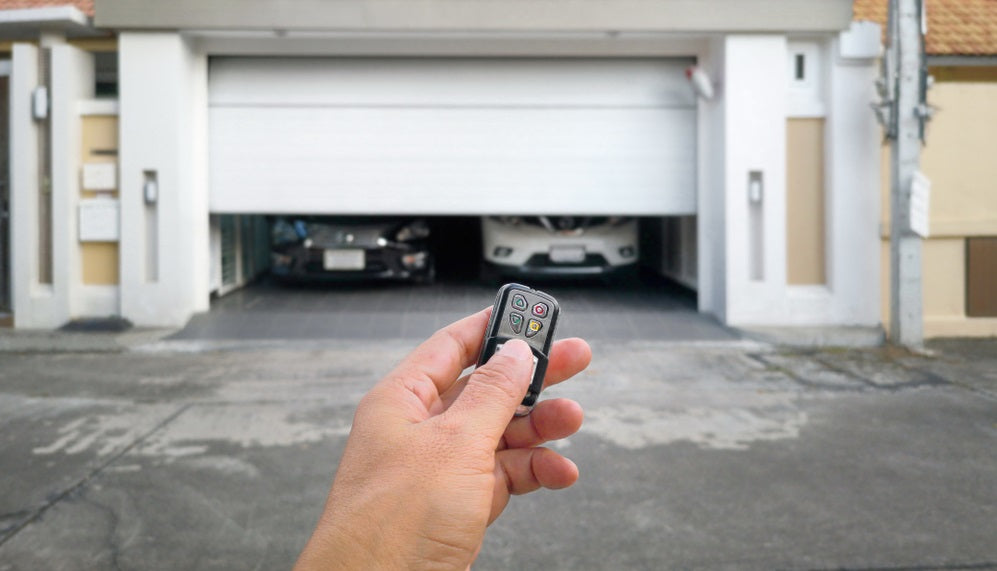
Credit: allsecurityequipment.com
Recycling Old Remotes And Batteries
Old remotes and batteries should not go in the regular trash. Coin cell batteries contain chemicals that can harm the environment. Many hardware stores and electronics shops have boxes for recycling old batteries.
If you replace your remote, keep the old one as a backup if it still works. If not, remove the battery and recycle both parts. Never throw a remote with a battery inside into the trash—batteries can leak or even catch fire in rare cases.
For more information on proper battery disposal, visit the U.S. Environmental Protection Agency.
When To Call For Professional Help
In most cases, opening and fixing a remote is easy and safe. But if you notice:
- Smoke, burning smell, or melted parts
- Remote gets hot quickly
- Corrosion covers large parts of the circuit board
It is best to stop and get professional help. These signs mean the remote has a serious electrical problem. Trying to fix it yourself could be dangerous. Your local garage door installer or electronics repair shop can give advice.
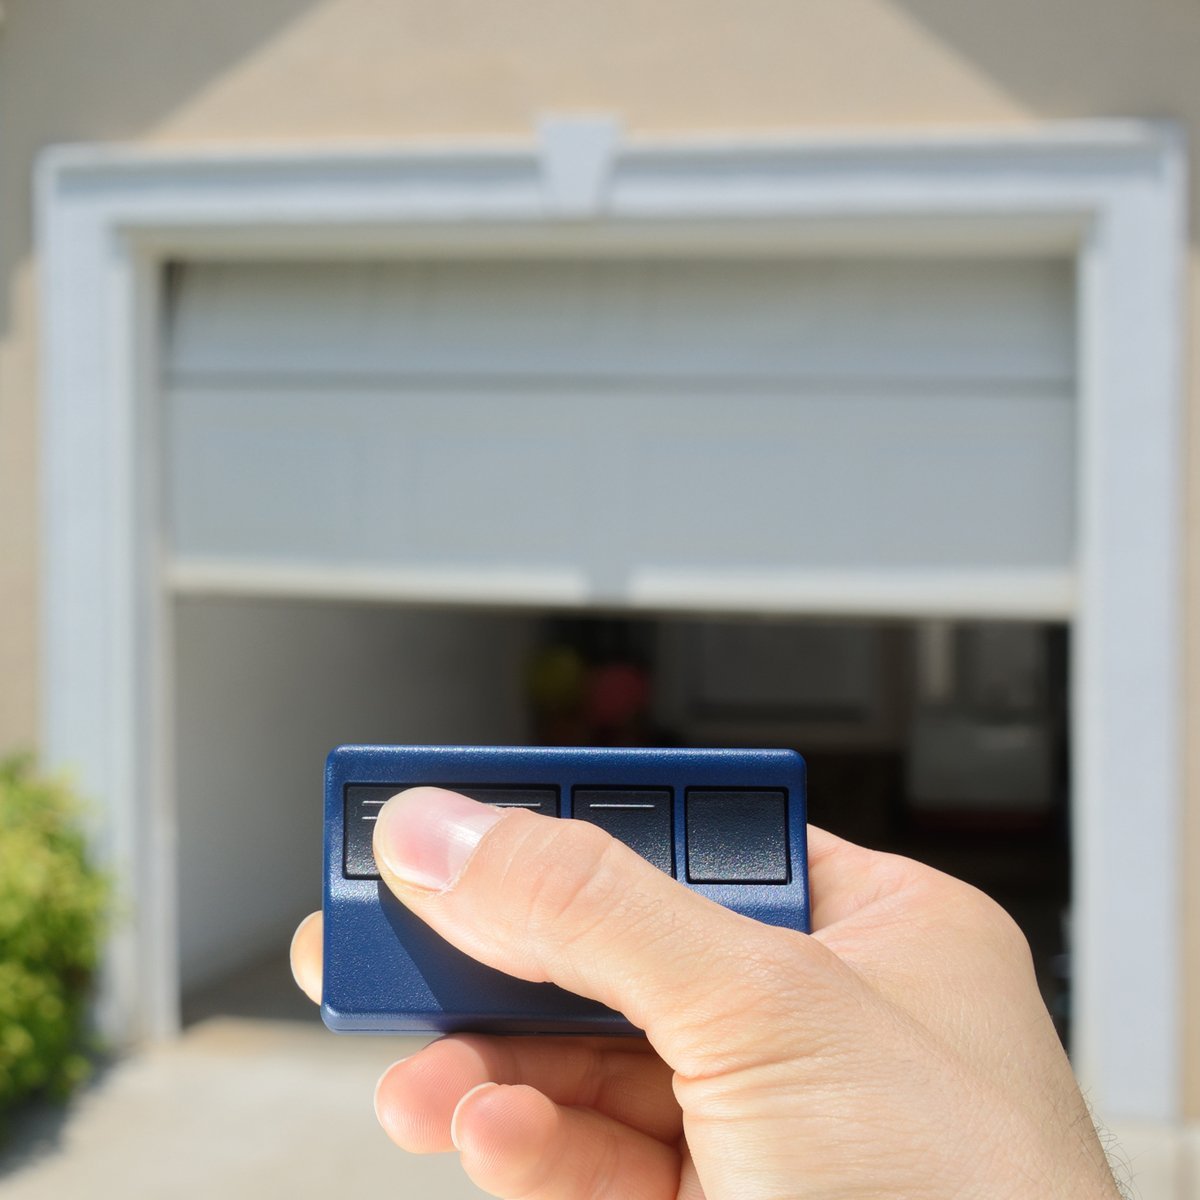
Credit: www.expressgaragedoors.com
Practical Examples: Real User Experiences
Many users share their experiences online. For example, one homeowner found her remote stopped working during winter. She thought the battery was fine but opened the case and found green corrosion on the contacts. After cleaning and inserting a new battery, the remote worked perfectly.
Another user tried to open his 893MAX remote with a kitchen knife and cracked the plastic. He later bought a small plastic pry tool, which made the job much easier and did not damage the case. These stories show that the right tools and a gentle touch are important.
A third example involves a remote that stopped working after being dropped in water. The owner opened the case, removed the battery, and let the remote dry for 24 hours. After cleaning the contacts, the remote worked again. Water damage does not always mean the remote is lost—quick action can save it.
Frequently Asked Questions
How Do I Know Which Battery My Liftmaster Remote Uses?
Check the back of your remote or inside the battery compartment. The battery type is usually printed as CR2032, CR2016, or CR2025. If you cannot find it, look up your model number on the LiftMaster website or bring the old battery to a store for comparison.
Can I Open A Liftmaster Remote Without Tools?
Some models can be opened with your fingernail or a coin. However, using a small screwdriver or plastic pry tool makes the job easier and safer. Avoid sharp kitchen knives, as they can slip and damage the case.
Do I Need To Reprogram My Remote After Changing The Battery?
Most LiftMaster remotes keep their programming after a battery change. If your remote does not work, try reprogramming it using the “Learn” button on your garage door opener. Follow the instructions in your opener’s manual.
What Should I Do If The Remote Still Does Not Work After Battery Replacement?
First, check that the battery is installed correctly and the contacts are clean. Try a new battery from a trusted brand. If the remote still does not work, it may be damaged and need replacement. Test with another remote if possible to make sure the opener is working.
Is It Safe To Dispose Of The Old Remote In The Trash?
No, you should not throw remotes or batteries in the regular trash. Coin cell batteries can leak chemicals. Take old batteries and remotes to a recycling center or a hardware store with a battery recycling box.
Opening a LiftMaster remote control is a simple task that saves money and time. With the right tools, a little patience, and careful attention, you can replace the battery, clean the inside, or troubleshoot common problems. Understanding your remote’s model and battery type is key.
Most issues are fixed by cleaning contacts and using a fresh battery. Always dispose of old batteries safely and consider recycling old remotes. With these skills, you will keep your garage door running smoothly and avoid unnecessary hassles.