
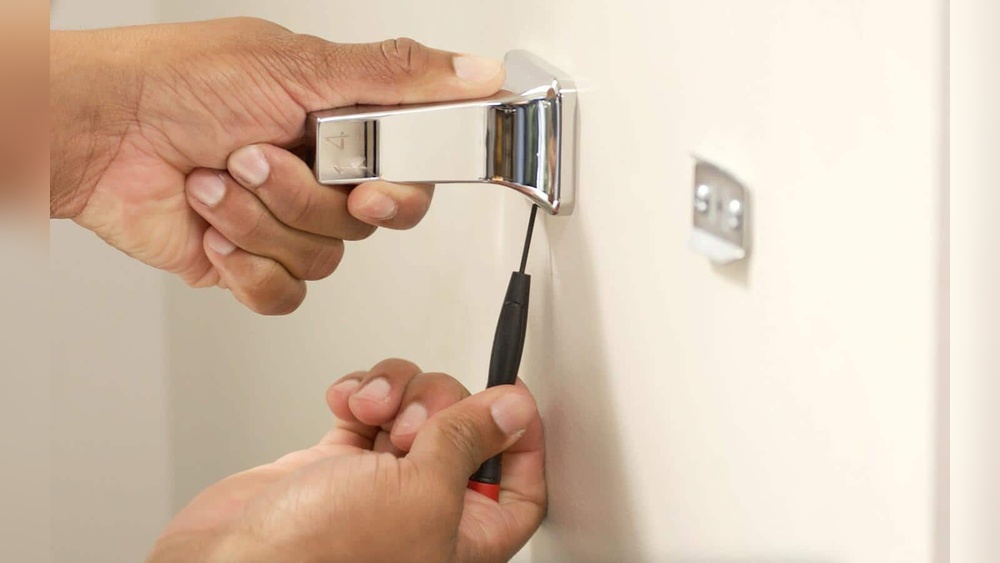
Mounting a toilet paper holder might look simple, but doing it right can make a big difference in your bathroom’s comfort and appearance. Whether you are updating your home, remodeling a bathroom, or fixing a broken fixture, installing a holder yourself is a project almost anyone can handle with just a few tools and a bit of patience.
Getting the details right—height, placement, stability, and finishing—will make daily life easier and prevent future problems. In this article, you’ll discover step-by-step instructions, key tips, and answers to common questions, all written in clear, practical English for non-native speakers.
Understanding Toilet Paper Holder Types
Before you start, it’s important to know the different types of toilet paper holders available. Each type has its own style, benefits, and installation method.
Standard Wall-mounted Holders
This is the most common type. It usually has two brackets, one on each side, that hold a bar for the roll. These are often made of metal or plastic and can be open-ended or closed.
Advantages:
- Simple design
- Easy to use and refill
- Wide variety of styles and finishes
Recessed Holders
These holders are set into the wall, so the roll sits inside a small box. They save space and look neat, but require cutting a hole in the wall.
Advantages:
- Good for small bathrooms
- Less likely to be bumped or knocked
Freestanding Holders
These stand on the floor and require no installation. They are best for renters or people who don’t want to drill holes.
Advantages:
- Portable and easy to move
- No wall damage
Adhesive Or Suction Holders
These use strong glue or suction cups to stick to the wall. They’re simple to install but may not last as long as screwed-in holders.
Advantages:
- Quick to set up
- Ideal for tiled or glass walls
Specialty Holders
Some holders have extra features, like a shelf for your phone, extra roll storage, or a child-friendly design. These can be helpful if you have specific needs.
Non-obvious insight: Many people think all holders are installed the same way, but each type has unique steps and requirements. Make sure you know which kind you have before starting.
Choosing The Best Location
Picking the right spot for your toilet paper holder is more important than most people realize. The right placement ensures comfort, convenience, and keeps your bathroom looking tidy.
Standard Height And Distance
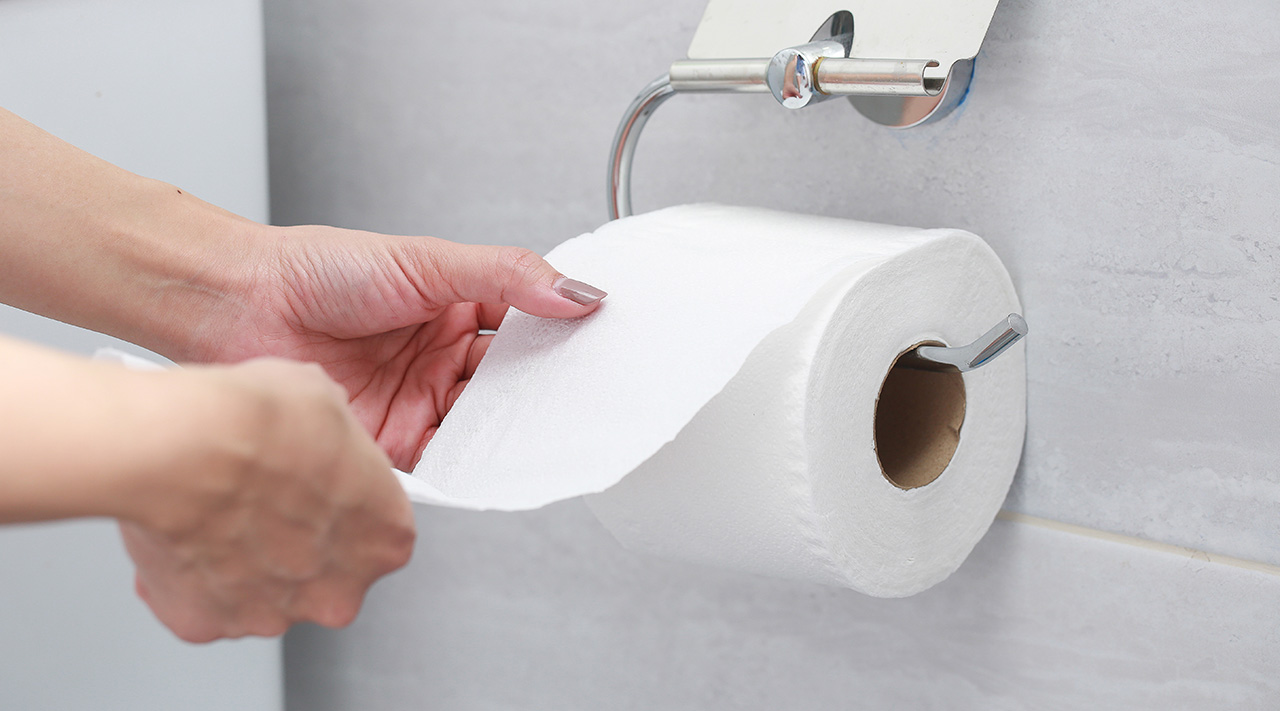
Most experts recommend mounting the holder at a height of 26 inches (66 cm) from the floor to the center of the holder. The distance from the front of the toilet bowl to the center of the holder should be 8 to 12 inches (20 to 30 cm). This makes it easy to reach from a seated position.
Left Or Right Side?
Typically, the holder goes on the wall beside the toilet, either to the left or right. The best side depends on your bathroom layout and whether you are left- or right-handed.
Tip: If possible, test both sides by pretending to reach for a roll while sitting. Choose the side that feels most natural.
Obstacles And Wall Type
Check for obstacles like cabinets, pipes, or electrical wires inside the wall. Stud finders can help you locate wooden studs or avoid hidden hazards.
Non-obvious insight: If your bathroom is used by children or elderly people, consider lowering the height slightly for easier access.
Special Situations
If you have a small bathroom or a toilet next to a vanity, you may need to adjust the placement to fit the available space. For freestanding holders, place them where they won’t block walking paths or doors.
Credit: zogics.com
Tools And Materials You’ll Need
Gathering the right tools and materials before starting will make your installation smooth and fast. Here’s what you’ll need for most standard wall-mounted holders:
- Drill (with drill bits for your wall type)
- Screwdriver (usually Phillips head)
- Level (to keep things straight)
- Measuring tape
- Pencil (for marking spots)
- Wall anchors (for drywall)
- Stud finder (optional but helpful)
- Masking tape (to protect tiles or paint)
- Hammer (if using wall anchors that need tapping)
For recessed holders, you may also need:
- Drywall saw or hole saw
- Safety goggles
For adhesive holders, you’ll need:
- Alcohol wipes (to clean the wall)
- Ruler
Practical tip: If you’re installing into tile, use a special tile drill bit and go slowly to avoid cracking.
Step-by-step: How To Mount A Toilet Paper Holder
Follow these steps for a standard wall-mounted holder. Adjust if your holder is a different type.
1. Plan The Placement
Start by measuring and marking the spot on the wall. Use the recommended heights and distances, but adjust for your comfort.
- Sit on the toilet and see where your hand naturally reaches.
- Use a measuring tape to mark the height (about 26 inches from the floor).
- Mark the horizontal distance from the toilet (8–12 inches).
- Use a level to make sure your marks are straight.
2. Check The Wall
Use a stud finder to check if there’s a stud (wooden beam) behind your chosen spot.
- If there is a stud, you can screw directly into it for a very strong hold.
- If not, you’ll need wall anchors to support the weight.
Expert tip: Anchors are especially important if your holder is metal or will get heavy use.
3. Mark Drill Holes
Most holders come with a mounting bracket or template. Hold it against the wall at your marks and use a pencil to mark where the screws will go.
- Double-check with the level to keep everything straight.
4. Drill Pilot Holes
Use a drill bit that matches your screws or anchors. Drill holes at your pencil marks.
- For tile walls, place a bit of masking tape over the spot to keep the drill from slipping.
- For drywall, use a regular drill bit.
- For masonry (brick or concrete), use a masonry drill bit.
5. Insert Wall Anchors
If you’re not drilling into a stud, push or tap wall anchors into the holes.
- Use a hammer gently if needed.
- Make sure anchors are flush with the wall.
6. Attach The Mounting Bracket
Screw the bracket to the wall using the provided screws. Tighten until secure, but don’t overtighten and damage the wall.
7. Mount The Holder
Slide the toilet paper holder onto the bracket. Some snap in place, others use a small screw (often on the underside).
- Check that it feels solid and straight.
- Add a roll of toilet paper and test it.
8. Clean Up
Wipe away pencil marks and dust. Check for any loose screws. If your holder has a cover or decorative caps, put them on now.
Practical advisor tip: If you make a mistake with hole placement, use wall filler to patch the old hole and repaint before trying again.
Installing Holders On Special Wall Types
The steps above work for most drywall, but bathrooms often have tile, concrete, or even glass walls. Each needs its own approach.
Drywall
This is the easiest wall type. Use standard wall anchors if there’s no stud. Avoid over-tightening, which can crush the drywall.
Tile
Tile is tough but can crack easily. Here’s how to avoid problems:
- Use a carbide-tipped or diamond drill bit.
- Place masking tape where you want to drill to stop the bit from sliding.
- Go slowly and don’t press too hard.
- Once through the tile, switch to a regular bit for the wall behind.
Concrete Or Brick
These require more power.
- Use a masonry drill bit and a hammer drill if possible.
- Insert heavy-duty anchors made for masonry.
Glass Or Mirror
Most people avoid drilling into glass, but if needed, use a special glass drill bit and go very slowly. Adhesive or suction holders are safer choices.
Non-obvious insight: Some people try to mount holders with normal screws in tile or brick, but these will not hold. Always use the correct anchor for your wall type.
Recessed Toilet Paper Holder Installation
A recessed holder sits inside the wall, saving space. This is more complex and requires cutting a hole.
1. Check The Wall
Use a stud finder to make sure there’s no stud, pipe, or electrical wire where you plan to install. Never cut into a wall without checking.
2. Mark And Cut The Hole
Most recessed holders come with a template. Tape it to the wall and trace the outline.
- Use a drywall saw for drywall.
- For tile, use a rotary tool with a tile cutting bit.
Cut slowly and carefully.
3. Insert The Holder
Slide the recessed holder into the hole. Secure it with the screws provided. Some models use clips or wings to lock into the drywall.
4. Finish The Edges
Some holders include a trim piece to cover rough edges. Snap or screw this in place.
Extra tip: If your wall is thicker or thinner than standard, check that your recessed holder will fit before cutting.

Credit: www.youtube.com
Adhesive And Suction Toilet Paper Holders
These holders are easy to install but require careful surface preparation.
1. Clean The Surface
Wipe the spot with alcohol wipes to remove dust and oil. Let it dry fully.
2. Mark Placement
Hold the holder in position and mark with a pencil or piece of tape. Use a level to check alignment.
3. Attach The Holder
Remove the backing from the adhesive or press the suction cup firmly. Hold for 30 seconds to ensure a strong bond.
- Wait at least 24 hours before putting a roll on, so the adhesive sets fully.
Non-obvious insight: Adhesive holders often fail on textured or painted walls. Smooth tile or glass is best.
Common Mistakes And How To Avoid Them
It’s easy to make errors, especially if you rush or skip steps. Here are some frequent mistakes and how to prevent them:
- Wrong height or distance: Always measure while sitting on the toilet.
- Drilling into hazards: Use a stud finder to check for pipes and wires.
- Skipping wall anchors: Never screw directly into drywall without an anchor.
- Crooked installation: Always use a level.
- Not cleaning tile before adhesive: Dirt and oil will make adhesive fail.
- Choosing the wrong side: Test both sides for comfort before drilling.
- Overtightening screws: This can strip anchors or crack tile.
Pro tip: If you’re unsure, practice drilling on a scrap piece of drywall or tile before working on your bathroom wall.
Comparing Toilet Paper Holder Types
It helps to see how the main types compare for installation, cost, and ease of use.
| Type | Difficulty | Average Cost (USD) | Best For |
|---|---|---|---|
| Wall-mounted | Medium | $10–$50 | Most bathrooms |
| Recessed | Hard | $20–$60 | Small spaces |
| Freestanding | Easy | $15–$60 | Renters |
| Adhesive/Suction | Very Easy | $8–$30 | Temporary setups |
Choosing The Right Toilet Paper Holder
With so many options, how do you pick the best one for your bathroom?
Key Factors To Consider
- Wall type: Drywall, tile, or masonry? Some holders are not suitable for all surfaces.
- Space: Small bathrooms often benefit from recessed or corner holders.
- Style: Chrome, brushed nickel, plastic, and other finishes are available.
- Ease of installation: Freestanding and adhesive holders are quickest.
- User needs: Children or elderly may need lower or easier-to-reach holders.
- Budget: Prices range from under $10 to over $100 for designer models.
Popular Brands And Models
Some brands are known for quality and easy installation. Moen, Delta, and Kohler are popular choices in the US.
Durability And Maintenance
Metal holders usually last longer than plastic. Look for rust-resistant finishes, especially in humid bathrooms.
Non-obvious insight: Some holders come with hidden screws for a cleaner look, but these can be harder to install and remove.
Cost Breakdown: Diy Vs. Professional
Mounting a toilet paper holder is usually a DIY project, but some people hire help for tricky walls or special holders.
| Installation Type | Cost Range | What’s Included |
|---|---|---|
| DIY | $10–$70 | Holder, tools, anchors |
| Professional | $50–$150 | Labor, holder (if provided), clean-up |
Tip: Most people can install a holder in under one hour. Hiring a professional is mainly worth it for tile or concrete walls, or if you are not comfortable using tools.
Maintenance And Troubleshooting
A properly installed holder needs little care, but small problems can appear over time.
Loose Holders
If your holder wobbles, check the screws and anchors. Tighten them if possible. If the anchor has pulled out of the wall, replace with a larger one.
Rust Or Corrosion
Metal holders may rust in humid bathrooms. Choose stainless steel or coated finishes for better durability. Wipe down holders regularly to prevent moisture buildup.
Holder Falls Off
For adhesive or suction holders, this usually means the surface wasn’t clean or the adhesive has worn out. Try cleaning and reattaching, or switch to a screw-in holder for better strength.
Replacing A Holder
To swap out an old holder:
- Remove screws or adhesive.
- Patch any holes with wall filler.
- Sand and repaint if needed.
- Install the new holder as above.
Pro tip: When patching old holes, let the filler dry completely before painting or drilling new holes nearby.
Real-life Examples
Sometimes, seeing how others have solved problems helps you avoid mistakes.
- Example 1: A homeowner with a tiled bathroom used masking tape and a diamond drill bit to safely install a chrome holder. The job took 30 minutes, and no tiles cracked.
- Example 2: A renter used an adhesive holder on a glass wall. It stayed up for over a year because they cleaned the glass with alcohol wipes before attaching.
- Example 3: A family with young children installed their holder 22 inches from the floor for easier reach, making it safer and more comfortable for kids.
Non-obvious insight: Many people regret not checking for hidden pipes before drilling. Use a stud finder with a wire-detection mode to avoid costly mistakes.
Eco-friendly And Accessibility Options
Modern toilet paper holders can do more than hold a roll. Some are designed for sustainability or to help people with limited mobility.
Eco-friendly Holders
Look for holders made from recycled materials or with low-waste packaging. Some even have a space for reusable cloths.
Accessibility Features
For people with arthritis or disabilities, choose open-ended or single-post holders that are easier to use. Some models are designed to work with grab bars for extra support.
Expert tip: ADA guidelines recommend placing the holder so the center is 19 inches above the floor and 7–9 inches in front of the toilet for wheelchair users.
Credit: www.youtube.com
Safety Tips
Drilling into walls can be risky if you don’t know what’s behind them.
- Always turn off power at the breaker if working near light switches or outlets.
- Wear safety goggles to protect your eyes from dust and debris.
- Go slow with power tools, especially on hard surfaces like tile or brick.
- Check for hazards with a stud finder or by tapping the wall lightly.
If you’re unsure, it’s better to ask for help or hire a professional.
Where To Buy Quality Holders
You can find good toilet paper holders at most hardware stores, home centers, and online. Look for brands with good reviews and clear installation instructions. For more details, the Home Depot website has many options and helpful guides.
Pro tip: Always check that the holder comes with all needed hardware (screws, anchors, templates) before starting your project.
Frequently Asked Questions
How High Should I Mount A Toilet Paper Holder?
Most people mount the holder so the center is 26 inches (66 cm) above the floor. For accessibility, follow ADA guidelines of 19 inches high and 7–9 inches in front of the toilet.
Can I Install A Holder On Tile Without Cracking It?
Yes, but use a carbide or diamond drill bit and go very slowly. Place masking tape on the tile to keep the drill bit from slipping and reduce the risk of cracks.
What If There’s No Stud Where I Want To Install The Holder?
Use wall anchors designed for drywall or your specific wall type. These provide strong support even without a stud.
Are Adhesive Holders As Strong As Screw-in Types?
Adhesive holders can be strong on smooth, clean surfaces but are not as durable as screw-in holders, especially on textured or painted walls. For heavy use, screw-in holders are best.
Is It Possible To Move A Holder After Installing It?
Yes. Remove the old holder, patch the holes with wall filler, sand and repaint, then install the new holder in the desired spot. Adhesive types are easier to move, but may leave residue.
Mounting a toilet paper holder is a small project that can make your bathroom more comfortable, organized, and attractive. With the right tools, careful measurements, and a few smart tips, you can do the job yourself and get professional-looking results.
Whether you choose a wall-mounted, recessed, adhesive, or freestanding holder, planning ahead and avoiding common mistakes will save time and hassle. Take your time, follow each step, and enjoy a more functional bathroom every day.