Pairing a remote control with your garage door opener sounds simple, but many people run into problems. If you’ve ever pressed your new remote and nothing happened, you know the frustration. This guide walks you through the process step-by-step, explains what matters, and shares practical tips and mistakes to avoid.
Whether you’re setting up a new remote or replacing a lost one, you’ll find everything you need right here. Let’s make your garage door open smoothly—and reliably.
Understanding Garage Door Remote Controls
Before you start pairing, it helps to know how garage door remotes work. Most remotes use radio frequencies to send signals to your opener. The opener receives the signal and activates the motor, which opens or closes the door. Older systems used fixed codes, but newer models use rolling codes for better security. Rolling codes change every time you press the button, which makes it harder for thieves to copy your signal.
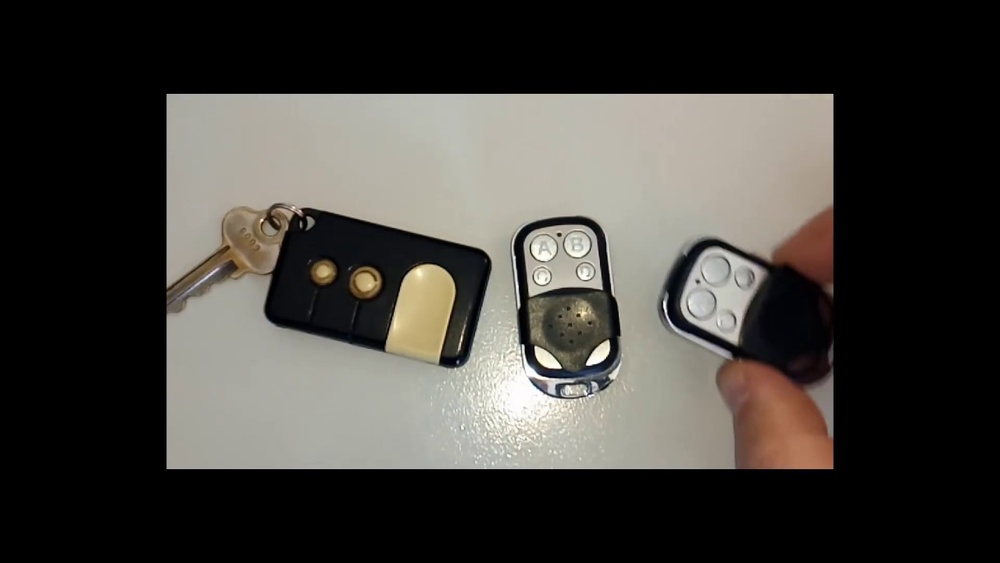
There are three main types of remote controls:
- Universal remotes: Work with many brands and models.
- Brand-specific remotes: Made for one brand, sometimes even one model.
- Keypad remotes: Mounted outside, let you enter a code instead of pressing a button.
Some garage door openers also connect to smart home systems and phone apps. But for most homes, the standard remote is all you need. Knowing your remote type is important because pairing steps may vary.
Why Pairing Is Necessary
Pairing your remote is not just about convenience. It’s also about security and functionality. When you pair your remote:
- You ensure only your remotes can open the door.
- You stop old or lost remotes from working.
- You can add new remotes for family members.
If you move into a new house, always reset and re-pair remotes to protect your home. Also, pairing is needed after replacing batteries, upgrading your opener, or adding extra remotes.
What You Need Before Starting
To pair a remote, gather these items:
- Remote control: Make sure it’s compatible with your garage door opener.
- Garage door opener unit: Usually mounted on the ceiling.
- Ladder: Helps reach the opener.
- Owner’s manual: Useful for model-specific instructions.
- New batteries: Weak batteries can cause pairing to fail.
Check the brand and model of your opener and remote. Most pairing problems come from using incompatible devices. Look for a sticker on your opener or remote with the model number.
Step-by-step Guide: Pairing Your Garage Door Remote
Pairing usually takes only a few minutes. Here’s a clear guide:
- Check Compatibility
- Match your remote’s brand and model with your opener.
- Universal remotes often list compatible brands on the packaging.
- Locate the “Learn” or “Program” Button
- Most garage door openers have a Learn button. It’s usually on the back or side of the unit, sometimes under a light cover.
- The button is often colored (yellow, red, purple, or green).
- Prepare the Remote
- Insert new batteries.
- Make sure the remote is not paired with another opener.
- Press the Learn Button
- Climb the ladder safely.
- Press and release the Learn button. A light will blink, showing the opener is ready to pair.
- Press the Remote Button
- Within 30 seconds, press the main button on your remote.
- The opener’s light may flash or you may hear a click. This means pairing succeeded.
- Test the Remote
- Stand a few feet away and press the remote button.
- The door should open or close.
- Repeat for Extra Remotes
- If you have multiple remotes, repeat the process for each.
Common Pairing Variations
Some brands require extra steps:
- Chamberlain/LiftMaster: Hold the remote button until the opener light flashes.
- Genie: Sometimes you must press and hold the Learn button for several seconds.
- Older models: May require setting DIP switches instead of pressing a button.
Check your manual if you’re unsure. If pairing fails, try again, but wait a few minutes between attempts.
Troubleshooting Pairing Problems
Pairing doesn’t always go smoothly. Here are common issues and fixes:
Remote Doesn’t Pair
- Check batteries: Weak or old batteries are the top cause.
- Compatibility: Some remotes look similar but won’t work with your opener.
- Distance: Stand close to the opener during pairing.
- Interference: Wi-Fi routers, LED lights, or other devices can block the signal.
Door Opens Only Sometimes
- Weak signal: Try new batteries or move the opener antenna.
- Obstructions: Metal objects or walls can block signals.
Multiple Remotes Stop Working
- Memory full: Most openers store 4-6 remotes. If memory is full, erase all remotes and re-pair.
- Reset needed: Sometimes you must reset the opener before pairing.
Opener Light Doesn’t Blink
- Wrong button: Make sure you press the Learn button, not a different one.
- Broken light: Sometimes the indicator bulb is burned out. Try listening for a click instead.
If you can’t solve the problem, contact customer service or check the manual. Some brands have online troubleshooting guides.
Security Considerations
Pairing is more than just pressing buttons. Protect your home with these tips:
- Erase old remotes: If you lose a remote, erase all remotes from the opener’s memory and re-pair the ones you still have.
- Rolling code: Use openers with rolling code technology. These are much safer than fixed-code models.
- Change batteries regularly: Weak batteries can cause random operation, making your door open unexpectedly.
- Cover the opener unit: Avoid leaving the opener exposed, especially in garages that face the street.
When you buy a new house, always reset the opener and pair new remotes.
Comparing Garage Door Remote Technologies
Different technologies impact pairing and security. Here’s a comparison:
| Remote Technology | Security Level | Pairing Process | Common Issues |
|---|---|---|---|
| Fixed Code | Low | DIP Switches or Simple Pairing | Easy to duplicate |
| Rolling Code | High | Learn Button | Occasional pairing errors |
| Smart Remote/App | Very High | App Setup/Cloud Pairing | Wi-Fi issues, app bugs |
Most modern openers use rolling codes for security. If yours is still fixed code, consider upgrading.
Universal Vs Brand-specific Remotes
Choosing the right remote makes pairing easier. Here’s a side-by-side comparison:
| Remote Type | Compatibility | Pairing Steps | Price Range |
|---|---|---|---|
| Universal Remote | Many brands/models | May require extra programming | $15-$40 |
| Brand-Specific Remote | One brand/model | Simpler pairing | $20-$60 |
Universal remotes are useful if you have multiple garage doors, but they can be harder to pair. Brand-specific remotes are usually easier and more reliable.
Credit: thompsongaragedoors.com
Adding Multiple Remotes
Many families need more than one remote. Most garage door openers allow you to pair several remotes—usually up to 4 or 6. Follow these steps:
- Pair the first remote as usual.
- Press the Learn button again.
- Pair the second remote.
- Repeat for each new remote.
If the opener memory is full, erase all remotes and start over. This is common if you buy a used house or have old remotes lying around.
Erasing Old Remotes
If you lose a remote or want better security, erase all remotes from your opener’s memory. Here’s how:
- Hold the Learn button for about 10 seconds.
- The opener light will flash or you’ll hear a click.
- All remotes are erased. Now pair only the remotes you want to use.
This stops lost or stolen remotes from opening your garage.

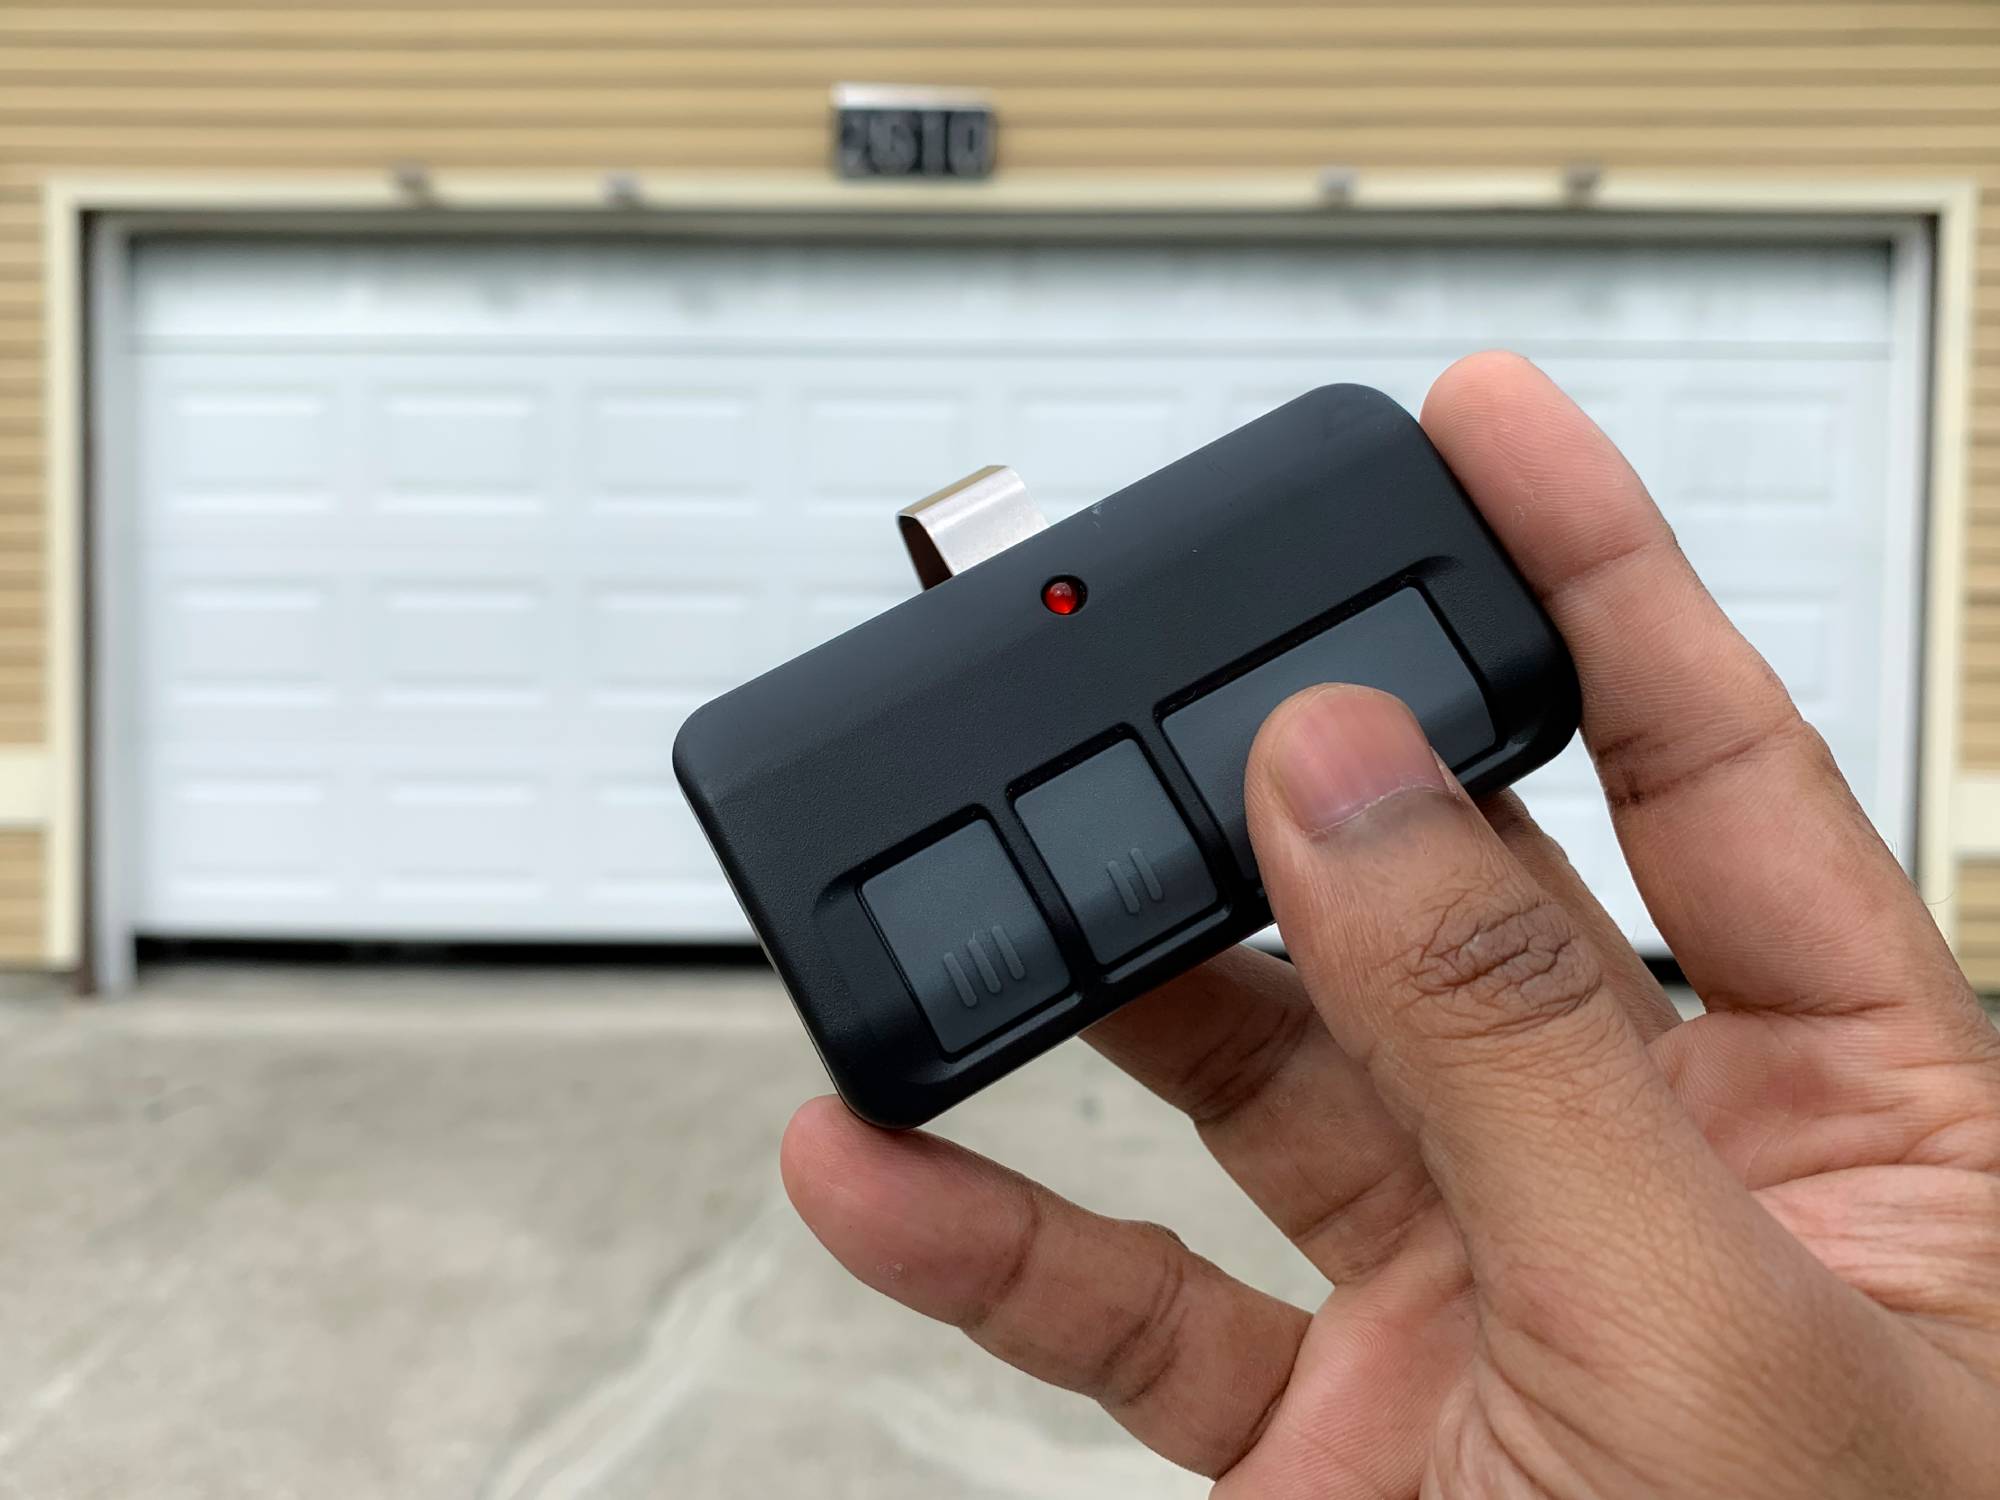
Credit: www.youtube.com
Pairing Keypad Remotes
Keypad remotes let you open your garage with a code. Pairing is similar:
- Press the Learn button on the opener.
- Within 30 seconds, enter your chosen code on the keypad and press the “Enter” button.
- The opener light flashes or clicks.
Test the keypad by entering your code. Change the code often for better security.
Pairing Smart Remotes And Apps
Smart garage door openers let you use your phone or an app. Pairing works differently:
- Download the app recommended by your opener brand.
- Create an account and connect to Wi-Fi.
- Follow the app’s instructions to pair with your opener.
- You may need to press the Learn button or scan a QR code.
Smart remotes let you open your garage from anywhere, check the status, and get alerts. Make sure your Wi-Fi is strong in the garage.
Real-life Example: Pairing A Universal Remote
Let’s walk through a real-world example. Suppose you have a Chamberlain garage door opener and a universal remote:
- Check compatibility: Chamberlain is listed on the remote packaging.
- Insert new batteries.
- Find the purple Learn button on the opener.
- Press and release the Learn button. The opener light blinks.
- Press and hold the remote button for 2 seconds.
- The opener light flashes again.
- Test the remote. The door opens.
If the remote doesn’t work, try repeating the process. Make sure you press the button within 30 seconds after pressing Learn.
Practical Tips For Smooth Pairing
Pairing isn’t just about following instructions. Here are tips you won’t find in most manuals:
- Clean the opener unit: Dust and cobwebs can cover the Learn button.
- Write down codes: If you use a keypad, keep your code somewhere safe—but not in plain sight.
- Pair during daylight: It’s easier to see buttons and lights.
- Check for updates: Some smart openers need firmware updates before pairing new remotes.
- Avoid pairing when Wi-Fi is weak: Smart remotes may fail if your signal drops.
Many beginners forget to check battery strength or compatibility. These are the most common causes of pairing problems.
Mistakes To Avoid
Even experienced users make mistakes. Watch out for these:
- Using the wrong remote: Not all remotes work with every opener, even if they look similar.
- Skipping the manual: Each brand has small differences. Read the manual for your model.
- Not resetting after lost remotes: Always erase lost remotes for safety.
- Pairing too quickly: Some units need you to wait a few seconds between steps.
- Ignoring interference: Nearby electronics can block signals.
Avoiding these mistakes saves time and keeps your garage secure.
Upgrading Your Garage Door Opener
If your opener is old, consider upgrading. New models offer:
- Better security: Rolling codes and encryption.
- Smart features: Phone apps, Amazon Key, or remote monitoring.
- Easier pairing: One-touch Learn buttons and clear lights.
- Battery backup: Keeps your garage working during power outages.
Upgrading costs $150-$400, but it improves safety and convenience. You can check more details at Consumer Reports.
Comparing Brands: Chamberlain Vs Genie Vs Liftmaster
Here’s a quick comparison of three popular brands:
| Brand | Pairing Ease | Remote Compatibility | Smart Features |
|---|---|---|---|
| Chamberlain | Very Easy | High (many universal remotes) | MyQ App, Wi-Fi |
| Genie | Easy | Medium (some universal) | Aladdin Connect, Wi-Fi |
| LiftMaster | Easy | High (many universal remotes) | MyQ App, Wi-Fi |
Chamberlain and LiftMaster are the most compatible and easiest to pair. Genie is reliable but sometimes less flexible with universal remotes.
Maintenance After Pairing
Pairing is only the first step. Keep your garage door system working well with these maintenance tips:
- Change batteries every year: Don’t wait for remotes to fail.
- Clean the opener unit: Dust can block signals and cover buttons.
- Lubricate moving parts: Reduces noise and wear.
- Check for firmware updates: Smart openers work best when updated.
- Test remotes monthly: Make sure all remotes still work.
Regular maintenance prevents sudden failures and keeps your garage secure.
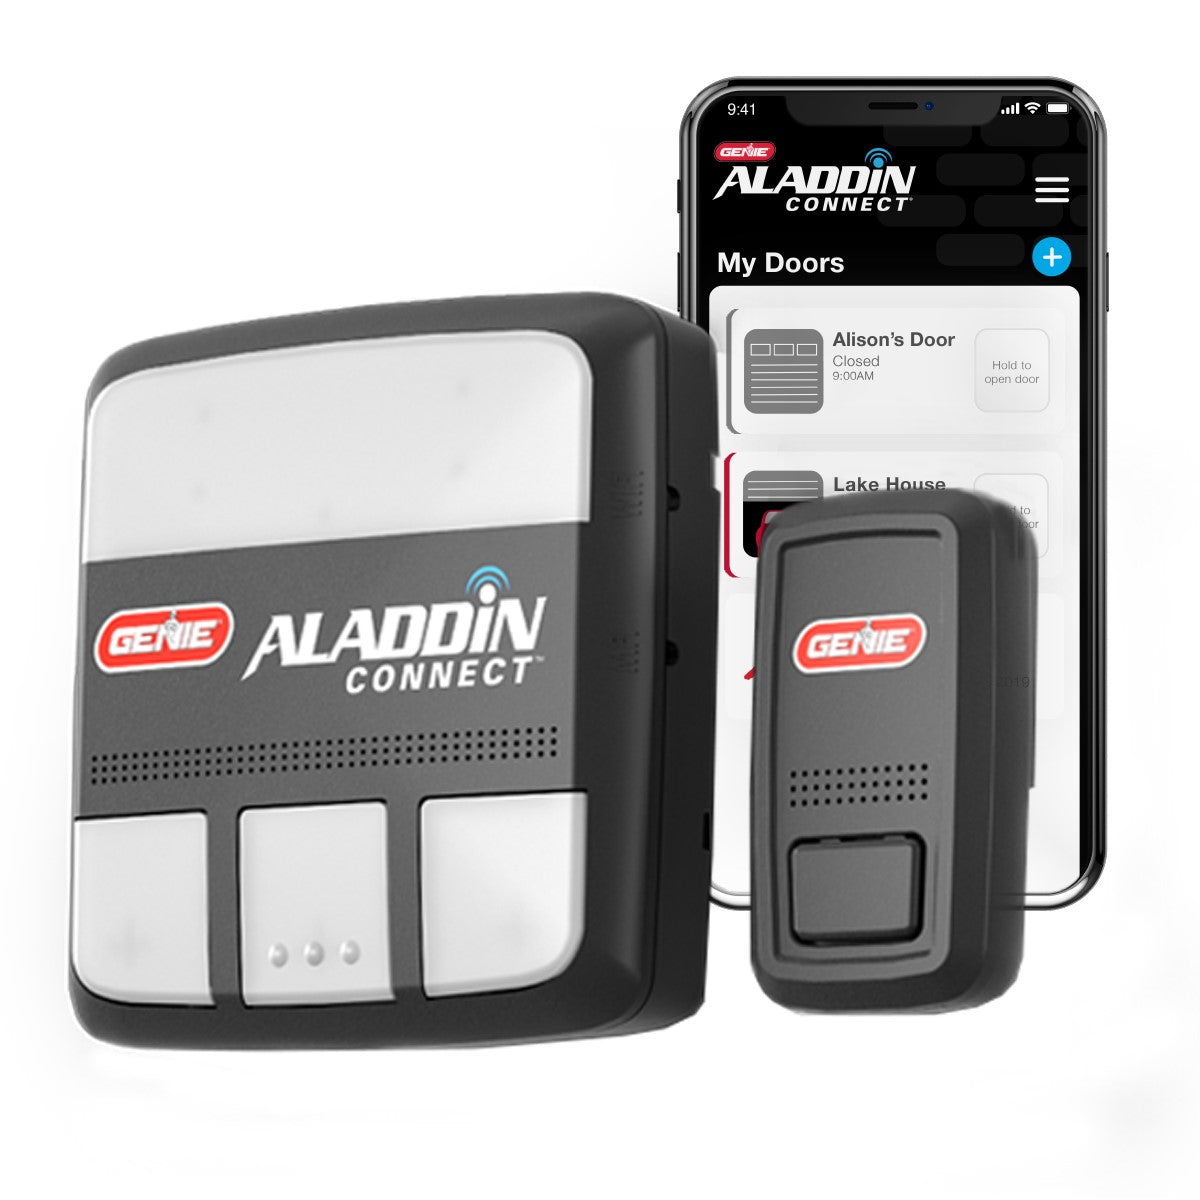
Credit: store.geniecompany.com
Non-obvious Insights Beginners Usually Miss
- Remote memory limits: Most openers store only a few remotes. If your family needs more, you may need to erase and re-pair all remotes.
- Signal interference: LED bulbs, Wi-Fi routers, and even metal shelving can block remote signals. Move these away from your opener.
- Pairing sequence matters: For multiple remotes, pairing in quick succession can cause some remotes to overwrite others. Wait a few seconds between each pairing.
These tips help you avoid headaches down the road.
Frequently Asked Questions
How Do I Know If My Remote Is Compatible With My Garage Door Opener?
Check the brand and model of both your remote and opener. Compatibility information is usually in the manual or on the packaging. Universal remotes list supported brands. If you’re unsure, search online with your opener model number.
What Should I Do If My Remote Suddenly Stops Working?
First, replace the batteries. If that doesn’t help, re-pair the remote using the steps above. If all remotes fail, check for signal interference or reset the opener. Sometimes, firmware updates or power surges cause pairing to drop.
Can I Pair More Than One Remote With My Garage Door Opener?
Yes, most openers allow multiple remotes—usually 4 to 6. Pair each remote separately using the Learn button. If memory is full, erase all remotes and start again.
How Do I Erase Lost Or Stolen Remotes?
Hold the Learn button on your opener for 10 seconds. The light will flash or click, erasing all paired remotes. Then re-pair only the remotes you want to keep. This stops lost or stolen remotes from opening your garage.
Is It Safe To Use Universal Remotes?
Universal remotes are safe if they use rolling codes and are compatible with your opener. Always check for security features. Avoid using universal remotes with old fixed-code openers, as these are easier to hack.
Pairing your garage door remote is simple when you understand the process. The key is to check compatibility, follow the steps carefully, and maintain your system. Good pairing means better security and smoother operation. If you run into trouble, remember most issues are easy to fix with new batteries or a quick reset.
With these tips and insights, you can keep your garage safe and convenient for years to come.