
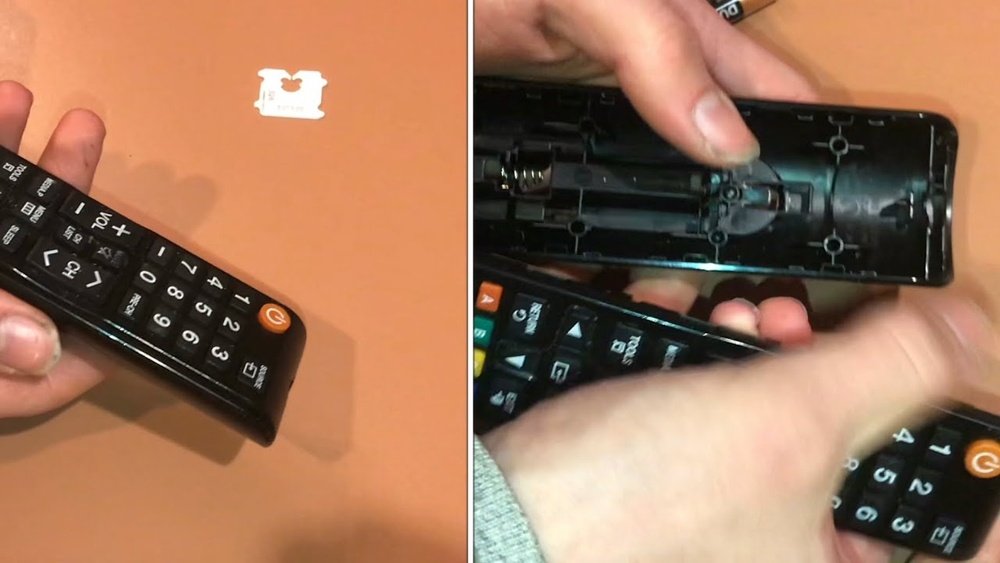
Opening a remote control seems simple, but many people worry they might break it or lose parts. Whether you need to change batteries, clean sticky buttons, or fix a broken unit, knowing how to open a remote control safely saves time, money, and frustration.
With the right steps, anyone can do this at home—even if you’ve never tried before. This guide will walk you through everything you need to know, from tools to common problems, and even tips for putting it back together. You’ll also find comparisons, practical advice, and answers to frequent questions.
Why Open Your Remote Control?
Understanding the reasons behind opening a remote control helps you decide if this task is necessary. Most people open their remote for three main purposes:
- Replace batteries: Sometimes batteries are stuck, corroded, or hard to reach.
- Clean inside: Dust, crumbs, or spilled drinks can cause sticky buttons or poor performance.
- Repair or troubleshoot: Loose parts, broken buttons, or circuit problems may need fixing.
Some remote controls are easy to open, while others require special care. Before you begin, check if your unit is under warranty. Opening may void the warranty, so always consider this first.
Types Of Remote Controls
Remote controls come in many shapes and sizes. Understanding the type you have makes opening easier and safer. The main types include:
- TV remotes: Most common, often rectangular and simple to open.
- AC remotes: Usually smaller, often have a screen.
- Car key remotes: Compact, often have strong clips or screws.
- Universal remotes: Larger, more complex inside.
- Game console remotes: Often have more buttons, sometimes hidden screws.
Below is a comparison of common remote types and their opening difficulty:
| Remote Type | Opening Difficulty | Common Tools Needed |
|---|---|---|
| TV Remote | Easy | Small screwdriver, plastic prying tool |
| AC Remote | Moderate | Small screwdriver |
| Car Key Remote | Hard | Precision screwdriver, prying tool |
| Universal Remote | Moderate | Small screwdriver, prying tool |
| Game Console Remote | Moderate-Hard | Special screwdriver, prying tool |
Knowing your remote type saves time and prevents mistakes. If your remote is rare or advanced, search for its model online for specific instructions.
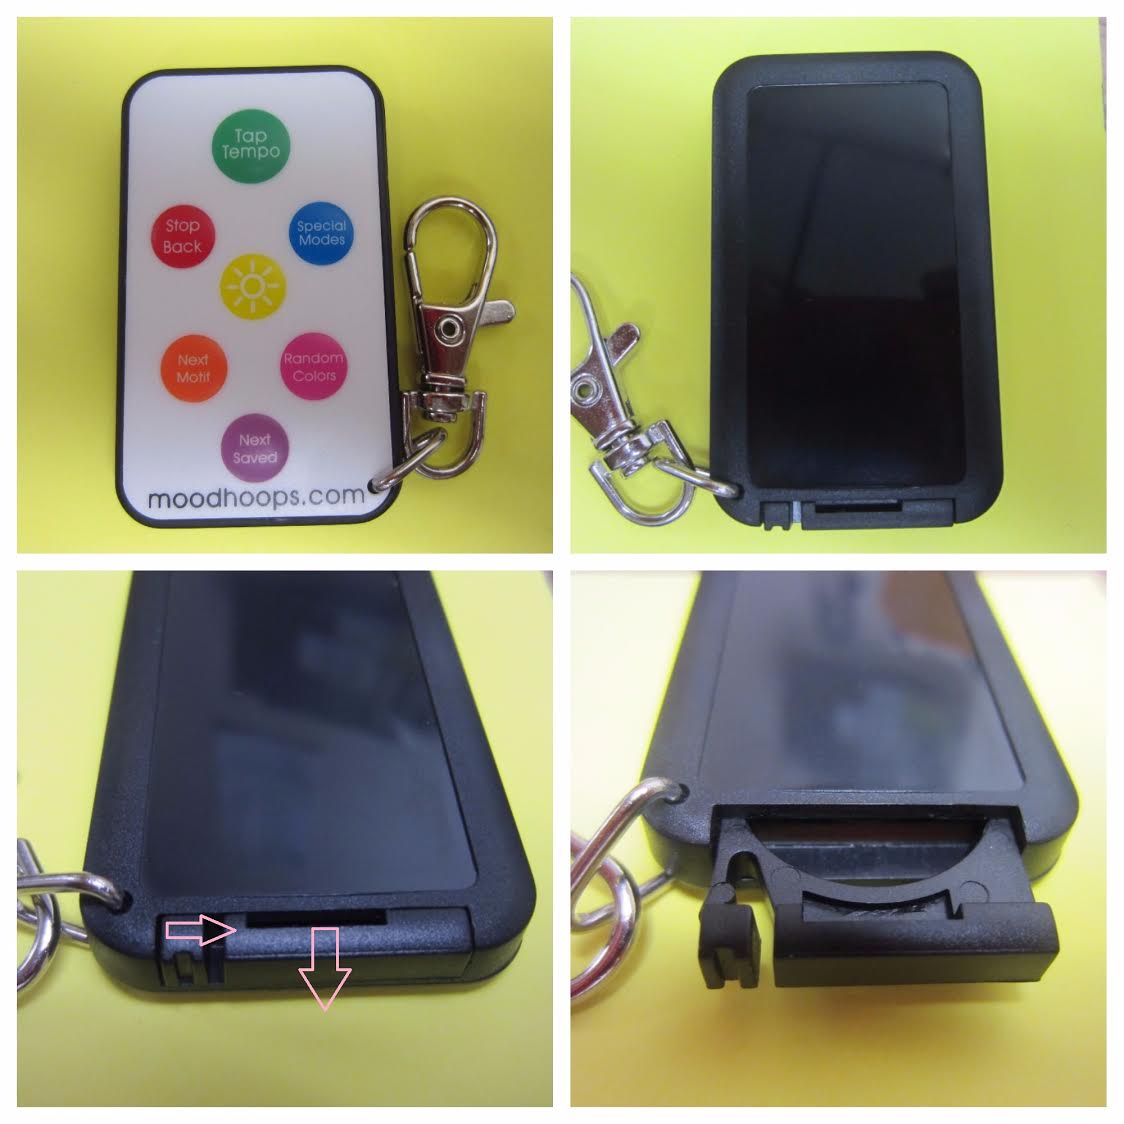
Credit: moodhoops.com
Tools And Materials You Need
Opening a remote control safely requires basic tools. Using the right tools prevents damage and makes the process smoother. Here are the must-haves:
- Small Phillips screwdriver: Most remotes use these screws.
- Flathead screwdriver: For prying open clips and edges.
- Plastic prying tool: Prevents scratches and damage.
- Tweezers: To handle small parts or springs.
- Cleaning cloth: For dust or sticky residue.
- Isopropyl alcohol: For cleaning inside safely.
- Small container: To keep screws and small pieces safe.
Optional tools can help with tough cases:
- Precision screwdriver set: For small or specialty screws.
- Magnifying glass: For detailed inspection.
- Compressed air: Blows out dust without touching circuits.
Never use sharp knives or metal tools that can damage plastic or circuits. If you don’t have a plastic prying tool, a guitar pick or old credit card works as a substitute.
Preparing To Open Your Remote
Before you start, prepare your workspace. This prevents lost pieces and accidental damage.
- Choose a clean, flat surface: A table or desk with good lighting is best.
- Lay a soft cloth or towel: This keeps parts from rolling away and protects the remote.
- Organize your tools: Keep everything within reach.
- Wash your hands: Clean hands help prevent dirt from entering the remote.
- Turn off nearby electronics: Static electricity can harm circuits.
Take a photo of your remote before opening. This helps you remember the button layout for reassembly. If you feel unsure, watch a video for your remote model—visual guidance can boost confidence.

Credit: www.youtube.com
Step-by-step Guide: Opening A Remote Control
Let’s break down the process into clear steps. These steps cover most remotes, but always check your specific model for differences.
Step 1: Remove Batteries
Always start by removing the batteries. This prevents electrical shorts and makes the remote lighter and easier to handle.
- Slide open the battery cover.
- Take out all batteries.
- Check for corrosion or leaks. Clean with a cloth and a little isopropyl alcohol if needed.
Step 2: Find Screws Or Clips
Remotes usually have screws or plastic clips holding them together. Look for screws first.
- Check the back, under the battery cover, and along edges.
- Some screws are hidden under stickers or rubber feet.
- If you don’t see screws, the remote may be held by clips.
Here’s a comparison of common fastening methods:
| Fastening Method | Where to Find | Opening Tip |
|---|---|---|
| Screws | Back, battery compartment | Use correct screwdriver |
| Plastic Clips | Edges, sides | Use plastic prying tool |
| Combination | Screws + clips | Remove screws, then pry gently |
Step 3: Unscrew Or Unclip
If your remote has screws:
- Use the correct screwdriver—too big can damage the screw head.
- Turn slowly and keep screws in your small container.
If your remote has clips:
- Start at one corner. Insert the plastic prying tool between the halves.
- Gently twist to loosen the clip.
- Move along the edge, releasing each clip one by one.
- If you feel resistance, check for missed screws.
Never force the remote open. Excess pressure can crack the plastic or snap clips.
Step 4: Separate The Two Halves
Once all screws and clips are undone, gently pull the remote apart. You may hear a soft click as the halves separate.
- Hold both sides firmly and pull apart slowly.
- Watch out for springs, buttons, or loose parts. They can fall out easily.
- Lay the halves flat on your workspace.
If you see a circuit board attached to one half, don’t touch it yet.
Step 5: Inspect Inside
Before cleaning or fixing, inspect the inside for dirt, corrosion, or broken parts.
- Look for sticky areas under buttons.
- Check battery terminals for rust or white powder.
- Examine the circuit board for cracks or burnt spots.
If you find liquid or sticky residue, clean carefully. Use a cotton swab with isopropyl alcohol and let it dry fully before reassembly.
Step 6: Clean, Replace, Or Repair
Depending on your reason for opening, now is the time to act.
- For cleaning: Wipe button pads, contacts, and battery terminals.
- For repairs: Replace broken buttons, springs, or contacts if you have parts.
- For battery issues: Clean terminals, replace corroded springs.
Avoid touching the circuit board with your fingers. Oils can cause performance problems.
Step 7: Reassemble The Remote
When finished, put the remote back together:
- Align both halves carefully.
- Press gently until all clips snap back.
- Reinsert screws—don’t overtighten.
- Put batteries back in.
Test the remote before closing everything tightly. If buttons stick or don’t work, open again and check alignment.
Special Considerations For Different Remote Types
Some remotes have unique designs or challenges. Here are tips for the most common types.
Tv Remotes
TV remotes usually have a simple design. Most open with screws or clips, and parts rarely fall out. If you lose a button, check online for replacements—many brands offer spare parts.
Ac Remotes
AC remotes often have a small screen. Be gentle around the display. If your remote has a rubber membrane, keep it clean and dry.
Car Key Remotes
Car key remotes are difficult to open. They often have strong clips and tiny screws.
- Use a precision screwdriver.
- Take extra care—dropping the unit can damage the circuit board.
- If the battery is soldered, seek professional help.
Universal Remotes
Universal remotes are larger and can have multiple layers inside.
- Take photos of each layer as you open.
- Keep buttons organized—they may look similar but work differently.
Game Console Remotes
Game controllers often have special screws (like Torx or triangle). Buy a special screwdriver if needed. Some controllers have small motors for vibration—don’t lose these parts.
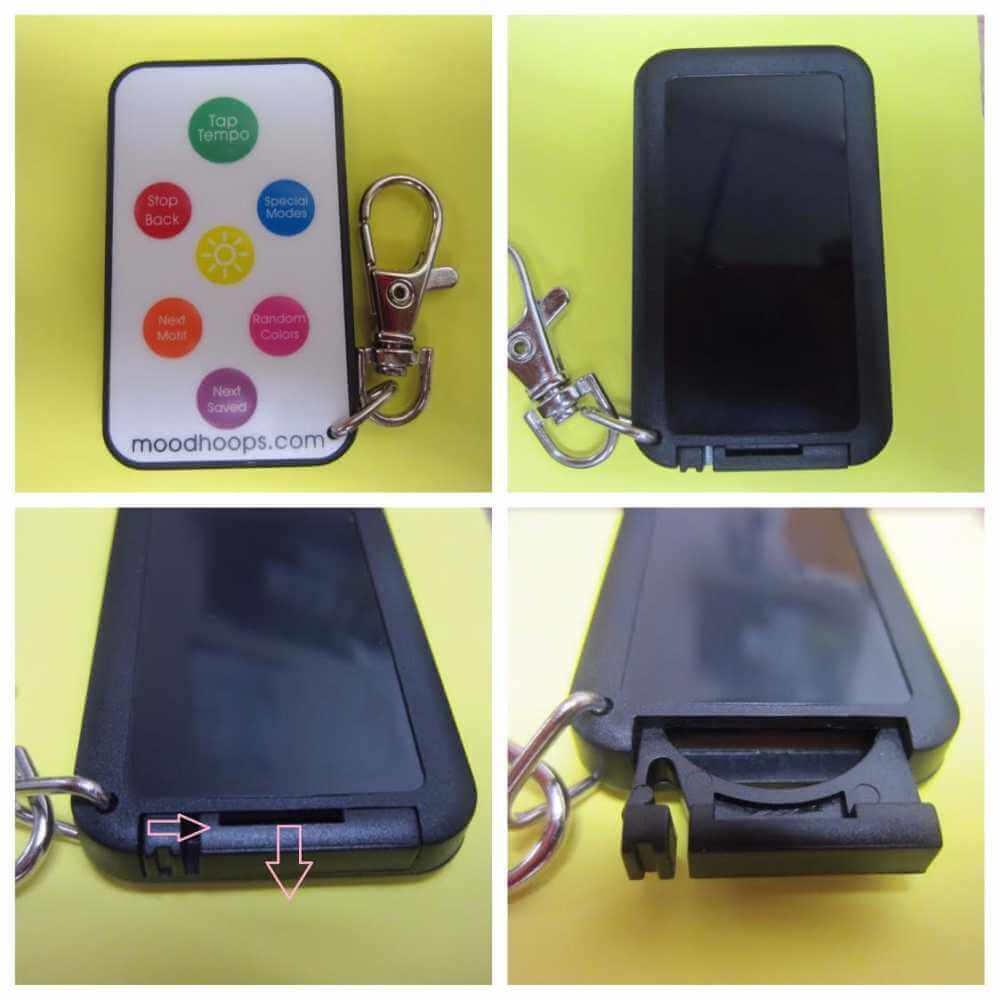
Credit: moodhoops.com
Common Problems And How To Fix Them
Opening a remote control often reveals problems. Here are common issues and practical fixes.
Sticky Buttons
Sticky buttons come from spills or dirt. Clean the button pad and contacts with isopropyl alcohol. Don’t use water—it can damage the circuit.
Corroded Battery Terminals
Battery leaks cause white powder or rust. Clean with a cotton swab dipped in alcohol. For heavy corrosion, rub gently with a pencil eraser.
Broken Clips Or Screws
If a clip breaks, use a small drop of super glue. For stripped screws, try a rubber band under the screwdriver for extra grip.
Lost Parts
Keep small parts in a container. If you lose a button, search online for replacements—most are cheap and easy to find.
Circuit Board Damage
If the circuit board is cracked or burnt, professional repair is best. DIY fixes rarely work for this problem.
Safety Tips And Warnings
Safety matters, especially with electronics. Follow these tips:
- Unplug devices: Never open a remote connected to an active device.
- Avoid liquids: Only use isopropyl alcohol, not water.
- Handle batteries carefully: Old batteries can leak toxic chemicals.
- Keep out of reach of children: Small parts can be dangerous.
- Don’t force parts: Use gentle pressure.
Most remotes use low voltage, so the risk is small. Still, caution prevents mistakes and injuries.
Non-obvious Insights Most Beginners Miss
Even careful beginners often overlook key details:
- Button orientation matters: Many remotes have buttons that only fit one way. Misplacing a button can make it stick or not work. Take photos before removing them.
- Static electricity can damage circuits: Touch a metal object before opening to discharge static from your body. This simple step prevents unexpected circuit damage.
- Rubber membranes can stretch: If you pull too hard, rubber button pads may stretch or tear. Handle gently, especially when cleaning.
- Screw threads can strip easily: Over-tightening screws damages plastic threads. Tighten just until snug, not hard.
Putting Everything Back Together: Reassembly Tips
Reassembly is sometimes harder than opening. Here’s how to avoid common mistakes:
- Check button placement: Make sure every button is in the correct spot. If you took photos, use them as a guide.
- Align circuit board properly: Some boards have small tabs or notches. Match them before closing the remote.
- Test before closing fully: Insert batteries and test basic functions. If something doesn’t work, open again.
- Avoid over-tightening screws: Gentle pressure is enough.
If you find extra parts left over, stop and review your steps. Extra pieces mean something is missing inside.
When To Seek Professional Help
Sometimes DIY isn’t enough. Consider professional repair if:
- The circuit board is cracked or burnt.
- Buttons or screens are damaged beyond simple cleaning.
- Batteries are soldered to the board.
- You cannot open the remote without breaking it.
Most electronics shops can fix remote controls quickly. If your remote is expensive or rare, professional help prevents costly mistakes.
Environmental Considerations
Opening and repairing remotes is better for the environment than throwing them away. Most remotes last years with simple maintenance. When you buy new batteries, recycle old ones—never toss them in the trash. Many stores offer battery recycling bins.
If your remote is beyond repair, recycle it at an electronics center. This keeps harmful chemicals out of landfills.
Data And Statistics: Remote Control Usage And Failure
Remote controls are everywhere. Here are some interesting facts:
- The average household uses 3-5 remote controls.
- About 70% of remote problems are battery-related.
- 25% of remotes fail due to sticky buttons or dirt.
- Less than 5% of remote controls are repaired professionally; most are thrown away.
- Simple cleaning restores function in 80% of cases.
These numbers show how important basic maintenance and repair are for saving money and reducing waste.
Comparing Professional Repair Vs. Diy Opening
Should you fix your remote yourself or pay for repair? Here’s a quick comparison:
| Repair Method | Cost | Success Rate | Time Needed |
|---|---|---|---|
| DIY Opening | Low (free to $5 for tools) | High for simple issues (80%) | 15-30 minutes |
| Professional Repair | $15-$50 | Very high (95%) | 1-3 days |
| Replacement | $10-$50 | 100% (new) | Instant |
For most people, DIY opening is the best solution for simple problems. Professional repair is worth it for expensive or complex remotes.
Practical Maintenance Tips
Keeping your remote working well saves time and hassle. Here are some tips:
- Change batteries every 6–12 months.
- Clean the outside with a dry cloth weekly.
- Keep the remote away from drinks, food, and pets.
- Store remotes upright or in a drawer to prevent dust.
- If buttons stick, open and clean once a year.
These simple habits extend the life of your remote and help avoid common problems.
Useful Resources For Remote Repair
If you need more help, check out online guides, videos, and manuals. Many remote brands publish repair guides. Forums like Reddit and electronics websites offer advice from experienced users.
For more detailed information on remote control electronics and repair, visit Wikipedia. This site gives background, technology details, and links to common remote types.
Frequently Asked Questions
How Do I Know If My Remote Has Screws Or Clips?
Look at the back and inside the battery compartment. Screws are small and often hidden under stickers or rubber pads. If you don’t see any, your remote probably uses plastic clips. Shine a flashlight along the edges to spot tiny clips.
What Should I Do If A Button Falls Out During Opening?
Don’t panic. Place the button back in its slot, matching the shape and orientation. Most buttons only fit one way. If you’re unsure, check your photo from before opening or look up your remote model online.
Can I Use Water To Clean Inside My Remote Control?
No, water can damage the circuit board and cause rust. Always use isopropyl alcohol for cleaning. It dries quickly and is safe for electronics.
Is It Safe To Open A Remote With Built-in Rechargeable Batteries?
Built-in batteries can be dangerous if handled incorrectly. If the battery is soldered or glued, don’t try to remove it yourself. Seek professional help to avoid risk of fire or injury.
How Often Should I Clean My Remote Control?
Clean the outside weekly. Open and clean inside once a year, or whenever buttons stick or stop working. Regular cleaning prevents most problems and keeps your remote working smoothly.
Opening a remote control is easier than most people think. With patience, the right tools, and careful steps, you can fix or clean almost any remote at home. This saves money, reduces waste, and keeps your devices running smoothly. If you ever feel unsure, there’s plenty of help available online and from professionals.
Take your time, follow the steps, and enjoy the satisfaction of a working remote control.