
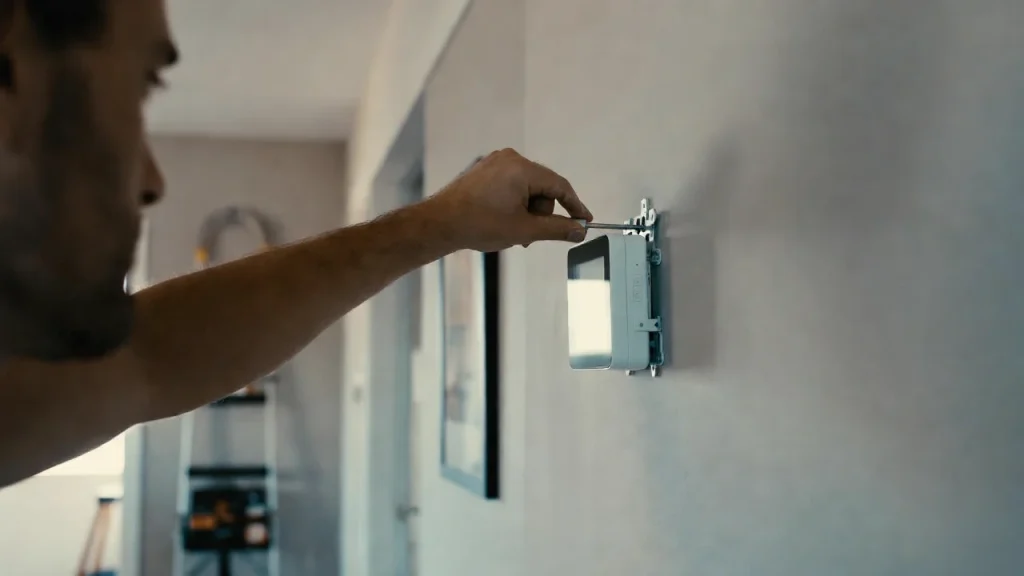
Are you ready to take control of your home’s comfort and save on energy bills? Installing a smart thermostat is easier than you think, and it can make a big difference in how you manage your heating and cooling.
In this guide, you’ll learn simple, step-by-step instructions to install your smart thermostat quickly and safely. By the end, you’ll be able to enjoy a smarter, more efficient home without needing to call a professional. Let’s get started and make your home work smarter for you!
Choosing The Right Thermostat
Choosing the right smart thermostat is a key step before installation. The right choice ensures your home stays comfortable and energy-efficient. Consider your heating and cooling system first. Then, think about features and your budget. This helps avoid mistakes and extra costs.
Compatibility With Your System
Check if the thermostat works with your heating and cooling system. Some thermostats only fit certain systems like gas, electric, or heat pumps. Look at your current thermostat or system manual. Confirm it supports the wiring and voltage of your system. This avoids installation problems and poor performance.
Features To Consider
Decide which features matter most for your needs. Common features include remote control via phone, scheduling, and energy reports. Some thermostats learn your habits and adjust automatically. Others offer voice control or geofencing. Pick features that make your life easier and save energy.
Budget And Brand Options
Set a budget before shopping for a thermostat. Prices vary from simple models to advanced ones. Choose a brand known for quality and support. Good brands offer clear instructions and reliable customer service. Balance cost with features and compatibility for the best value.
Tools And Materials Needed
Before installing a smart thermostat, gather the right tools and materials. This step saves time and avoids frustration. Having everything ready helps the process go smoothly.
Basic Tools Checklist
- Phillips screwdriver
- Flathead screwdriver
- Drill with bits
- Wire stripper
- Voltage tester
- Level
- Small flashlight
Safety Gear
- Insulated gloves
- Safety glasses
- Dust mask
Additional Materials
- Mounting screws (usually included)
- Wire labels or tape
- Extra wiring (if needed)
- Smart thermostat manual
Preparing Your Hvac System
Preparing your HVAC system is the first step in installing a smart thermostat. This stage ensures safety and makes the process easier. Taking the right steps now saves time and prevents damage later.
Follow these simple tasks carefully. They help you avoid electrical hazards and keep your system ready for the new device.
Turning Off Power
Start by turning off the power to your HVAC system. Find the circuit breaker for your heating and cooling unit. Switch it off to stop electricity flow. This step protects you from shocks during installation.
Check the thermostat screen to confirm it is off. If the display still shows, turn off the power at the main breaker. Safety first.
Removing Old Thermostat
Remove the cover of your old thermostat carefully. Use a screwdriver if needed. Take a picture of the wiring setup for reference. Gently unscrew the base from the wall.
Do not pull on the wires. Loosen the screws holding each wire in place. Keep the wires free but organized to avoid confusion later.
Labeling Wires
Label each wire with a small piece of tape. Write the letter or color code seen on the terminal. This step is crucial for reconnecting wires correctly.
Double-check your photo and labels to avoid mistakes. Proper labeling makes installing the smart thermostat faster and safer.
Installing The Smart Thermostat
Installing the smart thermostat is a simple process. It improves your home’s comfort and saves energy. Follow these steps carefully to set it up correctly.
Mounting The Base Plate
First, remove the old thermostat from the wall. Use a level to position the new base plate. Mark the holes for screws on the wall. Drill holes and insert anchors if needed. Secure the base plate tightly with screws.
Connecting The Wires
Turn off the power to your heating system. Identify each wire and match it to the labels on the base plate. Connect the wires to their correct terminals. Tighten the screws to hold wires firmly. Double-check all connections before moving on.
Attaching The Thermostat Unit
Align the thermostat unit with the base plate. Press the unit gently until it clicks into place. Restore power to your heating system. Follow the on-screen instructions to complete setup. Test the thermostat to ensure it works well.
Configuring The Device
Configuring your smart thermostat is the next step after installation. It helps your device work smoothly and fit your needs. You will power it on, connect it to Wi-Fi, and set your preferences. Each part is simple and important for a good experience.
Powering On
First, turn on your smart thermostat. Most devices have a power button on the side or front. Press it until the screen lights up. If it does not turn on, check the batteries or power source. Some models start automatically when connected to power.
Connecting To Wi-fi
Next, connect your thermostat to Wi-Fi. Go to the settings menu on the device screen. Find the Wi-Fi option and select your home network. Enter your Wi-Fi password carefully. This step allows remote control through your phone app.
Setting Preferences
Finally, set your temperature preferences. Choose your desired temperature for day and night. Some devices let you create schedules for each day of the week. Adjust settings like fan mode or eco mode. These choices save energy and keep your home comfortable.
Testing And Troubleshooting
Testing and troubleshooting your smart thermostat is essential after installation. This step ensures your system works properly and saves energy. It also helps find small problems early.
Follow these simple steps to verify the system’s operation and fix common issues. Know when to call a professional for help.
Verifying System Operation
Turn on your thermostat and set the temperature higher or lower than the current room temperature. Listen for your heating or cooling system to activate. Check if the air coming from vents matches your settings.
Use the smart thermostat app to control the device remotely. Confirm it responds to commands and updates the temperature correctly. Make sure the display shows correct time and temperature.
Common Issues And Fixes
If the thermostat screen stays blank, check the power source. Replace batteries or confirm the device is properly wired. If the system does not turn on, verify the breaker is not tripped.
Sometimes the thermostat and HVAC system do not communicate. Restart your thermostat and router. Reset the device to factory settings if needed. Check for loose or damaged wires carefully.
Temperature readings may be wrong if the thermostat is placed near heat sources. Move the device to a better location away from sunlight or vents.
When To Call A Professional
Call a professional if you feel unsure about wiring or electrical work. Also seek help if the thermostat still does not control heating or cooling after troubleshooting.
Complex HVAC systems may need expert calibration. A technician can safely inspect and fix wiring or mechanical problems. Professional service ensures your system runs efficiently and safely.
Maximizing Energy Efficiency
Maximizing energy efficiency with a smart thermostat saves money and helps the environment. Smart thermostats adjust your home’s temperature based on your habits and preferences. They reduce energy waste by heating or cooling only when needed. Using these features well can lower your utility bills.
Scheduling Temperature Changes
Set your thermostat to change temperatures at different times. For example, lower the heat while you sleep or are away. Raise it before you come back home. This avoids heating or cooling an empty house. You can create a daily or weekly schedule that fits your life.
Using Sensors And Geo-fencing
Smart thermostats use sensors to detect if someone is in the room. They adjust the temperature only in occupied areas. Geo-fencing uses your phone’s location to know when you leave or return. The thermostat changes settings automatically based on your distance from home. This keeps energy use low without losing comfort.
Monitoring Energy Usage
Track your energy use through the thermostat’s app or screen. See which times or settings use the most energy. This helps you find ways to save more. Watching your energy patterns encourages smarter choices and better habits. Over time, small changes add up to big savings.
Frequently Asked Questions
What Tools Are Needed To Install A Smart Thermostat?
You need a screwdriver, drill, voltage tester, and a level. Some models may require a C-wire for power. Always turn off power at the breaker before installation to ensure safety and prevent damage.
How Do I Connect A Smart Thermostat To Wi-fi?
After installation, access the thermostat’s setup menu. Select your Wi-Fi network and enter the password. Ensure your router signal is strong near the thermostat for a stable connection.
Can I Install A Smart Thermostat Myself?
Yes, most smart thermostats are designed for DIY installation. Follow the manufacturer’s instructions carefully. If unsure, consult a professional to avoid wiring mistakes or device damage.
How Long Does Smart Thermostat Installation Take?
Installation typically takes 30 to 60 minutes. Time varies based on your HVAC system complexity and your familiarity with electrical wiring. Preparation can speed up the process.
Conclusion
Installing a smart thermostat can save energy and money. The steps are simple to follow. Take your time and double-check connections. Test the system to ensure it works well. Enjoy better control over your home’s temperature. Smart thermostats help make life easier and more comfortable.
Start with the basics, and you will do great. This upgrade brings convenience without much hassle. Your home becomes smarter with just a few steps.