
A solar eclipse is a rare and breathtaking event. The sky darkens, temperatures drop, and for a few minutes, the world seems to pause. For photographers, both amateur and professional, a solar eclipse is a chance to capture something truly special. But as you point your camera toward the sun, a worry might cross your mind: can a solar eclipse damage your camera? The answer is not as simple as yes or no. There are real risks involved, but there are also ways to protect your gear and capture amazing shots safely. In this guide, you’ll find clear answers, practical steps, and expert advice to help you enjoy the next eclipse without regret.
What Happens During A Solar Eclipse?
A solar eclipse occurs when the moon passes between the Earth and the sun, blocking all or part of the sun’s light. There are three main types:
- Total solar eclipse: The moon completely covers the sun.
- Partial solar eclipse: Only part of the sun is blocked.
- Annular solar eclipse: The moon covers the center of the sun, leaving a “ring of fire.”
Eclipses can last from a few minutes to several hours, but the period of totality (when the sun is fully covered) is often just a couple of minutes. During this short time, it’s safe to look at the sun with the naked eye.
However, for most of the eclipse, the sun is still dangerously bright.
How The Sun Can Damage Camera Sensors
You might wonder, “If the sun is covered, why is it dangerous for my camera?” The problem is the intensity of sunlight. Even a small visible part of the sun is much brighter than you think. When you point a camera directly at the sun, especially with a zoom lens, you focus a lot of energy onto a tiny area.
Sensor Damage
Modern digital cameras use either a CMOS or CCD sensor. These chips are sensitive to light. When you photograph the sun, especially without a solar filter, you risk:
- Overheating the sensor: The sun’s rays can heat the sensor, leading to permanent damage.
- Burned pixels: Bright light can “burn” pixels, causing permanent white or discolored spots.
- Reduced sensor life: Even if you don’t see immediate problems, repeated exposure shortens the sensor’s lifespan.
Shutter And Lens Damage
It’s not only the sensor at risk. The shutter mechanism and internal lens elements can also suffer:
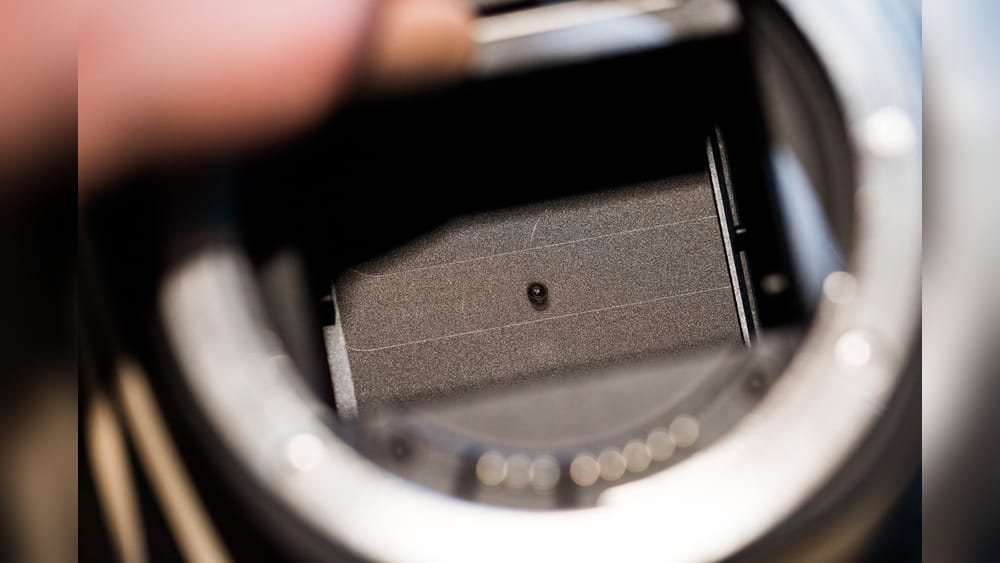
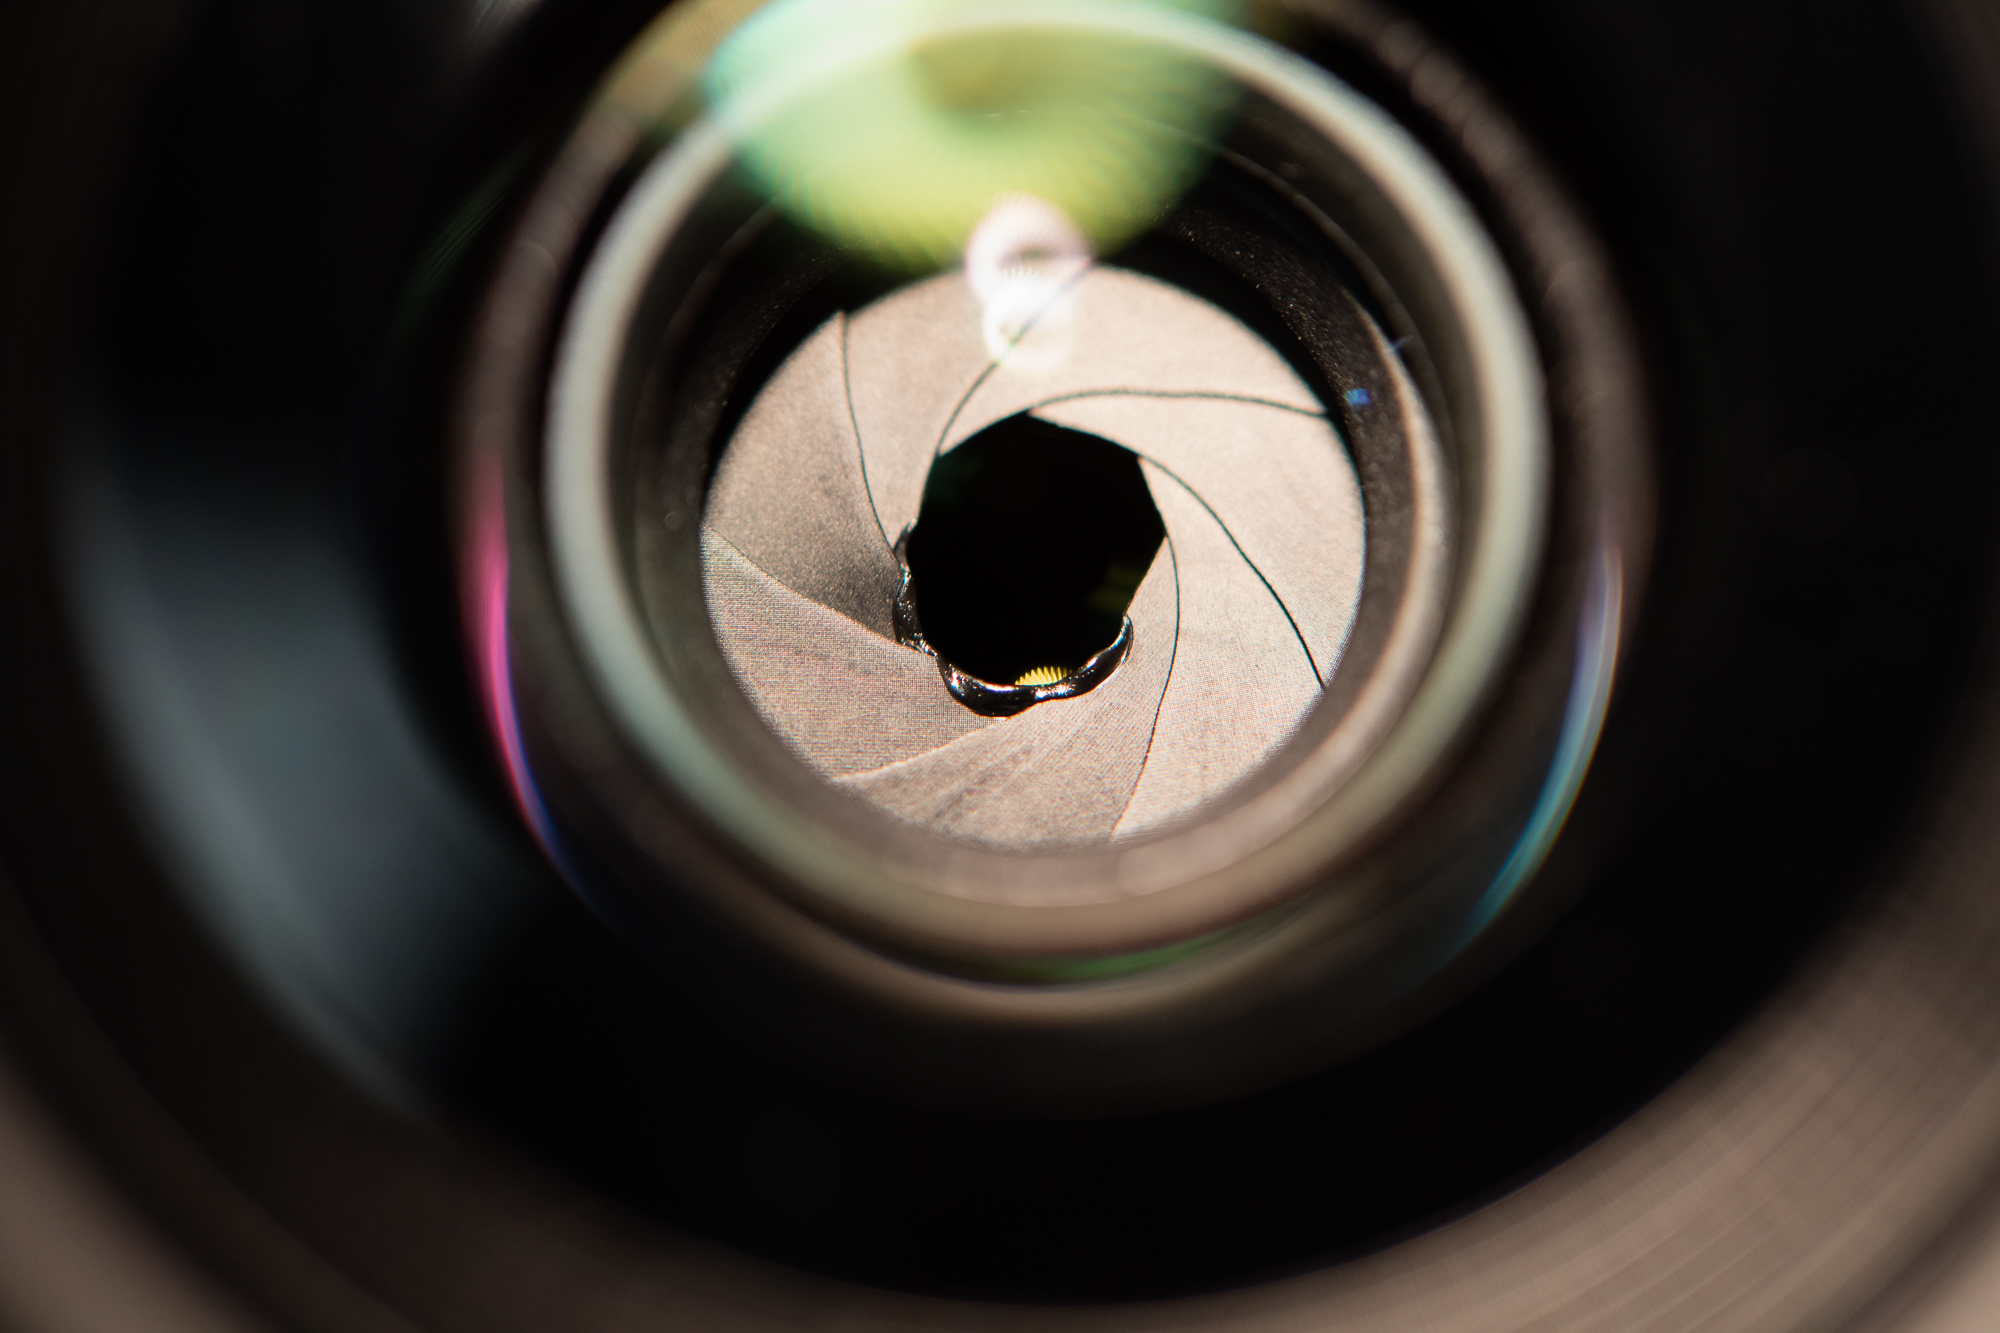
- Melted or warped shutter blades: Prolonged exposure can warp the thin metal or plastic blades inside.
- Damaged coatings: Lens coatings protect against glare and UV, but intense light can degrade them.
- Internal lens haze: Heat can cause haze or fog inside the lens, reducing clarity.
Examples Of Real Damage
In 2017, after the total solar eclipse in the United States, camera repair shops reported a sharp rise in damaged sensors and melted shutters. Some photographers shared images with large white spots, lines, or “ghost” images that would not go away.
These are classic signs of sun damage.
Why Eclipses Are Especially Risky
You might think photographing the sun is always dangerous, so why are solar eclipses a special concern? There are two main reasons:
- Longer exposure: During an eclipse, people often point their cameras at the sun for longer periods, waiting for the perfect shot.
- False sense of safety: Because the sun looks dimmer, it feels less dangerous. But the infrared and ultraviolet rays are still strong enough to cause damage.
Many beginners make the mistake of removing solar filters too early, or thinking their camera’s built-in settings will protect them. This is a common and costly error.
Comparing Camera Types: Which Are At Risk?
Not all cameras are equally vulnerable during a solar eclipse. Here’s a comparison of common types:
| Camera Type | Risk Level | Key Details |
|---|---|---|
| DSLR | High | Optical viewfinder and large sensors make them very sensitive to sun damage. |
| Mirrorless | High | Sensor is exposed directly when composing shots; risk is similar to DSLR. |
| Smartphone | Medium | Smaller lens and sensor reduce risk, but damage is still possible with prolonged exposure. |
| Point-and-shoot | Medium | Smaller sensors help, but zooming in increases risk. |
| Film camera | Low to Medium | Film can be damaged, and the viewfinder can injure your eye. |
Key Takeaway
DSLR and mirrorless cameras are especially at risk because their sensors are large and exposed to direct light for longer, especially if you use live view or video. Smartphones are a bit safer but not immune, especially with telephoto lenses.
Credit: www.lensrentals.com
How Solar Filters Work (and Why They’re Essential)
A solar filter is a special piece of glass or film that blocks most of the sun’s light and harmful rays. Standard ND filters (neutral density) are not enough. True solar filters block about 99.999% of sunlight.
Types Of Solar Filters
- Thread-on filters: Screw onto the front of your lens, like a normal filter.
- Sheet filters: Made from thin film, cut to size, and taped over the lens.
- Solar filter glasses: For your eyes, not for cameras.
Why Regular Filters Aren’t Enough
Some photographers think a strong ND filter or polarizer will protect the camera. This is a myth. Regular filters only reduce visible light, not the dangerous infrared (IR) or ultraviolet (UV) rays that can still damage your sensor.
How To Use A Solar Filter Correctly
- Always attach the filter before pointing your camera at the sun.
- Do not remove the filter until the sun is completely covered (totality).
- Put the filter back on as soon as the sun reappears.
Step-by-step: How To Photograph A Solar Eclipse Safely
Photographing a solar eclipse can be safe and rewarding if you follow the right steps. Here’s a practical process:
- Get a certified solar filter for your camera lens. Check it meets ISO 12312-2 standards.
- Test your setup before eclipse day. Practice focusing and changing settings with the filter on.
- Mount your camera on a tripod. This keeps your shot steady and your hands free.
- Set up your composition with the filter on. Do not try to “find” the sun with the naked lens.
- Use live view or an electronic viewfinder if possible. Never look through an optical viewfinder at the sun.
- Shoot at intervals. Don’t leave your camera aimed at the sun for long periods.
- Remove the filter only during totality (if safe and you know what you’re doing).
- Replace the filter immediately after totality or if the sun reappears.
Sample Camera Settings
During an eclipse, settings can vary. Here’s a rough guide:
- ISO: 100–400 (lower is safer for image quality)
- Aperture: F/8 to f/16 (sharper images)
- Shutter speed: 1/1000 to 1/4000 sec (depends on filter strength)
Experiment before the eclipse to find what works best for your gear.
Credit: www.space.com
What Happens If You Ignore The Warnings?
Some photographers skip the filter, thinking “it’s just a few seconds.” But the consequences can be serious:
- Permanent sensor damage: Bright spots, lines, or “dead” pixels.
- Melted internal parts: Especially with long focal lengths.
- Voided warranty: Most manufacturers won’t cover sun damage.
- Eye injury: Looking through an optical viewfinder can burn your retina in less than a second.
One famous case involved a DSLR with a telephoto lens left aimed at the sun. The sensor was burned, and the shutter blades warped, costing hundreds of dollars to repair.
Can Smartphones Be Damaged By A Solar Eclipse?
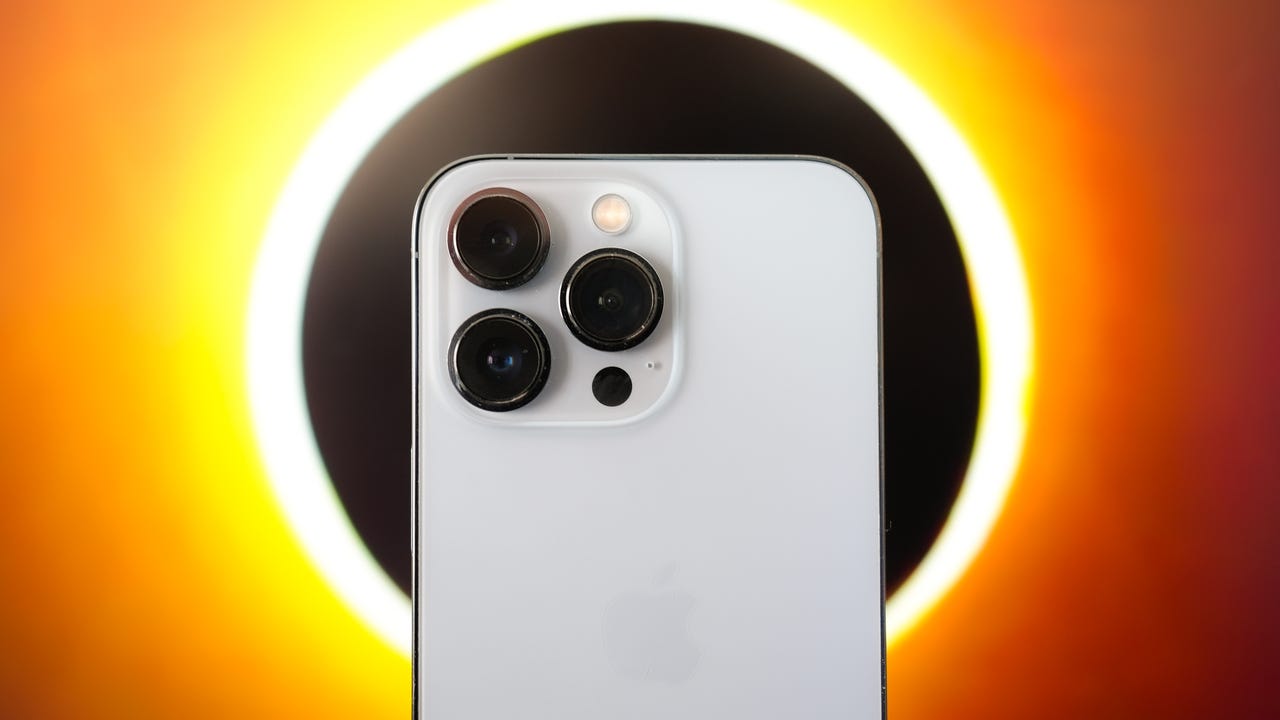
Smartphones are everywhere, and many people use them to capture eclipses. The risk is lower than with a DSLR, but it still exists.
Why Damage Is Possible
- Zoom lenses: Many new phones have real optical zoom, focusing sunlight onto a small area.
- Prolonged exposure: Holding your phone up to the sun for minutes increases risk.
- Lack of filters: Few people use solar filters on their phones.
What You Might Notice
- White spots or lines: Usually permanent.
- Blurry areas: Sensor or lens haze from heat.
- Overheated phone: Devices may shut down or slow.
How To Protect Your Phone
- Use a clip-on solar filter made for smartphones.
- Limit direct exposure to a few seconds at a time.
- Avoid using zoom unless you have a filter.
Optical Vs. Electronic Viewfinder: Which Is Safer?
When you frame a photo, you might use either an optical viewfinder (OVF) or an electronic viewfinder (EVF). Here’s how they compare during a solar eclipse:
| Viewfinder Type | How It Works | Risk to Eyes | Risk to Camera |
|---|---|---|---|
| Optical (DSLR) | Direct view through lens using mirrors | Very High – can cause eye injury in a split second | High – sensor and shutter at risk |
| Electronic (Mirrorless) | Small screen displays sensor’s view | Low – no direct sun to eye | High – sensor always exposed |
| LCD Screen (Live View) | Sensor sends image to rear screen | None – eyes are safe | High – sensor exposed the whole time |
Tip: Never look at the sun through an optical viewfinder. Even with sunglasses or a strong filter, your eye can be damaged instantly.
Common Myths And Mistakes About Shooting Eclipses
Myth 1: “auto Settings Will Protect My Camera.”
Auto exposure can help avoid overexposed pictures, but it can’t block dangerous rays. The sensor is still at risk.
Myth 2: “i Can Use Sunglasses Or Regular Camera Filters.”
Sunglasses and regular filters do not block enough light. Only certified solar filters are safe.
Myth 3: “short Exposures Are Harmless.”
Even a short exposure can concentrate enough energy to damage the sensor, especially with a telephoto lens.
Myth 4: “my Camera Has A Sun Mode.”
Some cameras have a “sunset” or “bright light” mode, but these are for color balance, not safety.
Mistake: Not Practicing Before The Eclipse.
Fumbling with settings during the eclipse wastes precious time and increases the risk of damage.
Buying The Right Solar Filter: What To Look For
Choosing a solar filter is critical. Here’s what matters most:
- Certification: Look for ISO 12312-2 compliance.
- Size: The filter must fully cover your lens. A gap can let in dangerous rays.
- Type: Glass filters are durable but expensive. Film filters are lighter and cheaper but can scratch.
- Attachment: A filter that screws on is safer than one taped on.
- Brand reputation: Buy from known brands like Thousand Oaks Optical, Baader Planetarium, or AstroSolar.
Common Buyer Mistakes
- Using a filter only for your eyes, not your camera.
- Buying untested or homemade filters.
- Using a filter with cracks, pinholes, or scratches.
If in doubt, check resources like the American Astronomical Society for approved products.
Real-world Examples: What Can Go Wrong
It helps to see what has happened to others:
- After the 2017 eclipse, many photographers posted images of permanently damaged sensors, with white lines and spots across their photos.
- Some reported melted aperture blades in expensive lenses, especially those left aimed at the sun on a tripod.
- A few even damaged tripod heads, as intense sun focused through the lens melted plastic parts.
These problems are not rare. Most occur because someone did not use a proper solar filter, or they left their camera pointed at the sun for too long.
How To Check For Damage After An Eclipse
If you’ve photographed the sun or an eclipse, it’s smart to check your camera for problems:
- Review your images: Look for new white spots, lines, or colored streaks.
- Test different settings: Use different exposures and apertures. Damage may only show up in bright scenes.
- Inspect the shutter: If you hear odd noises or see shutter errors, damage is possible.
- Check the lens: Look for haze, melted spots, or odd reflections.
If you spot new problems, contact a camera repair shop. Some sensor damage is permanent, but minor issues may be fixable.
Tips To Capture Stunning Eclipse Photos Safely
With careful preparation, you can get beautiful photos without risking your gear.
Before The Eclipse
- Scout your location: Find a place with a clear view and minimal crowds.
- Check the weather: Clouds can ruin your shot.
- Prepare a checklist: Include your solar filter, tripod, extra batteries, and memory cards.
During The Eclipse
- Stay calm: Don’t rush or remove the filter too soon.
- Use a remote shutter: Reduces vibration and keeps your hands away from the camera.
- Bracket exposures: Take several shots at different settings to increase your chances of a great photo.
After The Eclipse
- Carefully remove the filter: Store it in a safe place.
- Check your gear: Look for heat or damage.
- Back up your photos: Don’t risk losing your once-in-a-lifetime images.
What If You Don’t Have A Solar Filter?
If you can’t get a solar filter, it’s best not to risk your camera. However, you can still enjoy the eclipse:
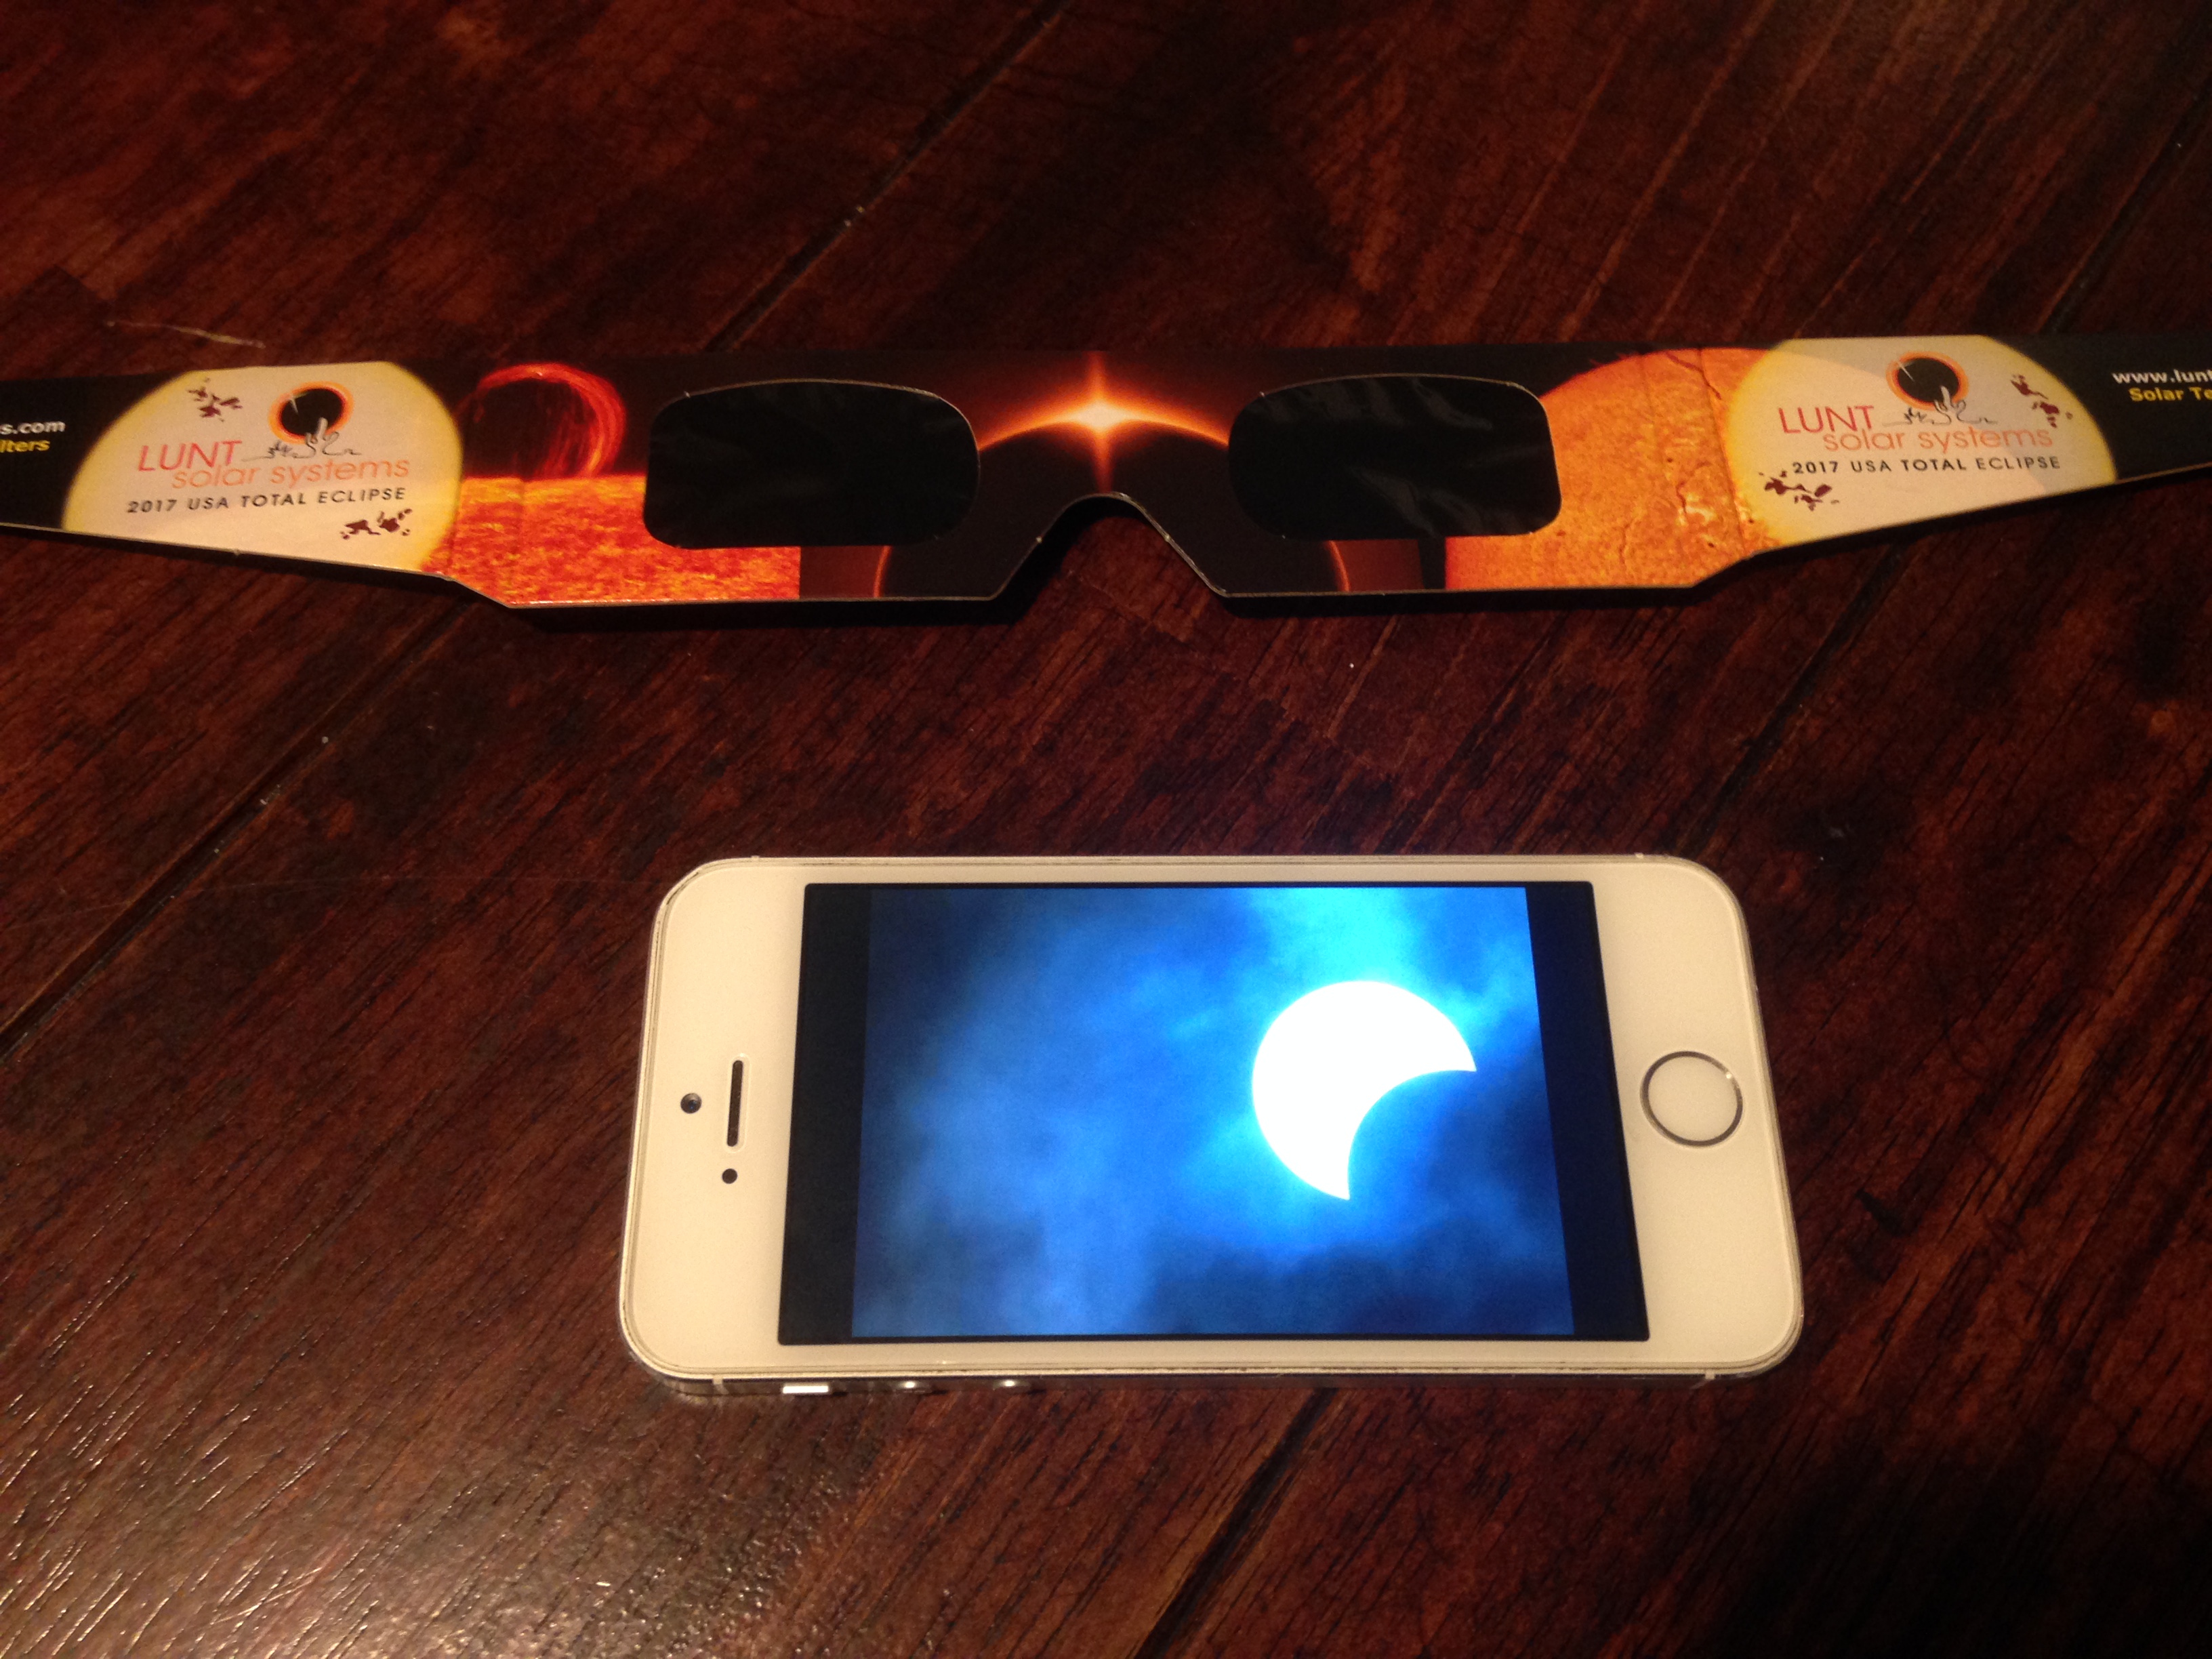
- Use eclipse glasses to watch safely with your eyes.
- Take pictures of the crowd or the changing light.
- Photograph shadows under trees, which can show crescent shapes.
Never try to improvise a filter with sunglasses, CDs, or smoked glass. These do not block dangerous rays.
Alternative Ways To Photograph The Eclipse
If you want to avoid direct sun photography, here are creative ideas:
- Pinhole projection: Make a pinhole camera to project the eclipse onto a surface.
- Shadow effects: Photograph strange crescent-shaped shadows made by tree leaves.
- Landscape scenes: Capture the changing sky and reactions of people.
These methods are safe and can create unique, memorable images.
Credit: www.zdnet.com
Comparing Solar Filters: Which Type Is Best?
With so many filters available, choosing the right one can be confusing. Here’s a quick comparison:
| Filter Type | Material | Pros | Cons |
|---|---|---|---|
| Glass | Optical glass with special coatings | Durable, clear image quality | Expensive, heavy, can break if dropped |
| Film | Polymer or Mylar | Lightweight, affordable, easy to cut | Scratches easily, may degrade over time |
| Sheet | Flexible film | Custom fit for any lens, cheap | Can be tricky to attach securely |
Tip: For most photographers, a well-reviewed film or sheet filter is the best mix of price and safety.
Non-obvious Insights: What Most Beginners Miss
- Focusing is harder with a solar filter. The image will appear very dim, and your camera’s autofocus may not work well. Practice manual focus before eclipse day.
- Totality is brief and safe for naked-eye viewing, but only for a total solar eclipse. For partial or annular eclipses, the sun is never fully covered, so you must always use the filter.
- Heat can build up quickly on any camera left aimed at the sun, even with a filter. If you’re shooting video or time-lapses, take breaks to let your camera cool down.
- Some lenses have plastic parts inside that can melt. Even expensive lenses can be damaged if left pointed at the sun too long.
- Sensor damage can be subtle at first. Some spots or lines may only show up in certain lighting or after a few days.
Frequently Asked Questions
What Kind Of Solar Filter Do I Need For My Camera?
You need a certified solar filter that fits your lens. It should meet ISO 12312-2 standards and completely cover the front element. Do not use homemade or untested filters, as they may not block enough harmful light.
Can I Use A Regular Nd Filter Or Polarizer To Shoot The Sun?
No. Neutral density (ND) filters and polarizers are not strong enough. They only reduce visible light, not the dangerous infrared and ultraviolet rays that can harm your sensor and eyes.
Is It Ever Safe To Shoot The Sun Without A Filter During An Eclipse?
Only during the totality phase of a total solar eclipse is it safe to remove the filter briefly. For all other phases, and for partial or annular eclipses, you must keep the filter on at all times.
Can Solar Eclipses Damage My Phone Camera?
Yes, especially if you use zoom or keep your phone pointed at the sun for long periods. Use a solar filter clip or limit exposure to a few seconds to reduce risk.
What Signs Show That My Camera Has Been Damaged By The Sun?
Common signs are white spots, lines, or streaks on photos, blurry areas, or shutter errors. If you see new problems after photographing the sun, get your camera checked by a professional.
Final Thoughts
Photographing a solar eclipse is an unforgettable experience, but it comes with real risks for your camera. The sun’s power doesn’t go away just because part of it is covered. Solar filters are essential, not optional. By understanding how solar eclipses can damage your camera and following expert advice, you can capture stunning images safely. Don’t take shortcuts—your gear and your eyes are worth protecting. With preparation, the right equipment, and a bit of practice, you’ll be ready to document the next eclipse and enjoy the magic without worry.