
Thinking about setting up security cameras at home can feel overwhelming at first. Maybe you want to protect your family, deter break-ins, or just keep an eye on your pets. Whatever your reason, one big question comes up quickly: Can I install security cameras myself? The answer is yes, but there are important things to know before you start. Many people today choose DIY security camera installation, and for good reasons—it can save money, offer flexibility, and give you more control. Still, there are challenges and common mistakes to avoid if you want your system to work well.
This guide explains everything you need to know about installing security cameras yourself. You’ll learn about different types of systems, essential planning steps, tips for installation, and how to avoid common problems. You’ll also see real examples, get expert advice, and find out when it’s better to call a professional.
By the end, you’ll have a clear answer to whether self-installation is right for you and how to do it successfully.
Why People Choose Diy Security Camera Installation
There’s a clear trend: more homeowners and renters are choosing to install security cameras themselves. In 2023, over 60% of new home security systems in the US were DIY installations. The main reasons are cost savings, convenience, and access to modern technology.
Cost Savings
Professional installation can add hundreds of dollars to your bill. A simple four-camera system might cost $150–$400 for hardware, but professional installation usually adds $200–$500. By doing it yourself, you pay only for the equipment.
Flexibility And Control
DIY lets you choose the exact locations for each camera, add more devices later, and adjust settings without waiting for a technician. You control your own privacy and can change the setup as your needs change.
Modern, User-friendly Products
New wireless cameras are easier than ever to set up. Brands like Arlo, Ring, and Wyze design their products for self-installation. Most come with apps that guide you step-by-step. Even wired cameras are now simpler, thanks to Power over Ethernet (PoE) technology and clear instructions.
Understanding Security Camera Types
Before buying anything, you need to know your options. Not all security cameras are the same, and choosing the right type is essential for a good result. Here are the main types:
| Camera Type | Power Source | Connectivity | Best For |
|---|---|---|---|
| Wired (PoE) | Ethernet Cable | Wired Network | Large homes, businesses |
| Wireless (Wi-Fi) | Outlet/Battery | Wi-Fi | Apartments, small homes |
| Wire-Free | Battery/Solar | Wi-Fi/Cellular | Outdoor, remote areas |
| Doorbell Camera | Battery/Hardwired | Wi-Fi | Entryways |
Wired Cameras
These use cables for both power and data. They are reliable, with less interference and no need to change batteries. However, running cables through walls can be tricky.
Wireless Cameras
These cameras connect to your Wi-Fi and often use a power outlet or rechargeable battery. Installation is usually simple—just mount and connect to your network.
Wire-free Cameras
No wires at all. Powered by batteries or solar panels, you can install these anywhere. They’re popular for outdoor use, but you must recharge or replace batteries regularly.
Doorbell Cameras
These combine a security camera with a doorbell. They’re perfect for monitoring your front door and often come with two-way audio.
Can You Install Security Cameras Yourself? Key Factors To Consider
While the answer is often yes, success depends on several things:
- Type of Camera: Wireless and wire-free are easier for beginners; wired systems require some DIY skills.
- Home Layout: Older homes with thick walls or no attic access can make installation harder.
- Tools and Equipment: You’ll need basic tools like a drill, screwdriver, ladder, and possibly a cable tester.
- Technical Comfort: Are you comfortable using a smartphone app and following instructions?
- Time: A simple system can take 1–2 hours; a large wired system could take a whole day.
When Diy Makes Sense
- You want to save on labor costs.
- You’re comfortable drilling holes, mounting brackets, and setting up apps.
- Your system is wireless or wire-free.
- You have easy access to power outlets or can use batteries.
When To Consider Professional Help
- Installing a large number of cameras.
- Running cables through walls, ceilings, or outside.
- Need for complex integration (alarms, sensors, smart home).
- Unsure about local laws and privacy rules.
Planning Your Diy Security Camera Installation
Good planning is the secret to a successful installation. Here’s how to do it right:
Step 1: Identify Your Main Security Goals
Ask yourself what you want to protect: doors, windows, driveway, backyard, garage, or inside rooms. Each area may need a different camera type.
Step 2: Map Out Camera Locations
Walk around your property and make a simple sketch. Mark key entry points and high-risk areas. Experts recommend covering all doors and at least one camera per main floor.
Step 3: Check Wi-fi And Power Access
Test your Wi-Fi signal strength at each planned camera spot. If the signal is weak, consider a Wi-Fi extender. Also, check for nearby outlets or plan for batteries.
Step 4: Think About Privacy And Legal Issues
Most US states allow you to record video on your own property, but there are rules about recording audio or pointing cameras at neighbors. Always check local laws before installing.
Step 5: Choose Your Equipment
Pick cameras with features that fit your needs. Important options include:
- Resolution: 1080p is standard; 2K or 4K for more detail.
- Night Vision: Essential for low-light areas.
- Motion Detection: Alerts you when something moves.
- Cloud vs Local Storage: Cloud saves video online, local uses SD cards or recorders.
- Weatherproof Rating: For outdoor cameras, look for IP65 or higher.
Essential Equipment And Tools
To install security cameras yourself, you’ll need the right gear. Some kits include everything, but sometimes you need extra items.
Basic Tools
- Drill with appropriate bits
- Screwdrivers (Phillips and flathead)
- Ladder (for outdoor or high locations)
- Tape measure
- Pencil or marker
For Wired Cameras
- Ethernet cables (Cat5e or Cat6)
- Cable clips or conduit
- Network video recorder (NVR), if not included
- Cable tester (optional, but useful)
For Wireless/wire-free Cameras
- Extra batteries or solar panels (for backup)
- Wi-Fi extender (if your signal is weak)
- MicroSD cards (if you want local storage)
Safety Gear
- Safety glasses (for drilling)
- Work gloves (for outdoor work)
Step-by-step Guide: How To Install Security Cameras Yourself
Here’s how to install most modern security cameras, broken down by type.
Installing Wireless Or Wire-free Cameras
1. Charge Batteries Or Plug In Cameras
Fully charge before mounting. This prevents hassle later.
2. Download The Camera App
Most brands use a dedicated app. Register and follow the prompts.
3. Connect The Camera To Wi-fi
Place the camera near your router for setup, then move to the final location.
4. Test Video Feed
Make sure you get a clear picture and good audio at each spot.
5. Mark And Drill Mounting Holes
Use the included template if available. Drill pilot holes for screws.
6. Attach Camera Mount
Use the right screws and anchors for your wall type (drywall, brick, wood).
7. Mount The Camera And Adjust Angle
Point the camera to cover the desired area, avoiding direct sunlight or glare.
8. Check Live View And Motion Detection
Walk around to test the camera’s field of view and adjust settings in the app.
Installing Wired (poe) Cameras
1. Plan Cable Runs
Decide the best route from each camera to your NVR (usually near your router).
2. Drill Access Holes
Drill through walls, ceilings, or floors as needed. Use a fish tape to pull cables.
3. Run Ethernet Cables
Secure cables with clips or inside conduit. Leave some slack for future adjustments.
4. Connect Cameras To Nvr And Power
Plug in the cables; PoE means one cable for both data and power.
5. Configure System Settings
Use the NVR or app to name cameras, set up recording schedules, and adjust alerts.
6. Test All Cameras
Check video quality, night vision, and recording functions before closing up walls or ceilings.
Tips For A Better Diy Installation
- Place cameras 7–10 feet high for the best balance of coverage and detail.
- Angle cameras to avoid facing direct sunlight or lights at night.
- Use weatherproof silicone around holes to keep out water.
- Name your cameras in the app (e.g., “Front Door”, “Backyard”) for easy access.
- Update your firmware after installation for the latest security patches.
Common Mistakes To Avoid
Many beginners make the same errors. Here’s what to watch out for:
1. Poor Camera Placement
Too high, too low, or pointed at the wrong area reduces effectiveness.
2. Ignoring Wi-fi Signal Strength
Weak signals cause video drops and missed events.
3. Forgetting About Power
Placing a camera where there’s no outlet or the battery is hard to reach creates future headaches.
4. Not Securing Cables
Loose cables are a tripping hazard and invite tampering.
5. Overlooking Privacy Laws
Recording outside your property can cause legal issues.
6. Skipping Firmware Updates
Outdated software can make your system vulnerable to hackers.
How Diy Security Cameras Compare To Professional Installation
You might wonder if a self-installed system is as good as a professional one. Here’s a direct comparison:
| Factor | DIY Installation | Professional Installation |
|---|---|---|
| Cost | Lower, no labor fees | Higher, includes labor |
| Time | 1–8 hours | 1–4 hours |
| Customization | High, can adjust anytime | Depends on installer |
| Reliability | Depends on user skills | Professionally tested |
| Support | Online, phone support | On-site technician |
| Warranty | Limited to hardware | Often includes labor |
Non-obvious Insight 1
Many people don’t realize that DIY systems are now used in some small businesses, not just homes. This is possible because modern cameras are reliable and can be monitored remotely.
Non-obvious Insight 2
Some homeowner insurance companies offer discounts for having a security system—even if it’s self-installed. Check with your provider after installation.
Credit: gosafersecurity.com
Advanced Features And Considerations
Today’s security cameras are more than just video. Here are some features you might want:
Smart Home Integration
Many cameras work with Amazon Alexa, Google Assistant, or Apple’s HomeKit. You can view live feeds on your smart display or automate routines (like turning on lights when motion is detected).
Cloud Vs Local Storage
- Cloud Storage: Easy to access from anywhere, but usually requires a monthly fee.
- Local Storage: No monthly fee, but if the camera is stolen, you may lose the footage.
Two-way Audio
Speak through your camera to visitors or delivery drivers. Useful for talking to kids or scaring off intruders.
Person And Package Detection
Advanced AI can tell the difference between a person, animal, or car—and even notify you when a package arrives.
Maintenance And Upkeep
Installing cameras is just the start. To keep your system working well:
- Clean the lenses every few months for clear video.
- Check battery levels or power connections regularly.
- Review saved footage to make sure the system is recording as expected.
- Test alerts and notifications monthly.
- Update firmware for security.
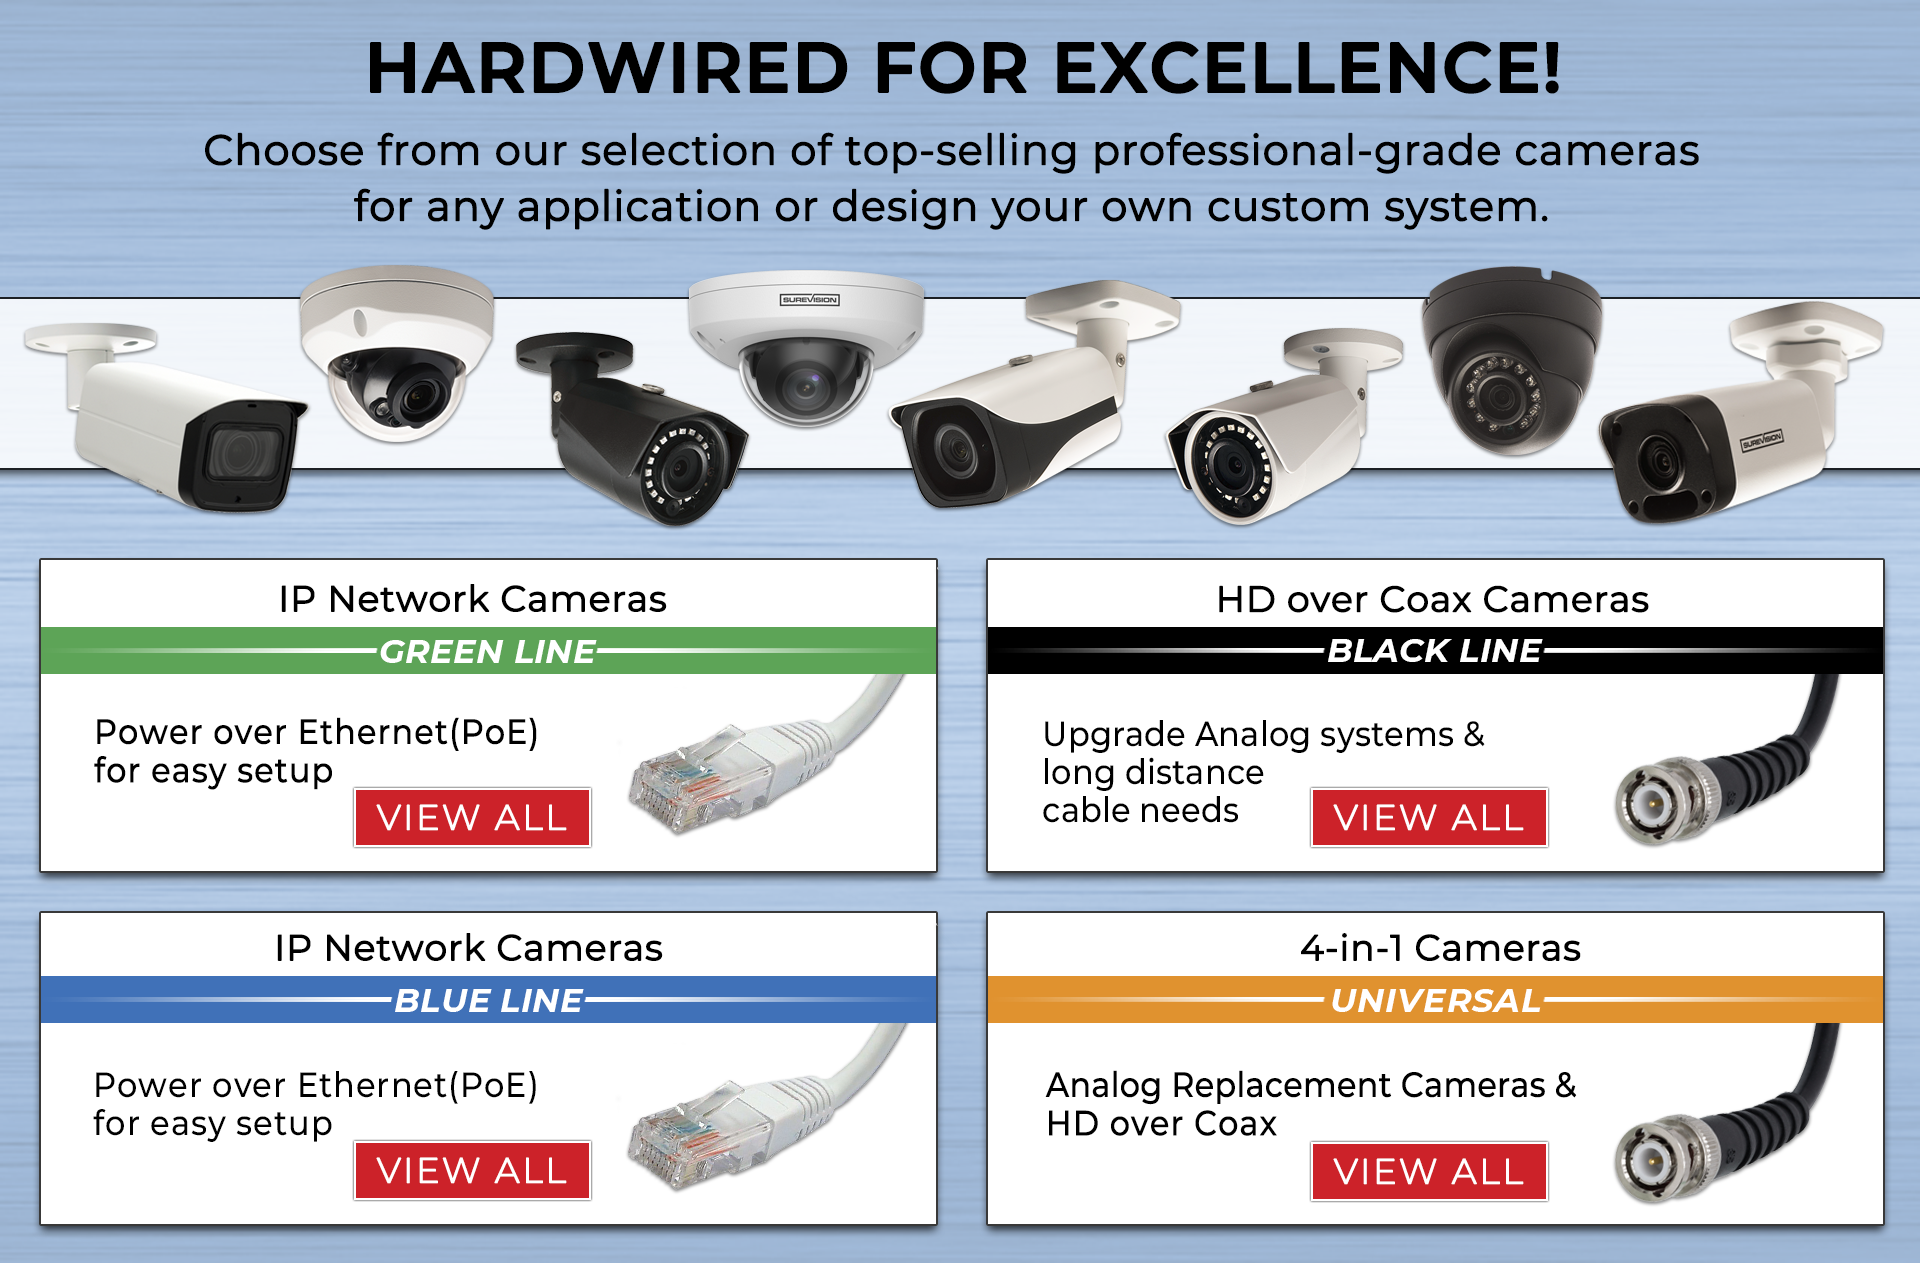
Credit: omundo.cw
What If Something Goes Wrong?
Sometimes, things don’t work as planned. Here’s how to handle common issues:
Wi-fi Problems
Move your router, use a Wi-Fi extender, or switch to a wired connection if possible.
Blurry Or Blocked Images
Clean the lens, adjust the angle, or move the camera to avoid obstructions.
Missed Motion Events
Increase motion sensitivity or adjust the detection zone in the app.
App Or Software Glitches
Restart the camera, update the app, or check the manufacturer’s website for support.
If you get stuck, most brands have customer service or online forums with answers.
Legal And Privacy Considerations
Security cameras help protect you, but you must follow the law. In the US, you can record video on your property, but audio recording can be restricted. Never point cameras at public areas or neighbors’ private spaces. Some states require you to post a notice if you are recording.
For more on privacy and security camera laws, visit the Federal Trade Commission website.
Real-life Examples: Diy Installation Stories
Example 1: Apartment Renter
Maria lives in an apartment and wanted a simple way to monitor her front door. She chose a wire-free doorbell camera that stuck to her doorframe with adhesive. Installation took 15 minutes, and she receives alerts on her phone when packages arrive.
Example 2: Suburban Homeowner
James has a two-story house and installed four wireless cameras to cover entrances and the backyard. He used a Wi-Fi extender to reach the garage. Setup took about four hours, including drilling and mounting.
Example 3: Small Business Owner
Linda runs a bakery and installed six PoE cameras connected to an NVR. She hired an electrician for cable runs but set up the cameras and software herself, saving over $700 compared to a full professional install.
Troubleshooting Table: Common Diy Problems And Solutions
Here’s a quick guide to solving typical installation issues:
| Problem | Possible Cause | Solution |
|---|---|---|
| No video feed | Camera not powered | Check power source, cables, or batteries |
| Choppy video | Weak Wi-Fi signal | Move router, use extender, or reduce camera distance |
| App not connecting | Wrong Wi-Fi password | Re-enter credentials, reset camera |
| Camera offline | Outdated firmware | Update firmware, restart device |
| False motion alerts | Leaves, cars, shadows | Adjust sensitivity, set detection zones |

Credit: www.cctvsecuritypros.com
The Pros And Cons Of Diy Security Camera Installation
Every choice has benefits and drawbacks. Here’s what to expect:
Pros
- Lower cost: No labor charges.
- Flexible setup: Change locations as needed.
- Immediate access: No waiting for appointments.
- Skill-building: Learn about your own system.
Cons
- Time investment: Can take longer than expected.
- Potential for mistakes: Poor placement or connections can reduce effectiveness.
- Limited support: You solve most problems yourself.
- Warranty issues: Some brands limit support for DIY installs.
How To Decide: Is Diy Right For You?
Ask yourself these questions:
- Are you comfortable with basic tools?
- Do you have time to plan and install?
- Are you willing to learn the app and troubleshoot issues?
- Does your home layout support easy access for cameras and cables?
- Are you okay with handling minor repairs or upgrades later?
If you answer yes, then installing security cameras yourself is a realistic and rewarding option.
Frequently Asked Questions
How Hard Is It To Install Security Cameras Myself?
Most modern wireless or wire-free cameras are easy for beginners. You typically need to mount them, connect to Wi-Fi, and follow the app’s setup process. Wired systems are more complex and may require drilling and running cables.
What Are The Most Common Mistakes With Diy Camera Installation?
Placing cameras too high or low, ignoring Wi-Fi signal strength, forgetting about power needs, and not checking local privacy laws are the most frequent errors. Always test your setup before finishing.
Can I Install Outdoor Cameras Myself?
Yes, many outdoor cameras are designed for self-installation. Look for weatherproof models and make sure you seal any drilled holes to prevent water damage.
Do I Need A Permit To Install Security Cameras At Home?
In most places, you do not need a permit for home use. However, some cities have rules about where cameras can point and may require notification if recording audio. Check your local regulations to be safe.
Will A Diy Security System Lower My Insurance Costs?
Some insurance companies offer discounts for having a security system, even if it’s self-installed. Ask your provider and provide proof of installation if needed.
Installing your own security cameras can be a smart move for many homeowners and renters. With a bit of planning, the right equipment, and attention to detail, you can achieve reliable protection without professional help. Just remember to follow best practices, stay within the law, and maintain your system regularly.
This way, you’ll enjoy peace of mind and greater control over your home’s security.