
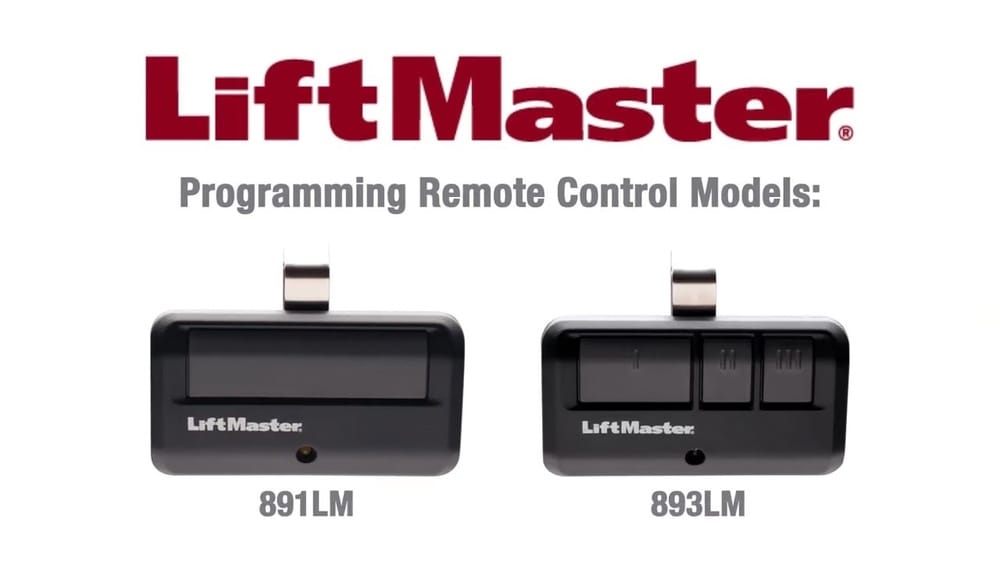
Programming a Liftmaster remote control might sound complicated, but it’s actually a process most homeowners can do themselves. Whether you just bought a new Liftmaster garage door opener, got a replacement remote, or need to add an extra one for a family member, learning how to program it can save you time and service fees.
Understanding this task gives you more control over your home’s security and convenience, especially when you know the right steps and common mistakes to avoid.
Modern garage doors are designed with safety, security, and ease of use in mind. With Liftmaster, one of the most trusted brands in garage door openers, programming the remote is straightforward if you follow the correct instructions. Yet, many people run into issues because they miss small but important details—like the type of system they have, the age of their opener, or compatibility with newer security technology.
In this guide, you’ll learn step-by-step how to program a Liftmaster remote control, how to troubleshoot problems, and what to watch out for to avoid frustration.
Understanding Liftmaster Remote Controls
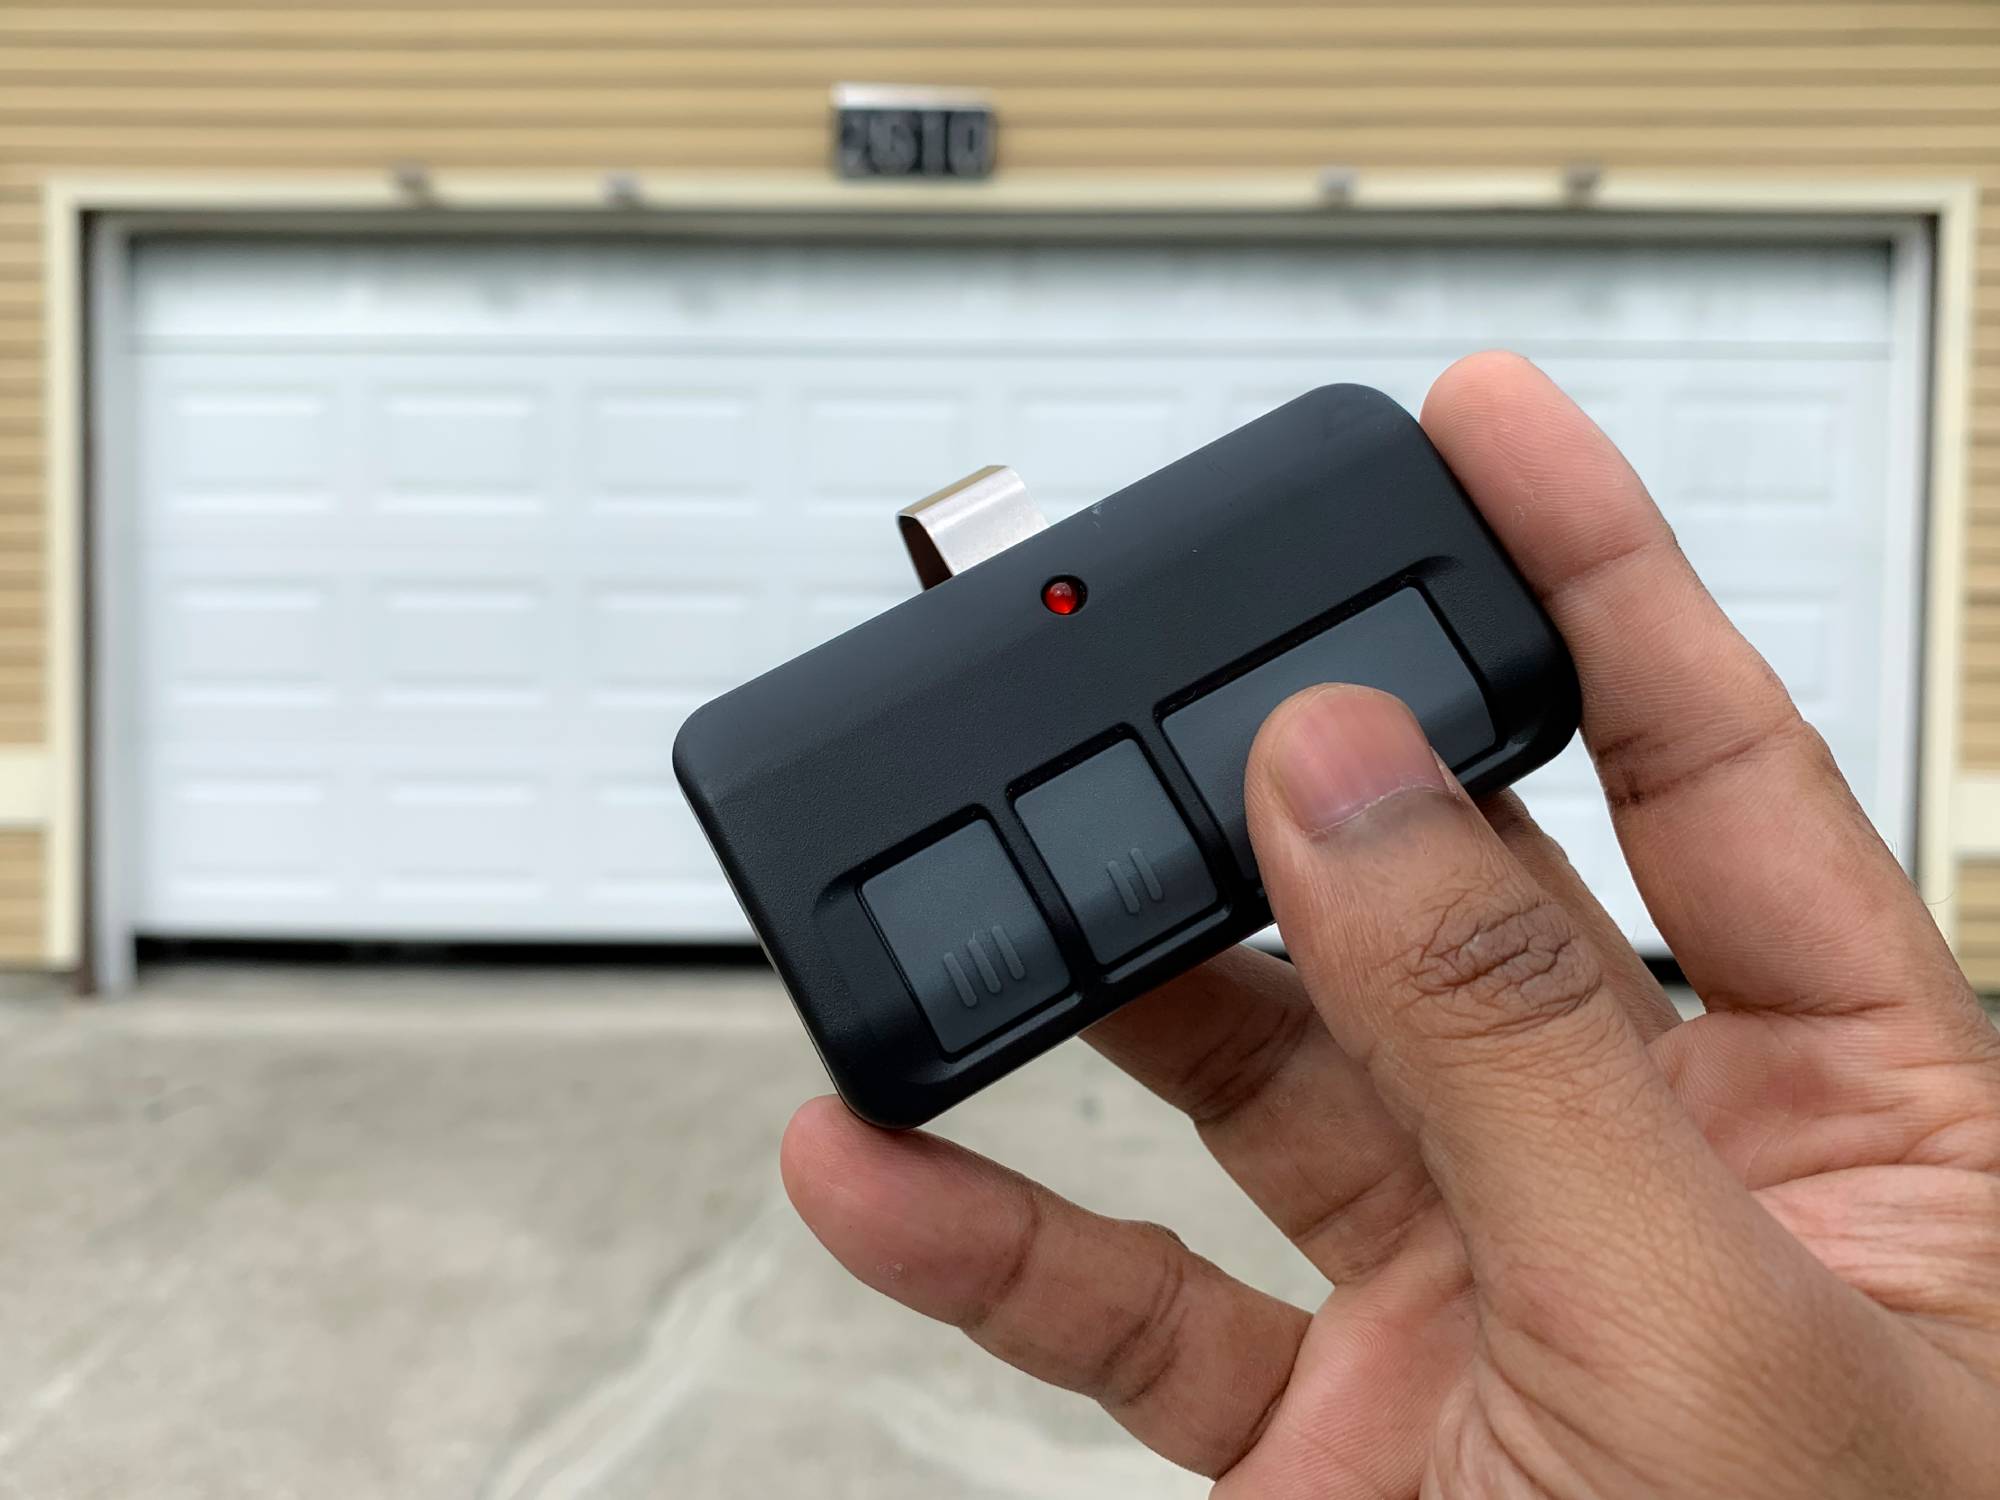
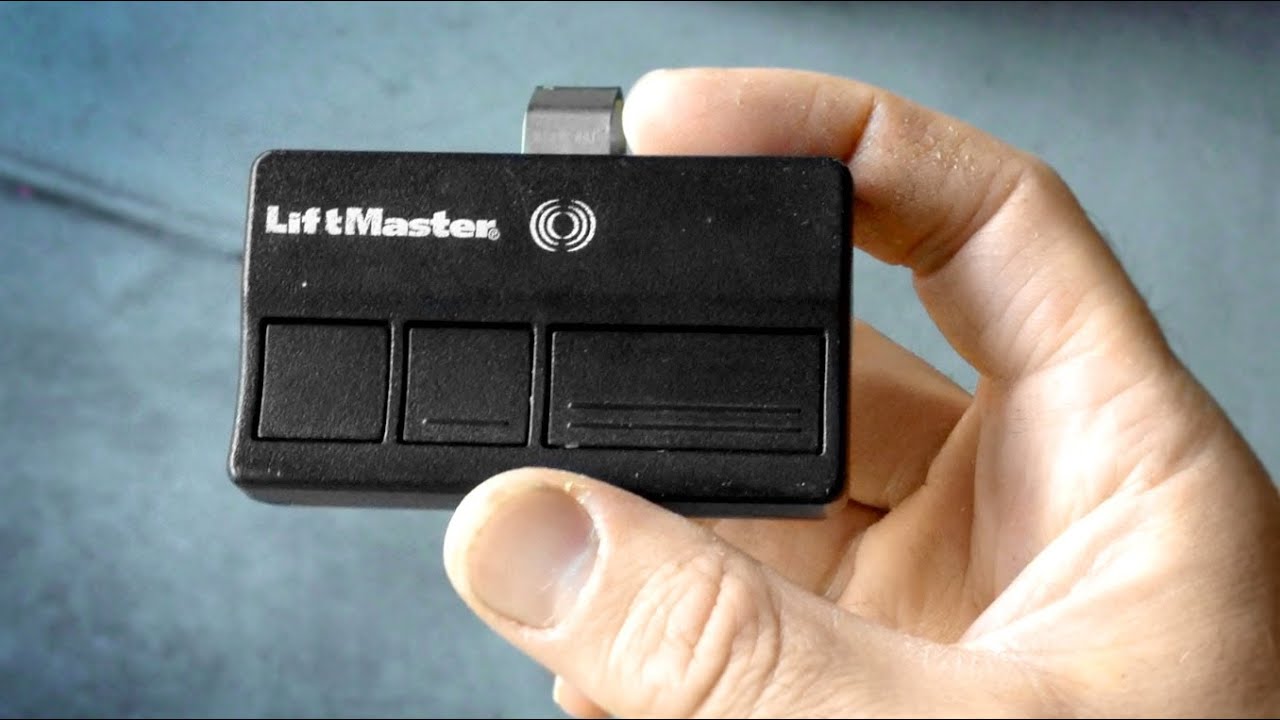
Before you start programming, it’s important to know which type of Liftmaster remote you have. Over the years, Liftmaster has released several models with different features and programming methods. The most common remote types include:
- Standard remotes: Basic models with one, two, or three buttons.
- Mini remotes: Small keychain versions for convenience.
- Universal remotes: Can work with other brands, not just Liftmaster.
- Security+ and Security+ 2.0 remotes: Advanced remotes with rolling code technology for better security.
Knowing your remote model is key because the programming process can vary. The remote’s back or inside the battery cover often lists the model number. Your garage door opener’s motor unit (usually on the ceiling) will also have a “learn” or “smart” button—this is what you’ll use for programming.
How Liftmaster Remote Programming Works
Liftmaster remotes communicate with the opener using radio signals. When you press a button, the remote sends a code to the opener, telling it to open or close the garage door. With newer Security+ and Security+ 2. 0 systems, this code changes every time you use the remote (rolling code technology), which helps prevent hacking.
Programming a Liftmaster remote means teaching the opener to recognize the remote’s signal. This process typically involves pressing a “learn” button on the opener and then pressing a button on the remote. Once paired, the remote and opener stay connected until you clear the codes or reprogram the system.
Key Steps: How To Program A Liftmaster Remote Control
The process is usually simple, but there are important details that can affect success. Follow these steps to program most Liftmaster remotes:
1. Locate The Learn Button
On your garage door opener’s motor unit (mounted on the ceiling), look for the learn button. This button is often near the antenna wire or the light lens. The color of the button matters—it can be yellow, purple, red/orange, or green, depending on the model and year. The color helps determine compatibility and the correct programming method.
2. Prepare The Remote
Make sure your remote has fresh batteries. Weak batteries can cause programming to fail. If you have multiple remotes, program each one separately.
3. Enter Programming Mode
- Press and release the learn button on the opener. An LED light will turn on (it might blink or stay solid, depending on the model).
- You have 30 seconds to program the remote before the opener exits learn mode.
4. Press The Remote Button
- With the opener in learn mode, press and hold the button on the remote you want to program.
- Hold until the opener’s light blinks or you hear a click. This means programming was successful.
5. Test The Remote
Press the programmed button to check if the garage door responds. If it does, you’re done! If not, repeat the process and check battery strength or remote compatibility.
Example: Programming A Three-button Remote
If your remote has three buttons, you can program each button to control a different garage door opener or gate. Repeat the steps above for each button, using the respective opener’s learn button.
Compatibility: Which Liftmaster Remotes Work With Your Opener?
Not every remote works with every opener. The “learn button” color is the fastest way to check compatibility. Here’s a comparison of learn button colors, frequencies, and compatible remotes:
| Learn Button Color | Frequency | Compatible Remotes | Year Range |
|---|---|---|---|
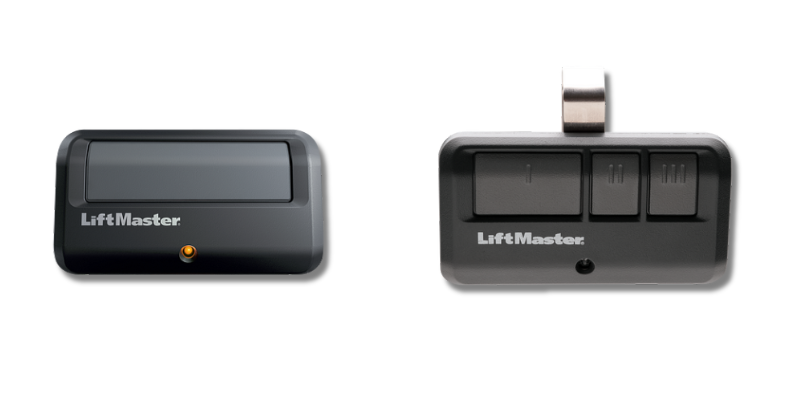
| Yellow | 310, 315, 390 MHz | Security+ 2.0 (891LM, 893LM) | 2011–present |
| Purple | 315 MHz | Security+ (371LM, 373LM) | 2005–2011 |
| Red/Orange | 390 MHz | Security+ (971LM, 973LM) | 1997–2005 |
| Green | 390 MHz | Billion Code (81LM, 83LM) | 1993–1997 |
Insight: If you buy a new remote, always match the remote model to your opener’s learn button color to avoid compatibility problems.
Credit: thompsongaragedoors.com
Common Mistakes When Programming A Liftmaster Remote
Many people struggle to program their remote the first time. Here are the most frequent mistakes and how to avoid them:
- Not using the right remote model: A remote that works with a yellow button opener won’t work with a red/orange opener.
- Dead or weak batteries: Even a slightly weak battery can cause failure.
- Not pressing the learn button correctly: Make sure you press and release (not hold) the learn button unless your opener’s instructions say otherwise.
- Taking too long: You have about 30 seconds after pressing the learn button to program the remote.
- Programming too many remotes: Most openers have a limit (usually 5–8 remotes). Exceeding this wipes older codes.
- Nearby interference: LED lights, metal objects, or electronics near the opener can block the signal. Move these away during programming.
Non-obvious insight: Some openers automatically erase all remotes if you hold the learn button for more than 6 seconds. To avoid wiping all codes, always press and release quickly for adding a remote.
Special Cases: Programming A Universal Or Keypad Remote
Universal Remotes
Universal remotes are designed to work with several brands, but you must set the remote to the correct “mode” for Liftmaster. Usually, this involves:
- Selecting the right dip switch or button sequence (see the remote’s manual).
- Following the same learn button programming steps.
Tip: Not all universal remotes support rolling code technology. If your opener is Security+ 2.0 (yellow button), make sure your universal remote is compatible.
Wireless Keypads
Liftmaster keypads allow code entry to open/close the door without a remote. To program a keypad:
- Press the learn button on the opener.
- Within 30 seconds, enter your 4-digit PIN on the keypad, then press ENTER.
- Opener light blinks, confirming programming.
Non-obvious insight: Some newer keypads need you to enter the PIN, press ENTER, then the learn button, and ENTER again. Always check your keypad’s instructions.
Erasing All Remote Controls From Your Opener
If you lose a remote or want to clear all programmed remotes (for example, after moving into a new house), you can wipe the opener’s memory:
- Press and hold the learn button for about 6–10 seconds.
- The indicator light will turn off.
- All remotes and keypads are now erased. You must reprogram any remotes you want to keep using.
Example: If you just bought a home, it’s wise to erase all old codes so only your remotes work with the garage door.
Step-by-step Troubleshooting When Programming Fails
Even if you follow the instructions, sometimes the remote won’t program. Here’s a troubleshooting guide:
- Check the battery: Replace with a fresh battery.
- Inspect the opener: Look for damage or worn parts.
- Check for interference: Remove LED bulbs or wireless devices near the opener.
- Reset the opener: Unplug for 30 seconds, then plug back in.
- Try another remote: If another remote programs successfully, your original remote may be faulty.
- Check compatibility: Make sure the remote matches your opener’s learn button color and technology.
If none of these steps work, your opener’s logic board might need service.
Multiple Remotes And Vehicles: Practical Tips
Programming more than one remote is common in households with several cars or family members. Here’s how to manage multiple remotes:
- Program each remote or button separately, using the learn button each time.
- Keep a list of which remotes are programmed. This helps if you need to erase or replace one.
- For cars with built-in HomeLink buttons, follow the car’s pairing instructions, which often include pressing the remote while holding the car’s button.
Helpful tip: If you reach your opener’s remote limit, erase all and reprogram only the remotes you actively use. This keeps your garage access secure.
Home Security: Why Proper Programming Matters
Garage doors are often a weak link in home security. If a remote is lost, stolen, or programmed incorrectly, someone could gain access to your garage—and possibly your home.
- Always erase codes if you lose a remote or move into a new house.
- Use Security+ 2.0 remotes (yellow button) for the strongest rolling code security.
- Don’t share your keypad PIN with anyone outside your household.
- Program remotes promptly and test them after setup.
Comparing Liftmaster With Other Brands
How does Liftmaster programming compare with other brands like Chamberlain or Genie? While Chamberlain is actually the parent company of Liftmaster, and their programming is almost identical, Genie uses a similar process with its own “learn” button and remotes.
Here’s a quick comparison:
| Brand | Programming Method | Rolling Code Security | Typical Remote Limit |
|---|---|---|---|
| Liftmaster | Learn button, press remote | Security+ / Security+ 2.0 | 5–8 remotes |
| Chamberlain | Learn button, press remote | Security+ / Security+ 2.0 | 5–8 remotes |
| Genie | Learn button, press remote | Intellicode | 7 remotes |
Insight: If you switch brands, you’ll need to use remotes made for that specific system. Universal remotes only work if they support your opener’s security technology.
Maintaining And Replacing Liftmaster Remotes
Like any device, remotes wear out or get lost. Here’s how to keep your system working smoothly:
- Replace batteries yearly or when you notice reduced range.
- Clean contacts inside the remote if buttons stop working.
- Label your remotes by user or car to track them easily.
- Store a spare in a safe place, but not in your car (in case of theft).
If you need a new remote, buy from a reputable dealer and match the remote to your opener’s learn button color and frequency.
Advanced Options: Smart Garage Control
Modern Liftmaster openers support smart technology, allowing remote control via smartphone. With the myQ system, you can open or close your garage door from anywhere, set schedules, and get alerts. To add a remote with myQ:
- Connect the myQ hub to your Wi-Fi network.
- Use the myQ app to add your opener and remotes.
- Follow in-app instructions to pair remotes or keypads.
Non-obvious insight: If you add myQ, your physical remotes still work as normal. Programming them uses the same learn button method.
Safety Precautions When Programming
Programming is safe, but it’s wise to follow these steps:
- Keep children and pets clear of the door during programming and testing.
- Stand to the side of the door in case it moves unexpectedly.
- Do not use a ladder unless necessary—most remotes can be programmed from the ground.
- Have another person help if you need to reach the opener in a tight space.
Real-world Example: Adding A Remote For A Family Member
Let’s say you want to give your teenager a remote. Here’s how you’d do it:
- Buy a compatible Liftmaster remote (match the learn button color).
- Test the remote battery before programming.
- Press and release the opener’s learn button.
- Within 30 seconds, press and hold the remote button.
- Wait for the opener’s light to blink.
- Test the remote by opening and closing the door.
- Show your family member how to use it and remind them not to leave it in the car when parked outside.
Pro tip: If you ever need to remove just one remote (for example, if it’s lost), you’ll need to erase all remotes and reprogram those you want to keep.
When To Call A Professional
While most people can program a Liftmaster remote themselves, there are times when it’s best to call a professional:
- The opener does not respond after troubleshooting steps.
- The learn button is damaged or unreachable.
- You want to set up advanced features like smart home integration.
- You need to repair or replace old wiring or hardware.
A professional can ensure all remotes are programmed securely and your system is safe.
Credit: www.youtube.com
Summary Of Main Programming Steps
To help you remember, here’s a quick summary of the steps for most Liftmaster openers:
- Locate the learn button on the opener.
- Press and release the learn button.
- Within 30 seconds, press and hold the remote button.
- Wait for the confirmation light or click.
- Test the remote.
If it doesn’t work, check battery, compatibility, and interference, then repeat.
For official guides and compatibility charts, visit the Liftmaster official website.
Frequently Asked Questions
How Many Remotes Can I Program To My Liftmaster Opener?
Most Liftmaster openers support 5 to 8 remotes. If you try to add more, the oldest remote will be erased automatically. To manage remotes, keep track of how many are in use and erase all codes if you reach the limit, then reprogram the ones you want to keep.
What If My Liftmaster Remote Suddenly Stops Working?
First, replace the battery. If the remote still does not work, try reprogramming it using the steps above. Check for interference from new LED bulbs or nearby electronics. If other remotes also stop working, the problem may be with the opener’s logic board.
Can I Program A Liftmaster Remote To Multiple Garage Doors?
Yes, if your remote has multiple buttons, you can program each button to a different opener. You cannot program a single button to operate several doors at once for security reasons.
How Do I Erase A Single Remote Without Erasing All Remotes?
Unfortunately, most Liftmaster models only allow erasing all remotes at once by holding the learn button for 6–10 seconds. You must then reprogram the remotes you wish to keep.
Are Universal Remotes Safe To Use With Liftmaster Openers?
Universal remotes are safe if they support your opener’s security technology (especially rolling code systems like Security+ 2.0). Always check compatibility before buying. For best security, use official Liftmaster remotes.
Programming your Liftmaster remote control is a practical skill every garage owner should know. With the right steps, a little patience, and attention to detail, you can easily add, erase, or replace remotes. This keeps your home safe and makes daily access simple for everyone in your household.
If you run into problems, most issues are easy to fix with the guidance above—or you can reach out to a professional for help. With this knowledge, you have full control over your garage door system now and in the future.
Credit: www.doorvana.com