
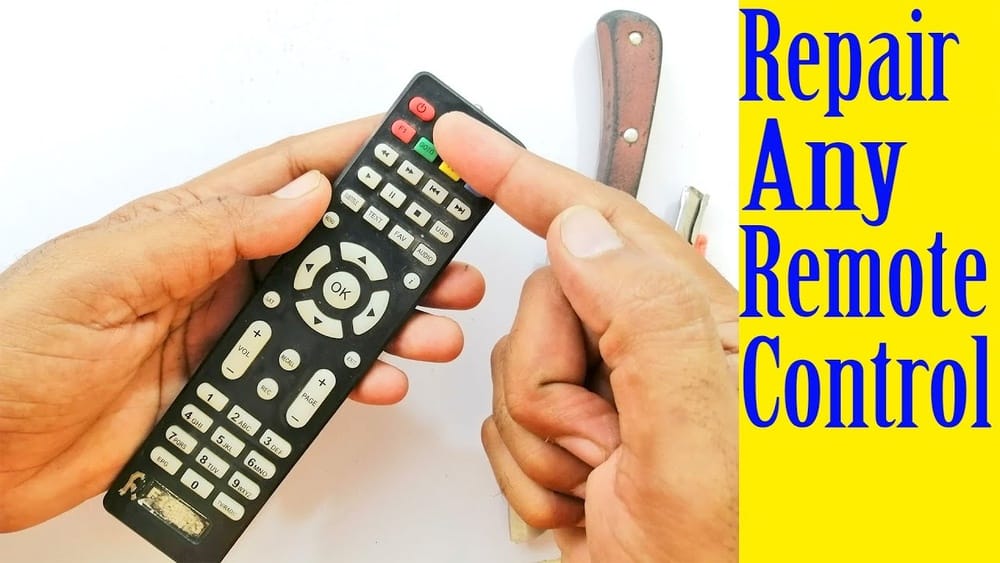
A remote control makes life easy, letting us change TV channels, adjust air conditioners, or operate devices without getting up. But what happens when it stops working? Most people throw it away or buy a new one. The truth is, many remote control problems are simple to fix at home with some basic tools and a little patience.
This guide will show you how to fix a remote control, step by step, with clear explanations and practical tips. Even if you have never repaired electronics before, you can follow these instructions to save money and reduce waste.
Why Remote Controls Stop Working
Before you start fixing, it helps to know why remote controls fail. Most problems are mechanical or electrical, not complex circuit issues. The main causes include:
- Dead batteries
- Dirty contacts
- Worn-out buttons
- Loose or broken components
- Signal interference
- Water or liquid damage
Understanding these causes will help you diagnose and fix your remote quickly.
Safety First: What You Need To Know
Remote controls are low-voltage devices, so they are generally safe to open. Still, you should:
- Remove the batteries before starting any repair.
- Work on a clean, dry surface.
- Use proper tools to avoid damaging small parts.
Never attempt repairs if your remote contains a lithium-ion battery or is visibly swollen—these need professional help.

Credit: www.wikihow.com
Tools And Materials You’ll Need
You don’t need a full toolbox to repair a remote. Here’s what usually helps:
- Small Phillips and flathead screwdrivers
- Toothpick or plastic prying tool
- Cotton swabs
- Isopropyl alcohol (at least 70%)
- Tweezers
- Small brush
- Clear tape or aluminum foil (for button fixes)
- Replacement buttons or conductive pads (optional)
- Soldering kit (for advanced repairs)
Most fixes require only basic tools. Avoid sharp knives, as they can damage plastic and injure you.
Step 1: Check The Obvious Issues
Start with the easiest checks, which solve most problems.
1. Test The Batteries
- Remove the batteries and check them in another device.
- Try new, fresh batteries (not just old ones from a drawer).
- Ensure they are inserted in the correct direction (+ and -).
A surprising number of remotes fail due to weak or incorrectly inserted batteries.
2. Check For Obstructions
- Remove any objects between the remote and the device.
- Clean the front “window” of the remote and the sensor on your device.
Infrared signals can’t pass through solid objects or dust.
Step 2: Test The Remote Signal
If the device still doesn’t respond, check if your remote is sending a signal.
Using Your Smartphone Camera
Most remote controls use infrared (IR) light. You can’t see it, but your phone’s camera can.
- Open the camera app on your smartphone.
- Point the remote’s front toward the camera lens.
- Press any button on the remote.
- Look for a flashing light on the camera screen.
If you see light: The remote is working. The problem may be with the device or signal interference.
If no light appears: The remote is likely faulty.
Advanced: Ir Tester Tools
Electronics stores sell IR testers, but your phone camera is enough for most users.
Step 3: Open The Remote Control
If the remote is not sending a signal, you need to open it for a closer look.
How To Open Safely
- Look for screws (often in the battery compartment).
- Remove all screws and keep them in a safe place.
- If there are no screws, gently pry open the remote using a plastic tool or your fingernail. Start at a corner or seam.
- Be gentle—remote cases can snap or crack if forced.
Some remotes use hidden clips. Move slowly and feel for resistance.
Key Insight
Manufacturers often hide screws under stickers or labels. Check carefully before prying.
Step 4: Clean The Remote
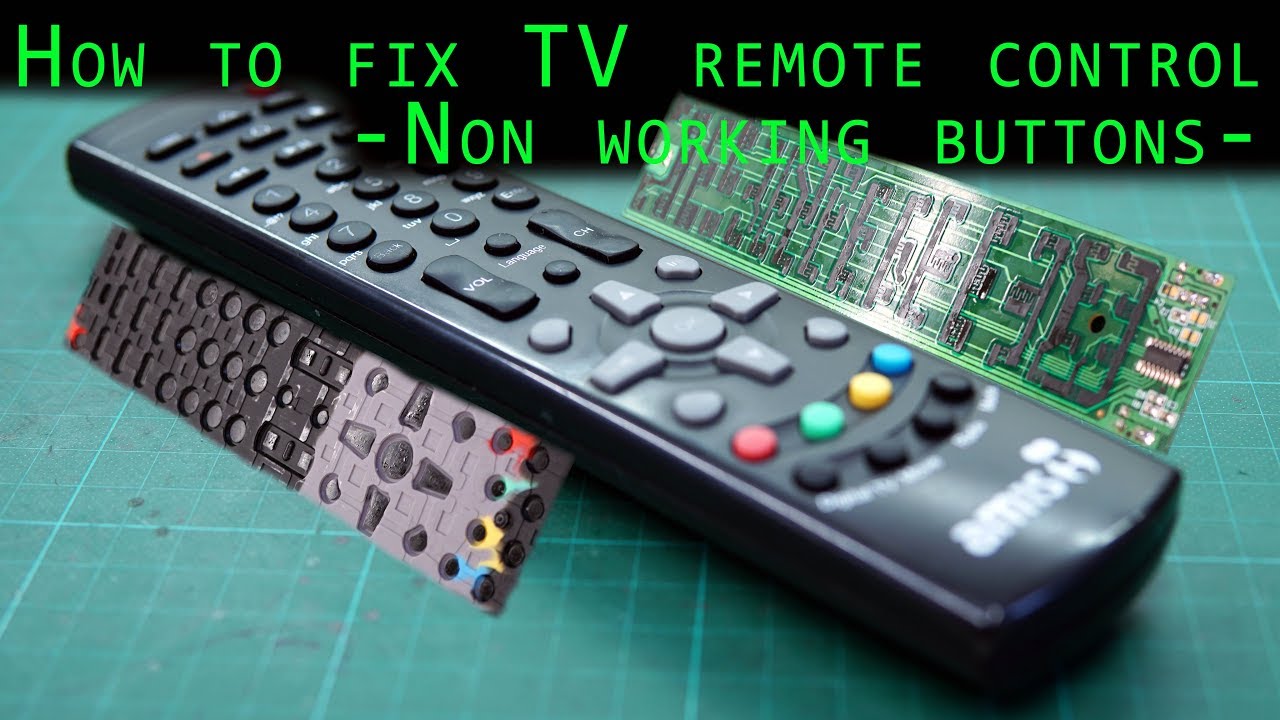
Dust, sweat, and spilled drinks can cause buttons to stop working. Cleaning is often all you need.
Cleaning Steps
- Carefully separate the top and bottom halves of the case.
- Remove the rubber keypad (if present).
- Use a cotton swab and isopropyl alcohol to clean:
- The black contact points on the keypad
- The matching contacts on the circuit board
- Wipe away any dirt or sticky residue.
- Let everything dry completely before reassembly.
Common Mistakes
- Don’t soak the circuit board—use a lightly dampened swab.
- Don’t use water, as it leaves minerals and can cause corrosion.
Step 5: Inspect For Physical Damage
Look for problems inside the remote.
- Cracked circuit board
- Broken or worn-out buttons
- Loose battery contacts
- Signs of corrosion (white or greenish powder)
If you see corrosion, gently scrub it away with a brush dipped in alcohol.
When To Replace Parts
If a button is torn or missing, you can try to find a replacement online. For broken battery contacts, small pieces of aluminum foil may help restore the connection temporarily.
Step 6: Fix Unresponsive Buttons
Buttons can stop working due to worn conductive pads or broken traces.
Quick Fix: Aluminum Foil Method
- Cut a small piece of aluminum foil.
- Place it on the black pad of the unresponsive button (on the rubber keypad).
- Secure it with a tiny piece of clear tape.
- Reassemble the remote and test.
This restores conductivity if the pad is worn out.
Advanced Fix: Conductive Paint
You can buy conductive paint to repair button pads. Apply a small amount to the pad and let it dry. This solution lasts longer than foil but costs more.
Step 7: Repairing Broken Battery Contacts
If battery contacts are loose, bent, or corroded, try these steps:
- Clean contacts with a cotton swab and alcohol.
- If a contact is bent, gently reshape it with tweezers.
- For corroded contacts, use a small piece of sandpaper.
- If a contact is missing, use a small piece of aluminum foil as a temporary fix.
Never use glue to attach foil—it can cause further problems.
Step 8: Check For Broken Solder Joints
Sometimes, the battery contacts or buttons become disconnected from the circuit board.
- Look for small cracks where metal joins the board.
- If you know how to solder, heat the joint and add a tiny bit of solder to repair it.
If you’re not comfortable with a soldering iron, ask for help from someone experienced.
Step 9: Reassemble And Test
Carefully put the remote back together:
- Make sure the keypad is aligned correctly.
- Snap the case shut or replace screws.
- Insert new batteries.
- Test all buttons.
If the remote still doesn’t work, repeat the steps or check for more advanced issues.
Signal Interference And Range Issues
Sometimes, the remote and device are both fine, but the signal doesn’t reach.
Common Causes
- Other remotes nearby
- Bright sunlight or fluorescent lights
- Wireless devices that use the same frequency (for RF remotes)
Try using the remote closer to the device and with other electronics off.
How Far Should A Remote Work?
Most IR remotes work up to 20–30 feet indoors. Walls, glass, or strong lights can reduce this range.
Comparison: Ir Vs Rf Remotes
Here’s a quick comparison to help you understand the difference between two common remote types.
| Feature | IR Remotes | RF Remotes |
|---|---|---|
| Signal Type | Infrared Light | Radio Frequency |
| Range | 20–30 feet (line of sight) | Up to 100 feet (through walls) |
| Obstacles | Blocked by walls/objects | Works through walls/objects |
| Common Devices | TVs, DVD players | Garage doors, smart home |
If your remote is RF, the repair steps are similar, but signal testing is different.
Dealing With Water Or Liquid Damage
Spills are a common way remotes get damaged. Act quickly for the best chance of success.
What To Do
- Remove batteries immediately.
- Open the remote and take it apart.
- Dry all parts with a towel.
- Use isopropyl alcohol to clean sticky areas.
- Let all parts dry for several hours (or overnight) before reassembling.
Never use a hairdryer on high heat—it can melt plastic parts.
Replacing Remote Control Parts
Some problems require new parts.
- Rubber keypads: Available online for popular remotes.
- Battery covers: Sometimes sold separately.
- Circuit boards: Rarely replaced, but possible for expensive remotes.
For older or rare remotes, you may need to buy a universal remote as a replacement.
When To Buy A New Remote
Repair is not always possible. You should consider a new remote if:
- The circuit board is cracked.
- Multiple buttons are missing or damaged beyond repair.
- The remote is lost or destroyed.
- The cost of parts is higher than a universal remote.
Many universal remotes work with popular TVs and devices. Check compatibility before buying.
Credit: datasculpt.nl
How To Pair Or Program A Replacement Remote
If you buy a new or universal remote, you’ll need to set it up.
Basic Programming Steps
- Insert batteries into the new remote.
- Find the device code in the remote’s manual.
- Hold the “setup” or “program” button.
- Enter the code for your device.
- Test buttons to confirm they work.
If the code doesn’t work, try another one from the list or use auto-search mode.
Remote Control Maintenance Tips
You can prevent many problems with simple care.
- Keep remotes dry and clean.
- Don’t drop or throw them.
- Store remotes away from direct sunlight and heat.
- Replace batteries in pairs and remove them if storing the remote for a long time.
- Clean the case and buttons with a soft cloth monthly.
A little maintenance goes a long way toward a longer remote life.
Data: Most Common Remote Control Problems
Here’s a summary of issues and how often they occur, based on electronics repair data.
| Problem | Percentage of Cases | Typical Solution |
|---|---|---|
| Dead Batteries | 55% | Replace batteries |
| Dirty Contacts | 25% | Clean with alcohol |
| Worn Buttons | 10% | Foil or conductive paint |
| Corroded Contacts | 5% | Clean or replace contacts |
| Broken Circuit | 5% | Repair or replace remote |
As you see, most issues are simple and cheap to fix.
Advanced: Universal Remotes Vs Original Remotes
If your original remote is lost or broken, you might consider a universal remote. Here’s how they compare.
| Feature | Original Remote | Universal Remote |
|---|---|---|
| Compatibility | Designed for one device | Works with many brands/devices |
| Setup | Plug and play | Needs programming |
| Button Layout | Exact match | Generic layout |
| Cost | Varies | Usually cheaper |
A universal remote is a good backup, but may lack special features.
Non-obvious Insights For Remote Control Repair
Many beginners focus only on cleaning or changing batteries. But two important tips often missed are:
- Check for “Child Lock” or Settings: Some devices have a child lock or settings menu that disables remote control input. Always check the device menu or manual if the remote suddenly stops working but seems fine.
- Test the Remote on Another Device: If you have two similar devices (like two TVs of the same brand), try the remote with both. This can quickly show if the problem is with the remote or the device.
These steps save time and avoid unnecessary repairs.
Environmental Benefits Of Repairing Remotes
Repairing instead of replacing helps reduce electronic waste. According to the United States Environmental Protection Agency (EPA), e-waste is a growing problem. Remote controls are small, but millions are thrown away each year. By learning to fix them, you help the planet and save money. For more on e-waste, see the EPA’s guidance on electronics recycling.
Credit: www.youtube.com
When To Call A Professional
If your remote is expensive (like a smart TV remote with a touchpad or voice control) or you see burn marks, melted plastic, or a swollen battery, don’t try to repair it yourself. Take it to a professional repair shop or contact the device manufacturer.
Frequently Asked Questions
Why Do Only Some Buttons On My Remote Control Stop Working?
Usually, this happens because some button contacts are worn out or dirty. Cleaning the inside of the remote and using the aluminum foil method on the affected buttons often solves the problem.
Is It Safe To Clean Remote Controls With Alcohol?
Yes, using isopropyl alcohol (at least 70%) is safe for cleaning electronic contacts and rubber pads. Just be sure not to soak the circuit board—use a dampened cotton swab and let everything dry before reassembling.
What Should I Do If My Remote Got Wet?
Remove the batteries immediately, open the remote, and let all parts dry thoroughly. Clean any sticky or dirty spots with alcohol. Wait several hours before putting it back together. If you see corrosion, gently clean it with a brush and alcohol.
Can I Use My Phone As A Remote Control?
Many modern smartphones have IR blaster apps or can connect via Wi-Fi/Bluetooth to control smart TVs and devices. Check if your device supports this feature and download a trusted app from your app store.
My Remote Works Only When I Press Very Hard. What Does That Mean?
This usually means the conductive pads under the buttons are worn or dirty. Cleaning with alcohol or adding a small piece of aluminum foil to the pad often restores normal function.
Repairing a remote control is a practical skill that saves money and reduces waste. Most problems are quick to fix with basic tools and a little patience. Next time your remote stops working, try these steps before buying a new one—you might be surprised how easy it is to bring it back to life.