
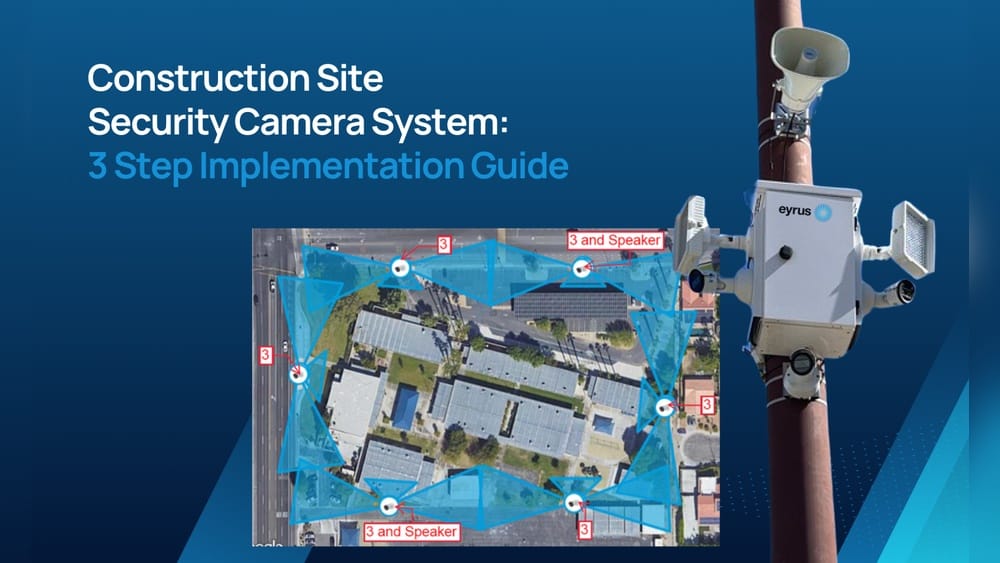
Setting up a construction security camera system can be a game-changer for site safety, theft prevention, and project management. Construction sites face unique risks: expensive materials, valuable equipment, and constant activity. Theft, vandalism, and accidents can cause huge losses. But with the right camera system, you gain real-time visibility and peace of mind.
Many site managers hesitate because installing a security system seems complex or expensive. The truth? With some planning, the right tools, and step-by-step guidance, you can install a reliable camera system—even on a busy or changing construction site. This guide breaks down the process, shares practical tips, and explains what beginners often overlook.
Whether you’re a contractor, site manager, or business owner, you’ll learn how to protect your site confidently and efficiently.
Why Construction Sites Need Security Cameras
Construction sites are prime targets for theft and vandalism. According to the National Equipment Register, annual losses from construction site theft in the US reach over $1 billion. Most incidents happen after hours, when sites are unguarded. A well-placed camera system does more than deter criminals. It documents incidents, supports insurance claims, and can even improve worker safety.
Beyond theft, cameras help resolve disputes about deliveries, monitor safety compliance, and reduce liability. When workers know they’re on camera, they’re more likely to follow safety rules. Video evidence can also protect against false claims or lawsuits.
Types Of Construction Security Camera Systems
Not all camera systems are created equal. The best system depends on your site size, budget, and security goals. Here are the main options:
| System Type | Power Source | Recording Method | Key Benefit |
|---|---|---|---|
| Wired Cameras | AC Power | DVR/NVR | Stable, high quality |
| Wireless Cameras | Battery/Solar/AC | Cloud/SD Card/NVR | Flexible placement |
| Mobile/Portable Units | Solar/Battery | Cloud/SD Card | Rapid deployment |
| Time-Lapse Cameras | Battery/Solar | SD Card | Project documentation |
Wired systems are more reliable for large, permanent sites but harder to install and move. Wireless or mobile units work better on temporary or changing sites—they’re fast to deploy and often use solar panels, which is ideal where power is limited.
Non-obvious insight: Many beginners overlook the importance of power sources—some sites lack outlets, so solar or long-life battery cameras can be a lifesaver. Always match your camera type to your site’s unique needs.
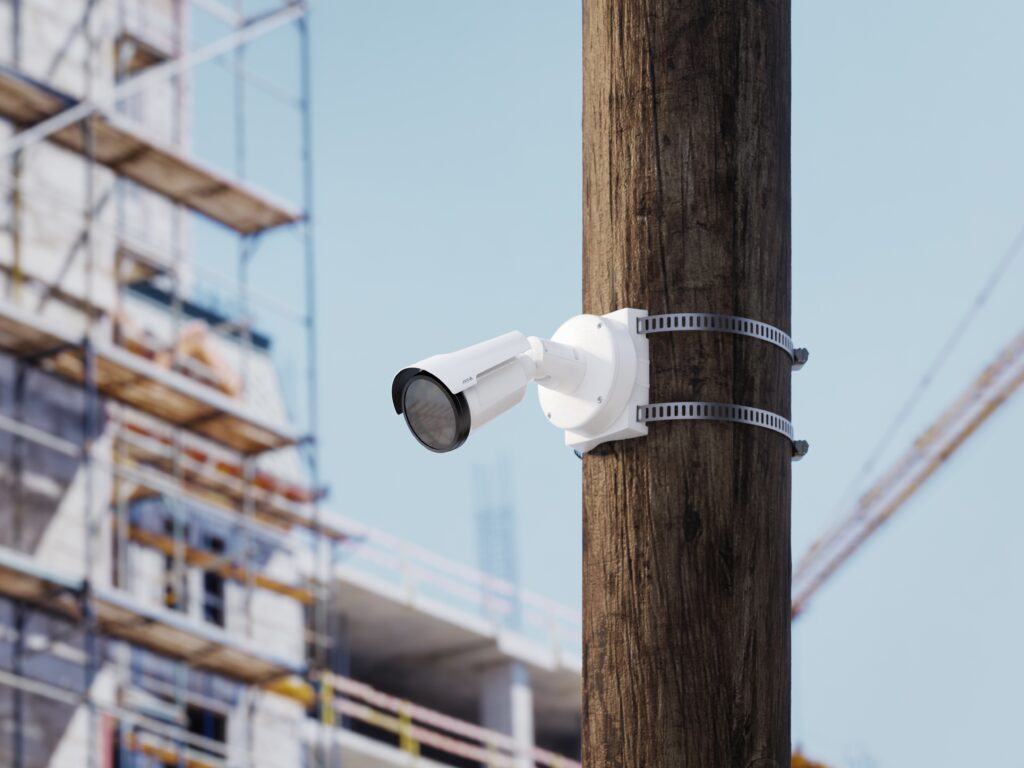
Credit: nanfoundation.org
Planning Your Construction Camera System
A rushed installation often leads to blind spots or unreliable coverage. Careful planning saves time, money, and trouble later. Here’s what to consider:
Site Assessment
Walk your site and answer these questions:
1. What Are The Most Valuable Or Vulnerable Areas?
Think entrances/exits, material storage, equipment zones, and site perimeters.
2. Where Are Power Sources And Internet Access Points?
This impacts where you can install certain camera types.
3. How Much Area Do You Need To Cover?
Measure distances. Camera range and resolution matter for large, open sites.
4. Are There Obstacles Or Potential Obstructions?
Cranes, scaffolding, and large vehicles can block views or signals.
Tip: Use a site map or drone photo to mark camera locations before buying equipment.
Choosing The Right Camera Features
Don’t just buy the cheapest kit. Key features for construction sites include:
- High resolution (at least 1080p HD): For clear identification, especially at night.
- Night vision: Most incidents happen in low light.
- Weatherproof rating (IP66 or higher): Cameras must survive dust, rain, and wind.
- Wide field of view: Covers more area with fewer cameras.
- Motion detection and alerts: Reduces hours of footage to review.
- Remote access: Lets you monitor from a phone or laptop.
- Audio recording (optional): May help in disputes, but check local laws.
Budgeting And Cost Factors
Security camera systems vary widely in price. A basic wired system for a small site may cost $500–$1,500 for equipment. Solar or mobile units can range from $300–$1,000+ per camera. Don’t forget installation supplies—cables, mounting hardware, and possibly cellular data plans for remote sites.
Non-obvious insight: Many site managers forget to budget for ongoing costs like cloud storage fees, maintenance, or battery replacements.
Essential Equipment And Tools
Before starting installation, gather everything you need:
Core Equipment
- Cameras: Number depends on site size and coverage needs
- Recording device: DVR (Digital Video Recorder), NVR (Network Video Recorder), or cloud service
- Monitors: For on-site viewing (optional if using remote access)
- Power supply: AC adapters, batteries, or solar panels
- Cables: For wired systems (Ethernet, power cables)
- Mounting hardware: Brackets, poles, screws
Tools And Accessories
- Drill and bits: For mounting cameras
- Ladders or lifts: To reach high spots safely
- Cable ties and conduits: For neat, protected wiring
- Screwdrivers and wrenches: For assembly
- Protective gear: Hard hat, gloves, safety glasses
Pro tip: Always have spare batteries, SD cards, and at least one backup camera ready. Construction sites are unpredictable—damage or theft can happen.
Step-by-step Installation Guide
Now, let’s break down the process into clear steps. This guide assumes a common setup with a mix of wired and wireless cameras.
1. Map Out Camera Locations
- Review your site plan and walk the area.
- Mark exact spots for each camera. Focus on entrances, exits, material storage, and blind corners.
- Check for lighting, obstructions, and mounting surfaces.
- Aim for overlap in coverage zones to avoid blind spots.
Example: Place one camera above the main gate, one overlooking equipment storage, one at the office trailer door, and one with a wide view of the main work area.
2. Install Mounts And Brackets
- Use a drill to secure mounting plates or brackets at marked locations.
- If mounting on poles or temporary structures, use adjustable clamps.
- Make sure mounts are secure but allow for camera angle adjustments.
Safety tip: Always use ladders or lifts safely. Never stretch or overreach—falls are a leading cause of construction injuries.
3. Set Up Power And Connectivity
For Wired Cameras:
- Run power and data cables from each camera to the recording device or network switch.
- Use cable conduits or protective tubing to prevent damage.
- Connect cameras to power (AC outlets or extension cords).
For Wireless Or Solar Cameras:
- Attach battery packs or solar panels as instructed.
- Ensure solar panels face the sun with minimal shade.
- For cameras with cellular connectivity, insert SIM cards and test signal strength.
4. Mount And Position Cameras
- Attach cameras to the mounts, adjusting angles for optimal coverage.
- Check that the lens is clean and unobstructed.
- Tighten all fasteners but don’t overtighten—plastic housings can crack.
Pro tip: Test each camera’s view using a phone or monitor before final tightening. Adjust for wide coverage but avoid pointing at direct sunlight, which can wash out images.
5. Connect To Recording System
- For wired systems, connect each camera’s data cable to the DVR/NVR.
- For wireless systems, follow the app or manual to pair cameras with the base station or cloud account.
- Insert SD cards if local backup is needed.
6. Test The System
- Power on all cameras and the recording device.
- Check live feeds on a monitor or mobile device.
- Walk through the site to verify coverage and motion detection.
- Adjust camera angles as needed for clear views.
Practical example: Trigger a test alert by walking into each camera’s range after dark. Make sure night vision works and alerts are sent properly.
7. Set Up Alerts And Remote Access
- Configure motion zones so only important areas trigger alerts.
- Set notification preferences (email, SMS, app push).
- Test remote viewing on your phone or laptop from outside the site.
Tip: Limit who can access live feeds to trusted managers. Change passwords regularly.
8. Secure And Protect Equipment
- Hide or lock recording devices inside a secure trailer or lockbox.
- Use anti-tamper screws or cages for cameras in high-risk spots.
- Label cameras with warning signs—visible deterrents reduce incidents.
9. Maintain And Review
- Schedule regular checks—clean lenses, test batteries, review footage.
- Download important clips for project records or insurance.
- Update software and firmware to patch security holes.
Non-obvious insight: Many sites set and forget their systems. Regular maintenance prevents downtime and ensures your system actually works when needed.
Common Mistakes To Avoid
Even experienced contractors make camera installation mistakes. Watch out for these:
- Poor camera placement: Avoid aiming cameras at the sky, ground, or into direct light. Overlapping coverage is better than gaps.
- Ignoring power needs: Don’t install cameras where batteries or solar panels can’t keep up. Check them weekly, especially in winter.
- Weak internet or cellular signal: Test connectivity before final mounting. Consider signal boosters for remote sites.
- Forgetting legal requirements: In some states, audio recording or monitoring certain areas (like bathrooms or private offices) is restricted.
- Not training staff: Make sure managers know how to operate the system, review footage, and respond to alerts.
- Neglecting data security: Change default passwords, use two-factor authentication, and keep software updated.
Comparing Wired Vs Wireless Camera Systems
Some site managers struggle to choose between wired and wireless systems. Here’s a side-by-side comparison:
| Feature | Wired Cameras | Wireless Cameras |
|---|---|---|
| Installation Time | Longer (cabling required) | Faster (minimal wiring) |
| Flexibility | Low (fixed locations) | High (easy to move) |
| Image Quality | Consistent, high | Varies (can drop with weak signal) |
| Power Source | AC only | Battery/Solar/AC |
| Best For | Permanent sites | Temporary/changing sites |
Pro tip: For most construction sites, a hybrid approach works best—use wired cameras for main office or gate areas, and wireless units for hard-to-reach or temporary zones.
Legal And Privacy Considerations
Installing cameras raises legal and privacy questions. In the US, you’re usually allowed to record video on your own property, especially for security. But there are limits:
- No cameras in private areas: Never place cameras in restrooms, break rooms, or locker rooms.
- Audio recording laws: Many states require two-party consent for audio recording. If in doubt, disable audio.
- Post signs: Let workers and visitors know cameras are in use. This is both legal protection and a deterrent.
- Data storage: Keep footage secure and only share with authorized personnel.
Non-obvious insight: Insurance companies may offer discounts for documented security systems. Ask your agent for details—it can help offset installation costs.
For more guidance on privacy laws, visit the Federal Trade Commission.

Credit: nanfoundation.org
Integrating Security Cameras With Other Site Technologies
Modern construction sites use more than just cameras for safety. Integrating your camera system with other technologies can boost efficiency and protection.
Access Control Systems
Pair cameras with keypad locks or RFID gates. When someone enters, the camera records the event and links the video to access logs. This helps resolve disputes and track who is on site.
Alarm Systems
Connect motion detectors, door contacts, or tripwires to trigger camera recording and send alerts. Some systems allow automatic sirens or lights to scare off intruders.
Project Management Software
Some advanced camera systems can share time-lapse videos or live feeds with project management tools. This helps track progress, document milestones, and share updates with clients.
Pro tip: Choose cameras that support open protocols (like ONVIF or RTSP) for easier integration with other systems.
Practical Tips For Large Or Complex Sites
Bigger sites or multi-story projects have extra challenges. Here’s how to handle them:
Use Mobile Camera Towers
For large, open spaces, deploy solar-powered camera towers. These are quick to move as the project evolves. Some companies rent mobile units, which can reduce upfront costs.
Plan For Changing Layouts
Construction sites are always changing. Use wireless cameras or mounts that can be moved easily. Reassess camera placement every few weeks as buildings go up or fences move.
Add Redundancy
Install at least one backup camera for each critical area. If a camera is stolen or damaged, you won’t lose all coverage.
Monitor Multiple Zones
Set up cameras in layers—perimeter, equipment storage, and sensitive areas. Use different alert settings for each zone. For example, trigger instant alerts for the main gate at night, but only record routine activity in open workspaces.
How To Choose The Right System For Your Site
There’s no one-size-fits-all solution. Here are key factors to help you decide:
1. Site Size And Complexity
- Small sites: 2–4 cameras may be enough.
- Large or multi-phase sites: 8–16+ cameras, possibly including mobile units.
2. Duration Of Project
- Short-term (weeks to months): Use portable, wireless, or rental systems.
- Long-term (6+ months): Invest in permanent wired or hybrid systems.
3. Budget Constraints
- Set a total budget, including installation and maintenance.
- Don’t forget recurring costs like data plans or cloud storage.
4. Security Needs
- High-risk sites (urban, high-value equipment): Invest in higher resolution, tamper-proof cameras, and 24/7 monitoring.
- Lower risk: Basic wireless systems may be enough.
5. Ease Of Use
- Choose systems with user-friendly apps and clear instructions.
- Ensure someone on your team can handle daily operation and troubleshooting.
Pro tip: Ask vendors for demo units or trial periods. Test systems before making a large purchase.
Maintenance And Troubleshooting
A security system is only as good as its weakest link. Regular checks keep your cameras working and protect your investment.
Maintenance Checklist
- Clean lenses: Dust, mud, or spider webs can blur images.
- Check power: Test batteries, solar panels, and AC connections.
- Review footage: Spot-check for missed events or technical issues.
- Update software: Patch security flaws and add new features.
- Inspect mounts and cables: Look for tampering or weather damage.
Tip: Assign camera checks to a specific person on your team. Consistency prevents surprises.
Common Issues And Solutions
- Blurry images: Clean the lens, adjust focus, or check camera angle.
- No video feed: Test power, reconnect cables, or reboot the system.
- Missed events: Adjust motion detection zones or increase sensitivity.
- False alerts: Trim trees or adjust detection areas to avoid wind triggers.
Non-obvious insight: Weather can affect wireless signals. In heavy rain or snow, relocate cameras or boost Wi-Fi/cellular with repeaters.
Real-world Example: Installing Cameras On A Mid-size Construction Site
Let’s walk through a typical scenario:
Project: New warehouse construction, 200 x 400 ft site, 6-month timeline.
Security Goals: Prevent theft, monitor deliveries, document safety compliance.
System Chosen:
- 2 wired cameras at the main gate and office trailer
- 4 wireless solar cameras for equipment storage and remote corners
- NVR with cloud backup, mobile access for managers
Steps Taken:
- Mapped camera zones on a printed site plan.
- Used pole mounts for wireless cameras in the field.
- Ran power and data cables inside conduit for wired units.
- Set up cloud alerts for after-hours activity.
- Trained site supervisors on reviewing footage and responding to alerts.
Results: No major thefts reported. One attempted break-in was caught on video, helping police recover stolen tools. Footage was also used to resolve a delivery dispute and verify safety protocols after a minor accident.
Frequently Asked Questions
How Many Cameras Do I Need For My Construction Site?
The right number depends on your site’s size and layout. As a rule of thumb, cover all entrances, exits, equipment storage, and any blind spots. A small site may need 2–4 cameras, while larger sites may require 8–16 or more.
Overlapping views help eliminate blind spots.
Can I Install Construction Security Cameras Myself, Or Do I Need A Professional?
Many modern systems are designed for DIY installation, especially wireless models. If you’re comfortable with basic tools and following instructions, you can handle most setups. For large or complex sites, or if you want a permanent wired system, consider hiring a professional installer.
Do Security Cameras Work At Night Or In Bad Weather?
Yes—choose cameras with night vision (infrared LEDs) and a high weatherproof rating (IP66 or higher). Most quality cameras can handle rain, dust, and even snow. Always test night vision and check that lenses are clean for the clearest images.
Is It Legal To Record Video And Audio On My Construction Site?
Video recording is usually legal on your own property, but avoid private areas like restrooms. Audio recording is more restricted—many states require all parties to consent. Always post warning signs and check local laws or consult a legal expert if unsure.
What Should I Do If A Camera Stops Working Or Is Stolen?
First, check power and connections. If the camera is missing, review footage from nearby cameras for clues. Report theft to police and your insurance company. Having backup cameras and regular maintenance helps keep your system running even if one unit fails.
Installing a construction security camera system is a smart investment in site safety, theft prevention, and project efficiency. With careful planning and attention to detail, you can set up a reliable system that protects your assets and your team. Use these steps to guide your project, avoid common mistakes, and adapt as your site evolves.
The right camera system gives you more than footage—it gives you peace of mind.

Credit: mobilevideoguard.com