

Installing a Blink Outdoor Camera can make your home safer and help you monitor what happens outside, day and night. Many people worry about the setup process, but with clear steps and practical guidance, anyone can do it—even if you’re not tech-savvy.
This article guides you through every stage, from unboxing to troubleshooting, so you’ll feel confident about your new security system. If you’re looking for real-world tips, answers to common questions, and expert advice, you’re in the right place.
Understanding Blink Outdoor Cameras
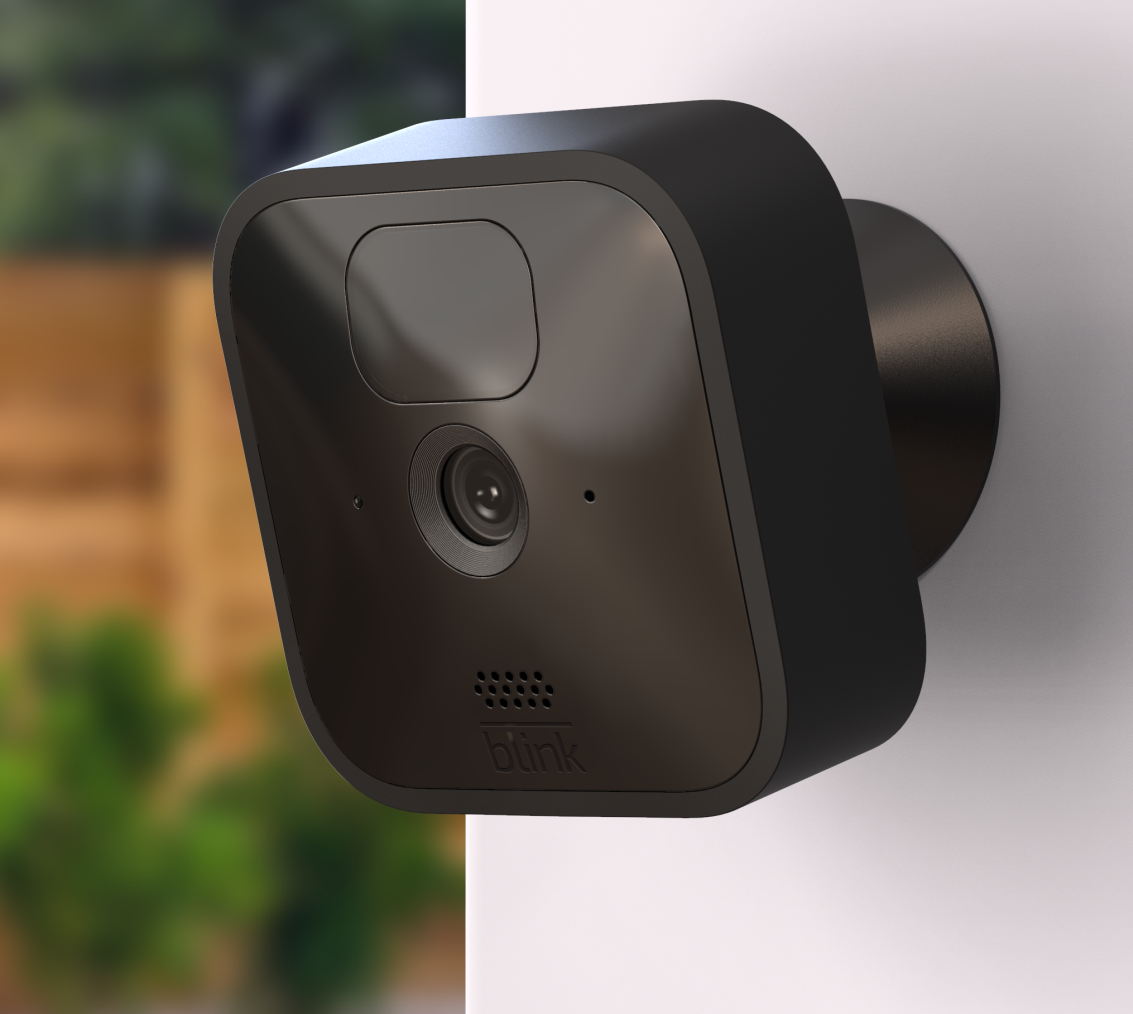
Blink Outdoor Cameras are popular for their ease of use and reliable performance. They work wirelessly, connect to your Wi-Fi, and are powered by batteries. The camera is weather-resistant, making it suitable for rain, snow, and sun. You can view live video, get motion alerts, and even record clips from your phone. Before installation, it’s helpful to know some basic facts:
- Battery life: Up to 2 years with two AA lithium batteries
- Resolution: 1080p HD
- Field of view: 110 degrees
- Connectivity: 2.4 GHz Wi-Fi
- App support: Blink Home Monitor app for Android and iOS
One beginner mistake is not checking the Wi-Fi signal strength at the installation location. If your camera is too far from the router, it may lose connection or send slow alerts.
What’s In The Blink Outdoor Camera Box?
When you open the box, you should find these items:
- Blink Outdoor Camera
- Sync Module 2
- USB power cable and adapter (for Sync Module)
- Two AA lithium batteries
- Mounting kit (includes mount, screws, and bracket)
- Quick Start Guide
Always check the contents before starting. Missing parts can delay your setup. Some users overlook the Sync Module, but it’s essential—without it, the camera won’t work.
Preparing For Installation
Before you begin, plan the location and setup:
- Choose the right spot: Look for areas you want to monitor, like doorways, driveways, or gardens.
- Check Wi-Fi signal: Use your phone to test Wi-Fi strength outside. If the signal is weak, consider a Wi-Fi extender.
- Decide camera height: For best results, mount the camera 8–10 feet above the ground. This gives a wide view and avoids glare from lights.
- Avoid obstructions: Trees, walls, or metal objects can block the signal.
Many people forget to consider sunlight. Direct sun can cause false alerts or make the video hard to see. Try to place your camera in shade or under a roof.
Setting Up The Sync Module
The Sync Module acts as a bridge between your Blink Outdoor Camera and the Blink app. Here’s how to set it up:
- Plug in the Sync Module using the USB power cable and adapter.
- Place the module close to your Wi-Fi router, but not hidden behind metal or thick walls.
- Wait for the LED light to show a steady blue and green. This means it’s ready.
If you see a red light, it’s not connected. Double-check the power supply and placement.
Connecting The Sync Module To Wi-fi
To connect the Sync Module:
- Download the Blink Home Monitor app from Google Play or Apple App Store.
- Create an account or log in.
- Tap the “+” icon to add a new device.
- Choose “Sync Module” and scan the QR code found on the module.
- Follow the prompts to connect to your Wi-Fi. Enter your Wi-Fi password.
- Wait for confirmation in the app.
If the app cannot find the Sync Module, restart your router and try again. Some users mistakenly use the wrong Wi-Fi band; Blink only works with 2.4 GHz, not 5 GHz.
Installing Batteries In The Camera
Blink Outdoor Cameras use two AA lithium batteries. These batteries last longer and work well in cold weather. To install:
- Open the back cover of the camera by pressing the latch.
- Insert batteries with the correct orientation (look for the plus and minus signs).
- Close the cover securely.
Don’t use alkaline or rechargeable batteries; they drain faster and may cause errors. Only lithium AA batteries are recommended.
Mounting The Camera
Mounting your Blink Outdoor Camera is simple, but you must follow some steps for a stable installation. Here’s how:
- Attach the mounting bracket to the wall or surface using the provided screws.
- Use a drill for harder surfaces like brick or concrete.
- Snap the camera onto the bracket. Adjust it so the lens points where you need.
- Tighten the bracket for stability.
If you’re mounting on wood, screws go in easily. For stone or brick, use wall anchors. Avoid mounting on metal surfaces—they can interfere with the signal.
Adjusting Camera Angle
After mounting, adjust the angle:
- Tilt down to cover entry points.
- Avoid aiming directly at lights or windows; this prevents glare.
- Use the app’s live view to check coverage.
Some users skip this step and later find the camera only shows sky or ground. Always test before finalizing.

Credit: www.youtube.com
Connecting The Camera To The Blink App
Once your camera is mounted, connect it to the Blink app:
- Open the Blink app and tap “+” to add a device.
- Select “Blink Outdoor Camera.”
- Scan the QR code inside the battery compartment.
- Wait for the camera to appear in your device list.
If the camera doesn’t show up, check battery installation and Wi-Fi signal. Sometimes, restarting the Sync Module helps.
Setting Up Motion Detection
Blink Outdoor Cameras use motion sensors to alert you when something moves. Here’s how to set up:
- In the Blink app, select your camera.
- Tap “Settings.”
- Adjust motion sensitivity—higher means more alerts, lower means fewer.
- Set zones: Exclude areas like trees or busy streets to avoid false alarms.
- Choose notification settings: Decide if you want push notifications, emails, or both.
A non-obvious tip: Adjust motion zones before setting sensitivity. This reduces unwanted alerts and saves battery.
Testing Your Camera
Before you rely on your camera, test its features:
- Walk in front of the camera to see if alerts work.
- Check live view for clarity.
- Try different times of day—sunrise, noon, night—to check video quality.
- Test audio (if enabled) to make sure you can hear sounds.
If you notice blurry images, clean the lens gently with a microfiber cloth. Avoid using water or harsh chemicals.
Using The Blink App Features
The Blink app offers several features:
- Live view: Watch real-time video.
- Recording clips: Save events for review.
- Two-way audio: Speak through the camera (if supported).
- Scheduling: Set times when the camera should be active.
- Clip sharing: Send videos to friends or authorities.
Explore the app menu for additional settings. Many people don’t use scheduling, but it can save battery and reduce false alerts at busy times.
Comparing Blink Outdoor Camera Models
Blink offers several camera models. Here’s a comparison to help you understand the differences:
| Feature | Blink Outdoor | Blink Indoor | Blink Mini |
|---|---|---|---|
| Weather Resistance | Yes | No | No |
| Battery Life | Up to 2 years | Up to 2 years | Powered by cable |
| Resolution | 1080p HD | 1080p HD | 1080p HD |
| Field of View | 110° | 110° | 110° |
| Audio | One-way | One-way | Two-way |
If you want outdoor protection, the Blink Outdoor is your best option. Indoor models are less durable and may not handle weather changes.
Choosing The Best Location For Your Camera
Picking the right spot is crucial for security and performance. Here are some smart locations:
- Front door: Monitor deliveries and visitors
- Backyard/garden: Watch for intruders or animals
- Garage/driveway: Protect vehicles and tools
- Side gates: Prevent unauthorized access
For each spot, test the Wi-Fi signal and make sure there’s no direct sunlight. If you have multiple cameras, position them so their fields of view overlap slightly. This covers blind spots.
A common beginner mistake is placing cameras too high or too low. Aim for eye level or slightly above for the best results.
Using Blink Cameras With Alexa
Blink Outdoor Cameras work with Amazon Alexa. You can view live feeds on Echo Show or Fire TV. Here’s how to link:
- In the Blink app, tap “Settings.”
- Choose “Link to Alexa.”
- Follow prompts to connect your Amazon account.
- Use voice commands like “Alexa, show me the front door camera.”
Some users forget to update their Alexa device software. Make sure your Echo is updated for smooth integration.
Storing Video Clips
Blink offers two ways to store video clips:
- Cloud storage: Clips are saved on Blink’s servers. Free trial included; after, you may need a subscription.
- Local storage: Use a USB drive with the Sync Module 2. Clips save directly to your drive.
Here’s a simple table comparing storage options:
| Storage Type | Cost | Access | Capacity |
|---|---|---|---|
| Cloud | Subscription after trial | Anytime, anywhere | Unlimited (with plan) |
| Local (USB) | Free | On-site only | Limited by USB size |
For most people, local storage is enough. If you want remote access or unlimited clips, consider the cloud plan.
Troubleshooting Common Issues
Even with careful setup, you might face problems. Here are solutions for common issues:
Camera Not Connecting
- Check Wi-Fi signal at the camera location.
- Restart Sync Module and camera.
- Make sure you’re using 2.4 GHz Wi-Fi.
- Move camera closer to the module.
Poor Video Quality
- Clean the camera lens.
- Check for obstructions.
- Test at different times of day.
Motion Alerts Not Working
- Adjust motion sensitivity and zones.
- Check battery levels.
- Update the Blink app.
Battery Draining Fast
- Set camera to record only when needed.
- Lower motion sensitivity.
- Use lithium AA batteries.
Many beginners forget to update their app or firmware. Always check for updates before troubleshooting.
Practical Tips For Installation
Here are practical tips that go beyond the basics:
- Use a Wi-Fi extender if the signal is weak outside.
- Label your cameras in the app—“Front Door,” “Backyard,” etc.—for easy control.
- Test at different angles before finalizing the mount.
- Install cameras before holidays or busy seasons for extra protection.
- Check battery status monthly to avoid sudden outages.
One non-obvious insight: If you have pets, set motion zones to exclude their paths. This saves battery and reduces false alerts.
Credit: www.gabinetedelaorden.com
Advanced Settings In The Blink App
You can customize your camera for better performance:
- Night vision: Enable infrared for clear video in darkness.
- Clip length: Choose how long each recording lasts (up to 60 seconds).
- Retrigger time: Set time between alerts; shorter means more clips, longer saves battery.
- Privacy zones: Block areas you don’t want recorded.
Many people miss privacy zones. Use them if you want to avoid recording neighbors or public spaces.
Security And Privacy Considerations
Installing cameras means thinking about privacy:
- Inform family and visitors about cameras.
- Avoid recording public spaces—stick to your property.
- Secure your Blink app with a strong password.
- Update firmware regularly to protect against hacking.
For more on privacy laws, visit FTC Privacy Guidance.

Credit: support.blinkforhome.com
Maintaining Your Blink Outdoor Camera
Regular maintenance keeps your camera working:
- Clean the lens monthly.
- Check batteries every 3–6 months.
- Inspect mounts for stability.
- Update app and firmware often.
If you live in cold climates, check the battery more often. Extreme temperatures can drain power faster.
Comparing Blink Outdoor To Other Brands
Blink Outdoor is often compared to Ring, Arlo, and Google Nest. Here’s a quick comparison:
| Feature | Blink Outdoor | Ring Stick Up Cam | Arlo Essential | Google Nest Cam |
|---|---|---|---|---|
| Battery Life | Up to 2 years | 3–6 months | 6 months | Rechargeable |
| Weather Resistance | Yes | Yes | Yes | Yes |
| App Integration | Blink App | Ring App | Arlo App | Google Home |
| Cloud Storage | Optional | Subscription | Subscription | Subscription |
| Price | Lower | Higher | Higher | Higher |
Blink stands out for battery life and price. If you want simple, reliable outdoor monitoring, Blink is a strong choice.
Expanding Your Blink System
You can add more cameras to your system:
- Up to 10 cameras per Sync Module
- Mix outdoor, indoor, and mini models
- Control all cameras from one app
If you need more than 10 cameras, add another Sync Module. This is ideal for larger homes or business properties.
Safe Installation Practices
When installing your camera:
- Use a sturdy ladder for high places.
- Avoid installing during rain or snow.
- Wear gloves when drilling.
- Double-check screw tightness.
Always test the camera before leaving it outside overnight. This prevents surprises and keeps your home protected.
Frequently Asked Questions
How Many Blink Outdoor Cameras Can I Use With One Sync Module?
You can connect up to 10 cameras to a single Sync Module. If you need more, add another module.
Can I Use Blink Outdoor Cameras Without A Subscription?
Yes, you can use local storage with a USB drive. Cloud storage requires a subscription after the free trial.
What Happens If The Wi-fi Goes Down?
The camera will not send alerts or record clips until Wi-Fi is restored. Local storage saves clips if the connection returns quickly.
How Long Do The Batteries Really Last?
Blink Outdoor cameras use AA lithium batteries that can last up to 2 years under normal use. Heavy recording or poor Wi-Fi may drain them faster.
Is Blink Outdoor Camera Weatherproof?
Yes, it is weather-resistant and designed for rain, snow, and sun. However, avoid submerging it in water or exposing it to extreme conditions for long periods.
Installing a Blink Outdoor Camera is straightforward when you follow clear steps and practical advice. With the right location, strong Wi-Fi, and good maintenance, you’ll enjoy reliable security and peace of mind. Remember to test features, update software, and use the Blink app to customize your experience.
Whether you’re protecting your home, garden, or driveway, Blink Outdoor Cameras give you the tools to monitor your property easily. If you want more tips or need advanced help, Blink’s support and community forums offer extra guidance. Good luck with your installation—your home is safer already.