
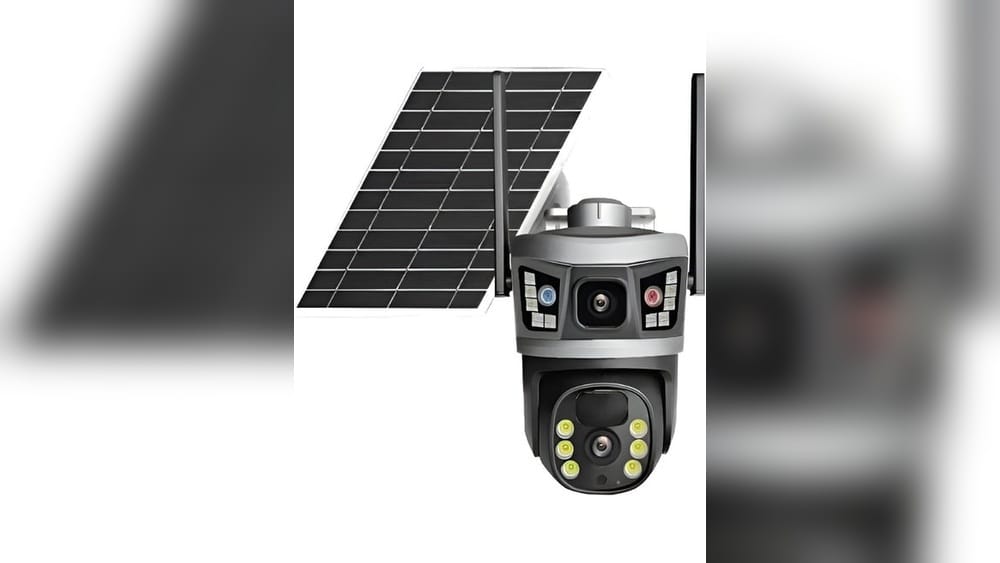
When you think about modern security, the idea of a camera that works on solar power, detects motion, and sends alerts directly to your phone sounds almost perfect. The intelligent solar energy alert PTZ camera is exactly that—an outdoor security camera powered by sunlight, with smart features that make monitoring your property much easier. But installing one can feel intimidating, especially if you’re not a professional. This guide will walk you through every step, from understanding your camera to completing the installation and troubleshooting common problems.
Let’s break down the process so that you can get your intelligent solar camera up and running without stress, even if you’re new to home tech.
Understanding Intelligent Solar Energy Alert Ptz Cameras
Before you start drilling holes or mounting brackets, it’s important to know what you’re installing.
PTZ stands for Pan-Tilt-Zoom. This means your camera can move left and right (pan), up and down (tilt), and zoom in on details. The solar energy part means the camera uses sunlight for power, which saves you from running wires or worrying about batteries. The intelligent alert feature uses motion sensors and sometimes AI to detect people, animals, or cars, then sends you instant notifications.
Most models also connect to your Wi-Fi, let you watch live video on your phone, and record footage to a memory card or the cloud. Some can even talk back, so you can speak to whoever’s outside. These features make PTZ cameras ideal for driveways, gardens, farms, or any place where running electrical cables is hard.
Key Features To Look For
- High-resolution video (at least 1080p) for clear images
- Wide-angle lens and strong PTZ functions
- Reliable solar panel and backup battery
- Smart motion detection with adjustable zones
- Night vision (infrared or color)
- Two-way audio
- Weatherproof design
- Easy app control and cloud options
Not all cameras are equal, so always check the box or manual for these features before buying or installing.
Tools And Materials Needed
You’ll need a few basic tools and materials to install your intelligent solar energy alert PTZ camera:
- Drill and drill bits (for wall type)
- Screwdriver (usually Phillips)
- Mounting screws and anchors (often included)
- Measuring tape
- Pencil or marker
- Ladder (for higher placements)
- Smartphone or tablet (for app setup)
- Wi-Fi password
- MicroSD card (if local storage is needed)
- Weatherproof electrical tape (optional, for extra sealing)
Make sure you have all parts from the camera box: camera, solar panel, bracket, screws, user manual, and charging cables.
Planning The Installation
Good planning saves time and avoids mistakes. The location you choose can affect your camera’s performance and the solar panel’s efficiency.
Choosing The Right Location
- Sunlight access: Place the solar panel where it gets direct sunlight for most of the day. South-facing walls or roofs are best in the US.
- Wi-Fi signal: Test your Wi-Fi strength at the chosen location. Weak signal means poor video quality or dropped alerts.
- Surveillance area: Angle the camera to cover entrances, gates, or vulnerable spots. Avoid pointing at direct sunlight or reflective surfaces.
- Mounting surface: Solid walls (concrete, brick, wood) work best. Avoid loose or crumbling surfaces.
- Height: 8–10 feet is ideal—high enough to avoid tampering, but low enough for good faces and details.
Example Layout
Many people mount the camera under the eaves facing the driveway or backyard, and the solar panel on the roof or nearby wall. Use the included extension cable if the solar panel needs to be further from the camera.
Common Beginner Mistakes
- Placing the solar panel in shade (trees, roof edges, or tall buildings)
- Installing the camera out of Wi-Fi range
- Forgetting to format the MicroSD card before use
- Not angling the camera for the best view (faces, license plates, etc.)
- Not checking the weatherproof rating—some cameras need extra sealing
Step-by-step Installation Guide
Let’s walk through the actual installation. The process is similar for most brands, but always read your manual for any unique steps.
1. Unbox And Check All Parts
Open the box, lay out all parts, and check against the instructions. You should have the camera, solar panel, mounting brackets, screws, cables, and user manual.
2. Fully Charge The Camera (if Required)
Some cameras come with a built-in battery that should be fully charged before first use. This ensures smooth setup and tests. Plug the camera into a wall charger or power bank until the LED shows full charge.
3. Download The Camera App
Most intelligent PTZ cameras use a mobile app for setup and control. Find the name in the manual (such as CloudEdge, iCSee, or CamHi) and download from the App Store or Google Play.
4. Insert The Microsd Card
If your camera supports local recording, insert the MicroSD card into the slot. Most cameras support up to 128GB, which gives you days or weeks of video depending on quality settings.
5. Power On And Pair The Camera
Turn on the camera using its power button or by plugging in the battery. Follow the app’s instructions to add a new device. Usually, you’ll:
- Open the app and tap “Add Device”
- Scan the QR code on the camera or enter its ID
- Connect to your Wi-Fi by entering the password
- Wait for the camera to pair (can take 1–2 minutes)
Tip: Place the camera close to your router for setup, then move it outside after pairing. This avoids connection issues during setup.
6. Test The Camera Indoors
Check the live view, PTZ controls, and alerts in the app. Move the camera to see if all motors and zoom functions work. This helps you spot any issues before mounting.
7. Mark The Mounting Points
Use the bracket as a template. Hold it against the wall at your chosen spot, and use a pencil to mark where the screws will go. Use a level if you want perfectly straight alignment.
8. Drill Holes And Insert Anchors
For concrete, brick, or stucco, use a masonry bit and hammer in the plastic anchors. For wood, you may only need to drill small pilot holes.
9. Attach The Bracket
Screw the bracket tightly to the wall or post. Make sure it’s solid—wobbly mounts can affect the camera’s video and solar panel alignment.
10. Mount The Camera And Solar Panel
- Attach the camera to the bracket. Tighten all screws.
- Mount the solar panel nearby, facing direct sunlight. Use the adjustable arm to set the angle.
- Connect the solar cable from the panel to the camera’s charging port. Most cables are weather-sealed, but you can wrap extra tape for harsh weather.
11. Adjust The View And Settings
Open the app, move the camera using PTZ controls, and set your preferred angle and zoom. Test the motion detection area and adjust sensitivity—too high can trigger false alerts from trees or cars.
12. Final Setup And Testing
Walk in front of the camera to test motion alerts. Try at night to check night vision. Make sure video saves to your MicroSD card or cloud.
Congratulations! Your intelligent solar energy alert PTZ camera is now fully installed.

Credit: device.report
Data Table: Example Camera Models Comparison
The following table compares three popular intelligent solar PTZ cameras:
| Model | Resolution | Solar Panel | PTZ Range | Night Vision | Storage | Weatherproof |
|---|---|---|---|---|---|---|
| Reolink Argus PT | 1080p | 6W, Detachable | 355° Pan, 140° Tilt | Infrared, Color | MicroSD, Cloud | IP65 |
| Solium S600 | 2K | 5W, Built-in | 320° Pan, 90° Tilt | Infrared | MicroSD | IP66 |
| Zumimall Solar PTZ | 3MP | 6W, Separate | 355° Pan, 120° Tilt | Infrared | MicroSD, Cloud | IP66 |
Connecting The Camera To Wi-fi And App
Most intelligent solar energy alert PTZ cameras rely on Wi-Fi for live streaming and alerts. Here are steps and insights for a stable connection.
Wi-fi Network Requirements
- 2.4 GHz only: Most cameras do not support 5GHz Wi-Fi. Set your router to broadcast 2.4 GHz.
- Strong signal: At least -65 dBm at the camera location. Test with your phone using a Wi-Fi analyzer app.
- No captive portal: Guest networks that require browser login usually don’t work.
Connecting Steps
- Open the app and choose “Add Camera.”
- Follow instructions to scan the QR code or connect to the camera’s hotspot.
- Enter your Wi-Fi password.
- Wait for confirmation.
Insight: If you change your Wi-Fi password or network, you’ll need to repeat the pairing process.
Troubleshooting Wi-fi Issues
- Move your router closer or use a mesh system for large properties.
- Remove signal blockers (metal, thick walls).
- Try a Wi-Fi extender if your camera is far from the router.
Pro tip: If your camera supports Ethernet, you can use a power-over-Ethernet (PoE) adapter for even more reliable connections, but this is rare for solar models.
Setting Up Alerts And Recording
Getting instant alerts is one of the main reasons people choose intelligent cameras. Proper setup avoids missed events or too many false alarms.
Adjusting Motion Detection
- Set activity zones (in the app) to monitor only key areas like doors or gates.
- Adjust sensitivity—start in the middle and fine-tune over days.
- Enable human detection if supported. This reduces alarms from pets or moving branches.
Choosing Alert Types
- Push notifications: Instantly sent to your phone.
- Email alerts: Good for backup, but slower.
- Siren or light: Some models can flash or sound an alarm for extra security.
Recording Options
- MicroSD card: Simple, no subscription, but footage can be lost if the camera is stolen.
- Cloud storage: Safer, often has a small monthly fee.
- Both: Best of both worlds for important footage.
Example Alert Settings Table
Here’s how different settings affect your alert experience:
| Setting | Effect | Recommended For |
|---|---|---|
| High sensitivity | More alerts, more false alarms | Quiet areas, few trees |
| Activity zones | Alerts only in set areas | Driveways, gates, front doors |
| Human detection | Ignores animals, moving leaves | Busy yards, pets |
Power Management And Solar Panel Care
Solar power makes these cameras almost maintenance-free, but some care is needed for long life and reliability.
Optimizing Solar Charging
- Clean the solar panel every few months (dust, leaves, or bird droppings can block sunlight).
- In winter or cloudy regions, check battery status in the app. Some models let you add extra panels.
- Angle the panel for your latitude (30–45° for most US regions).
Non-obvious tip: Even in partial shade, a panel might still provide enough power for standby, but video streaming drains more. If you plan to use PTZ and recording a lot, maximize sun exposure.
Backup Power Options
If you live in a place with long winters or frequent storms, consider:
- Buying a camera with a larger battery (10,000mAh or more)
- Adding a second solar panel (check compatibility)
- Using a manual USB charge for emergencies
Weatherproofing And Security
Outdoor cameras must survive rain, dust, and even snow.
Weatherproof Ratings
- IP65/IP66 is standard—protects against strong rain and dust.
- Cover cable connections with electrical tape or waterproof boots for extra safety.
- Make sure the camera body and solar panel are firmly mounted. High winds can shift poorly installed devices.
Anti-theft Tips
- Mount the camera high enough to avoid easy reach.
- Hide the MicroSD card slot if possible.
- Use anti-theft screws (some brands include them).
- Place a warning sticker or sign—this alone can deter thieves.
Insight: Thieves often target the solar panel, not just the camera. Secure both well and consider a backup recording method.
Integrating With Other Smart Devices
Many intelligent PTZ cameras can work with other smart home systems, making your security setup even stronger.
Compatible Platforms
- Amazon Alexa: See live video on Echo Show
- Google Assistant: Stream to Nest Hub
- IFTTT: Create custom automation (e.g., turn on lights when motion is detected)
- HomeKit (rare for solar cameras, but possible with bridges)
How To Integrate
- Open your camera app and find “Smart Integrations.”
- Follow the prompts to link with your chosen platform.
- Test with voice commands or routines.
Example Integration Scenario
When the camera detects a person at night, your smart lights turn on automatically. This can scare off intruders before they get close.
Regular Maintenance And Troubleshooting
Solar PTZ cameras are low-maintenance, but regular checks keep them reliable.
Monthly Tasks
- Wipe dust from the camera lens and solar panel.
- Test video, alerts, and PTZ movement in the app.
- Check battery level, especially in winter.
Common Problems And Fixes
- No video: Check Wi-Fi, power cable, and solar panel.
- Missed alerts: Adjust motion zones and sensitivity.
- App won’t connect: Restart your router and camera, or reinstall the app.
- Water inside camera: Turn off, dry, and reseal all joints. Contact support if needed.
Non-obvious tip: After storms or heavy snow, check the camera for shifting or blockage. Sudden video blur can mean a dirty lens or sun glare.
When To Call A Professional
Most people can install an intelligent solar PTZ camera themselves, but you might need help if:
- Your chosen spot is high up and unsafe without equipment.
- You need to drill through thick concrete or brick.
- Your Wi-Fi setup is complex, or you want advanced smart home integration.
A professional installer can set everything up in less than an hour and offer warranty on the work.
Cost Overview: What To Expect
Prices for intelligent solar energy alert PTZ cameras vary by brand and features.
| Feature Level | Price Range (USD) | What You Get |
|---|---|---|
| Entry-level | $90–$150 | 1080p, basic PTZ, small solar, app alerts |
| Mid-range | $150–$250 | 2K/3MP, better night vision, weatherproof, cloud storage |
| High-end | $250–$400+ | 4K, advanced AI, integration, large battery, multi-panel |
Cloud storage may add $3–$10/month if you want footage saved offsite.
Safety Precautions
Working outdoors, on ladders, and with tools means safety comes first.
- Always use a stable ladder on flat ground.
- Wear gloves and eye protection when drilling.
- Turn off power if working near electrical lines.
- Don’t install during storms or strong winds.
- If unsure, ask for help.
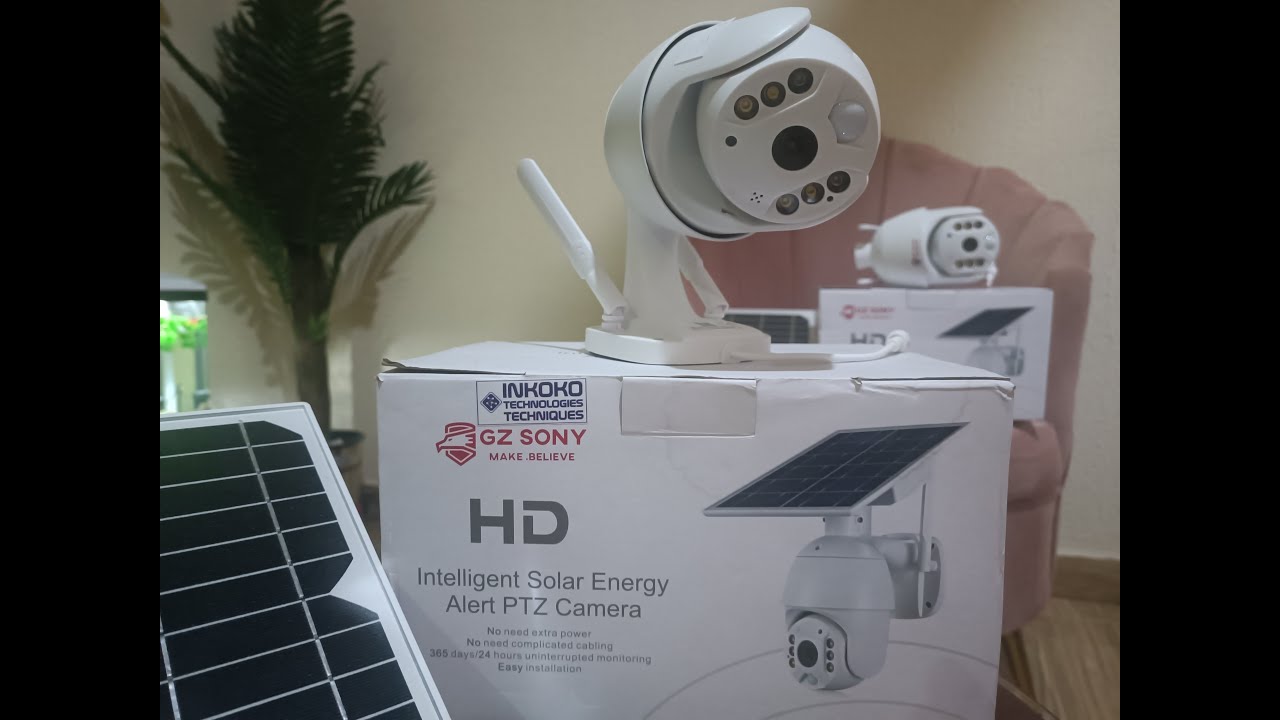
Credit: www.youtube.com
Environmental And Privacy Considerations
Using solar-powered cameras is a green choice, but think about privacy too.
- Legal compliance: In many places, you must notify people if you record public areas.
- Neighbor relations: Avoid pointing cameras at neighbors’ yards or windows.
- Data protection: Choose strong passwords and enable two-factor authentication in your camera app.
- Cloud storage: Use reputable providers to protect your video from hacking.
For more on privacy laws, the Electronic Frontier Foundation has detailed guides.
Frequently Asked Questions
How Long Does The Battery Last Without Sunlight?
Most intelligent solar PTZ cameras have a battery that lasts 2–4 weeks on a single charge, depending on activity. Frequent video streaming or PTZ use drains the battery faster. In cloudy weather, check the app for battery status.
Can I Install The Camera Without Drilling Holes?
Some brands offer adhesive mounts or strap systems for temporary use. However, for outdoor, permanent security, drilling is safest and most reliable. Adhesive can fail in extreme temperatures or storms.
Do I Need Internet For The Camera To Work?
You need Wi-Fi for live streaming, alerts, and cloud backup. Some models can record to MicroSD without internet, but you won’t get instant notifications or remote viewing.
Is The Camera Safe In Heavy Rain Or Snow?
If rated IP65 or higher, your camera should handle normal rain and snow. Always check seals and consider extra weatherproofing for cables. Extreme weather can still affect solar charging.
What If My Wi-fi Signal Is Weak At The Camera Spot?
Try moving your router, adding a Wi-Fi extender, or using a mesh network. Some rural users set up point-to-point Wi-Fi bridges for cameras far from the house.
Getting your intelligent solar energy alert PTZ camera set up is one of the best ways to boost security without monthly bills or complex wiring. With the right location, careful installation, and regular checks, you’ll enjoy peace of mind and smart alerts for years to come. The initial work pays off every time you get a helpful notification or catch a problem early—using just the power of the sun.

Credit: www.youtube.com