
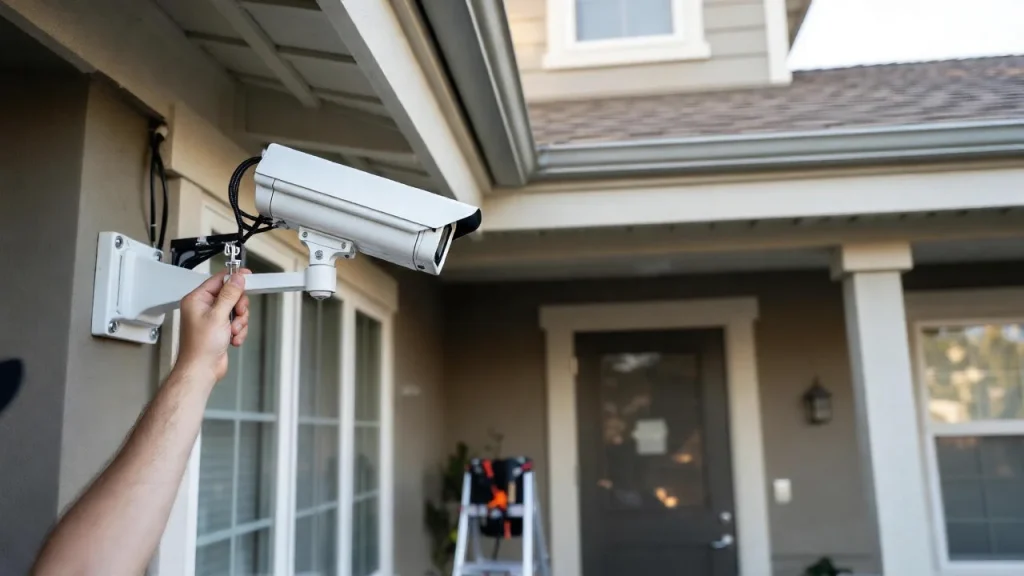
Are you looking to boost the safety of your home or business? Installing security cameras is one of the smartest moves you can make.
But if you’re worried it might be too complicated or expensive, don’t be. In this guide, you’ll discover simple, step-by-step instructions to set up your own security cameras quickly and effectively. By the end, you’ll have peace of mind knowing your property is protected.
Ready to take control of your security? Let’s get started.
Choosing The Right Security Cameras
Choosing the right security cameras is important for your home safety. The right camera fits your needs and your budget. It also helps you watch the right areas clearly. Knowing the types of cameras and their features makes the choice easier.
Types Of Security Cameras
There are many types of security cameras. Dome cameras are small and blend with ceilings. Bullet cameras are long and visible. They act as a strong warning. PTZ cameras can move and zoom. They cover large spaces well. Each type fits different needs.
Indoor Vs Outdoor Cameras
Indoor cameras are smaller and focus on rooms inside. They do not need to resist weather. Outdoor cameras are built to handle rain, heat, and cold. They have stronger cases and sometimes night vision. Use outdoor cameras for yards and doors. Indoor cameras are best for living rooms and hallways.
Wired Vs Wireless Options
Wired cameras connect with cables. They give steady video without interruptions. They need more work to install. Wireless cameras use Wi-Fi or batteries. They are easier to place anywhere. But their signal can be weak sometimes. Pick wired for reliability and wireless for easy setup.
Planning Your Camera Setup
Planning your camera setup is the first step to a secure home or business. Careful planning helps cover all important spots. It ensures your cameras work well and keep you safe. Take time to think about the best places and conditions for your cameras.
Identifying Key Areas To Monitor
Start by finding the most important areas to watch. Entrances, driveways, and backyards often need cameras. Think about places where people enter or valuables are stored. Focus on spots with high traffic or risk. This helps catch any unusual activity early.
Considering Lighting And Angles
Good lighting makes cameras work better. Choose spots with enough light or add lights if needed. Avoid direct sunlight or glare that can blur images. Set cameras at angles that capture faces and movements clearly. Test different positions before finalizing the setup.
Assessing Power And Connectivity Needs
Check where you can get power for your cameras. Some use batteries; others need plugs. Plan for a steady power source to avoid outages. Also, think about how cameras connect to your network. Strong Wi-Fi or wired connections give better video quality and reliability.
Gathering Tools And Materials
Gathering the right tools and materials makes installing security cameras easier. This step saves time and avoids frustration. Having everything ready ensures a smooth setup process. It also helps avoid multiple trips to the store.
Below are essential tools and some additional accessories. These items help secure cameras properly and improve their performance.
Essential Installation Tools
- Drill with various drill bits for mounting
- Screwdriver, both flathead and Phillips
- Measuring tape to mark placement
- Level to keep cameras straight
- Wire stripper for cable connections
- Hammer for anchors or nails
- Stud finder to locate wall studs
- Electrical tape for securing wires
Additional Accessories
- Extra screws and wall anchors
- Extension cables for long distances
- Cable clips or ties to organize wires
- Weatherproof housing for outdoor cameras
- Power adapters or backup batteries
- Network cables for wired setups
- Protective gloves for safety
Installing Security Cameras
Installing security cameras is a key step to protect your home or business. Proper installation ensures clear video and reliable performance. This section guides you through mounting cameras, running cables, and setting up wireless models.
Mounting The Cameras
Choose a high spot with a clear view for each camera. Use a drill to fix the mounting bracket securely. Tighten screws so the camera stays stable. Point the lens toward the area you want to watch. Test angles before finalizing the position.
Running Cables And Connections
Plan cable routes that avoid obstacles and weather exposure. Use cable clips to keep wires neat and secure. Connect power and video cables firmly. Seal any holes to stop water or pests from entering. Check all connections for tightness to avoid signal loss.
Setting Up Wireless Cameras
Place cameras within range of your Wi-Fi router for strong signals. Follow the manufacturer’s app instructions to connect cameras to your network. Set passwords to keep your feed private. Test video quality and connection stability after setup. Adjust placement if the signal weakens.
Configuring Camera Settings
Configuring camera settings is a key step in setting up your security system. Proper setup ensures clear images and timely alerts. It also helps your camera work smoothly on your network. Follow these simple steps to adjust your camera for the best performance.
Connecting To Network
Start by linking your camera to your Wi-Fi or wired network. Use the camera’s app or web portal to find the network settings. Enter your Wi-Fi name and password carefully. Check that the camera shows it is online. This connection lets you view live video remotely and receive updates.
Adjusting Camera Angles And Focus
Position your camera for the best view of the area. Move it slowly to cover all important spots. Use the camera’s focus ring or settings to sharpen the image. Make sure the picture is clear and not blurry. Proper angle and focus improve the camera’s usefulness.
Setting Motion Detection And Alerts
Turn on motion detection to catch any activity. Set the detection area to avoid false alarms from pets or passing cars. Choose how sensitive the motion sensor should be. Enable alerts to get notifications on your phone or email. This setup keeps you informed of any unusual movement.
Testing And Troubleshooting
Testing and troubleshooting are key steps after installing security cameras. They ensure the cameras work well and cover the right areas. Checking the system early helps avoid problems later. This process saves time and improves safety. Here is how to test and fix common issues.
Verifying Camera Coverage
Check each camera’s view carefully. Walk around the area to see what the camera records. Adjust the angle if blind spots appear. Make sure doors, windows, and entry points are visible. Use the camera’s live feed on your monitor. Confirm the image is clear and bright. Test night vision in dark conditions. Proper coverage means better security and fewer surprises.
Resolving Common Issues
Start by checking power connections if the camera does not turn on. Make sure cables are secure and not damaged. Restart the camera or the system if the image freezes. Clean the camera lens to remove dust or dirt. Check the Wi-Fi signal for wireless cameras; weak signals cause poor video. Update the camera software regularly for best performance. Consult the manual for error codes or warning lights. Simple fixes often solve most problems quickly.
Maintaining Your Security System
Maintaining your security system is important for keeping it reliable and effective. Regular care helps your cameras work well and last longer. It also ensures clear video and fast response times. Small tasks done often prevent big problems later.
Regular Cleaning And Inspection
Dust, dirt, and spider webs can block your camera lenses. Clean the lenses gently with a soft cloth every few weeks. Check the camera housing for cracks or damage. Inspect cables and connections to ensure they are secure and not worn out. Test the camera angles to confirm full coverage. Look for any signs of tampering or vandalism around the cameras.
Updating Firmware And Software
Security cameras use firmware and software to operate. Updates fix bugs and improve security features. Check the manufacturer’s website or app regularly for updates. Install updates as soon as they are available. Outdated software can cause malfunctions or vulnerabilities. Keep your system’s app updated on your phone or computer too.
Frequently Asked Questions
How Do I Choose The Best Security Camera?
Choose cameras based on location, purpose, and budget. Consider resolution, night vision, and weather resistance. Wireless models offer flexible installation. Check compatibility with your smartphone or system for easy monitoring.
What Tools Are Needed To Install Security Cameras?
Common tools include a drill, screwdriver, screws, anchors, and a ladder. You may need a cable stripper for wired setups. Always have a measuring tape and pencil for accurate placement and alignment.
Can I Install Security Cameras Myself?
Yes, DIY installation is possible with basic tools and instructions. Follow the manufacturer’s guide carefully. Ensure proper wiring and placement for optimal coverage. For complex systems, professional help is recommended.
Where Should Security Cameras Be Installed?
Install cameras at entry points like doors and windows. Cover high-traffic areas and blind spots. Position cameras high to avoid tampering. Ensure clear, unobstructed views for effective surveillance.
Conclusion
Installing security cameras can help keep your home safe. Choose good spots with a clear view. Follow the steps carefully for a strong setup. Test the cameras to make sure they work well. Regular checks will keep your system running smoothly.
A simple setup can give you peace of mind every day. Take your time and do it right. Safe homes start with smart choices.