
Installing a SimpliSafe Outdoor Camera with a solar panel is a smart way to keep your home secure while reducing the need for frequent battery charging. This setup is popular because it combines the latest in home security tech with eco-friendly, low-maintenance power. Whether you’re adding to an existing SimpliSafe system or setting up your very first outdoor camera, connecting it to a solar panel brings several benefits—like continuous power, less hassle, and peace of mind.
Yet, even though the process is straightforward, many users face small problems that slow them down. Some struggle with choosing the right location for the camera and solar panel. Others don’t realize how much sunlight their panel truly needs. And sometimes, a small mistake in the setup can lead to frustrating connection issues.
This guide walks you through every step, from planning and unboxing to mounting, connecting, and troubleshooting. Along the way, you’ll find practical advice, data, and tips that even experienced DIYers might not know.
Why Pair Simplisafe Outdoor Cameras With A Solar Panel?
Before you start, it helps to understand why this combination is such a good idea. The SimpliSafe Outdoor Camera is designed for all-weather use and works seamlessly with SimpliSafe alarm systems. But like most battery-powered cameras, it needs regular recharging—unless you add a solar panel.
Using a solar panel means:
- Continuous charging: No need to bring the camera inside for charging.
- Lower maintenance: Set it and forget it—solar power keeps your battery topped up.
- Eco-friendly: Reduces your reliance on traditional electricity.
- Fewer interruptions: Your camera stays online longer, so you never miss important footage.
If you live in an area with at least 2 hours of direct sunlight per day, a solar panel can keep your camera running almost indefinitely. Plus, the SimpliSafe solar panel is designed to be compact and easy to mount, making it simple for most homeowners to install themselves.
What’s Included In The Box?
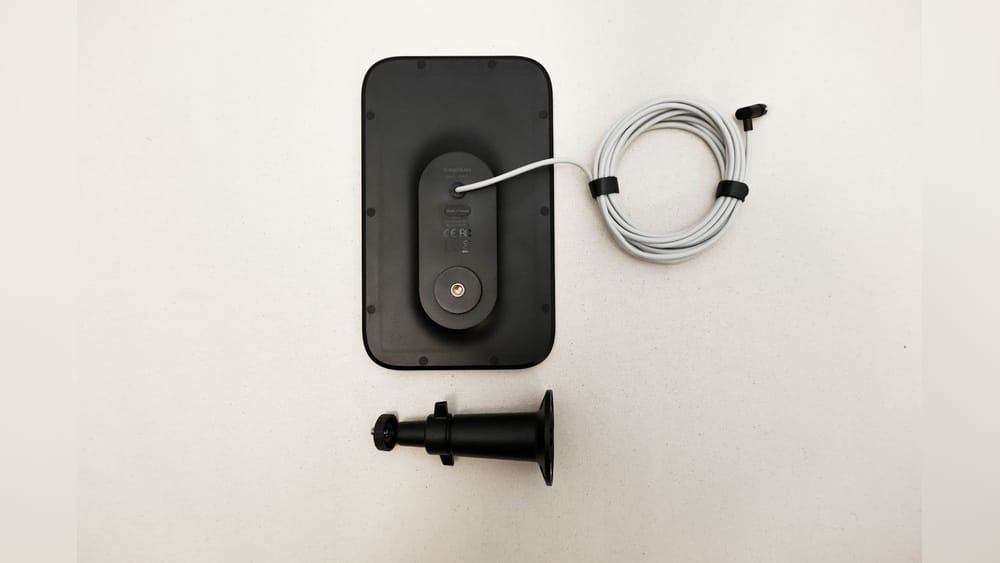
Knowing exactly what’s inside your SimpliSafe Outdoor Camera and solar panel kits prevents surprises during installation. Here’s what you’ll typically find:
Simplisafe Outdoor Camera Kit
- 1 Outdoor Camera (with rechargeable battery)
- 1 Mounting bracket and screws
- 1 USB charging cable
- 1 Quick-start guide
Simplisafe Solar Panel Kit
- 1 Solar panel (weather-resistant)
- 1 Adjustable mounting arm and screws
- 1 Power cable (usually 13–16 feet)
- 1 Setup guide
It’s a good idea to lay out all the parts and check that nothing is missing before you begin. Missing hardware can delay your install and force extra trips to the store.
Essential Tools And Materials
Most people can install a SimpliSafe Outdoor Camera with just basic tools. Still, having everything ready saves time and frustration. Here’s what you’ll need:
- Phillips screwdriver
- Drill with bits (if mounting on masonry or wood)
- Ladder (for higher mounting points)
- Measuring tape
- Smartphone or tablet (with SimpliSafe app installed)
- Pencil or marker
- Safety glasses (for drilling)
- Level (optional, for precise alignment)
If you’re mounting on brick, concrete, or stucco, you may also want wall anchors. Most kits include these, but double-check before you start.
Planning Your Installation
A successful install starts with good planning. Think about where you want to place your camera and solar panel for the best coverage and charging. These steps help you avoid common mistakes.
Picking The Best Camera Location
For maximum security and clear video, consider these factors:
- Field of view: Mount the camera so it faces the area you want to monitor (driveway, front door, backyard, etc. ).
- Height: 7–9 feet above the ground is ideal. This keeps the camera out of easy reach but still gives a clear image.
- Wi-Fi signal: Test the Wi-Fi strength at your chosen spot. Weak signals can cause lag or missed recordings.
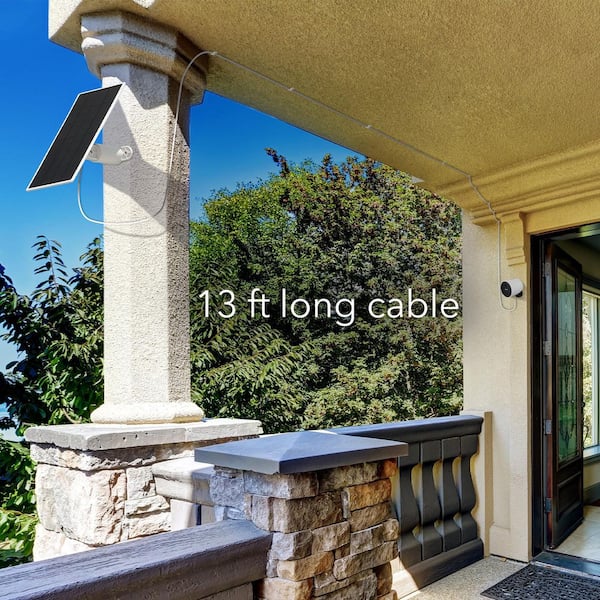
- Power cable reach: The solar panel’s cable must reach from the panel to the camera’s charging port. Avoid stretching or leaving cable hanging loosely.
- Lighting: Avoid placing the camera where bright lights point directly into the lens at night.
Choosing The Solar Panel Location
A solar panel’s performance depends on sunlight. Keep these points in mind:
- Direct sunlight: Aim for at least 2–3 hours of direct sunlight per day.
- Angle: Tilt the panel toward the sun (usually facing south in the US).
- Shade: Avoid placing the panel under trees, eaves, or anything that casts shade.
- Distance: The panel should be close enough to the camera for the cable to reach without tension.
Example: Camera And Solar Panel Placement
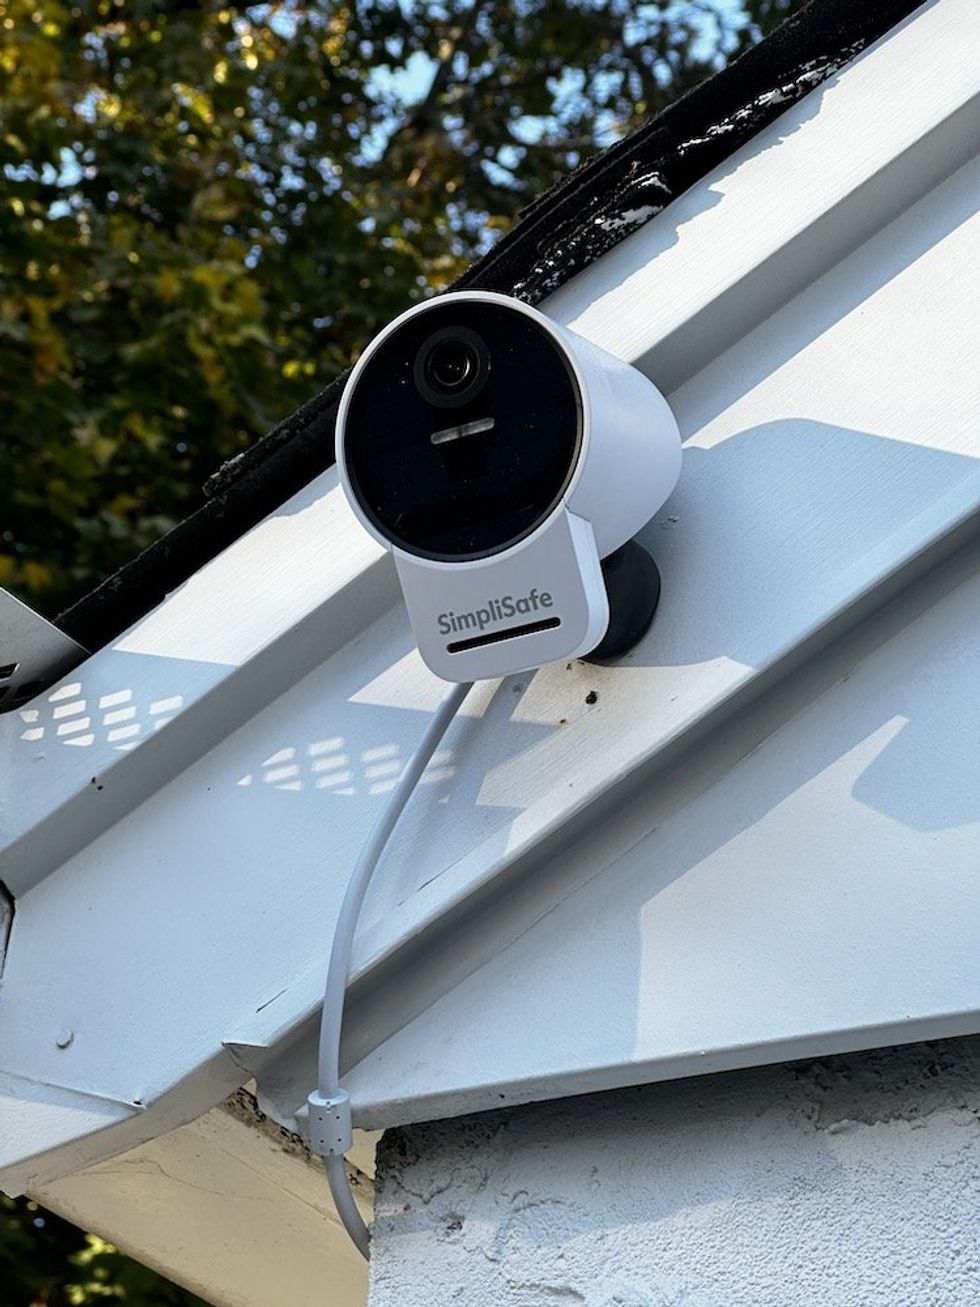
Suppose you’re installing the camera above your garage to watch the driveway. You might mount the camera just below the roofline and place the solar panel on a nearby section of wall or roof that gets sun most of the day.
Use the cable’s length to your advantage—don’t force the panel into a shaded spot just because it’s convenient.
Step-by-step Installation Guide
With planning done, you’re ready to install. Here’s how to do it safely and efficiently.
1. Set Up The Camera Indoors
Before mounting outside, connect your camera to the SimpliSafe app:
- Download and open the SimpliSafe app on your phone or tablet.
- Log in or create an account.
- Select “Add Camera” and follow the prompts.
- Insert the battery into the camera.
- Use the app to scan the QR code on the camera.
- Connect to your Wi-Fi network as instructed.
It’s easier to troubleshoot connection problems indoors, before the camera is out of reach.
2. Charge The Battery Fully
Even if you plan to use the solar panel, charge the camera’s battery to 100% before installing outside. This ensures it’s ready to work from day one, and lets the solar panel maintain rather than “catch up. ”
3. Test Wi-fi Signal Strength
Take your camera (powered on) to your planned mounting spot. Use the SimpliSafe app to check the signal strength. If the signal is weak, try moving your Wi-Fi router closer, adding a range extender, or picking a different location.
4. Mark Mounting Points
Use the mounting bracket as a template. Hold it against the wall or surface where you want to install the camera. Use a pencil to mark the screw holes.
Repeat this step for the solar panel’s mounting arm, making sure the panel will get enough sunlight and the cable can reach the camera.
5. Drill Holes And Insert Anchors (if Needed)
Use a drill to make holes at the marked spots. For brick, concrete, or stucco, insert wall anchors for extra strength. For wood or siding, anchors may not be necessary.
6. Attach The Mounting Brackets
Secure the camera’s mounting bracket to the wall with screws. Tighten them until the bracket is snug, but avoid overtightening, which can crack plastic or strip screws.
Do the same for the solar panel’s bracket.
7. Mount The Camera
Slide or snap the camera onto its bracket. You’ll hear a click or feel it lock in place. Adjust the angle so it covers your target area.
8. Install The Solar Panel
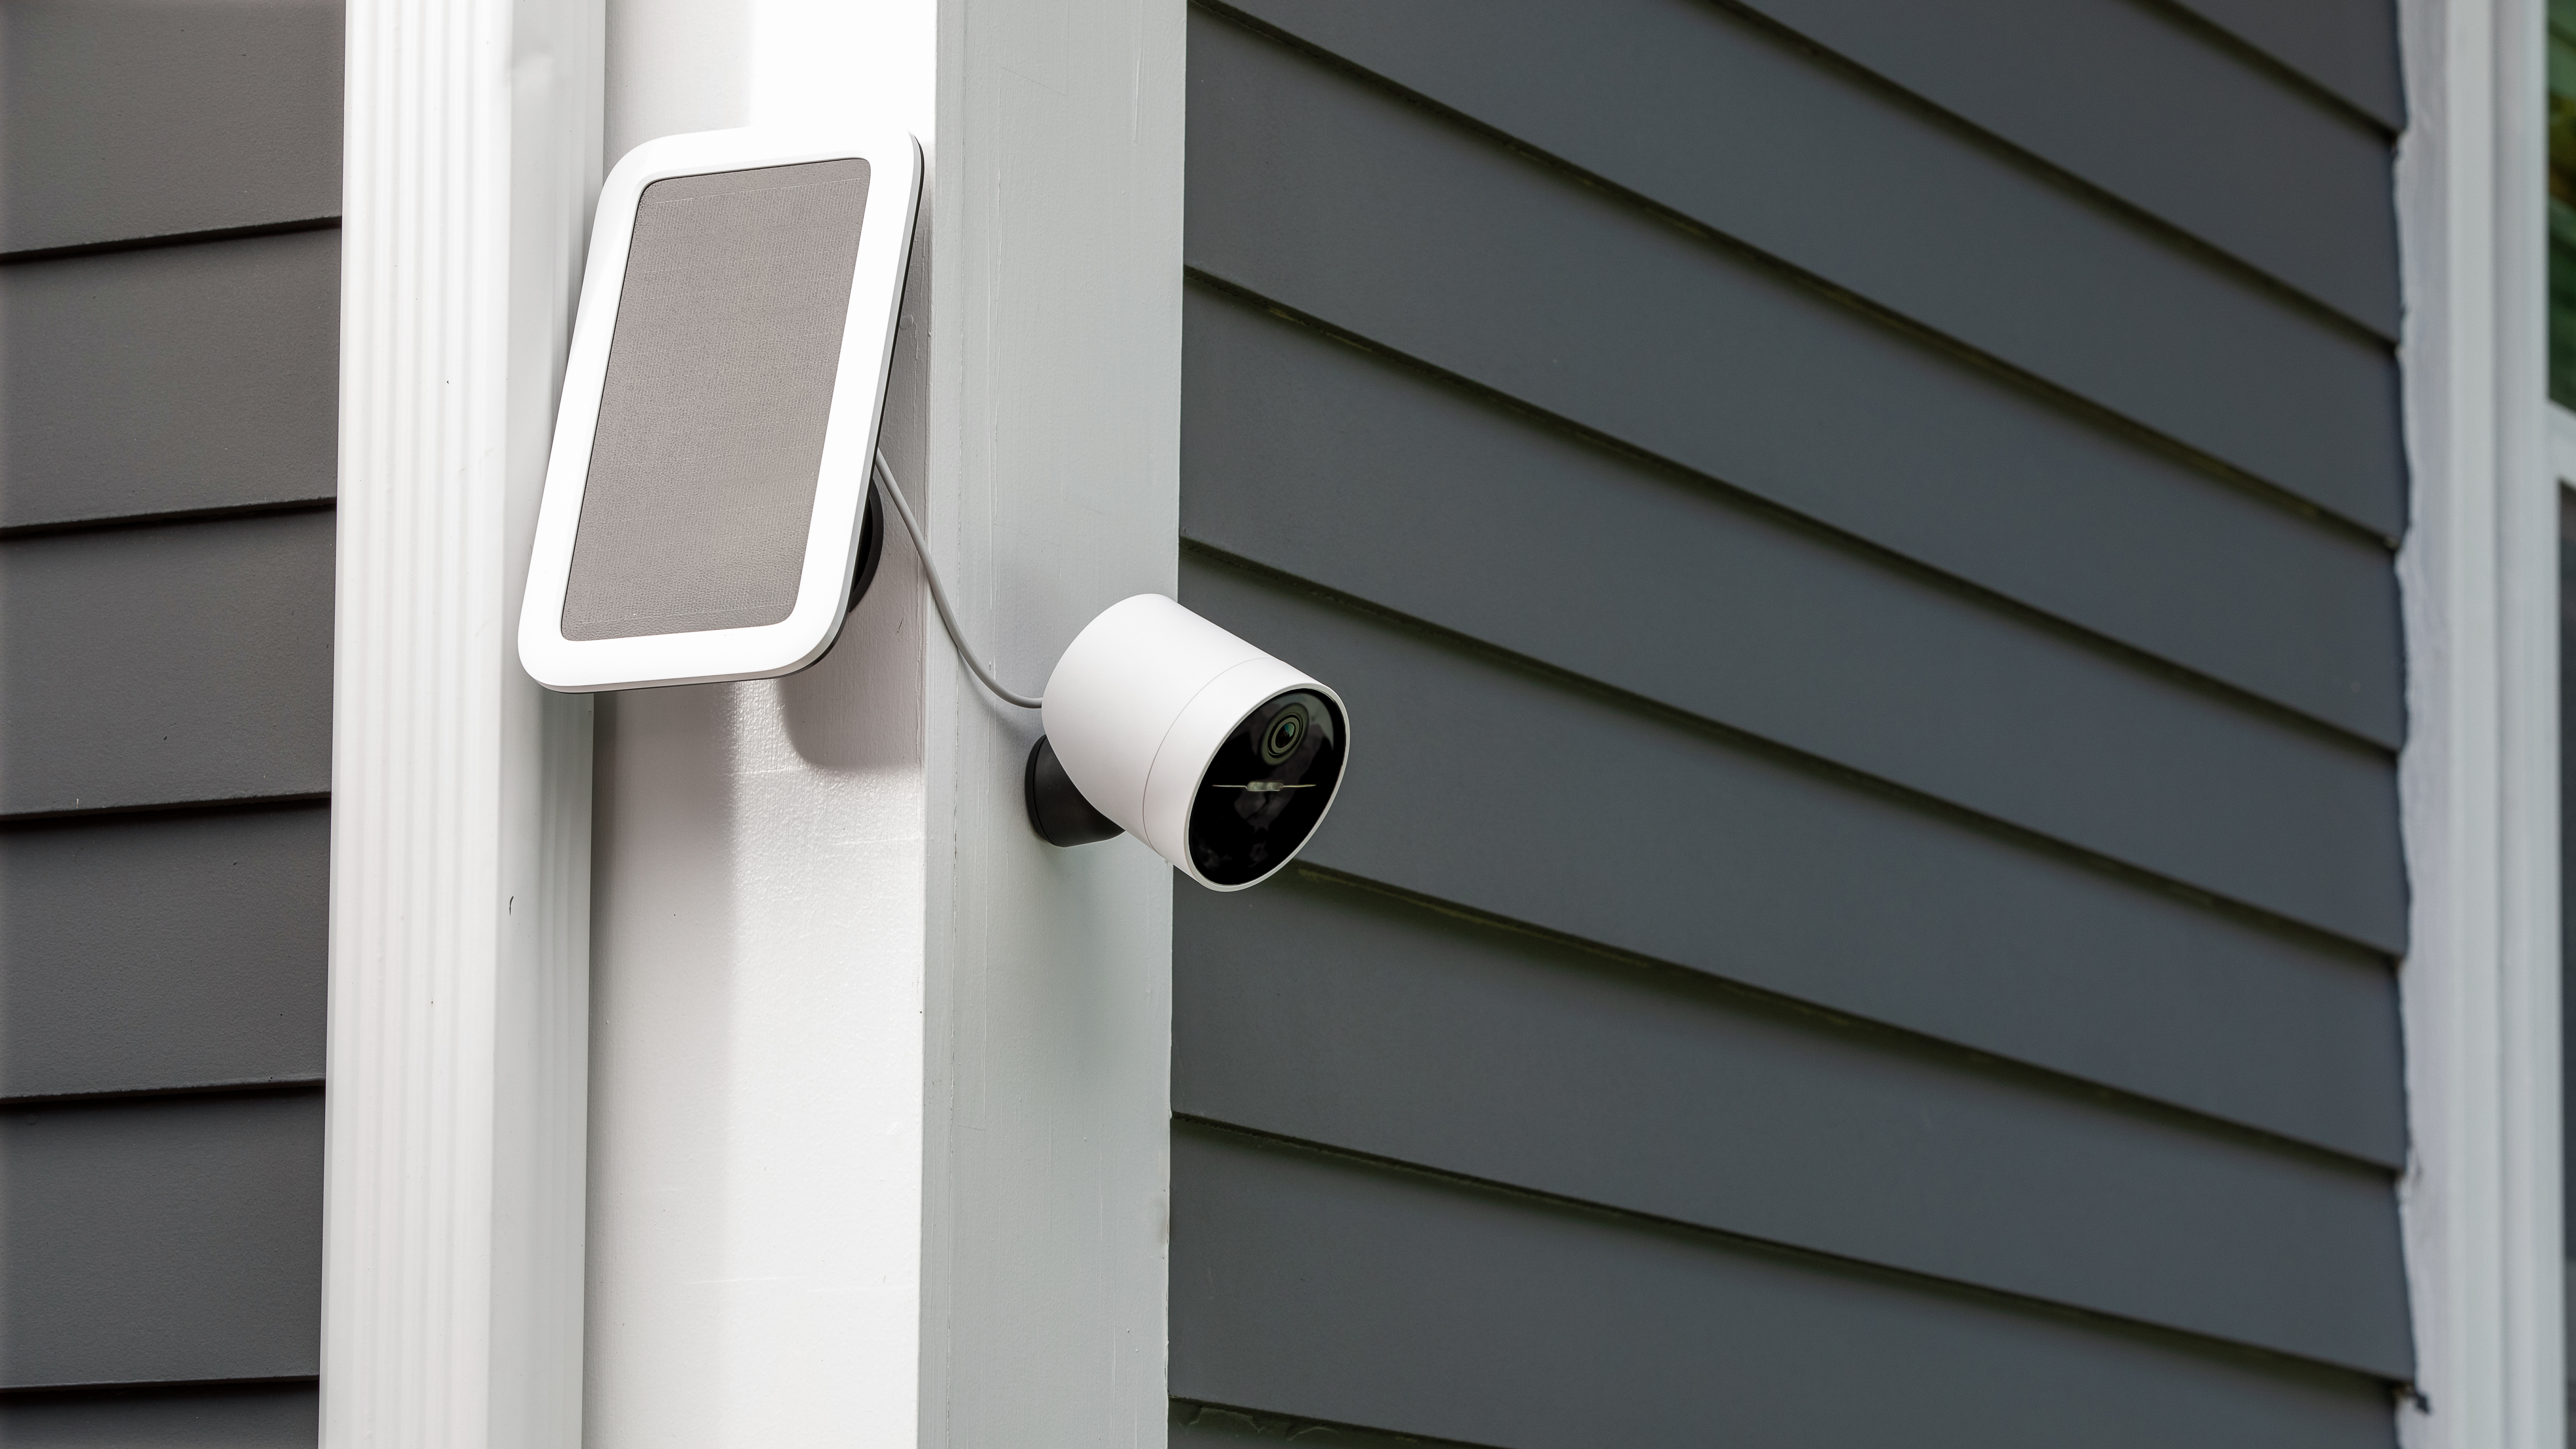
Attach the solar panel to its mounting arm. Tilt the panel toward the sun for best charging. Secure all screws.
Connect the panel’s cable to the camera’s charging port. Use included clips or cable ties to secure the cable neatly along the wall. Avoid sharp bends, pinching, or leaving excess cable hanging.
9. Final System Check
Open the SimpliSafe app and check the live camera feed. Make sure the camera is streaming video, the battery is charging, and the view is clear.
If possible, walk through the monitored area to trigger a motion alert. Confirm that notifications arrive on your device.
Data Table: Simplisafe Outdoor Camera Vs Key Competitors
To help you understand how SimpliSafe’s outdoor camera with solar panel compares to similar products, here’s a quick data comparison:
| Feature | SimpliSafe Outdoor Camera | Arlo Pro 4 | Ring Stick Up Cam |
|---|---|---|---|
| Resolution | 1080p HD | 2K | 1080p HD |
| Field of View | 140° | 160° | 130° |
| Solar Panel Option | Yes | Yes | Yes |
| Battery Life (w/ Solar) | Continuous | Continuous | Continuous |
| Weather Resistance | IP65 | IP65 | IPX5 |
| Integration | SimpliSafe System | Arlo Secure, Smart Home | Ring, Alexa |
Optimizing Sunlight For Your Solar Panel
Many people assume just any sunlight is enough for a solar panel, but a few extra steps can make a big difference in charging performance.
- South-facing panels: In the Northern Hemisphere, panels facing south gather the most sunlight.
- Tilt angle: A tilt between 30° and 45° usually works best for year-round charging.
- Avoid obstacles: Even partial shade can reduce power by 50% or more.
- Seasonal changes: In winter, the sun is lower. Adjust your panel’s angle if possible.
Performance Example
A typical SimpliSafe solar panel generates about 2–3 watts under direct sunlight. In strong sun, just 2 hours can top up most of the camera’s daily needs. But heavy shade or dirt on the panel can reduce output—so clean it every few months for best results.
Cable Management And Weatherproofing
A neat, weatherproof installation not only looks better but also protects your equipment. Here’s how to do it right:
- Use cable clips: Secure the solar panel cable along walls or under eaves. Loose cables are more likely to get damaged.
- Seal entry points: If you need to run the cable through a wall or window, seal the gap with weatherproof caulk to keep out water.
- Avoid sharp bends: Cables can break internally if bent too tightly.
- Leave a drip loop: Before the cable enters the camera, leave a small loop hanging down. This prevents rainwater from running along the cable into the camera’s port.
Troubleshooting Common Problems
Even with a careful install, you might face some issues. Here’s how to solve the most common ones:
Camera Not Charging
- Check sunlight: Is the solar panel in full sun for at least 2 hours daily?
- Inspect cable connections: Make sure the cable is fully plugged in at both ends.
- Clean the panel: Dust and dirt reduce charging.
- Test with USB charger: If the battery won’t charge via solar, try charging indoors. If it works, the issue is with the panel or cable.
Weak Wi-fi Signal
- Move your router: Closer to the camera if possible.
- Add a Wi-Fi extender: Especially in large homes or with brick walls.
- Change camera location: Sometimes moving just a few feet helps.
Camera Goes Offline At Night
- Battery too low: The camera may shut off if the battery isn’t charged enough during the day. Move the solar panel or reduce camera activity (like motion alerts) overnight.
- Firmware update: Use the SimpliSafe app to check for updates.
Video Quality Is Poor
- Clean the lens: Smudges or dirt can blur images.
- Check Wi-Fi: Slow connections reduce video quality.
- Adjust camera angle: Avoid pointing directly at bright lights.
Table: Solar Panel Placement Impact On Charging
To see how location affects solar charging, review this sample data:
| Panel Location | Sunlight Hours/Day | Battery Level at Day End | Charging Status |
|---|---|---|---|
| South Wall | 5 | 95% | Fully Charged |
| Under Eave | 1 | 60% | Partially Charged |
| East Wall | 3 | 80% | Mostly Charged |
| Shaded by Tree | 0.5 | 40% | Low Charge |
Notice how dramatically charging changes based on sunlight. Even a small move can double your panel’s power.
Non-obvious Insights For A Better Installation
Many guides miss a few useful tricks that can make your setup more reliable:
- Test before drilling: Temporarily mount the camera and solar panel with tape or zip ties first. Watch for a full day to confirm good Wi-Fi and charging before making permanent holes.
- Check for glare: Sun reflecting off windows or cars can cause lens flare or false motion alerts. Adjust angles to minimize this.
- Monitor battery in the app: The SimpliSafe app lets you see battery level and charging status. If you notice the battery dropping, adjust the panel sooner rather than waiting for a full drain.
- Consider camera privacy: Be sure your camera doesn’t point into neighbors’ windows or spaces where privacy is expected. In some states, this is a legal issue.
Maintenance Tips For Long-term Reliability
Once installed, a little routine care keeps your camera and solar panel working at their best.
- Clean the solar panel: Wipe with a damp cloth every 2–3 months.
- Check cable clips and mounts: Weather, animals, or strong winds can loosen hardware.
- Inspect after storms: Look for damage or moved parts.
- Update camera firmware: Regular updates fix bugs and improve performance.
- Replace battery every 2–3 years: Even with solar, lithium batteries wear out over time.
Credit: www.homedepot.com
Table: Key Installation Steps And Estimated Time
For planning, here’s a breakdown of each installation step and how long it typically takes:
| Step | Estimated Time | Notes |
|---|---|---|
| Unboxing & Prep | 10 mins | Check all parts, charge battery |
| Indoor Setup & App Pairing | 15 mins | Wi-Fi connection, app install |
| Mark & Drill Mounting Points | 10 mins | Use template for accuracy |
| Mount Camera & Panel | 20 mins | Includes cable management |
| Final System Check | 5 mins | Test video, motion, charging |
In total, plan for about 1 hour for a careful, complete installation.
How To Expand Your Simplisafe System
After installing your outdoor camera and solar panel, you might want to add more devices—like door sensors, extra cameras, or a video doorbell. The process is similar: use the SimpliSafe app to add each device, then follow the mounting instructions. Each camera can have its own solar panel, or you can use a single panel for two cameras if the panel is large enough and sunlight is strong.
For best results, keep all cameras within range of your Wi-Fi and make sure each panel gets enough sun. SimpliSafe supports up to 10 cameras on most plans, so you can scale up as needed.
Credit: trisummit.ca
When To Call A Professional
Most people can install a SimpliSafe Outdoor Camera and solar panel themselves. But in some cases, hiring a pro makes sense:
- High or hard-to-reach locations: If you’re not comfortable on a ladder, it’s safer to hire help.
- Complex wiring or drilling: Some homes have thick masonry, steel, or unusual surfaces.
- Custom integration: If you want your system to work with smart home devices or existing wiring, an expert can help.
You can find certified installers through SimpliSafe’s website or local home security companies.
Safety Reminders
Don’t forget these important safety tips:
- Turn off power: If you drill near electrical wires.
- Use a stable ladder: Don’t stretch or lean.
- Wear safety glasses: When drilling.
- Check local regulations: Some towns limit camera placement.
Frequently Asked Questions
How Long Does The Simplisafe Camera Battery Last With A Solar Panel?
When paired with a solar panel in a sunny spot, the battery remains charged continuously. In cloudy weather or winter, the battery may drop slightly, but it usually lasts for months without manual charging as long as the panel gets 2–3 hours of sun per day.
Can The Simplisafe Solar Panel Charge The Camera In The Shade?
No, the solar panel requires direct sunlight for best performance. In full shade, the panel may not charge at all, and the camera will eventually run out of battery. If partial shade is unavoidable, try to maximize sun exposure during peak hours.
Will The Simplisafe Outdoor Camera Work In Freezing Temperatures?
Yes, the camera is rated for temperatures down to -4°F (-20°C). The battery may drain faster in cold weather, so ensure the solar panel gets as much sun as possible. In extreme cold, battery-powered devices can lose some efficiency.
Credit: support.simplisafe.com
How Can I Tell If My Solar Panel Is Working?
Check the SimpliSafe app for the camera’s battery status. If the battery level increases during daylight, your panel is charging. Some panels have a small indicator light to show charging, but the app is the best way to confirm.
Can I Use A Third-party Solar Panel With The Simplisafe Camera?
SimpliSafe recommends their official solar panel for compatibility and warranty reasons. Third-party panels may not have the correct voltage or connectors, which could damage your camera or void your warranty. Always check specifications before trying alternatives. For more details, visit SimpliSafe Support.
Installing a SimpliSafe Outdoor Camera with a solar panel gives you reliable security with minimal effort. With careful planning, smart placement, and a few maintenance checks, you’ll enjoy continuous protection—no matter the season. Whether you’re a DIY beginner or an experienced homeowner, following these steps ensures a smooth install and lasting results.