
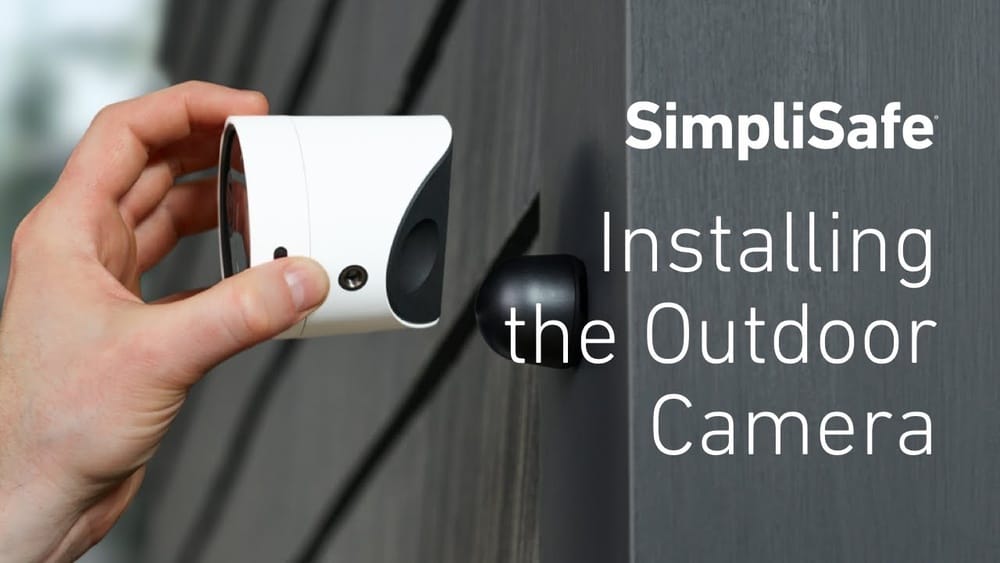
Setting up a Simplisafe Outdoor Camera is one of the best ways to improve your home’s security. But if you’ve never installed a smart camera before, the process can seem confusing. You might worry about connecting wires, setting up Wi-Fi, or finding the right spot. The good news is, Simplisafe designed their outdoor camera for easy installation—even for beginners.
This guide will walk you through every step of installing a Simplisafe Outdoor Camera, from unboxing to final adjustments. Along the way, you’ll learn what tools you really need, how to avoid common mistakes, and how to make sure your camera works perfectly.
Even if you don’t consider yourself “tech-savvy,” you’ll find clear explanations and practical tips to help you succeed.
By the end, you’ll not only have a working outdoor camera but also understand how to maintain it, troubleshoot problems, and get the most from your Simplisafe security system.
Why Choose The Simplisafe Outdoor Camera?
The Simplisafe Outdoor Camera is a popular choice for homeowners and renters who want a simple, effective way to watch over their property. Unlike many traditional security cameras, this model is wire-free, weatherproof, and integrates smoothly with the rest of the Simplisafe system. Here’s why people choose it:
- Easy installation: No complicated wiring or drilling inside your house.
- Smart alerts: Get instant notifications on your phone if the camera detects motion.
- High-definition video: See clear footage, day or night, thanks to HD resolution and night vision.
- Two-way audio: Talk to visitors or warn off intruders from anywhere.
- Weather resistance: Designed to work in rain, snow, or extreme temperatures.
According to a 2023 survey by Statista, over 31% of U.S. households use smart home security cameras, and outdoor models like Simplisafe’s are growing fastest. Many users report feeling safer and more in control after adding cameras to their home setup.
What’s In The Box? Unpacking Your Simplisafe Outdoor Camera
Before you start, it’s important to know exactly what comes with your camera. Here’s what you’ll find inside a standard Simplisafe Outdoor Camera package:
- Outdoor camera unit
- Magnetic mounting bracket
- Screw kit (typically includes screws and wall anchors)
- Rechargeable battery pack
- USB charging cable
- Quick start guide
Some bundles may include extra batteries, a solar panel accessory, or an extended mount. Double-check your package before you begin—missing hardware can slow you down.
Pro tip: Keep the box and packaging materials until you’re done. If you need to return or exchange something, it’s easier with the original packaging.
Tools And Supplies You’ll Need
You don’t need fancy tools to install a Simplisafe Outdoor Camera. In most cases, you’ll only need:
- Power drill (with drill bits suitable for your wall type)
- Phillips screwdriver
- Pencil for marking mounting spots
- Step ladder (if installing high up)
- Smartphone or tablet with the Simplisafe app installed
If you’re mounting on brick, stone, or concrete, you’ll need masonry drill bits and stronger wall anchors. For wood or siding, the standard screws and anchors should be fine.
Non-obvious insight: Have a portable charger or a fully charged phone nearby. You’ll be using your phone for setup, and if the battery dies mid-process, it can be frustrating.
Planning Your Camera Location
Getting the location right is crucial for both security and camera performance. Here’s how to choose the best spot:
- Coverage area: Aim to cover main entry points—front door, back door, driveway, or gates.
- Height: Install the camera 7 to 10 feet above the ground. This height gives a good view and keeps the camera out of easy reach.
- Wi-Fi signal: The camera needs a strong Wi-Fi connection. Test your signal strength with your phone at the planned spot. If streaming video stutters or drops, consider a Wi-Fi extender.
- Sunlight and weather: Avoid direct sunlight, which can cause glare. Also, don’t point the camera directly at bright lights or reflective surfaces.
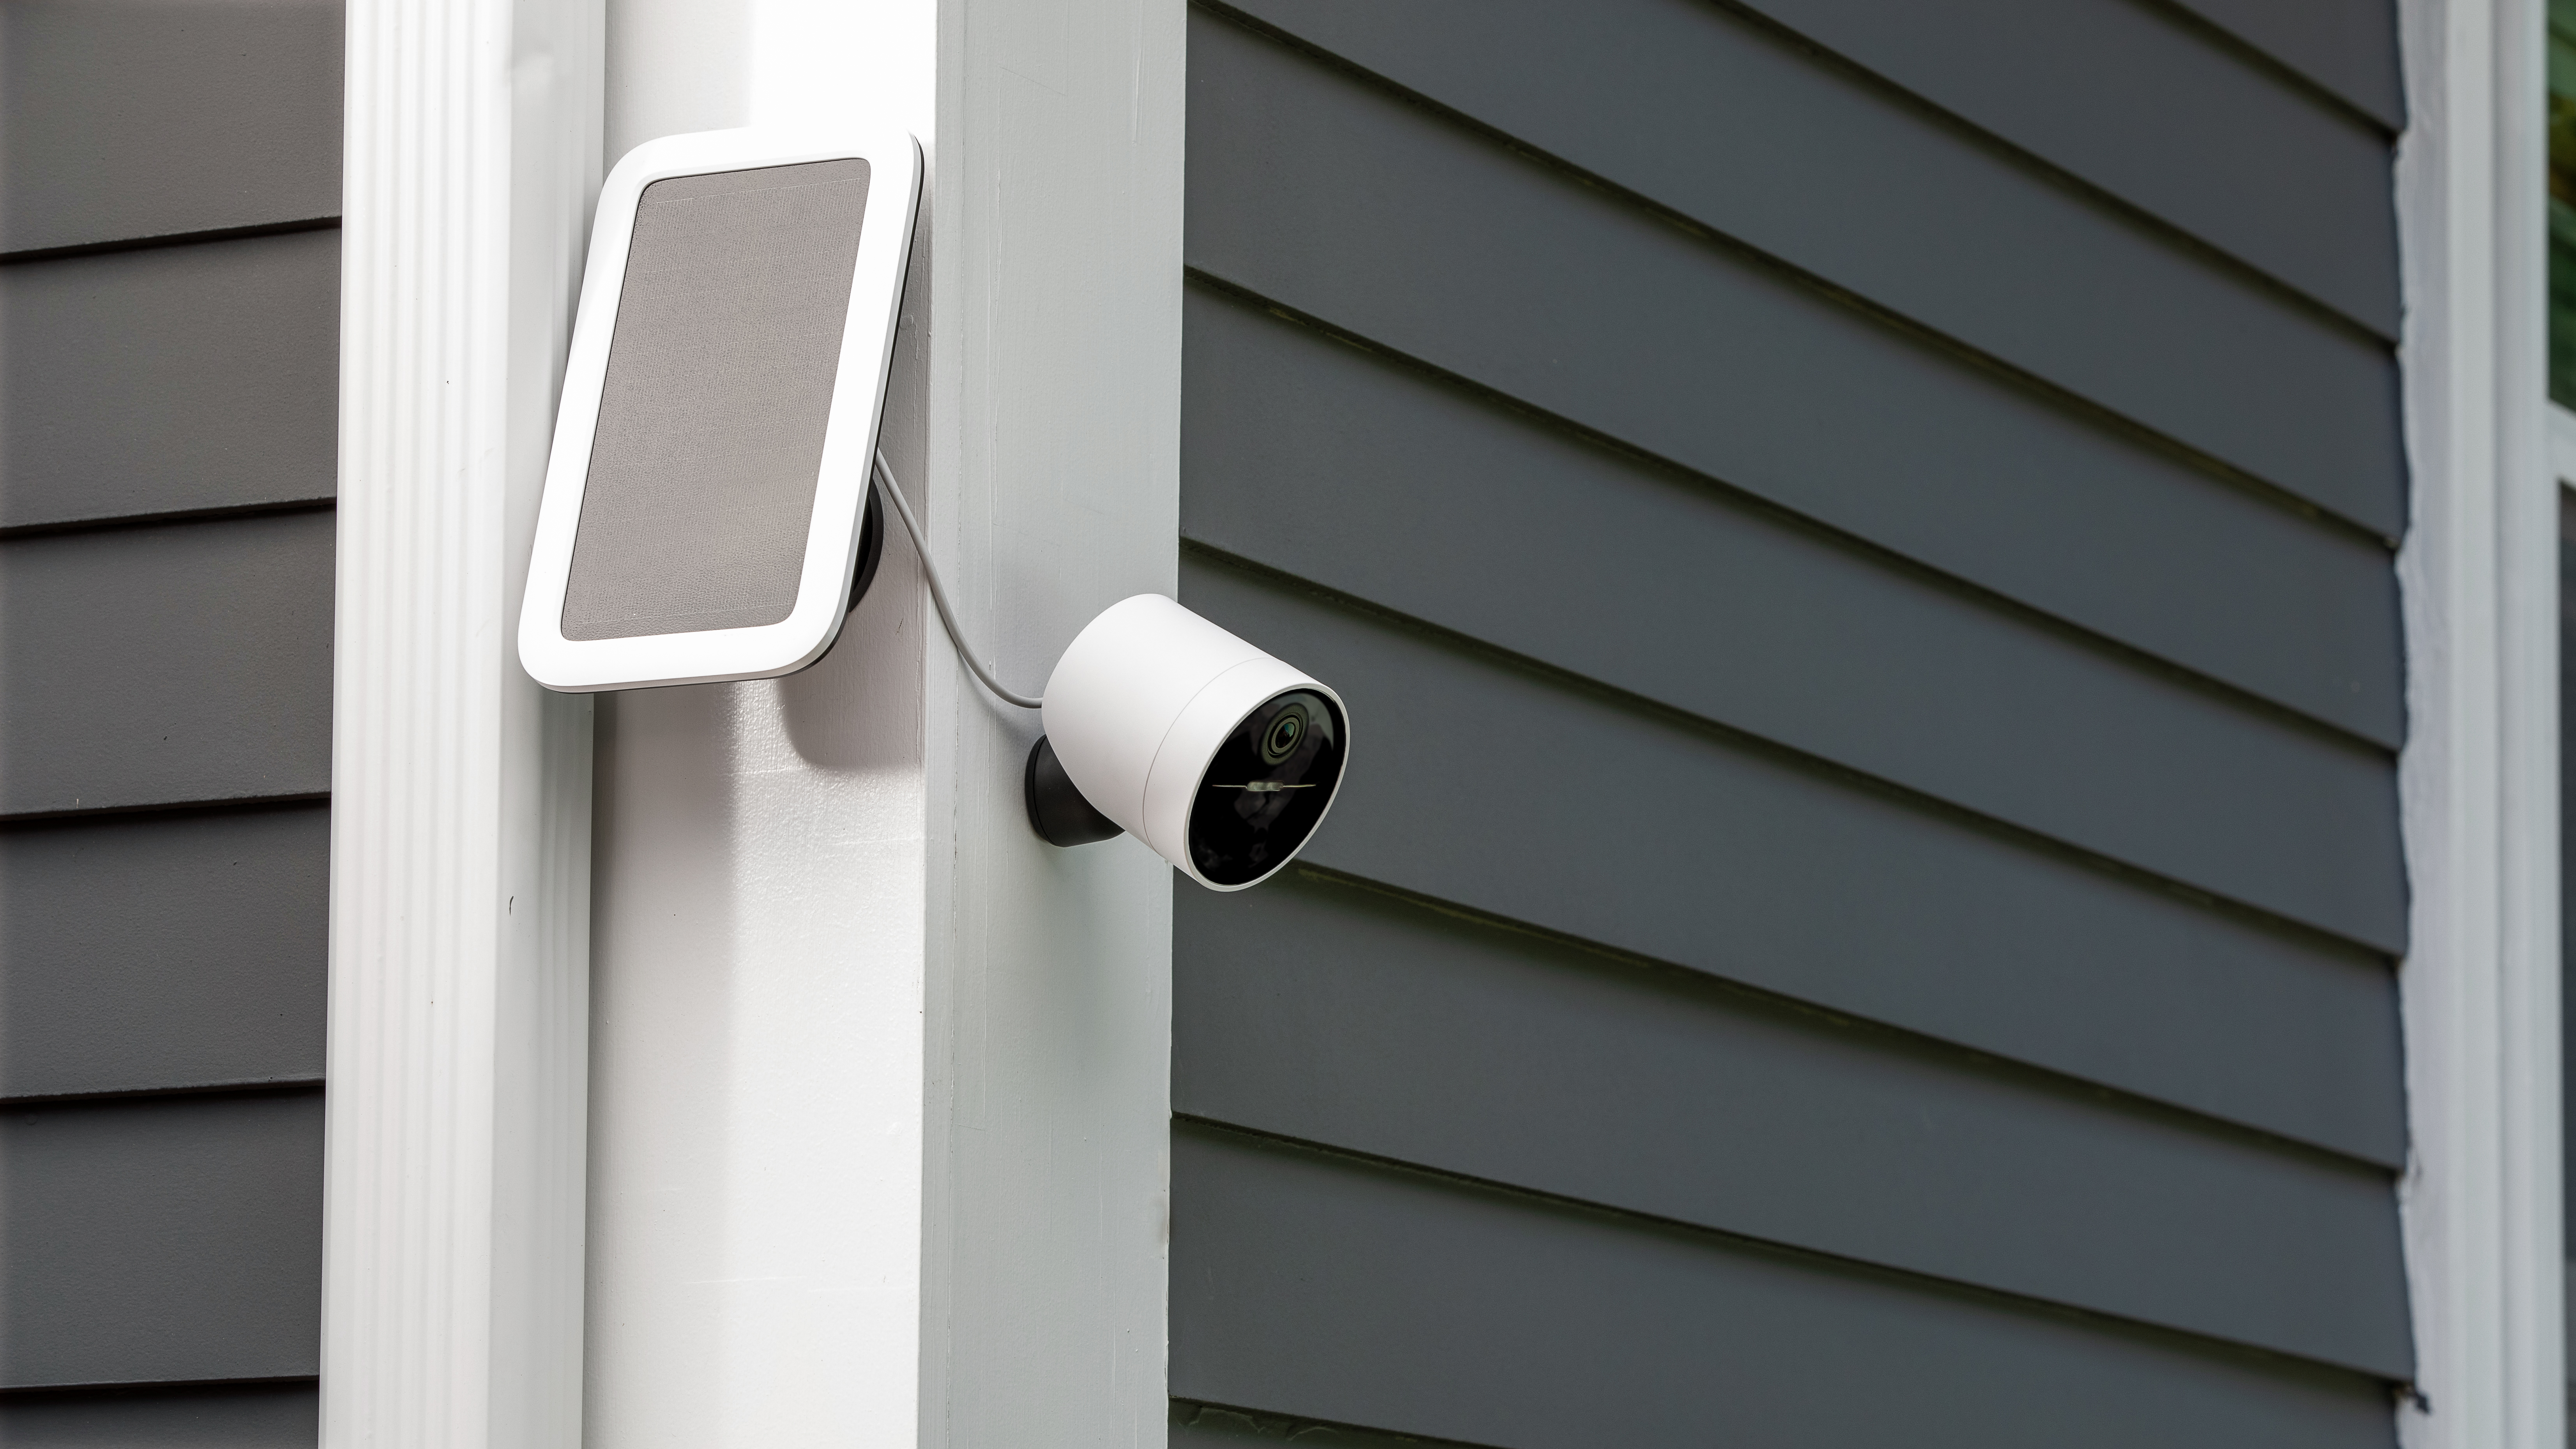
- Power access: The camera uses a rechargeable battery, but if you plan to use the optional solar panel, make sure the spot gets several hours of sunlight daily.
Example: Best And Worst Locations
- Good: Above the garage door, facing the driveway, under an eave for weather protection.
- Bad: Low fence post, pointed at the neighbor’s window, or a spot with weak Wi-Fi.
Non-obvious insight: Check for spiderwebs, tree branches, or gutters that could block the view or cause false motion alerts. A little extra planning saves headaches later.
Credit: support.simplisafe.com
Charging The Battery Before Installation
The Simplisafe Outdoor Camera runs on a rechargeable battery. It usually arrives partially charged, but it’s smart to fully charge it before installing.
- Remove the battery from the camera (if not already out).
- Connect the USB charging cable to the battery and plug into a wall charger (a phone charger works).
- Wait until the battery’s LED turns solid green (usually 5-6 hours for a full charge).
- Insert the battery back into the camera.
A full battery lasts up to 3-6 months, depending on usage and settings. Heavy recording, cold weather, or frequent live viewing can shorten battery life.
Practical tip: Buy a spare battery if you want zero downtime. Swap batteries when one runs low, and charge the other at your convenience.
Mounting The Camera: Step-by-step
Now it’s time for the main event—attaching your Simplisafe Outdoor Camera to your chosen spot. Follow these steps for a safe, secure install:
1. Mark The Mounting Holes
- Hold the magnetic mounting bracket against the wall where you want the camera.
- Use a pencil to mark the positions of the screw holes.
2. Drill The Holes
- For wood or siding: Use a standard drill bit.
- For brick, stucco, or concrete: Use a masonry bit, and insert the included wall anchors.
3. Attach The Bracket
- Line up the bracket with your pilot holes.
- Use the provided screws (and anchors if needed) to secure the bracket.
- Ensure the bracket is tight and does not wobble.
4. Attach The Camera
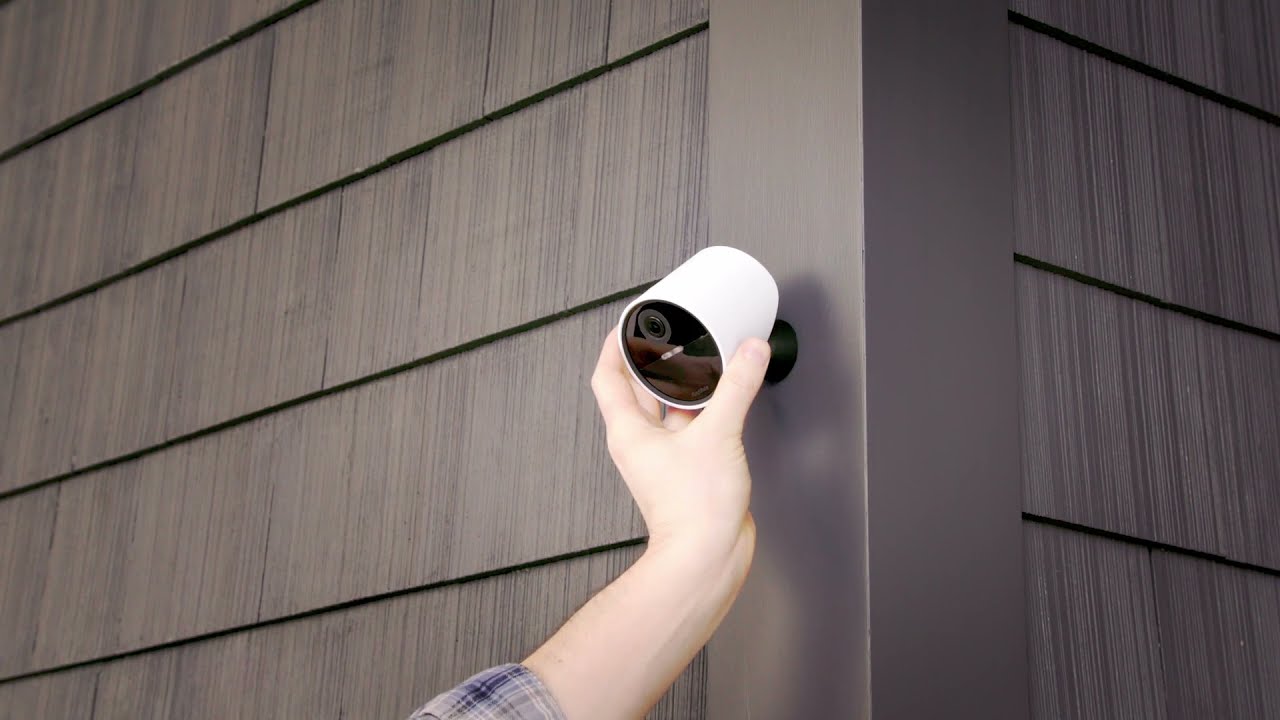
- Place the camera onto the bracket. The strong magnet will hold it in place.
- Adjust the camera angle by tilting or rotating it as needed.
5. Check Stability
- Gently nudge the camera to make sure it’s firmly attached.
- If it feels loose, double-check the screws and bracket.
Safety tip: Don’t climb a ladder alone. Ask someone to hold the ladder steady, especially if you’re working at height.

Credit: www.amazon.com
Connecting To Wi-fi And The Simplisafe App
Once the camera is physically installed, you need to connect it to your home’s Wi-Fi and the Simplisafe app. This step brings your camera to life.
1. Download And Open The Simplisafe App
- Available free on iOS and Android.
- Sign in or create a Simplisafe account.
2. Add A New Camera
- Tap the “Add Device” or “Set Up Camera” option.
- Select “Outdoor Camera” from the menu.
3. Follow In-app Instructions
- The app will ask you to scan a QR code displayed on your phone using the camera lens.
- If the camera doesn’t respond, check that the battery is installed and charged.
4. Connect To Wi-fi
- Choose your Wi-Fi network from the list.
- Enter your Wi-Fi password carefully.
- The camera should connect within 1-2 minutes.
5. Test Live View
- Once connected, test the live view in the app to make sure the camera is working.
- Adjust the camera angle if needed for the best view.
Troubleshooting tip: If the camera won’t connect, restart your router and try again. Make sure you’re using a 2.4 GHz Wi-Fi network; many outdoor cameras don’t support 5 GHz.
Camera Settings And Optimization
After installation, you’ll want to fine-tune your camera’s performance. The Simplisafe app gives you control over several important settings:
Motion Detection
- Set motion sensitivity (low, medium, high).
- Define activity zones to focus on important areas and reduce false alerts.
Notifications
- Choose whether to get instant alerts for motion, or only at certain times.
- Set up push notifications, email alerts, or both.
Video Quality
- Select HD or SD video. HD gives clearer images but uses more battery and data.
- Some users switch to SD for longer battery life.
Night Vision
- Turn night vision on, off, or set to auto.
- The camera uses infrared LEDs to see in the dark.
Privacy Settings
- Mute the microphone if you don’t want to record audio.
- Set up privacy zones to block out areas you don’t want recorded.
Firmware Updates
- Check for camera firmware updates in the app. Keeping software up-to-date improves security and adds features.
Practical example: If you live near a busy street, use activity zones to block out the sidewalk and focus only on your driveway or porch.
Common Installation Problems And How To Fix Them
Even with an easy system, things can go wrong. Here are the most frequent issues and how to solve them:
Camera Won’t Power On
- Check that the battery is charged and installed correctly.
- Try plugging the camera in with the USB cable to see if it responds.
- If still dead, contact Simplisafe support.
Can’t Connect To Wi-fi
- Make sure your Wi-Fi network is 2.4 GHz (not 5 GHz).
- Move your Wi-Fi router closer or use a Wi-Fi extender.
- Re-enter your Wi-Fi password; typos are common.
Poor Video Quality
- Check Wi-Fi signal strength. Weak signal causes blurry or laggy video.
- Lower the video quality in the app settings if your internet is slow.
- Clean the camera lens—dust or rain spots can reduce clarity.
False Motion Alerts
- Adjust motion sensitivity lower.
- Set up activity zones.
- Trim away branches or move objects that trigger alerts.
Camera Falls Off Or Feels Loose
- Make sure the bracket is tight and on a solid surface.
- Don’t mount on weak or crumbling walls.
- If mounting on vinyl or aluminum siding, use special siding mounts for more stability.
Non-obvious insight: If you live in a windy area, check after storms to make sure the camera is still aimed correctly. Strong winds can nudge the camera slightly out of position.
Comparing Simplisafe Outdoor Camera With Other Outdoor Cameras
Choosing the Simplisafe Outdoor Camera often means comparing it to similar models. Here’s a quick look at how it stacks up against other top brands:
| Feature | Simplisafe Outdoor | Arlo Pro 4 | Ring Spotlight Cam |
|---|---|---|---|
| Power Source | Rechargeable battery | Rechargeable battery | Battery or wired |
| Resolution | 1080p HD | 2K | 1080p HD |
| Night Vision | Infrared | Color & infrared | Infrared |
| Weatherproof Rating | IP65 | IP65 | IP55 |
| Smart Home Integration | Simplisafe only | Alexa, Google | Alexa, Google |
Key takeaway: Simplisafe Outdoor Camera is best for those who already use Simplisafe or want a straightforward, secure solution. If you need advanced smart home features, other brands might offer more options.
Maintaining Your Simplisafe Outdoor Camera
Regular maintenance keeps your camera working well year-round. Here are easy ways to keep your security system at its best:
- Clean the lens every month. Use a soft, dry cloth—never harsh chemicals.
- Check the battery level in the app every few weeks. Recharge as needed.
- Inspect the mount after storms or strong winds.
- Update firmware whenever the app notifies you.
- Clear away obstructions like spiderwebs, leaves, or snow.
Seasonal tip: In winter, brush off snow and ice. In spring, check for nests or insects near the camera.
Using Accessories: Solar Panel, Extended Mounts, And More
Simplisafe offers a few useful accessories to make your camera even better:
Solar Panel
- Purpose: Keeps the battery topped up using sunlight—great for hard-to-reach spots.
- Installation: Mount the solar panel where it gets at least 3 hours of direct sun daily.
- Connection: Plug the included cable into the camera’s charging port.
Extended Mount
- Purpose: Lets you install the camera on tricky surfaces or aim it at unusual angles.
- Installation: Follows the same steps as the regular bracket but gives more flexibility.
Extra Battery Pack
- Purpose: Swap batteries instantly, no downtime.
- Tip: Store spare batteries indoors to maximize their life.
Wi-fi Extender
- Purpose: Boosts signal to areas far from your router.
- Installation: Plug into an outlet halfway between your router and the camera.
Non-obvious insight: Avoid third-party accessories unless they’re Simplisafe-approved. Some cheap solar panels or mounts may not fit correctly or could void your warranty.
Integrating The Camera With Your Simplisafe System
The Simplisafe Outdoor Camera works best as part of a full Simplisafe security system. Here’s how to make the most of integration:
- Link the camera with your Simplisafe base station via the app for seamless monitoring.
- Set up automation: For example, when the alarm is triggered, the camera can record automatically.
- Share camera access with trusted family members through the app.
- Add multiple cameras to cover more areas; you can manage them all from one app.
Practical example: If you already have Simplisafe sensors or alarms, linking the camera ensures you get video clips every time a sensor is triggered.
Video Storage And Subscription Plans
Simplisafe offers flexible options for storing your camera’s video footage:
Free Plan
- Live view only
- No video history saved
- Good for real-time monitoring
Camera Recording Plan
- Unlimited recording for up to 10 cameras
- 30-day video history
- Download and share clips
Interactive Monitoring Plan
- Includes all camera features
- Professional monitoring for whole system
- Priority customer support
Here’s a quick comparison:
| Plan | Monthly Cost | Video Storage | Monitoring |
|---|---|---|---|
| Free | $0 | Live only | No |
| Camera Recording | $9.99 | 30 days | No |
| Interactive | $27.99 | 30 days | Yes |
Money-saving tip: If you only want to view live video and don’t need recordings, the free plan is enough. But for evidence or peace of mind, most users choose a paid plan.
For full details, visit the official Simplisafe plans page.
Maximizing Security With Camera Placement And Settings
A camera is only as good as its setup. Here’s how to get the best security value:
- Overlap coverage: If you have multiple cameras, aim for small overlaps between their fields of view. This prevents blind spots.
- Point at entryways: Focus on doors, garages, and paths people use most.
- Use “away” settings: Many users forget to adjust camera alerts when they leave home. Use the app’s “away” mode for extra vigilance.
- Check video at night: Make sure outdoor lighting and night vision work together. Add a porch light if footage is too dark.
- Review footage regularly, even if nothing happens. You’ll spot small problems before they become big ones.
Advanced tip: Combine the camera with Simplisafe’s doorbell camera for full front-door coverage. This duo catches faces and license plates.
Privacy And Legal Considerations
Outdoor cameras improve security, but it’s important to respect privacy and follow local laws. Here’s what you need to know:
- Don’t record neighbors: Aim your camera only at your property. Recording public sidewalks or neighbors’ windows can cause legal trouble.
- Disclose cameras: In many states, you must tell visitors if they’re being recorded.
- Follow HOA rules: If you live in a community with a homeowners association, check their policies before installing cameras.
- Audio recording laws: Some states require consent to record audio. Check your state’s rules.
Non-obvious insight: If you rent, ask your landlord before installing a camera. Many landlords appreciate the added security, but some want to approve installation first.
For more information, the Federal Trade Commission has helpful guidelines on privacy.
Troubleshooting Advanced Issues
Most problems are simple, but sometimes you’ll hit a snag that needs more than basic fixes. Here’s what to try:
Camera Disconnects Frequently
- Place a Wi-Fi extender closer to the camera.
- Update your router’s firmware.
- Limit other heavy internet use (like streaming) during setup.
Video Doesn’t Record
- Check your subscription status in the app.
- Make sure motion detection is on and activity zones are set correctly.
- Confirm the battery is charged and firmware is up-to-date.
App Doesn’t Show Live Video
- Restart your phone and the camera.
- Uninstall and reinstall the Simplisafe app.
- If you have multiple cameras, check that each one is named clearly in the app.
Camera Gets Wet Or Freezes
- The camera is weatherproof, but severe storms can still cause problems.
- Wipe off water or snow quickly.
- If the camera freezes, bring it inside to thaw and dry before reinstalling.
Expert tip: Keep Simplisafe customer support’s contact info handy. They offer phone, chat, and email support for technical issues.
Upgrading And Expanding Your Simplisafe System
One camera is a great start, but many users add more devices for full coverage. Here’s how to grow your system:
- Add more cameras: The app supports multiple cameras, so you can monitor all sides of your house.
- Integrate sensors: Simplisafe offers entry, motion, glass break, and environmental sensors.
- Link with smart locks: Some smart locks work with Simplisafe for added control.
- Use voice assistants: While Simplisafe’s integration is limited, you can use Alexa for basic arm/disarm commands.
Practical tip: Start with the most vulnerable area, then expand coverage as your budget allows. Many people add a second camera after seeing how useful the first one is.
Credit: www.youtube.com
Frequently Asked Questions
How Long Does The Battery Last In The Simplisafe Outdoor Camera?
The rechargeable battery typically lasts between 3 and 6 months on a full charge, depending on how often the camera records and your settings. Cold weather, frequent motion alerts, and live streaming can reduce battery life. For busy areas or harsh climates, consider getting a spare battery or a solar panel accessory.
Is The Simplisafe Outdoor Camera Waterproof?
Yes, the camera has an IP65 weatherproof rating. This means it is protected from dust and low-pressure water jets from any direction, making it suitable for rain, snow, and dust. However, it should not be submerged in water or installed where heavy, direct water spray is constant.
Can I Use The Simplisafe Outdoor Camera Without A Simplisafe Alarm System?
You can use the outdoor camera on its own through the Simplisafe app, but you’ll get more features and better integration if you have a Simplisafe base station or security system. Without the main system, you can still view live video and get motion alerts, but automation and some advanced features will be limited.
Does The Simplisafe Outdoor Camera Support Local Storage?
No, all video is stored in the Simplisafe cloud. There is no SD card slot or local storage option. You need a Simplisafe subscription plan for recorded video history. Live streaming is available for free, but cloud recording requires a paid plan.
How Do I Share Camera Access With Family Members?
You can add trusted users in the Simplisafe app by inviting them via email. Each person can have their own login and see live video, recordings, and camera notifications. This is helpful for families who want shared control or for giving temporary access to house-sitters.
Final Thoughts
Installing a Simplisafe Outdoor Camera is a smart move for anyone who wants more security and peace of mind at home. With its simple installation, reliable battery, and smart features, even beginners can set it up in under an hour. By choosing the right location, keeping the camera maintained, and using the app’s settings wisely, you’ll get clear, reliable video every day—rain or shine.
Security is most effective when you’re proactive. Check your camera’s view after storms, charge the battery before it runs low, and adjust settings as your needs change. And remember: good security is not just about technology—it’s about awareness, regular checks, and using each tool to its full potential.
If you’re ready to take control of your home’s safety, the Simplisafe Outdoor Camera is a great place to start. For further technical details or support, visit the official Simplisafe Outdoor Camera page.