
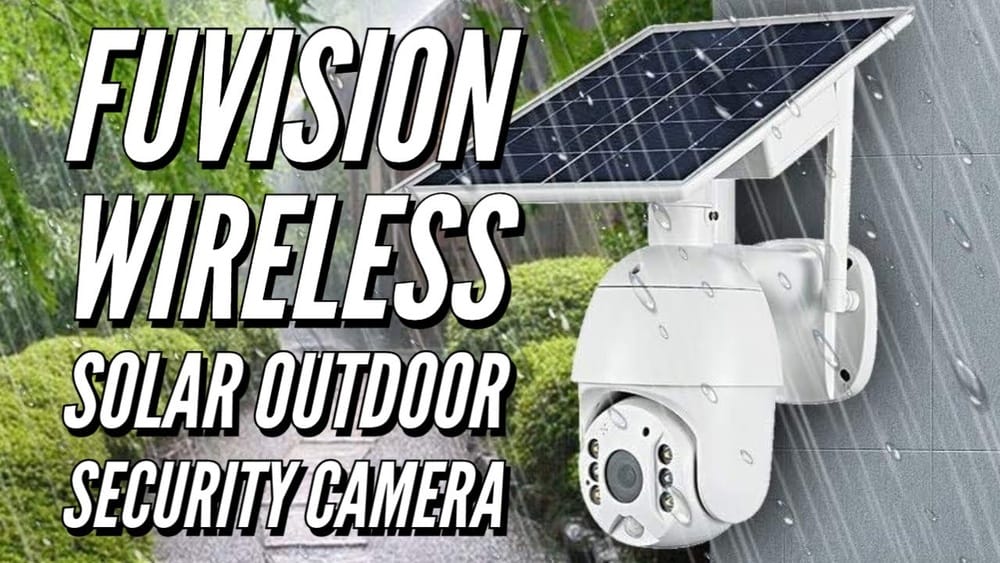
Solar cameras are gaining popularity as smart, eco-friendly security solutions for homes and businesses. They combine surveillance technology with solar energy, so you can monitor your property without worrying about electricity bills or complex wiring. If you’re thinking about getting a solar camera, knowing how to install it yourself can save you money and give you more control over your security.
This guide will take you step-by-step through the process, with real-world tips and insights even many beginners miss. By the end, you’ll feel confident setting up your own solar-powered security camera system.
What Is A Solar Camera And How Does It Work?
A solar camera is a security camera powered by solar energy. Instead of relying on electricity from your home, it uses a solar panel to capture sunlight and turn it into power. This energy is either used right away or stored in a battery for nighttime or cloudy days. Most solar cameras are wireless, making them easier to install and move.
Key Components Of A Solar Camera System
- Camera unit: The actual device that records video and sometimes audio.
- Solar panel: Captures sunlight and converts it into electricity.
- Rechargeable battery: Stores excess power for use when the sun isn’t shining.
- Mounting brackets: Hardware to attach the camera and solar panel to a wall, pole, or roof.
- Wireless module: Connects the camera to Wi-Fi for remote viewing.
Some models include extra features like motion detection, night vision, and two-way audio. Others offer cloud storage or local storage with SD cards.
Choosing The Right Solar Camera For Your Needs
Picking the right solar camera is the first step to a successful installation. There are many models available, each with different features, strengths, and weaknesses.
Factors To Consider
- Camera resolution: For clear images, look for at least 1080p HD.
- Battery capacity: Larger batteries last longer during cloudy weather.
- Solar panel size: Bigger panels generate more power, but require more space.
- Weather resistance: Check for an IP65 or higher rating for outdoor use.
- Wi-Fi range: Make sure your camera can connect to your home network from its planned location.
- Storage options: Consider whether you want cloud storage, a microSD card, or both.
- App compatibility: Choose a model with a user-friendly app for your smartphone.
Popular Solar Camera Brands
- Reolink
- Arlo
- Ring
- Zumimall
- Soliom
Before buying, read user reviews and compare product specifications.
Comparing Top Solar Camera Models
To help you choose, here’s a comparison of three leading solar camera models:
| Model | Resolution | Battery Life (days) | Solar Panel Size | Storage | Weatherproof Rating |
|---|---|---|---|---|---|
| Reolink Argus 3 Pro | 2K | ~14 | 3.2W | Cloud/microSD | IP65 |
| Arlo Essential XL | 1080p | ~30 | 2.5W | Cloud | IP65 |
| Soliom S600 | 1080p | ~20 | 3.5W | microSD | IP66 |
Non-obvious insight: Many people overlook battery capacity and solar panel size. If you live in a region with long, cloudy winters, pick a camera with a larger battery and panel, even if it costs more.
Tools And Materials Needed For Installation
Before you start, make sure you have everything you need. This avoids delays and makes the installation smoother.
Basic Tools
- Drill (with masonry or wood bits, depending on surface)
- Screwdriver
- Measuring tape
- Level
- Pencil or marker
- Ladder (for high locations)
- Safety goggles and gloves
Materials
- Solar camera kit (camera, solar panel, mounting brackets, screws)
- Anchors and screws (often included, but check your wall type)
- Cable clips (for neatly securing wires)
- Wi-Fi extender (optional, for weak Wi-Fi spots)
- Silicone sealant (for extra waterproofing, if needed)
Tip: Some camera kits include all the hardware, but it’s smart to check before starting.
Planning Your Solar Camera Placement
Proper placement is crucial for both camera performance and solar charging.
Where To Place The Camera
- High, but reachable: Place the camera at least 8-10 feet above the ground. This prevents tampering, but still lets you access it for maintenance.
- Clear view: Make sure the camera covers the area you want to monitor, such as entry doors, driveways, or backyards.
- Avoid obstructions: Trees, walls, or vehicles can block the view.
Where To Place The Solar Panel
- Maximum sunlight: South-facing (in the Northern Hemisphere) is best for year-round sun exposure.
- Tilt angle: The panel should be tilted to match your latitude for best results. In the US, angles between 30-45 degrees usually work well.
- Short cable run: Place the panel close enough to the camera to avoid long, loose wires.
Common Mistakes To Avoid
- Placing the panel in a shaded area (even partial shade can reduce charging by 50%).
- Installing the camera too low, making it easy to steal or damage.
- Forgetting to check Wi-Fi signal strength at the installation point.
Pro tip: Use your phone’s compass app to check direction, and your Wi-Fi signal meter to test connectivity before drilling holes.
Step-by-step Guide: How To Install A Solar Camera
Now, let’s walk through the installation process. These steps are designed for most DIY-friendly solar cameras, but always check your specific model’s instructions too.
Step 1: Unpack And Check The Kit
Open your solar camera box and make sure all items are present:
- Camera
- Solar panel
- Mounting brackets and screws
- User manual
- Charging cable (if needed)
- Anchors (for brick/concrete walls)
If anything is missing, contact the seller before proceeding.
Step 2: Charge The Camera (initial Charge)
Most solar cameras come with a partially charged battery, but it’s best to fully charge it using a USB cable before installation. This ensures the camera works right away, and helps calibrate the battery.
- Plug the camera into a wall charger.
- Wait until the battery indicator shows 100% (usually takes 4–8 hours).
Step 3: Connect The Camera To Wi-fi And App
Install the manufacturer’s app on your smartphone. Follow the in-app instructions:
- Turn on the camera.
- Use the app to scan the camera’s QR code or enter its serial number.
- Connect to your Wi-Fi network (2.4GHz is most common; 5GHz is often not supported).
- Test the camera feed on your phone.
Non-obvious insight: Always connect to Wi-Fi before mounting the camera. It’s much easier to troubleshoot on a table than on a ladder.
Step 4: Mark The Mounting Location
Once you know where you want the camera and solar panel, use a pencil to mark drill holes for the mounting brackets.
- Double-check the camera’s field of view using the app’s live feed.
- Use a level to ensure the camera will sit straight.
Step 5: Drill Holes And Attach Mounts
Using the appropriate drill bit:
- Drill holes at your marked spots.
- Insert wall anchors if mounting on brick, concrete, or stucco.
- Attach the camera’s mounting bracket with screws.
- Repeat for the solar panel bracket.
Tip: Use silicone sealant around the holes for extra waterproofing, especially on exterior walls.
Step 6: Attach The Camera And Solar Panel
- Mount the camera onto its bracket. Tighten but don’t overtighten—some adjustment may be needed.
- Attach the solar panel to its bracket. Adjust the tilt angle for maximum sunlight.
- Run the solar panel’s cable to the camera. Use cable clips to secure the wire neatly along the wall or under eaves.
Step 7: Power Up And Test
- Plug the solar panel’s cable into the camera’s power input.
- Wait a few minutes for the battery indicator to show charging (many have a small LED or app notification).
- Use the app to check the camera’s video quality and angle.
- Test motion detection, night vision, and other features.
Step 8: Adjust Settings And Finalize Installation
- Adjust the camera angle if needed using the live feed.
- In the app, set up alerts, motion zones, recording schedules, and storage preferences.
- Check that the solar panel gets direct sunlight for most of the day.
Extra tip: Some cameras let you mask certain areas in the frame to avoid false alerts (such as cars passing by the street). Use this feature to reduce unnecessary notifications.
Troubleshooting Common Installation Problems
Even with careful planning, you might face some issues. Here’s how to handle the most common ones.
Weak Wi-fi Signal
- Move your router closer to the camera, or use a Wi-Fi extender.
- Avoid placing the camera behind thick walls or metal surfaces, which block signals.
- Some cameras support 4G/LTE SIM cards as a backup option.
Poor Solar Charging
- Check for shade from trees, buildings, or dirt on the panel.
- Clean the solar panel with a damp cloth every few months.
- Reposition the panel for better sun exposure if needed.
Camera Not Powering On
- Make sure the initial charge was completed.
- Check all cable connections.
- Try resetting the camera as per the manual.
Video Quality Issues
- Adjust the camera angle to reduce glare or backlighting.
- Clean the camera lens regularly.
- Check your Wi-Fi upload speed (at least 1–2 Mbps recommended).
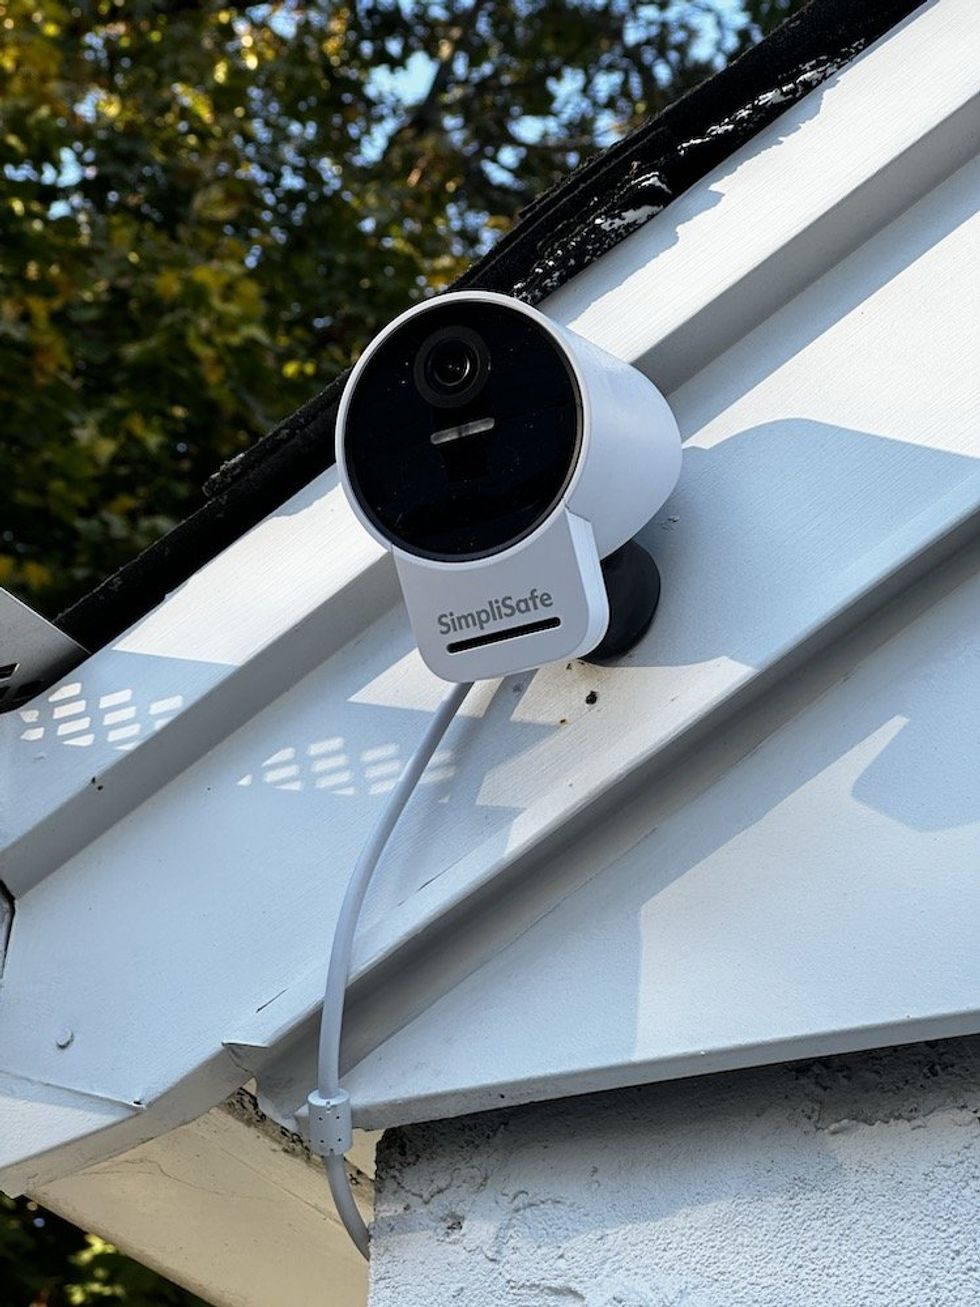
False Motion Alerts
- Set up motion zones in the app to ignore busy areas.
- Lower the sensitivity if bugs, rain, or moving branches cause alerts.
Credit: trisummit.ca
Solar Camera Maintenance Tips
A solar camera is low-maintenance, but a little care can extend its life and performance.
- Clean the solar panel every 2–3 months. Dust, leaves, or bird droppings can block sunlight.
- Wipe the camera lens with a microfiber cloth to keep images sharp.
- Check for loose mounts after storms or high winds.
- Update the app and firmware regularly for new features and security patches.
- Trim nearby trees or plants that might grow and shade the panel over time.
Battery Replacement And Lifespan
Most solar camera batteries last 2–4 years. If you notice shorter runtime, contact the manufacturer for replacement options.
Real-world Data: Solar Camera Performance By Region
Solar camera performance varies by location due to sunlight differences. Here’s how much sunlight you can expect in different US regions, and how it affects charging:
| Region | Average Sunlight (hours/day) | Recommended Panel Size | Estimated Battery Backup (days) |
|---|---|---|---|
| Southwest (e.g., Arizona) | 6-8 | 2-3W | 10-14 |
| Midwest (e.g., Illinois) | 4-6 | 3-4W | 7-10 |
| Northeast (e.g., New York) | 3-5 | 4-5W | 5-8 |
| Pacific Northwest (e.g., Seattle) | 2-4 | 5-6W | 3-6 |
Insight: If you live in a region with less sunlight, invest in a larger solar panel and a camera with a bigger battery.
Advanced Tips For Solar Camera Installation
Using Multiple Cameras
For full property coverage, you may want to install several solar cameras. Here’s how to do it effectively:
- Map out coverage zones before buying. Avoid overlapping too much, but make sure there are no blind spots.
- Stagger installation heights for better viewing angles.
- Use different Wi-Fi channels if your network is crowded, to reduce interference.
Integrating With Smart Home Systems
Many solar cameras can be connected to Amazon Alexa, Google Assistant, or smart home hubs. This lets you view camera feeds on smart displays or get voice alerts.
- Check for compatibility before buying.
- Follow the manufacturer’s setup guide for integration.
Protecting Against Theft And Vandalism
Solar cameras are valuable devices, so secure them properly:
- Use tamper-resistant screws for mounting brackets.
- Hide cables where possible to prevent cutting.
- Place cameras in visible spots to deter intruders, but out of easy reach.
Unexpected tip: Some users install “dummy” cameras in easy-to-reach places and keep the real ones higher or hidden for added security.
Comparing Solar Cameras To Traditional Wired Cameras
If you’re still unsure whether a solar camera is right for you, consider this side-by-side comparison:
| Feature | Solar Camera | Wired Camera |
|---|---|---|
| Power Source | Solar + Battery | Electrical Outlet |
| Installation | DIY, no wiring | Professional, wiring needed |
| Location Flexibility | Anywhere with sunlight & Wi-Fi | Near power source |
| Energy Cost | $0 (solar) | Monthly electricity cost |
| Maintenance | Clean panel, battery check | Check wiring, possible repairs |
| Reliability in Power Outage | Works (battery backup) | May fail without generator/UPS |
Bottom line: Solar cameras are best for locations where running wires is difficult or expensive, or where you want backup during power outages.

Credit: www.youtube.com
Safety And Legal Considerations
Before you install any camera, keep these points in mind:
- Privacy laws: Do not point cameras at neighbors’ windows or into private areas.
- HOA rules: Some neighborhoods have rules about visible cameras or solar panels.
- Ladder safety: Always use a stable ladder and avoid working alone at heights.
- Weather precautions: Don’t install during rain, snow, or high winds.
If in doubt, consult local guidelines or an electrician.
Cost Breakdown: What To Expect
Let’s look at the average costs for a DIY solar camera setup:
- Solar camera kit: $70–$200 (per camera, including panel)
- Extra mounting hardware: $10–$30 (if needed)
- Wi-Fi extender: $30–$60 (optional)
- Professional installation: $100–$200 (if you hire someone)
Most homeowners can install a system for under $250 per camera. Over time, you’ll save money on electricity and avoid monthly fees.
Environmental Impact And Benefits
One big advantage of solar cameras is their environmental friendliness. By using the sun’s energy, you reduce your carbon footprint and avoid extra wiring and power consumption.
- Lower energy use: Solar cameras run on renewable energy.
- Less electronic waste: No need for long cables or big power adapters.
- Sustainable security: Ideal for off-grid cabins, farms, or remote areas.
According to the U.S. Department of Energy, solar energy systems reduce greenhouse gases and can save hundreds of dollars in utility costs over their lifetime (U.S. Department of Energy).
Frequently Asked Questions
What Happens To The Solar Camera On Cloudy Or Rainy Days?
Solar cameras store extra energy in built-in batteries. On cloudy or rainy days, they run on this backup power. Most models can last several days without sun, depending on battery size.
Can I Install A Solar Camera Indoors?
You can, but it’s not ideal. Solar panels need direct sunlight to work well. If you want to use a solar camera indoors, place the panel outside where it gets sunlight, and run the wire inside to the camera.
How Do I Know If My Solar Panel Is Charging Correctly?
Most solar cameras have an LED indicator or an app notification that shows when charging. You can also check the battery level in the app. If the battery drops quickly, check for shade or dirt on the panel.
Is It Possible To Use A Solar Camera Without Wi-fi?
Some models can record video to a microSD card without Wi-Fi, but you won’t get real-time alerts or remote viewing. For full features, a stable Wi-Fi connection is recommended.
How Long Do Solar Camera Batteries Last Before Needing Replacement?
On average, solar camera batteries last 2–4 years. If you notice the camera doesn’t hold a charge as long, it may be time to replace the battery. Check with your manufacturer for compatible replacements.
Setting up a solar camera is a smart move for security and sustainability. By planning your installation carefully and following these steps, you can enjoy peace of mind knowing your property is protected—without the hassle or cost of traditional wired systems.
With a little maintenance and the right placement, your solar camera will provide reliable service for years to come.

Credit: www.cooau.com