
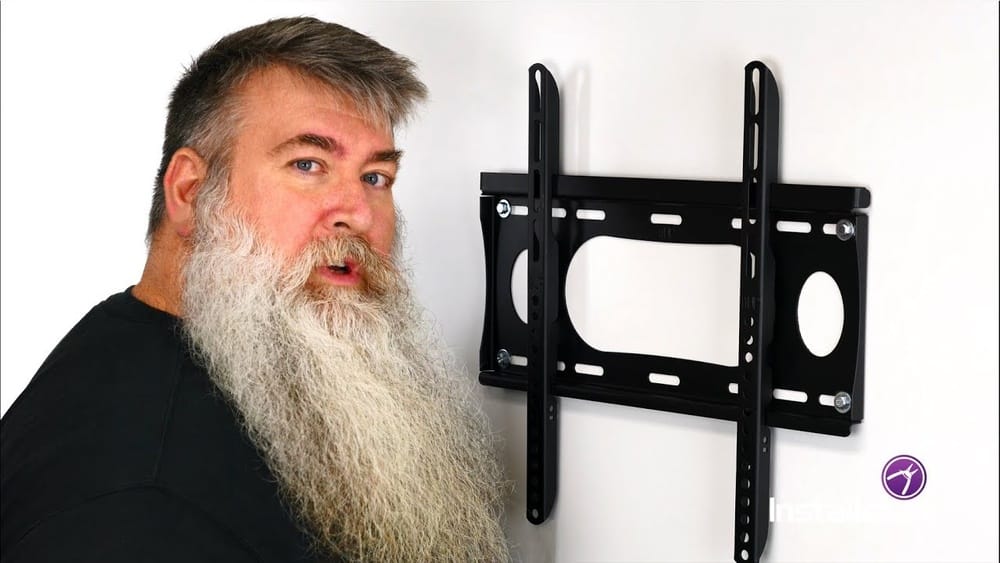
Mounting a TV on your wall can transform your living space. It saves floor space, offers a clean look, and improves your viewing experience. But for many people, the thought of drilling into walls and lifting heavy screens feels intimidating.
If you know the basics and follow the right steps, installing a TV mount is a project most homeowners can handle with a little time and care.
This guide walks you through every part of installing a TV mount, from choosing the right wall to tightening the final screw. You’ll learn about tools, wall types, safety tips, and small details that many first-timers miss. Whether you’re mounting a new ultra-slim TV or updating your old entertainment setup, you’ll find practical advice here to make your project easier and safer.
Understanding Tv Mount Types
Choosing the right TV mount is the first step. Each type offers different features, and picking the best one depends on your room layout, viewing angle, and TV size.
Fixed Mounts
A fixed mount holds the TV close to the wall and does not allow any movement. It’s a good choice if you always watch TV from the same spot and want a slim, clean look.
- Pros: Simple, low profile, often less expensive
- Cons: No angle adjustments
Tilting Mounts
A tilting mount lets you tilt the TV up or down, which helps reduce glare and improves viewing if you need to place the TV higher on the wall.
- Pros: Reduces glare, better for mounting above eye level
- Cons: No side-to-side movement
Full-motion (articulating) Mounts
A full-motion mount can tilt, swivel, and extend. This is best if you want to watch TV from different spots in the room or need to access the back of the TV for cables.
- Pros: Maximum flexibility, good for corners or open spaces
- Cons: More expensive, sticks out farther from the wall
Ceiling Mounts
A ceiling mount is less common but useful for special situations like commercial spaces or rooms with limited wall space.
- Pros: Saves wall space, flexible placement
- Cons: Complex installation, harder to hide cables
Comparison Of Tv Mount Types
Here is a quick reference for the key features of each mount type:
| Mount Type | Movement | Best For | Typical Price |
|---|---|---|---|
| Fixed | None | Simple setups | $20-$50 |
| Tilting | Up/Down | Above eye level | $30-$70 |
| Full-Motion | Tilt, Swivel, Extend | Flexible viewing | $50-$200 |
| Ceiling | Swivel, Tilt | Unique spaces | $60-$300 |
What You Need Before You Start
Proper preparation is key to a smooth installation. Gather the right tools and check your wall type before you pick up a drill.
Essential Tools
- Stud finder: Finds wood studs behind drywall
- Drill (corded or cordless): For making holes
- Drill bits: Usually 3/16” or 1/4” for pilot holes
- Level: Ensures your mount is straight
- Socket wrench or screwdriver: For bolts and screws
- Measuring tape: Marks accurate TV placement
- Pencil: For marking drill points
- Hammer: Sometimes needed for anchors
- Masking tape: Helps mark positions without damaging paint
Optional but helpful tools include a helper (for heavy TVs), a vacuum (to catch dust), and safety goggles.
Hardware And Accessories
Most TV mounts include the main bolts and washers. However, double-check the package for:
- Mounting screws: For attaching the bracket to the wall
- TV mounting bolts: Fit the back of your TV (check your TV’s manual)
- Wall anchors: Needed for some wall types
- Cable management sleeves or clips: For hiding wires
Understanding Your Wall Type
Walls are not all the same, and using the wrong method can lead to unsafe mounting.
- Drywall over wood studs: Most common in US homes. You must anchor your mount into the studs.
- Drywall over metal studs: Found in some apartments and commercial spaces. Needs special anchors.
- Concrete or brick: Older homes or basements. Use masonry anchors and bits.
- Plaster: Older homes. Be gentle to avoid cracking.
Never mount a heavy TV directly to drywall with no stud support.
Vesa Standards And Tv Compatibility
Most TVs use the VESA mounting pattern, a standard for the distance between mounting holes. It might be, for example, 200×200 mm or 400×400 mm. Your TV and mount must match, or use the included adapters.
Check your TV’s manual or look for four threaded holes on the back. These are the VESA holes.

Credit: www.sanus.com
Planning Tv Placement
Correct TV placement affects comfort, safety, and your room’s look. Don’t rush this part.
Finding The Right Height
The ideal height for a mounted TV is so the center of the screen is at eye level when you’re seated. For most people, that’s about 42 inches from the floor to the center of the TV.
A common mistake is mounting too high, which strains your neck. If you must mount above a fireplace or shelf, choose a tilting mount.
Considering Viewing Distance
For a comfortable view, use this simple formula:
- Viewing Distance (inches) ≈ TV size (inches) x 1.5–2.5
For a 55-inch TV, sit about 7 to 11 feet away.
Avoiding Glare
Position the TV away from direct sunlight or bright lamps. If you can’t, a tilting or full-motion mount helps reduce screen glare.
Planning For Cables And Power
Make sure your TV will be close to a power outlet and any needed cable jacks. Plan how you’ll hide cables for a clean look.
Sample Tv Placement Data
Here’s a quick reference for common TV sizes and recommended mounting height:
| TV Size | Recommended Center Height | Ideal Viewing Distance |
|---|---|---|
| 42″ | 42” from floor | 5.5–8.5 ft |
| 55″ | 42” from floor | 7–11 ft |
| 65″ | 42” from floor | 8–13 ft |
| 75″ | 42” from floor | 9–15 ft |
Step-by-step Tv Mount Installation
Now, let’s break down the process into clear steps. Read through all the steps before starting to avoid surprises.
1. Choose The Best Wall Spot
Pick a spot that matches your viewing needs and has easy access to power outlets. Use the data from earlier to find the right height and distance.
2. Find The Studs (or Wall Anchors)
Use a stud finder to locate wood studs behind the drywall. Run the finder slowly across the wall and mark both edges of the stud with a pencil. You’ll want your mount to attach to the center of the stud for maximum strength.
- For metal studs, confirm with your landlord or building manager before drilling.
- For concrete or brick, you can mount almost anywhere, but avoid crumbling areas.
Non-obvious tip: Sometimes, outlet boxes or light switches are attached to studs—use these as clues if your stud finder isn’t working well.
3. Mark The Mounting Holes
Hold the wall plate of your mount against the wall. Use a level to make sure it’s perfectly straight. Mark the holes for the screws with a pencil.
It’s a good idea to tape the mount to the wall temporarily or ask a helper to hold it.
4. Drill The Pilot Holes
Drill small pilot holes at your marks. For wood studs, a 3/16” or 1/4” drill bit works well. For concrete or brick, use a masonry bit, and for metal studs, use a bit suited for metal.
Safety tip: Drill slowly and wear eye protection. Dust and debris can fly out quickly.
5. Attach The Wall Plate
Line up the wall plate with your pilot holes. Secure it with the included screws or bolts, using a socket wrench or drill. Tighten until snug, but don’t over-tighten or you could strip the hole.
For extra-large TVs, double-check that all bolts are anchored into studs, not just drywall.
6. Attach The Brackets To The Tv
Find the mounting holes on the back of your TV. Attach the mounting arms or brackets using the screws provided. If your TV is curved or has a unique back, use the spacers or special adapters from your mount kit.
Pro insight: Don’t overtighten these screws—they only need to be snug.
7. Hang The Tv On The Wall Plate
With a helper, lift the TV and hook the brackets onto the wall plate. Most mounts have a locking system—listen for a click or use the provided locking screws to secure the TV.
Gently pull on the TV to make sure it’s secure. If it moves, double-check your connections.
8. Adjust And Level The Tv
Use your level again to check the TV. Some mounts allow small adjustments after hanging, while others require you to loosen and re-tighten the bolts. Adjust tilt and swivel as needed.
9. Manage Cables
Connect your power, HDMI, and other cables. For a tidy look, use cable covers, raceways, or sleeves. Never run power cables inside the wall unless you use a code-approved power kit.
10. Final Safety Check
Before you finish, double-check:
- All bolts are tight
- The TV is secure and does not wobble
- Cables are not pinched or strained
Hidden danger: Don’t forget to check behind the wall for plumbing or wiring before drilling. Use a stud finder with electrical detection, or consult building plans if you’re unsure.
Tips For Different Wall Types
The way you install a TV mount depends a lot on the wall material. Here’s how to handle some common situations.
Mounting To Drywall With Wood Studs
This is the most straightforward method.
- Always anchor into the center of the stud
- Use lag bolts (usually included)
- Never use just drywall anchors for heavy TVs
Mounting To Metal Studs
Metal studs are thinner and less sturdy than wood.
- Use special toggle bolts or snap toggles
- Do not use standard wood screws
- Consider a professional for extra-large TVs
Mounting To Concrete Or Brick
This requires a hammer drill and masonry bits.
- Use concrete anchors or sleeve anchors
- Drill deeper holes for extra support
- Clean out dust before inserting anchors
Mounting To Plaster
Plaster can crack easily.
- Drill slowly and use tape over your drill spot to avoid chipping
- Use longer screws to reach the wood lath behind the plaster
Comparison: Wall Material And Mounting Hardware
Quick reference for choosing the right hardware:
| Wall Type | Recommended Hardware | Difficulty Level |
|---|---|---|
| Drywall + Wood Studs | Lag bolts | Easy |
| Drywall + Metal Studs | Toggle bolts | Medium |
| Concrete/Brick | Masonry anchors | Hard |
| Plaster | Long screws into lath | Medium |
Common Mistakes And How To Avoid Them
Many first-time installers make small errors that can lead to crooked TVs or even wall damage. Here’s what to watch out for:
- Skipping the stud finder: Guessing stud locations can lead to weak mounts.
- Mounting too high: Follow the 42-inch rule for comfortable viewing.
- Not checking VESA compatibility: Always measure before buying.
- Using the wrong screws: Mixing up TV and wall screws can strip threads.
- Over-tightening bolts: This can crack drywall or damage the TV.
- Ignoring wall type: One-size-fits-all hardware rarely works.
- Not checking level after mounting: Always double-check before tightening.
- Leaving cables messy: Plan cable management before hanging the TV.
- Forgetting about future access: Leave space for new devices or ports.
- Not testing before finishing: Plug in and test your TV before cleaning up.
Extra tip: If your TV is very heavy or the wall material is questionable, get a second opinion from a pro.
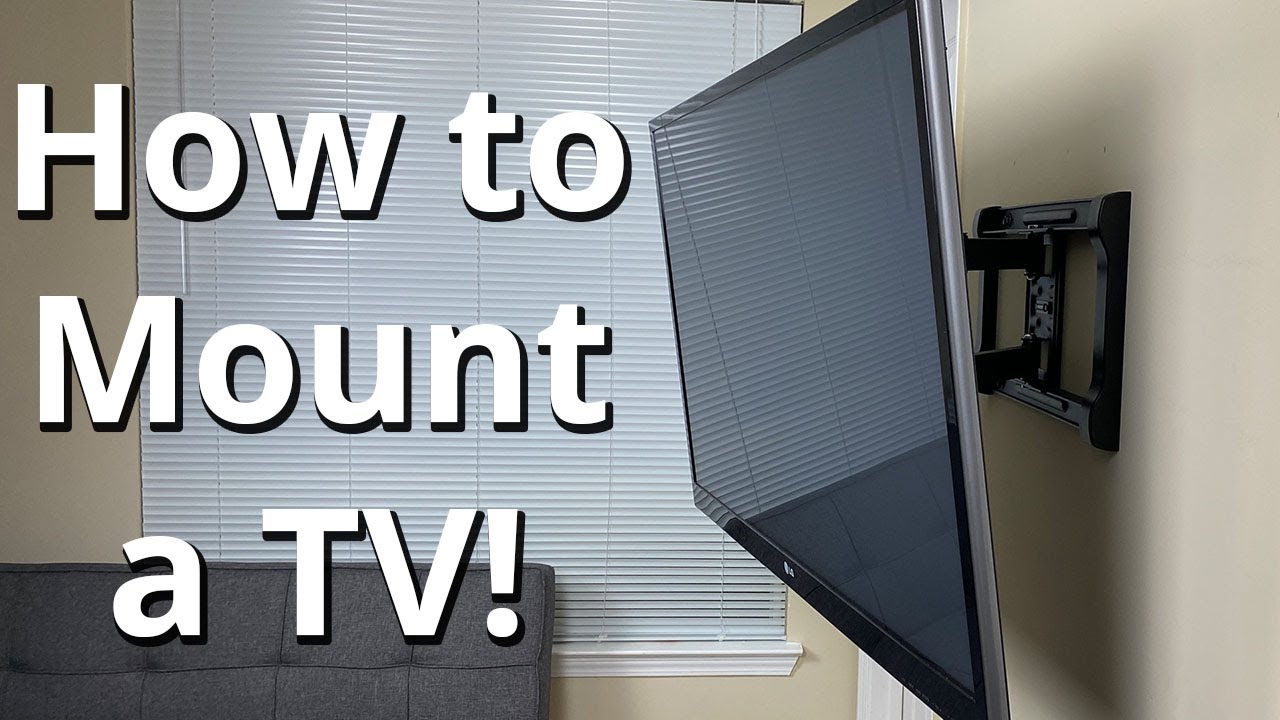
Credit: www.youtube.com
Safety Considerations
Mounting a TV is not risk-free, especially with large or heavy screens. Here’s how to keep your project safe:
- Use a helper: TVs over 40 inches are heavy and awkward to lift alone.
- Check for wires and pipes: Always scan before drilling.
- Use proper hardware: Never substitute bolts or anchors.
- Wear safety gear: Goggles and gloves prevent injuries.
- Follow weight limits: Never exceed the mount’s rated weight.
One detail many people miss: if you have children or pets, check that the TV can’t be bumped or pulled off the wall.
Hiding Cables For A Clean Look
Visible cables can spoil the appearance of your new TV setup. Here are ways to hide them:
- Cable raceways: Stick to the wall and paint to match.
- Cord covers: Snap-together plastic channels.
- In-wall rated power kits: Allow safe in-wall power cords.
- Behind-the-wall HDMI kits: For a true clean look, but must be rated for in-wall use.
Never run standard power cords inside walls—they are not fire-safe. Use only UL-rated in-wall kits.
Extra insight: Plan for future devices. Run extra HDMI or network cables during installation if you think you’ll need them later.
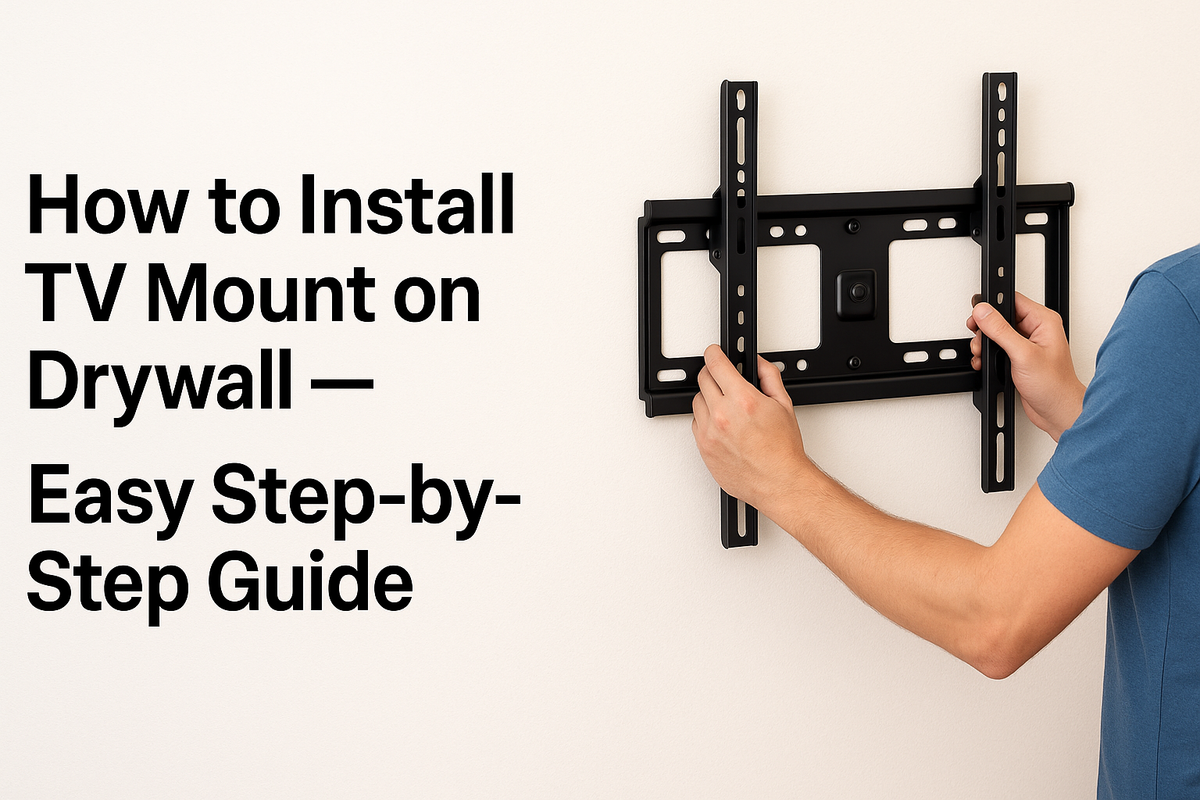
Credit: www.mount-it.com
When To Call A Professional
Most TV mounts are DIY-friendly, but there are times when hiring a pro is smart:
- Unusual wall materials: Stone, tile, or very old plaster
- Very heavy TVs: Screens over 75 inches or 100 lbs
- Custom installations: Over a fireplace, in a corner, or with built-in cabinetry
- Uncertainty about wiring: If you’re not sure about electrical or plumbing behind walls
Professional installers bring experience, special tools, and insurance. Expect to pay $100–$300 depending on complexity.
Maintenance After Installation
Once your TV is mounted, do a quick check every few months:
- Inspect bolts and screws: Tighten if needed.
- Check for sagging: Make sure the mount hasn’t shifted.
- Clean the TV: Use a microfiber cloth.
- Update cables: Replace loose or worn cables.
These small checks keep your setup safe and your viewing experience smooth.
Frequently Asked Questions
How Do I Know If My Wall Can Support A Tv Mount?
Most walls with wood or metal studs can support a TV mount if you use the proper hardware. For concrete or brick, you need masonry anchors. If you’re unsure, check your building’s blueprints or ask a local contractor.
Can I Mount A Tv By Myself, Or Do I Need Help?
Small TVs (under 40 inches) can sometimes be mounted solo, but anything larger should be a two-person job. Lifting and aligning a large TV is awkward and risks both damage and injury if you try it alone.
What If I Can’t Find Studs Where I Want To Mount The Tv?
You must anchor into studs for heavy TVs. If there are no studs, consider moving the TV, using a smaller TV, or hiring a pro. Never mount a heavy TV with just drywall anchors—they are not strong enough.
How Do I Hide Cables After Mounting The Tv?
Use cable raceways, cord covers, or in-wall power kits designed for safety. Never run standard power cords behind the wall. Plan cable management before you mount the TV for the cleanest look.
Where Can I Find More Detailed Installation Guides?
Many mount manufacturers have video guides and manuals. For in-depth tips and safety info, check out the guides at the Family Handyman website.
Mounting your TV on the wall can seem complex at first, but with careful planning and the right tools, it’s a project most people can complete in an afternoon. Take your time, follow each step, and soon you’ll enjoy a modern, clutter-free entertainment space that looks great and keeps your TV safe.