
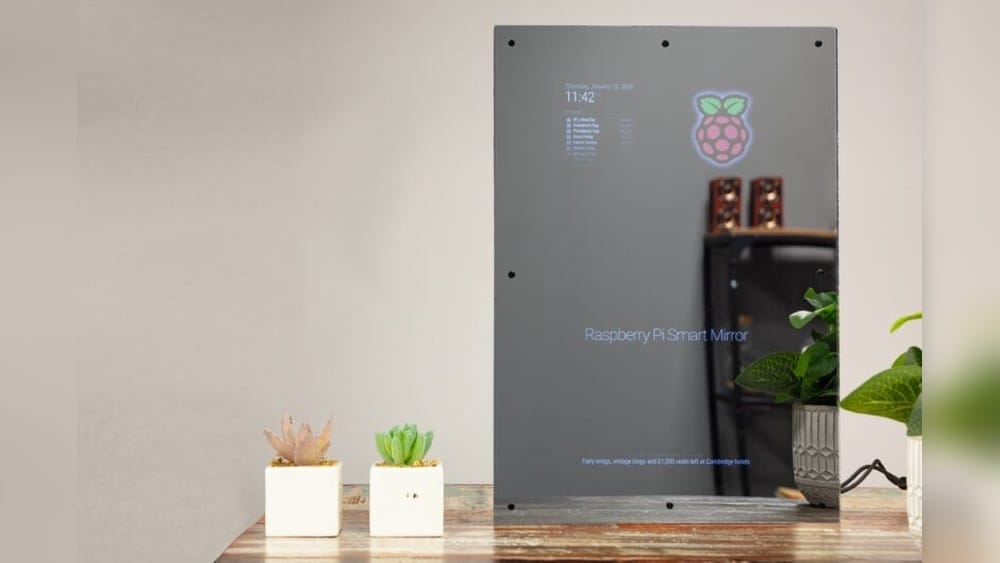
Imagine looking into your mirror each morning and seeing not just your reflection, but the weather, news headlines, and your daily schedule—all right before you start your day. Sounds like something from the future, right?
But what if you could build this smart mirror yourself? You don’t need to be a tech expert or spend a fortune to create a mirror that makes your life easier and more organized. You’ll discover simple steps to make your very own smart mirror.
Ready to transform your daily routine with a touch of innovation? Let’s dive in!
Materials Needed
Building a smart mirror requires specific materials. Choosing the right parts helps the project run smoothly. Each component has a unique role. This section explains what you need to gather.
Mirror Selection
Select a two-way mirror for the best effect. It lets light pass through but still shows your reflection. Acrylic mirrors work well and are safer than glass. The size depends on your space and screen.
Display Options
A screen is essential to show information. Use an old monitor, tablet, or small TV screen. The display should fit behind the mirror. Choose one with good brightness and resolution.
Computing Device
A computer runs the smart mirror software. Raspberry Pi is popular for this task. It is small, affordable, and energy-efficient. You can also use a mini PC or old laptop.
Frame And Housing
The frame holds everything together. Wood or plastic frames work well. Make sure the frame fits the mirror and screen tightly. Proper housing protects the electronics from dust and damage.
Additional Components
You need cables for power and data connections. A power supply must match your devices. Sensors like a microphone or camera can add features. Consider adding a motion sensor to wake the screen.
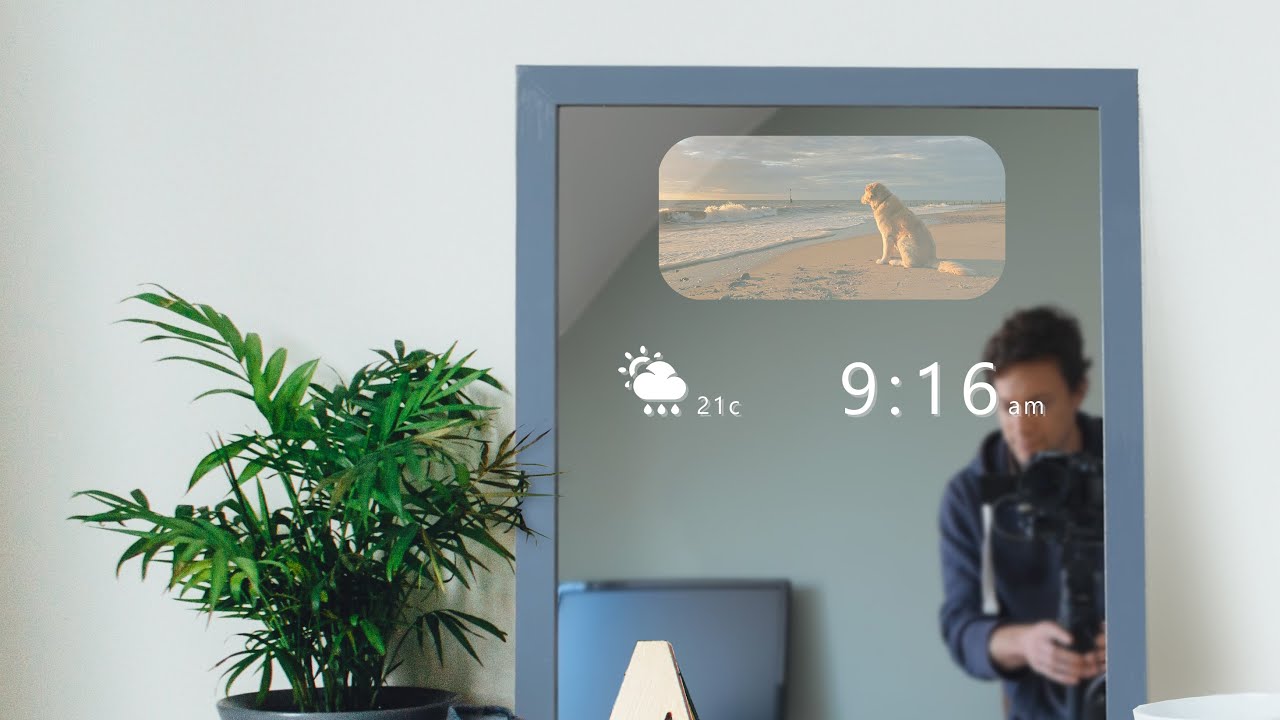
Credit: www.youtube.com
Choosing The Right Mirror
Choosing the right mirror is key to building a smart mirror. The mirror acts as the screen and the reflective surface. Picking the correct type and size affects how well your smart mirror works and looks. Consider the two-way mirror quality and the shape that fits your space best.
Two-way Mirror Types
A two-way mirror lets light pass through from behind. It shows the display while reflecting the room. Acrylic mirrors are lightweight and shatterproof. Glass mirrors offer a clearer reflection but are heavier. Choose a mirror with good transparency for the screen to show clearly. Thin, high-quality glass mirrors provide sharp images and reflections. Avoid cheap plastic mirrors that blur the display.
Size And Shape Considerations
Pick a mirror size that fits your room and purpose. Large mirrors show more content but need a bigger screen. Small mirrors save space and use less power. The shape matters too. Rectangular mirrors fit most displays well. Round or oval mirrors give a stylish look but may require custom screens. Measure your space and decide how much information you want visible. Balance style with function for the best smart mirror design.
Selecting A Display Screen
Choosing the right display screen is key to building a smart mirror. The screen shows your apps, weather, news, and more. It also affects how clear and bright the mirror looks. Picking a good screen helps your smart mirror work well and look great on your wall.
Lcd Vs Oled Screens
LCD and OLED are popular screen types for smart mirrors. LCD screens use a backlight to light up pixels. They are usually cheaper and widely available. But they may not show true black colors and use more power.
OLED screens light up each pixel individually. This gives deeper blacks and richer colors. They use less power but cost more. OLED screens also work better in low light.
Both types can work well for smart mirrors. Choose based on your budget and how much you want vibrant colors.
Screen Size And Resolution
Screen size affects how big your smart mirror looks. Common sizes range from 15 inches to 32 inches. Bigger screens show more information clearly. Pick a size that fits your mirror frame and room space.
Resolution means how many pixels a screen has. Higher resolution means sharper images and text. Full HD (1920×1080) is a good choice for clear display. Avoid low resolution to keep text readable.
Balance size and resolution for the best viewing experience. A clear, bright screen makes your smart mirror useful and nice to see.
Picking The Computing Platform
Choosing the right computing platform is the first step in making a smart mirror. The platform controls the software and connects all parts. It must be powerful enough to run apps but small enough to fit behind the mirror. Budget and ease of use also matter.
Two popular options are Raspberry Pi and other microcontrollers. Each has strengths and fits different project needs. Learn about them to decide which suits your smart mirror.
Raspberry Pi Basics
The Raspberry Pi is a small, affordable computer. It runs a full operating system, like Linux. This means it can handle complex software and internet tasks. Many smart mirror projects use Raspberry Pi for its power and flexibility.
It connects easily to screens, cameras, and sensors. The setup is simple with many tutorials online. Raspberry Pi models vary in speed and price. Choose one that fits your project size and budget.
Alternative Microcontrollers
Microcontrollers like Arduino are simpler and cheaper than Raspberry Pi. They work well for basic tasks and control sensors. These devices use less power but cannot run full operating systems.
They need extra parts to connect to the internet or display. Use microcontrollers if the mirror only needs simple features. They are good for beginners who want to learn electronics basics.
Setting Up The Software
Setting up the software is a key step in building your smart mirror. It turns your mirror into a useful tool. This process includes installing the operating system, choosing the right software, and customizing the display. Each step helps your mirror show the information you want.
Installing The Operating System
Start with a clean operating system on your device. Raspberry Pi is a popular choice for smart mirrors. Download the latest version of Raspberry Pi OS. Use software like Balena Etcher to write the OS image to an SD card. Insert the SD card into your Raspberry Pi and power it on. Follow the on-screen instructions to complete the setup.
Smart Mirror Software Options
Choose software that suits your needs and skills. MagicMirror² is a well-known open-source option. It is easy to install and has many modules. Other options include MirrorMirror and Dakboard. Check the features and community support before deciding. The software controls what your mirror displays.
Customizing The Interface
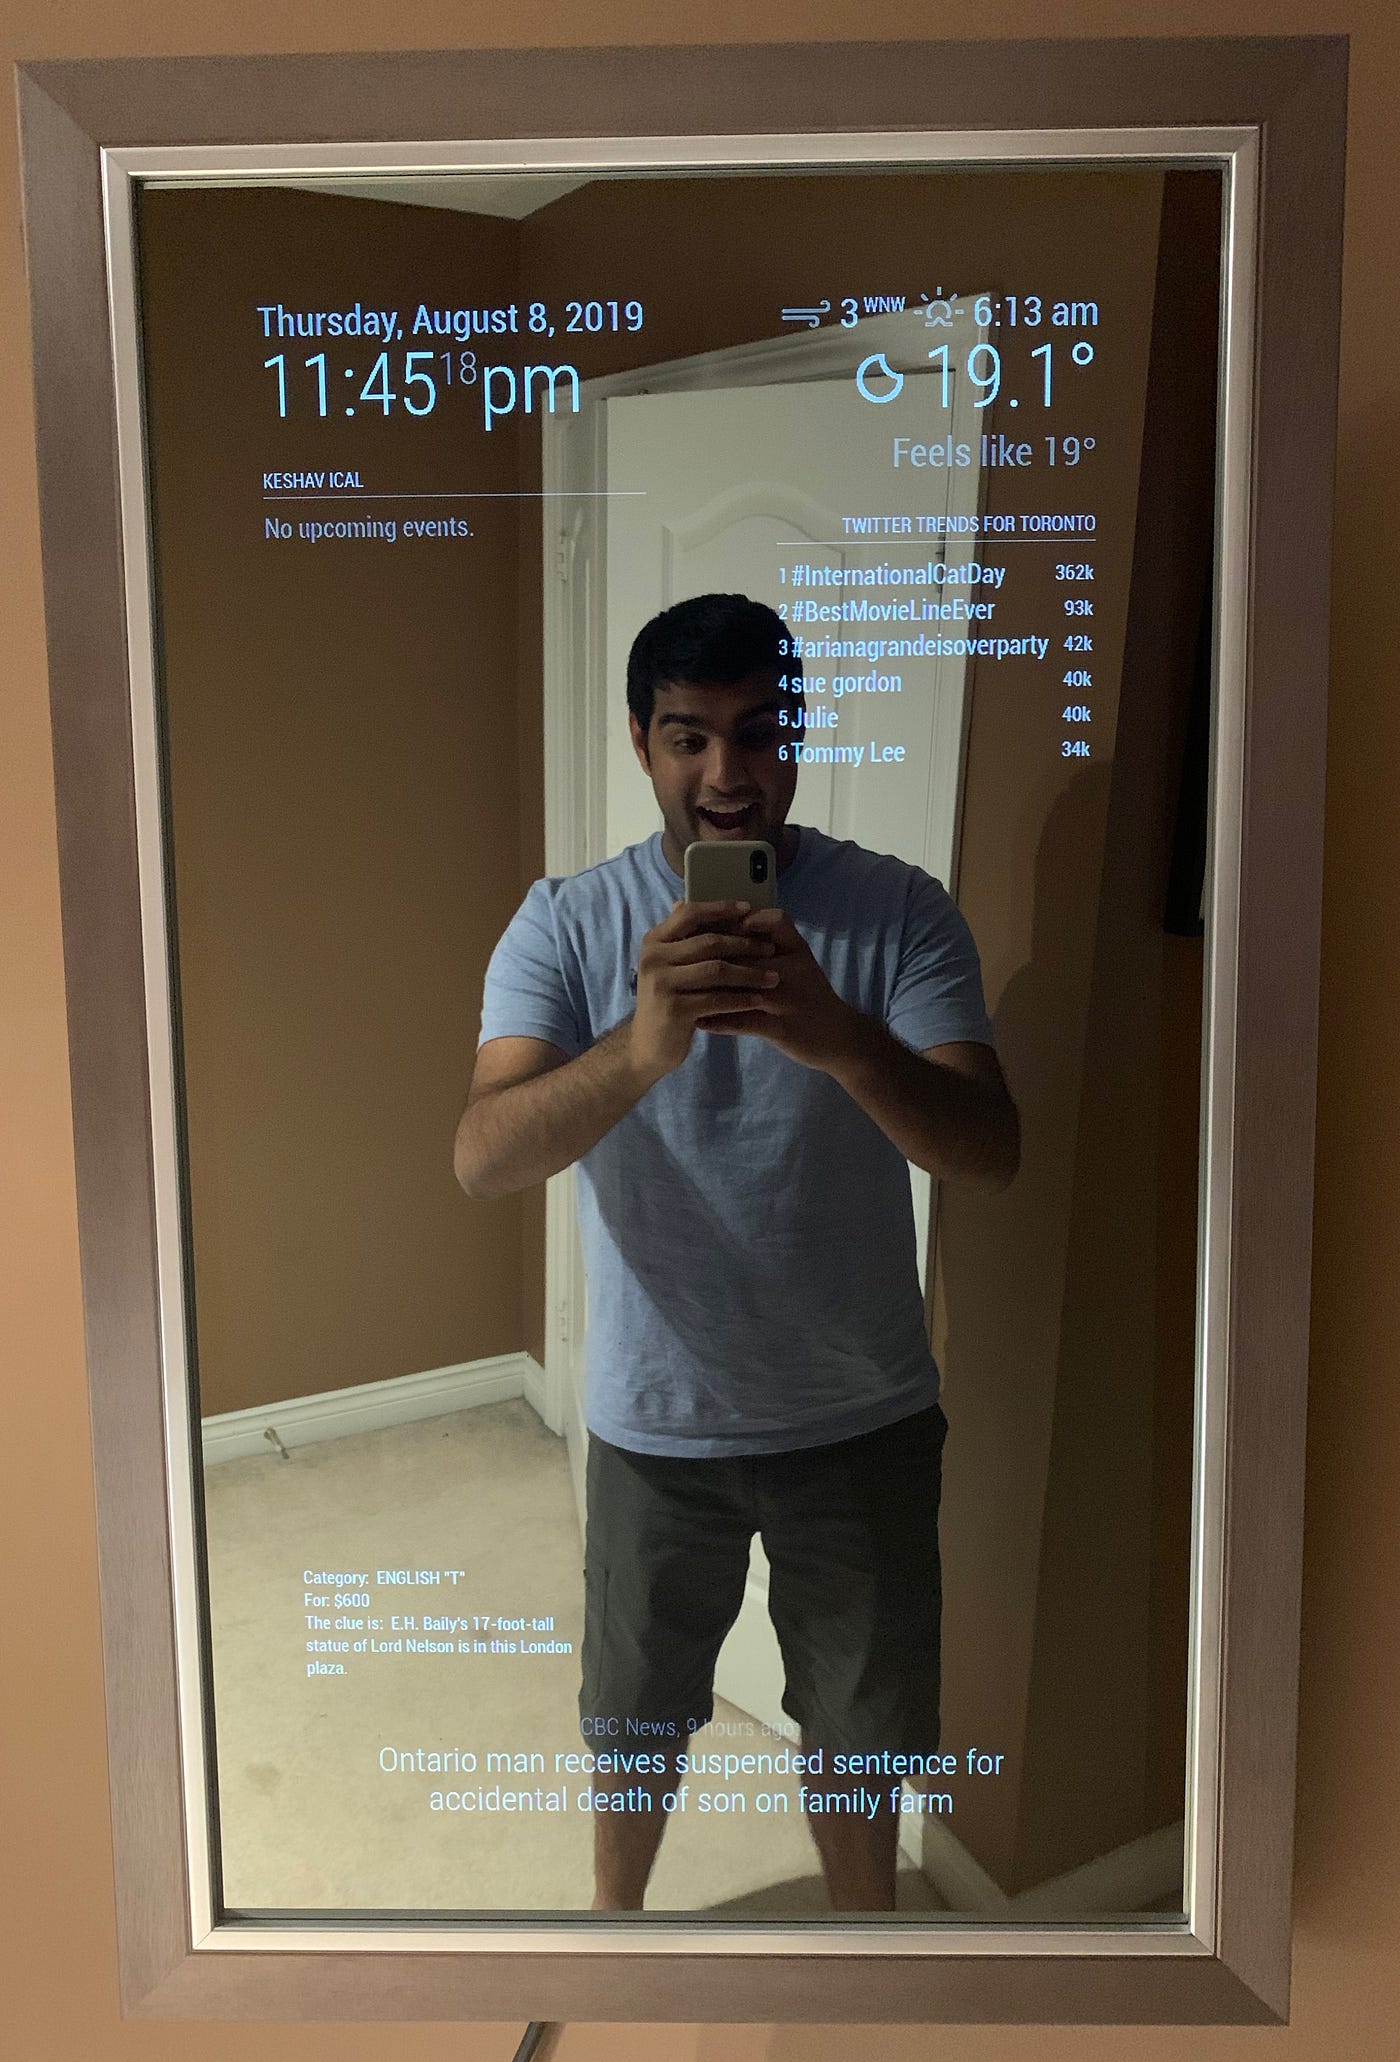
Adjust the interface to show useful information. You can add weather updates, news, calendars, and more. Change the layout to fit your style. Most software lets you add or remove modules with simple commands. You can also change fonts and colors. Make sure the screen looks clear and easy to read.
Credit: medium.com
Assembling The Mirror
Assembling the mirror is the key step in making your smart mirror functional and neat. This part combines all the pieces into one unit. Careful work ensures the mirror looks good and works well. Follow clear steps to avoid damage and mistakes. Let’s break down this process into three simple parts.
Mounting The Display
Start by placing the display screen in the frame. Use screws or brackets to hold it firmly. Make sure the screen faces outward without any gaps. Check that the screen’s edges align with the frame’s edges. Avoid tight pressure to prevent screen damage. Keep cables ready for the next steps.
Integrating The Mirror
Next, add the two-way mirror on top of the display. This mirror lets the screen show through while reflecting your image. Place the mirror carefully to avoid scratches. Align it so the display is visible in the center. Use glue or tape to hold the mirror gently. Do not block the screen’s light.
Securing Components In Frame
Finally, secure all parts inside the frame. Use screws or clips to fasten the back panel. Organize wires neatly to avoid tangling or damage. Add foam or padding to protect electronics from shocks. Check all parts are tight and stable. This step ensures a clean and durable smart mirror.
Connecting Power And Network
Connecting power and network is a key step in building a smart mirror. Without power, the device cannot run. Without network, it cannot access online data or updates. Both must work well for the mirror to function smoothly.
Setting up power is simple but needs care. The network connection must be stable and fast. Follow the steps below to get started.
Power Supply Setup
Choose a power adapter that fits your smart mirror’s needs. Most smart mirrors use a 5V or 12V power supply. Check the specifications of your screen and computer board.
Plug the power adapter into a wall socket. Connect the other end to the smart mirror’s power input. Make sure the connection is secure and not loose. Avoid using damaged cables.
Test the power by turning on the device. The screen should light up without flickering. If it does not, check the power source and cables again.
Wi-fi Configuration
Turn on the smart mirror’s operating system. Open the network settings menu. Find the list of available Wi-Fi networks nearby.
Select your home or office Wi-Fi network. Enter the correct password carefully. Confirm the connection to join the network.
Wait a few seconds for the mirror to connect. The device should show a connected status. You can test the connection by loading a webpage or app.
Strong Wi-Fi signals improve the smart mirror’s performance. Place the mirror near the router if needed. Avoid walls or metal objects that block signals.
Adding Voice Control
Adding voice control to your smart mirror makes it more useful and fun. You can talk to your mirror to get weather updates, news, or control other smart devices. This hands-free feature creates a modern and interactive experience.
Microphone Setup
First, pick a good microphone. A USB microphone or a small array mic works well. Place it near the mirror but hidden from view. Test the mic in a quiet room for clear sound. Check your computer or Raspberry Pi settings to ensure the mic is recognized. Adjust the sensitivity so it picks up your voice easily without noise.
Voice Assistant Integration
Choose a voice assistant like Google Assistant or Amazon Alexa. Install the necessary software or APIs on your device. Follow the setup instructions to link the assistant to your microphone and smart mirror display. Customize commands to control mirror features or connected smart home devices. Test the voice assistant by asking simple questions or commands. This step brings your smart mirror to life with voice interaction.
Troubleshooting Tips
Troubleshooting is an important part of making a smart mirror. It helps fix problems fast. Knowing common issues saves time and frustration. Both hardware and software may cause trouble. Clear steps can guide you through solving them. This section covers key tips to keep your smart mirror working well.
Common Hardware Issues
Check all cables are connected tightly. Loose wires can stop your mirror from working. Look for broken or worn-out parts. The screen might not display if the glass is cracked. Power supply problems often cause the mirror to fail. Use a different power outlet to test. Overheating can harm the device. Make sure vents are clean and clear. Clean dust from fans and components regularly. Replace damaged parts with exact matches to avoid errors.
Software Debugging
Restart the smart mirror to clear minor errors. Update the software to fix bugs and improve speed. Use the console or log files to find error messages. These details show what went wrong. Check for missing or wrong code in your scripts. Test each feature separately to isolate issues. Remove recent changes if problems start after updates. Reinstall the operating system if the software is corrupted. Keep backup copies of your work to prevent data loss.

Credit: www.youtube.com
Enhancing Your Smart Mirror
Enhancing your smart mirror can turn it into a more useful and interactive device. Simple upgrades help it respond better to your needs. Small changes make a big difference in daily use.
Adding Sensors
Sensors help your smart mirror react to the environment. Motion sensors can detect when you approach. The mirror can light up or show information automatically. Temperature sensors allow it to display weather updates accurately. Light sensors adjust screen brightness for better visibility. These sensors make your mirror smarter and easier to use.
Custom Modules And Widgets
Custom modules add new features tailored to your lifestyle. You can display news, calendar events, or social media updates. Widgets for health tracking show steps or heart rate. Weather modules give real-time forecasts and alerts. Customizing widgets keeps the mirror relevant and personal. It creates a convenient hub for your daily routine.
Frequently Asked Questions
What Materials Do I Need To Build A Smart Mirror?
To build a smart mirror, you need a two-way mirror, an LCD screen, a Raspberry Pi, sensors, and frame materials. These components work together to display information while reflecting your image. Additional tools like a power supply and software are also essential for functionality.
How Does A Smart Mirror Display Information?
A smart mirror uses a two-way mirror and an LCD screen behind it. The screen displays data like weather and time, which is visible through the mirror. The Raspberry Pi processes and sends this data to the screen seamlessly.
Can I Customize The Smart Mirror Interface?
Yes, smart mirror interfaces are customizable. You can add widgets like calendars, news, and health trackers. Customization is done via software on the Raspberry Pi, allowing personalized content and layout to fit your needs.
Is Coding Required To Make A Smart Mirror?
Basic coding knowledge helps but is not mandatory. Many open-source software options simplify setup with minimal coding. However, some customization or troubleshooting may require basic programming skills, typically in Python or JavaScript.
Conclusion
Creating a smart mirror can be fun and useful. You only need simple parts and clear steps. This project helps you learn about technology and design. Every mirror can show weather, time, or news. You control what appears on the screen.
Start small, and add features as you go. Enjoy building your smart mirror at home. It makes your daily routine a bit easier. Try it today and see how it works!