
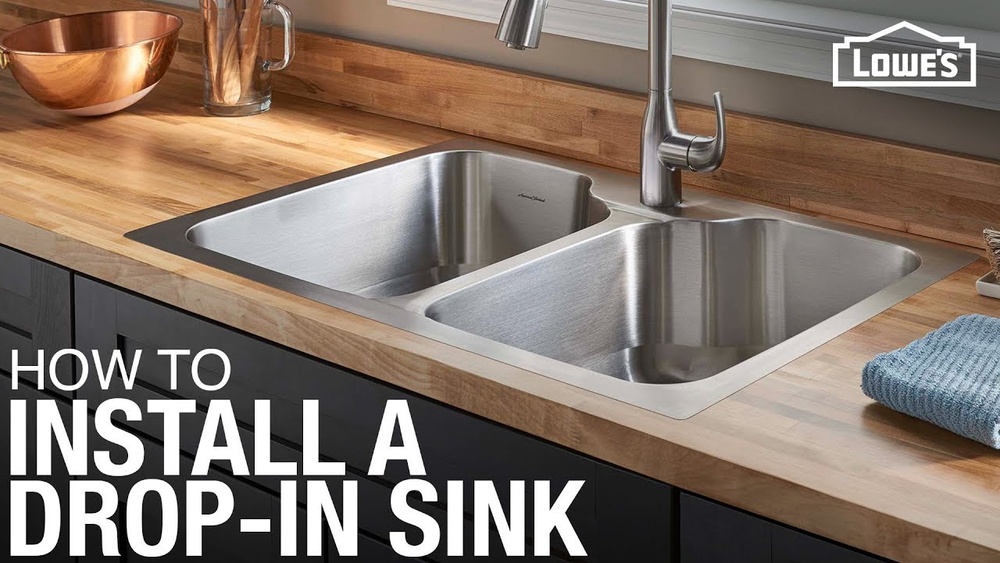
Mounting a kitchen sink is a task that can make your kitchen more functional and attractive. Many people worry about doing this job themselves, but with careful steps and the right tools, it’s possible for most homeowners. You don’t need to be a professional plumber to mount a kitchen sink correctly.
This guide will walk you through everything you need to know, from choosing the right sink to sealing the edges and connecting the plumbing. You’ll learn tips that even beginners often miss, so you can avoid costly mistakes and enjoy a sink that lasts for years.
Choosing The Right Kitchen Sink
The first step is selecting a sink that fits your kitchen and meets your needs. There are many types and materials, so you should consider several factors before buying.
Types Of Kitchen Sinks
The most common types are:
- Top-mount (drop-in) sinks: These are set into a hole in the countertop, with a rim that sits on top.
- Undermount sinks: These are attached below the countertop, creating a clean look.
- Farmhouse (apron-front) sinks: These have a front panel that sticks out from the cabinets.
- Integrated sinks: Made from the same material as the countertop.
Each type has different mounting requirements. For example, undermount sinks need strong support and careful sealing, while top-mount sinks are easier for beginners.
Sink Materials
You’ll find sinks made from:
- Stainless steel: Durable, easy to clean, and affordable.
- Porcelain: Attractive but can chip or stain.
- Granite composite: Tough and scratch-resistant.
- Cast iron: Heavy and very sturdy, usually coated in enamel.
- Copper: Stylish, but needs regular care.
Consider the weight of the sink, especially for undermount or farmhouse styles. Heavier sinks need extra support.
Measuring For Your Sink
Before buying, measure your countertop cutout and cabinet size. Sinks come in standard widths, usually 24, 30, or 33 inches. The depth of the sink also matters. Check your plumbing clearance under the cabinet.
Tip: Don’t just measure the old sink. Also measure the cabinet space and countertop thickness. Some undermount sinks need thicker counters or extra bracing.
Comparing Sink Types
Here is a comparison of common sink types to help you choose:
| Type | Ease of Installation | Support Needed | Average Price Range |
|---|---|---|---|
| Top-mount | Easy | Minimal | $100–$400 |
| Undermount | Medium | Strong | $200–$800 |
| Farmhouse | Hard | Very strong | $400–$1,500 |
Preparing For Sink Installation
A successful installation starts with good preparation. You need to gather tools, clear your workspace, and check the plumbing.
Tools And Materials You’ll Need
Most kitchen sink installations require:
- Tape measure
- Screwdriver
- Adjustable wrench
- Utility knife
- Silicone caulk
- Plumber’s putty
- Bucket
- Rags
- Pipe wrench
- Sink clips/brackets
- Drill (for undermount sinks)
- Level
- Mounting hardware (often comes with the sink)
Have everything ready before you start. Missing tools can lead to delays and mistakes.
Clearing The Workspace
Remove everything from under the sink. Turn off the water supply using the shut-off valves. Place a bucket under the pipes to catch any water when disconnecting the plumbing.
If you’re replacing an old sink, disconnect the faucet, supply lines, and drain pipes. Carefully lift out the old sink. Clean the countertop surface, removing old caulk and debris.
Insight: Many beginners forget to check for water leaks before removing the old sink. It’s smart to look for signs of moisture or mold, which could mean hidden plumbing issues.
Checking Plumbing And Cabinet Support
Inspect your plumbing. Make sure the supply lines and drain pipes are in good condition. If you see corrosion or cracks, replace them now. Check the cabinet for signs of damage or rot. Heavier sinks, like cast iron or farmhouse styles, may need extra bracing or plywood supports.
Tip: Undermount sinks require a strong, flat surface. If your countertop is warped or damaged, repair it before installation.
Cutting The Countertop
If your countertop doesn’t already have a hole for the sink, you’ll need to cut one. This step requires careful measuring and safety.
Marking The Cutout
Most sinks come with a template. Place the template on the countertop and mark the outline with a pencil. Make sure the sink is centered over the cabinet and allows enough space for faucets and accessories.
Measure twice before cutting. The sink must fit snugly, but not too tight.
Cutting Techniques
For laminate countertops, use a jigsaw. For stone or granite, you may need a diamond blade and professional help. Always wear eye protection and follow safety instructions.
Start by drilling a hole at each corner of the outline. Insert the jigsaw blade and cut along the marked line, keeping the saw steady. When finished, test-fit the sink. Sand rough edges.
Non-obvious insight: Many people skip checking the faucet clearance behind the sink. Before cutting, make sure there’s enough space for the faucet to fit and operate without hitting the wall.
Comparing Countertop Materials
Here is a table showing cutting difficulty for different countertop materials:
| Material | Cutting Tool Needed | Skill Level | Risk of Damage |
|---|---|---|---|
| Laminate | Jigsaw | Beginner | Low |
| Wood | Jigsaw | Beginner | Medium |
| Granite | Diamond Blade | Expert | High |
| Quartz | Diamond Blade | Expert | High |
Mounting A Top-mount (drop-in) Sink
Most DIYers start with a top-mount sink because it’s easier to install. Here are the steps.
Step-by-step Process
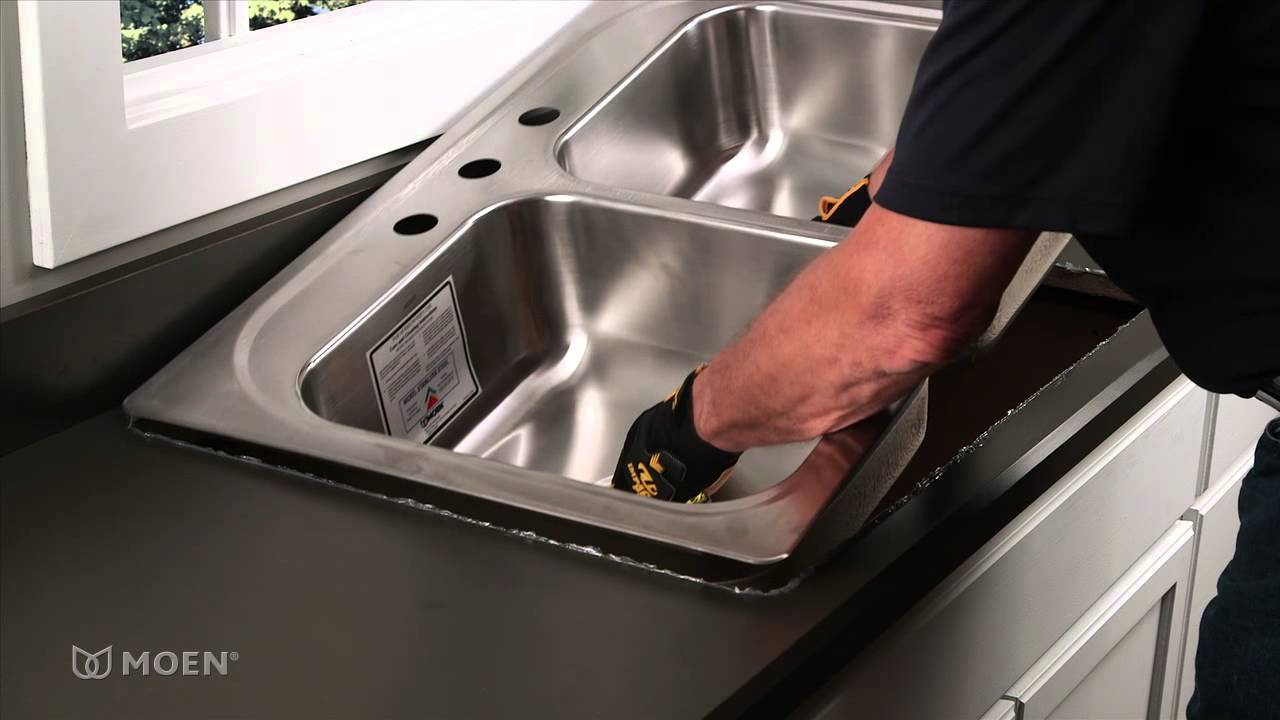
- Apply plumber’s putty or silicone caulk around the edge of the cutout. This seals the gap and prevents leaks.
- Lower the sink into the hole. Press down evenly so the rim sits flat on the countertop.
- Attach mounting clips underneath the rim. Tighten them to secure the sink. Don’t overtighten or you might crack the rim.
- Wipe away excess caulk. Use a damp rag to clean the edge.
- Install the faucet and accessories. If the sink has pre-drilled holes, insert the faucet and tighten the nuts from underneath.
- Connect the water supply lines. Use an adjustable wrench. Make sure the connections are snug but not too tight.
- Connect the drain. Attach the drain assembly using plumber’s putty. Connect the trap and tighten all fittings.
Common Mistakes
- Not sealing the rim properly (leads to leaks)
- Overtightening the clips (can break the sink or countertop)
- Forgetting to test for leaks after installation
Tip: After mounting, run water and check for leaks around the rim and drain. If you see any drops, fix them immediately.
:max_bytes(150000):strip_icc()/how-to-install-a-sink-drain-2718789_hero_5078-64538f6f90d545c7af0728e4bf8f894e.jpg)
Credit: www.thespruce.com
Mounting An Undermount Sink
Undermount sinks create a modern, sleek look but require more skill. They need strong support and careful sealing.
Preparation
Check that your countertop is thick and strong enough. Undermount sinks are usually used with stone, granite, or solid-surface counters.
Step-by-step Process
- Clean the underside of the countertop. Remove dust and old caulk.
- Dry-fit the sink to check alignment. Mark the position with a pencil.
- Apply silicone caulk around the edge of the sink.
- Position the sink under the countertop opening. Hold it in place with temporary supports (wood blocks or clamps).
- Attach sink brackets. Drill holes into the underside of the countertop and insert screws. Tighten gently.
- Wipe away extra caulk before it dries.
- Let the caulk cure for 24 hours. Don’t use the sink until it’s fully set.
- Install faucet, supply lines, and drain as before.
Non-obvious insight: Many people don’t realize undermount sinks require a perfectly flat surface. Any uneven spots can cause leaks or make the sink sit unevenly.
Common Mistakes
- Not letting caulk cure fully before using the sink
- Using the wrong type of caulk (must be waterproof and mold-resistant)
- Not supporting the sink enough during installation
Installing A Farmhouse Sink
Farmhouse sinks are heavy and have a special installation process. You need to build a support frame inside the cabinet.
Step-by-step Process
- Build a support frame using plywood or 2×4 lumber inside the cabinet. The frame should hold the sink’s weight.
- Position the sink so the apron front sticks out slightly from the cabinets.
- Apply silicone caulk around the edges.
- Set the sink on the frame. Make sure it’s level and flush with the countertop.
- Install countertop pieces around the sink (if needed).
- Connect plumbing as usual.
Tip: Always check the manufacturer’s instructions for apron-front sinks. Some need extra brackets or special supports.
Common Mistakes
- Not building a strong enough frame
- Not leveling the sink before sealing
- Forgetting to account for countertop thickness
Installing Faucets And Accessories
Once the sink is mounted, you can install the faucet, sprayer, and other accessories.
Faucet Installation
Most sinks have pre-drilled holes. Insert the faucet, then tighten nuts from underneath. Connect supply lines to the shut-off valves.
Insight: Always use new supply lines. Old ones can crack or leak, causing water damage.
Accessory Installation
Install soap dispensers, sprayers, or water filters if desired. Follow manufacturer’s directions for each accessory.
Connecting Drain Pipes
The drain connection is important for leak-free performance. Always use plumber’s putty and check for tight seals.
Step-by-step Process
- Insert drain assembly into the sink’s drain hole. Apply plumber’s putty under the flange.
- Tighten the drain nut under the sink.
- Attach the P-trap and connect to the waste pipe.
- Tighten all connections with a wrench. Don’t overtighten.
- Test for leaks by running water and checking underneath.
Non-obvious insight: Many beginners don’t realize the drain pipes must be aligned perfectly. Misaligned pipes cause leaks and slow drainage.
Sealing And Finishing
The last step is sealing the sink and cleaning up. Proper sealing prevents water damage and mold.
Sealing Edges
Use waterproof silicone caulk around all edges. Smooth it with a damp finger or caulk tool. Let it dry fully before using the sink.
Cleaning Up
Wipe away any extra caulk or putty. Clean the sink and countertop with a soft cloth. Put back everything under the sink.
Troubleshooting Common Problems
Even careful installers face issues. Here’s how to fix the most common ones.
Leaks Around The Rim
Usually caused by poor sealing. Remove old caulk and reapply a thick bead of silicone.
Drain Leaks
Check the plumber’s putty and tighten the drain nut. If leaks continue, replace the washer.
Loose Sink
Tighten mounting clips or brackets. If the sink still moves, you may need more support underneath.
Clogged Drain
Make sure drain pipes are aligned and clear. Use a plumber’s snake if needed.

Credit: www.kraususa.com
Maintenance Tips
A well-mounted sink needs care to stay leak-free and attractive.
- Check for leaks every few months.
- Clean caulk lines to prevent mold.
- Avoid harsh chemicals that can damage sink material.
- Tighten fittings if you notice drips or movement.
Comparing Diy Vs Professional Installation
Some people prefer to hire a pro. Here’s a comparison to help you decide:
| Aspect | DIY Installation | Professional Installation |
|---|---|---|
| Cost | $100–$400 (materials only) | $300–$1,000 (including labor) |
| Time | 2–6 hours | 1–3 hours |
| Skill Needed | Medium–High | Low (just hire) |
| Risk of Mistakes | High for beginners | Low |
| Warranty | No | Yes (often included) |
Safety Reminders
Always follow safety rules:
- Turn off water supply before working.
- Wear gloves and eye protection.
- Use proper tools for cutting and mounting.
- Work with a partner for heavy sinks.
Saving Money And Time
Mounting a kitchen sink yourself can save hundreds of dollars. Buy supplies at hardware stores, and compare prices online. Use quality caulk and fittings to avoid future repairs.
Insight: Many people try to save money by keeping old supply lines or drain pipes. This often leads to leaks and costly repairs. Always use new parts for a reliable installation.
Credit: www.youtube.com
When To Call A Professional
If you have a stone countertop, complex plumbing, or very heavy sink, consider hiring a professional. They have the tools and experience to do the job quickly and safely.
For more advanced guidance, you can check resources like Family Handyman.
Frequently Asked Questions
How Long Does It Take To Mount A Kitchen Sink?
Most installations take 2 to 6 hours. Top-mount sinks are quicker, while undermount or farmhouse sinks take longer due to extra support and sealing.
Can I Install A Kitchen Sink Without Professional Help?
Yes, if you have basic tools and follow the steps carefully. Beginners should start with a top-mount sink. Heavy or complex sinks may require a professional.
What Is The Best Caulk For Kitchen Sinks?
Use 100% silicone caulk, labeled as waterproof and mold-resistant. Avoid latex caulks, which don’t last as long.
How Do I Know If My Countertop Can Support An Undermount Sink?
Check for solid surface material (like granite or quartz), at least 1 inch thick. Wood or laminate counters may need extra support. Avoid mounting undermount sinks on thin or damaged countertops.
Why Does My New Sink Leak After Installation?
Leaks can be caused by poor sealing, loose fittings, or old supply lines. Check all connections and reapply caulk or plumber’s putty if needed. If leaks continue, consult a plumber.
Mounting a kitchen sink is a practical project that can improve your kitchen’s look and function. With careful planning, the right tools, and attention to detail, you’ll get professional results. Remember to measure carefully, seal all edges, and check for leaks.
Even if you’re new to DIY projects, following these steps will help you avoid mistakes and enjoy a beautiful, reliable sink for years to come.