
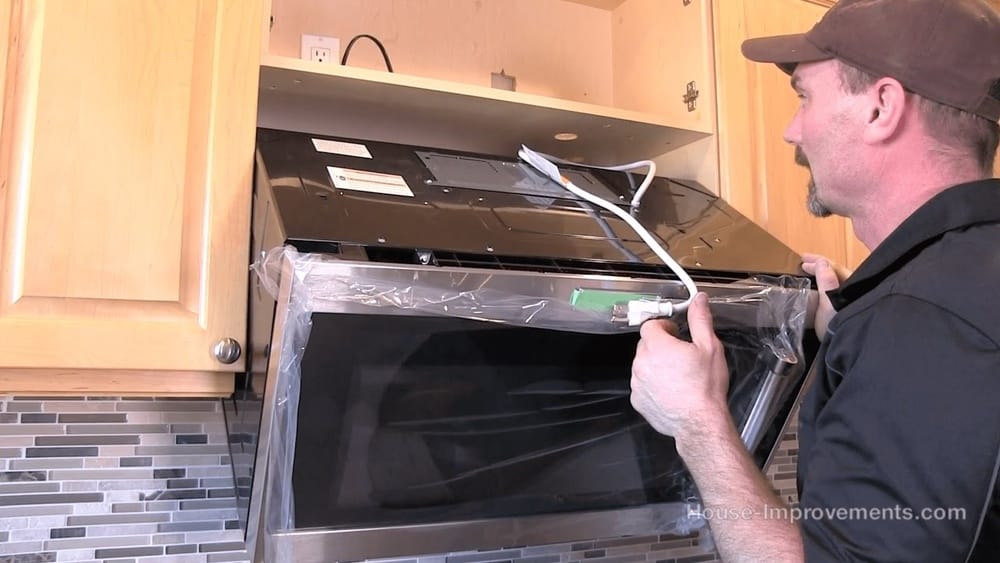
Mounting a microwave over the stove is a smart way to save kitchen space and create a more streamlined cooking area. More than just a space-saver, an over-the-range microwave comes with features like built-in lighting and ventilation. But installing one yourself is a big project—it needs careful planning, the right tools, and a good understanding of your kitchen’s layout.
If you’re ready to tackle this task, you’ll find that it’s doable for most handy homeowners. You don’t need advanced skills, but you do need patience and attention to detail.
This guide will walk you step-by-step through the full process. You’ll learn how to prepare your kitchen, choose the right microwave, understand electrical and ventilation requirements, and get a safe, professional-looking result. We’ll share tips that beginners often miss, practical advice, and clear examples.
By the end, you’ll know how to mount a microwave over the stove confidently—and safely.
Understanding Over-the-range Microwaves
Before you start, it’s important to know what makes over-the-range microwaves different. These appliances are designed to hang above your stove, doubling as a light and vent for your cooktop.
Key Features
- Built-in exhaust fan: Helps remove smoke, odors, and steam from cooking.
- Cooktop lighting: Illuminates the stove below for better visibility.
- Space-saving design: Frees up countertop space.
- Multiple venting options: Can vent outside or recirculate air inside.
Typical Dimensions
Most over-the-range microwaves are about 30 inches wide to match standard stove widths. Heights and depths vary, but depth is usually around 15–16 inches. Always check your stove and cabinet measurements before buying.
Weight Considerations
These microwaves weigh between 50–75 pounds. You’ll need sturdy support and possibly help from another person during installation.
Planning Your Installation
Mounting a microwave over the stove is not just a one-step process. Careful planning ensures safety and performance.
Measuring Your Space
Start by measuring the space above your stove. Record:
- Width: The distance between cabinets, usually 30 inches for standard stoves.
- Height: Minimum clearance from stove to microwave is usually 13–16 inches (check your microwave’s manual for the exact requirement).
- Depth: Make sure the microwave doesn’t stick out too far, blocking cabinet doors or creating a hazard.
Checking Cabinet Structure
The upper cabinet above your stove will support the microwave. It must be strong enough to hold the unit’s weight. If the cabinet is flimsy or damaged, reinforce it or replace it before starting.
Electrical Requirements
Most over-the-range microwaves need a dedicated 120V outlet. This outlet should be inside the upper cabinet, not behind the microwave. If you don’t have one, you’ll need to add it—either yourself (if you know electrical work) or with a licensed electrician.
Ventilation Options
There are two main ways to vent:
- External venting: Air is sent outside through ductwork.
- Recirculating venting: Air passes through filters and returns to the kitchen.
External venting is better for removing smoke and odors, but requires ductwork. Recirculating is easier for kitchens without exterior walls nearby.
Choosing The Right Microwave
Not all microwaves can be mounted over the stove. You need a model made specifically for this purpose.
Important Features To Consider
- Size and fit: Match your microwave’s width to your stove (usually 30 inches).
- Vent type: Choose between external and recirculating venting.
- Fan power: Look for at least 300 CFM (cubic feet per minute) for good ventilation.
- Lighting: Check the brightness and bulb type.
- Control panel placement: Make sure buttons are easy to reach.
Comparing Popular Models
Here’s a quick comparison of three leading models:
| Brand & Model | Width | Vent Type | Fan Power (CFM) | Price Range |
|---|---|---|---|---|
| Samsung ME19R7041FS | 29.9″ | Recirculating/External | 400 | $350–$450 |
| LG LMV2031ST | 29.7″ | Recirculating/External | 400 | $300–$400 |
| GE JVM3160RFSS | 29.8″ | Recirculating/External | 300 | $250–$350 |
Common Mistakes When Choosing
- Buying a countertop microwave instead of over-the-range.
- Not checking cabinet strength.
- Ignoring venting needs (especially if you cook with oil or fry often).
- Overlooking outlet placement.
Gathering Tools And Materials
Having the right tools will make your project much easier.
Tools You’ll Need
- Drill with drill bits
- Screwdrivers (Phillips and flathead)
- Measuring tape
- Stud finder
- Level
- Socket wrench set
- Utility knife
- Safety glasses
- Work gloves
- Ladder or sturdy stool
Materials
- Mounting template (comes with the microwave)
- Mounting bracket (included with microwave)
- Bolts and screws (included or specified in manual)
- Wood screws (for added cabinet support)
- Wire nuts (if connecting wires)
- Ductwork (for external venting)
- Charcoal filters (for recirculating venting)
Safety Precautions
- Turn off power at the breaker before starting.
- Wear safety glasses and gloves.
- If you’re unsure about electrical work, hire a professional.
Preparing The Installation Area
Proper preparation can prevent accidents and make installation smoother.
Clearing The Space
Remove any items from the stove and the upper cabinet. Clean the area thoroughly. Move any small appliances and clear a path for carrying the microwave.
Protecting Surfaces
Cover your stove with a thick cloth or cardboard to prevent scratches and damage. Lay out tools and parts nearby for easy access.
Checking Stud Locations
Use a stud finder to locate wall studs behind the stove. You’ll attach the mounting bracket to these for maximum support.
Verifying Electrical Outlet
Check that the outlet in the upper cabinet is working and accessible. If you need to add one, plan this before mounting the microwave.
Step-by-step Installation Process
Now let’s break down the process into clear steps. This is where careful planning pays off.
Step 1: Read The Microwave Manual
Every microwave is different. Read the installation instructions fully before starting. Manuals include mounting templates and specific safety warnings.
Step 2: Mark And Drill Holes
- Tape the mounting template to the bottom of the upper cabinet.
- Use the template to mark the holes for power cord and mounting bolts.
- Drill pilot holes carefully—don’t drill too large.
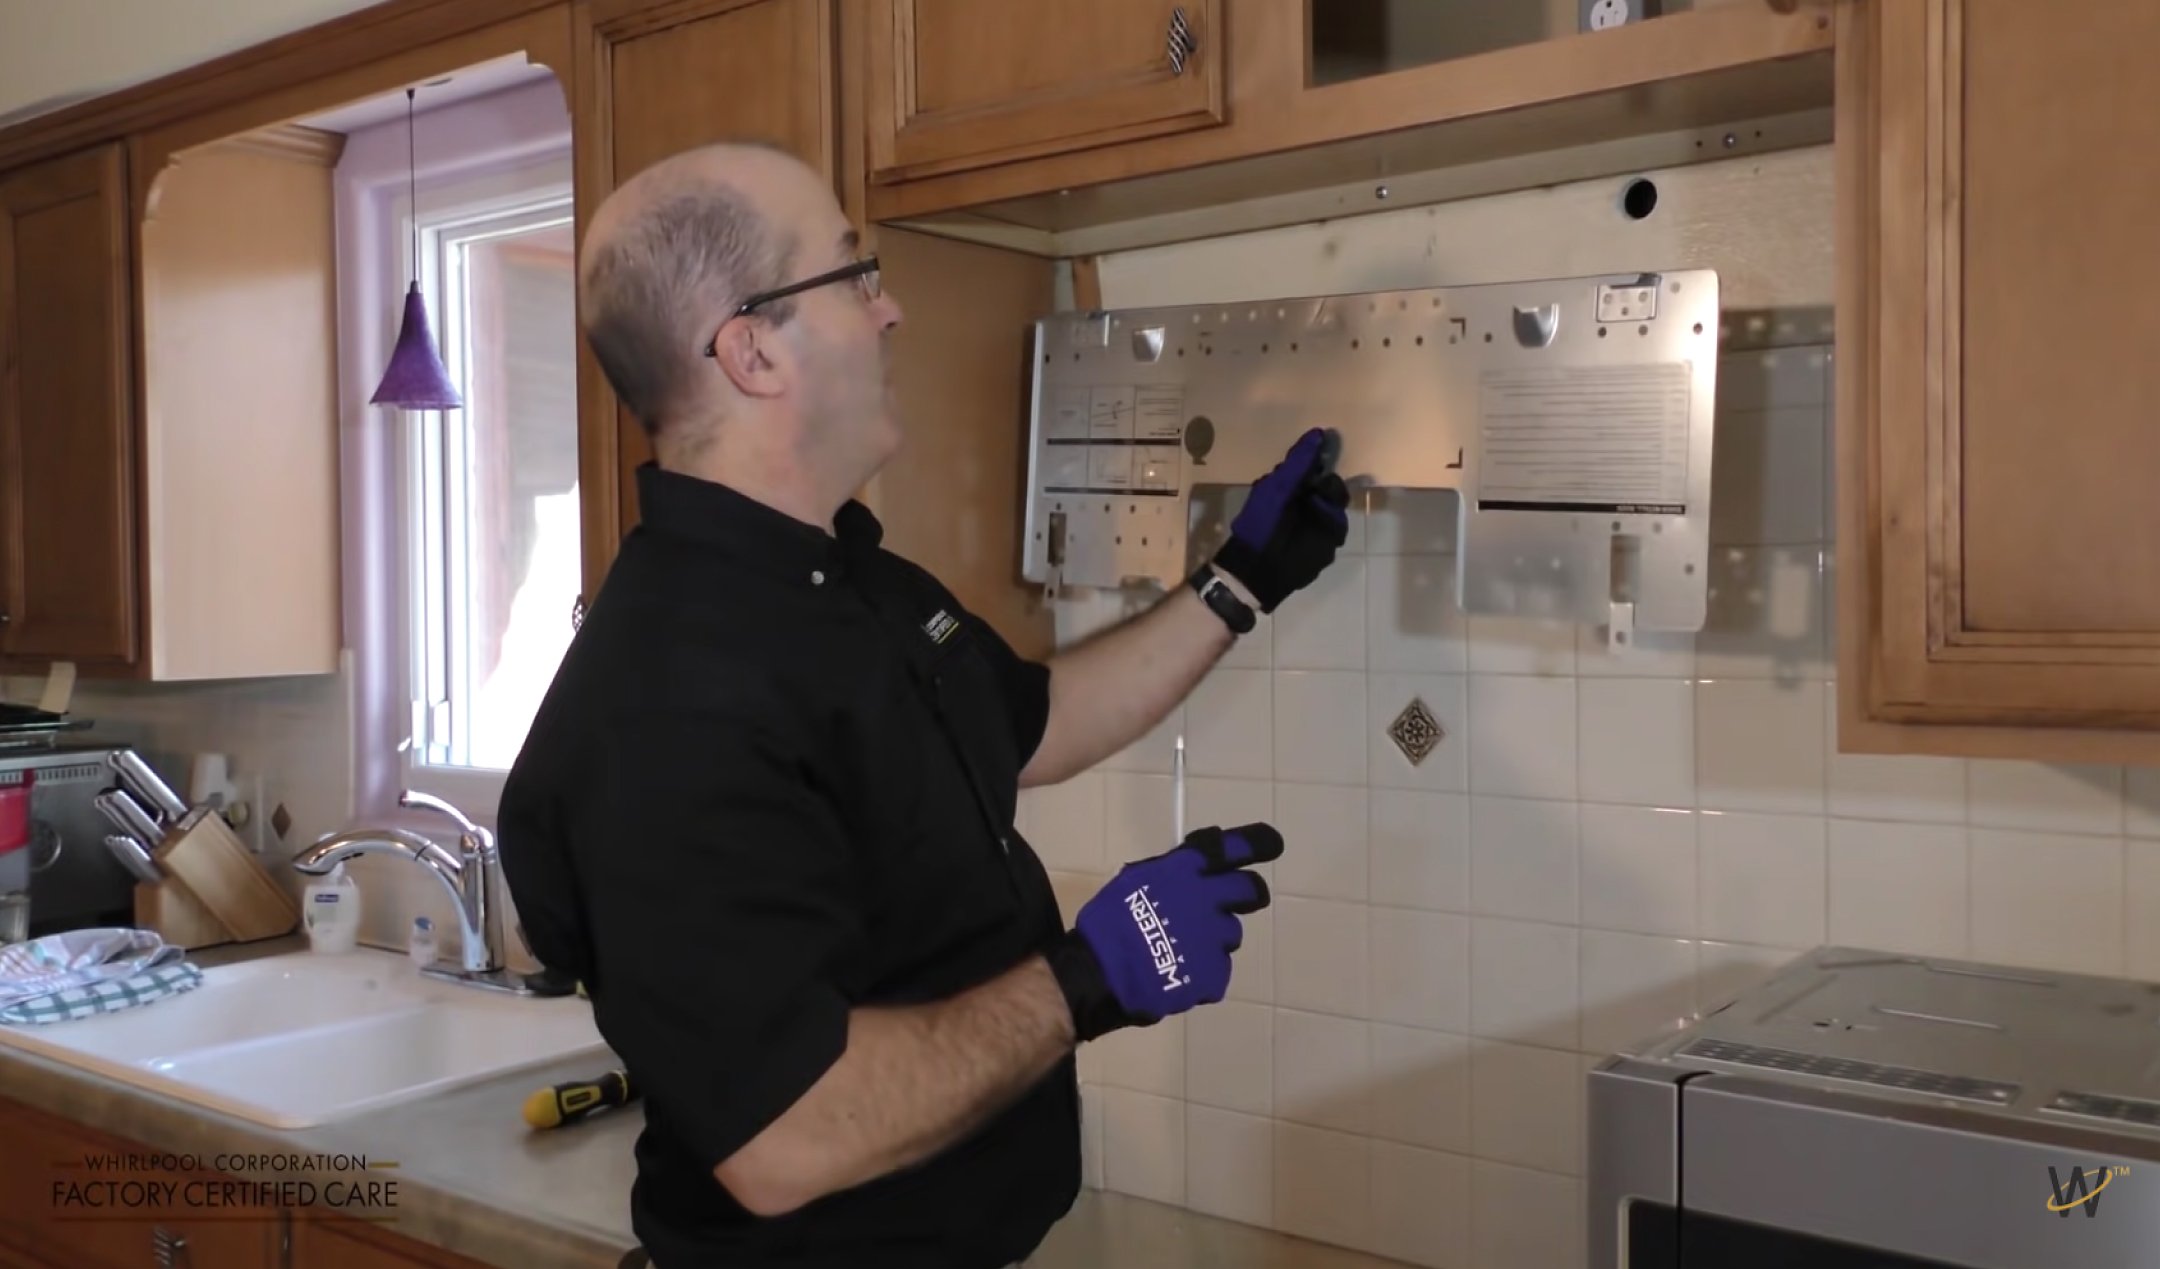
Step 3: Install The Mounting Bracket
- Hold the bracket against the wall behind the stove.
- Line up the bracket with the wall studs.
- Screw the bracket securely into studs using wood screws.
- Use a level to check that the bracket is perfectly horizontal.
Step 4: Prepare The Microwave
- Remove any packaging and protective film.
- If needed, adjust the venting system (some models require changing the fan direction for external or recirculating venting).
- Attach filters if using recirculating mode.
Step 5: Position The Microwave
This step usually needs two people.
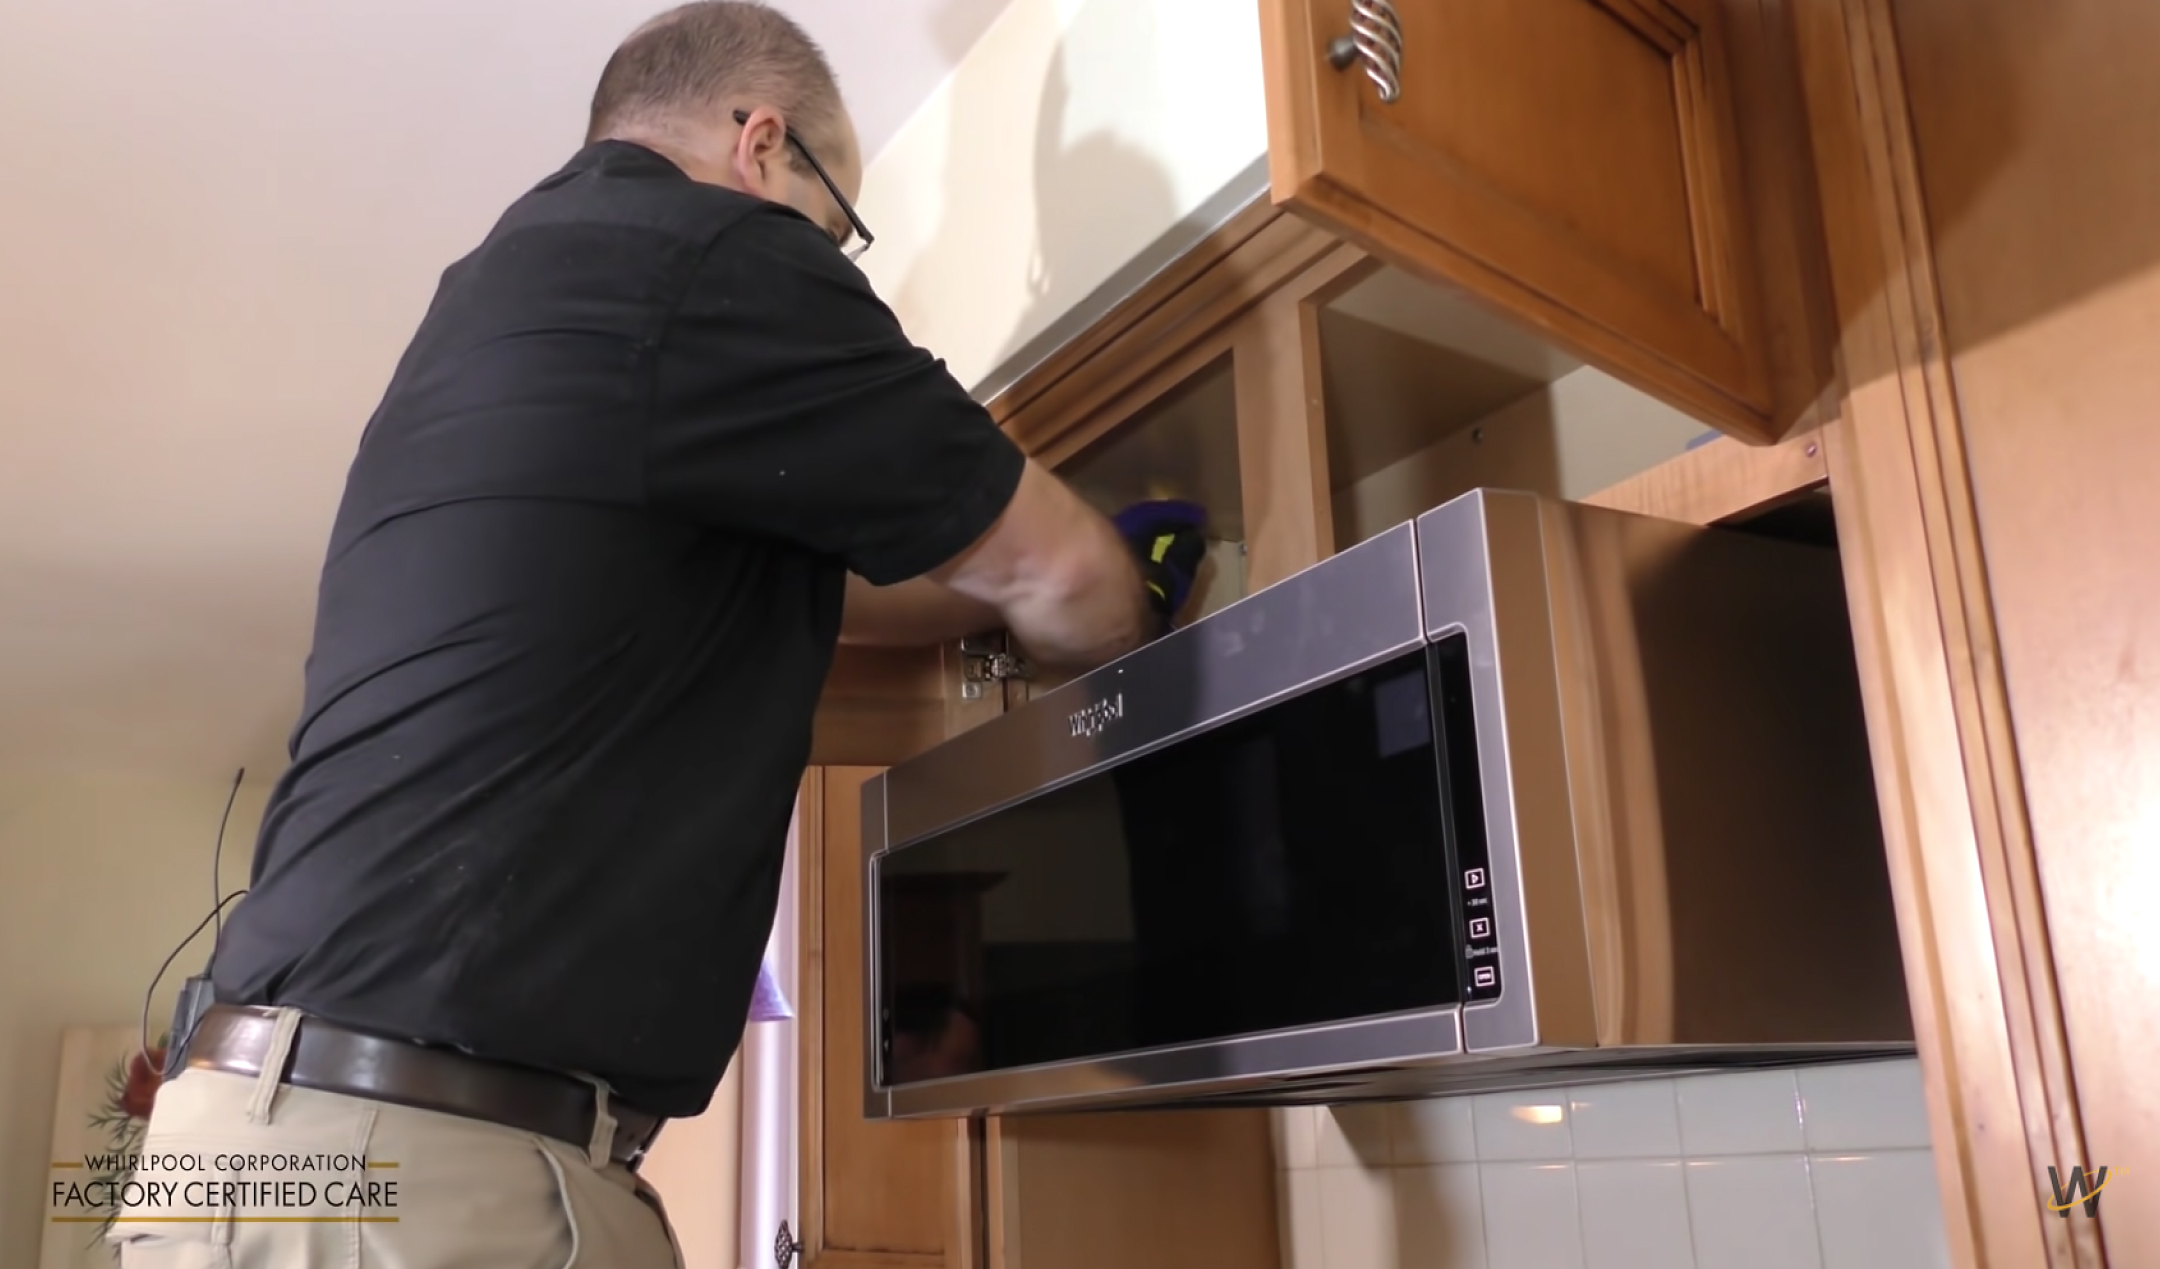
- Lift the microwave up and angle it so the back hooks onto the mounting bracket.
- Guide the power cord through the hole in the upper cabinet.
- Hold the microwave in place while the other person attaches bolts from inside the cabinet.
Step 6: Secure The Microwave
- Insert mounting bolts through the cabinet into the microwave.
- Tighten bolts firmly, but don’t overtighten.
- Double-check that the unit is level and flush with cabinets.
Step 7: Connect Electrical And Ventilation
- Plug the microwave into the cabinet outlet.
- If using external venting, connect ductwork and seal joints.
- If recirculating, ensure filters are in place.
Step 8: Test The Microwave
- Turn power back on at the breaker.
- Test all functions—microwave, fan, light.
- Check for air leaks if venting externally.
Step 9: Clean Up And Final Checks
- Remove tools and covers.
- Clean fingerprints or dust from the microwave and cabinets.
- Confirm everything is secure and safe.
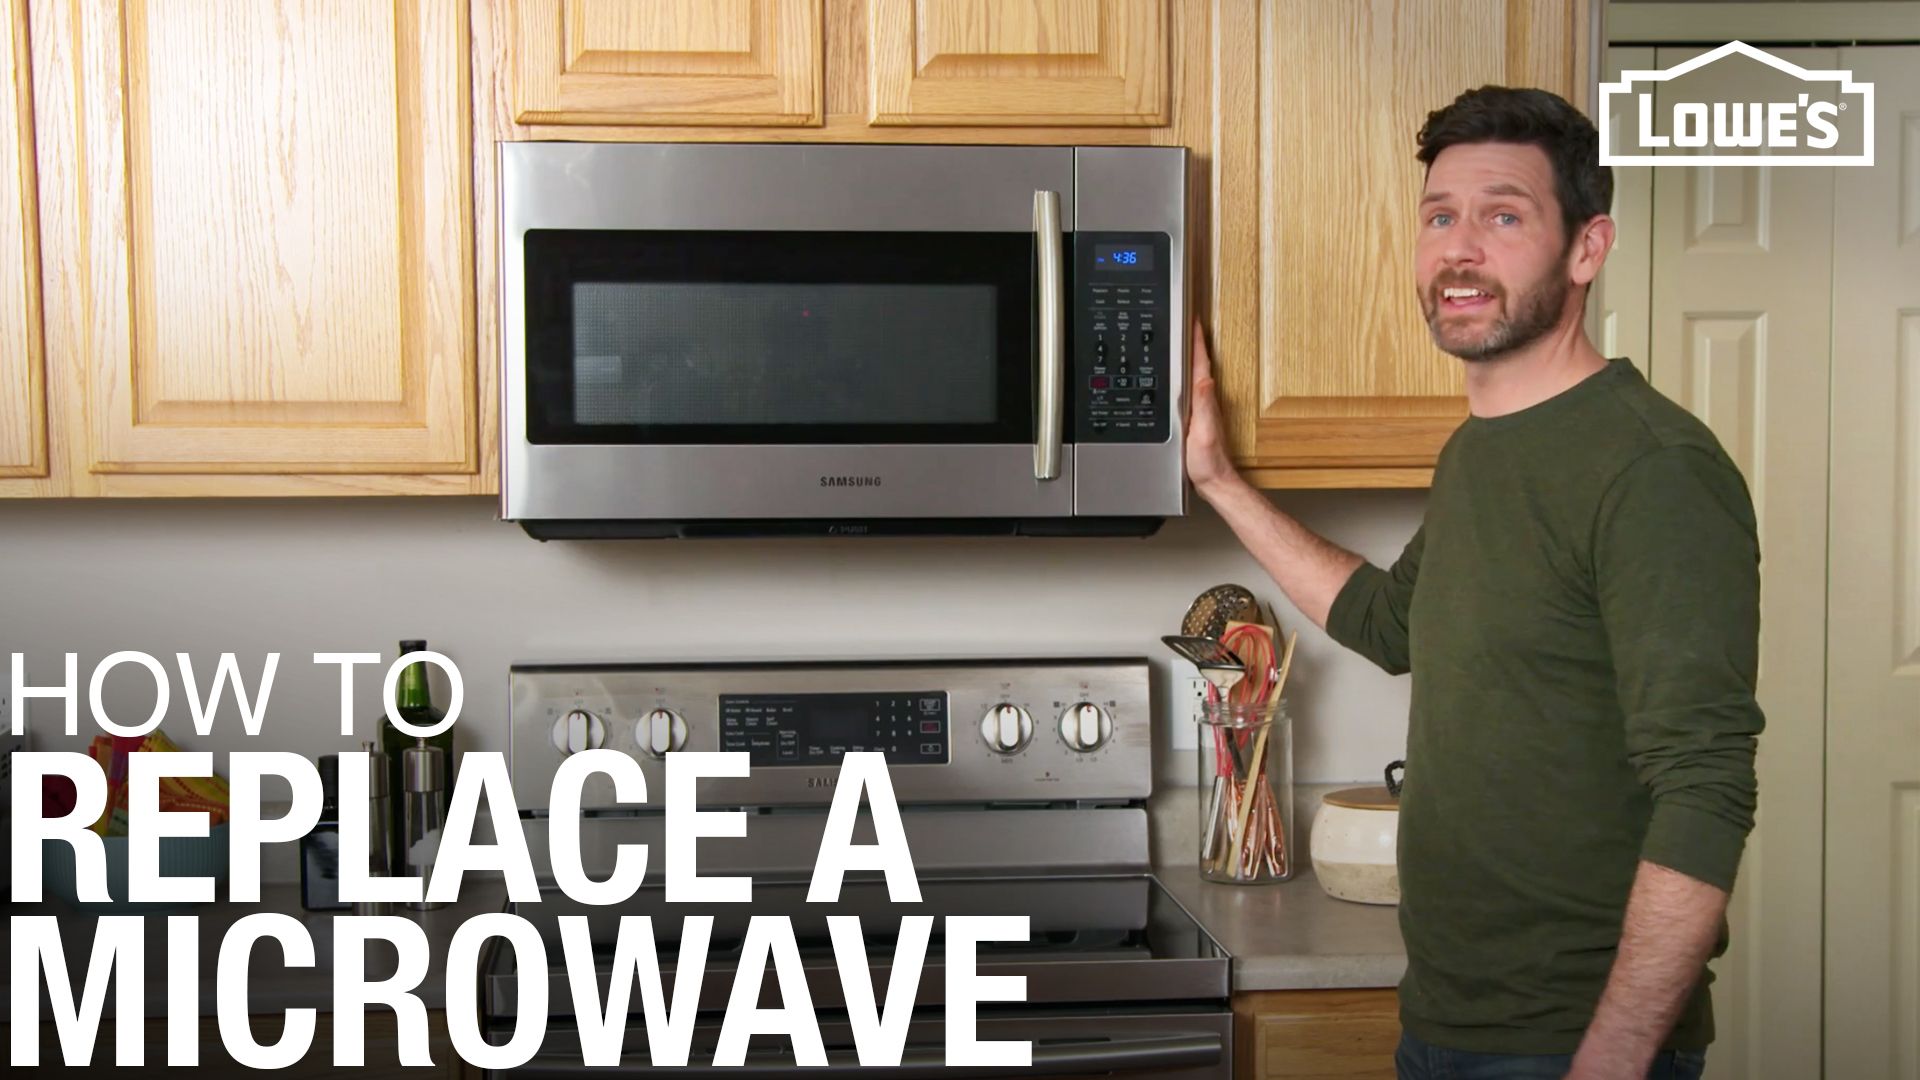
Credit: www.lowes.com
Comparing Recirculating Vs External Venting
Choosing the right venting method is important for performance and air quality. Here’s a comparison:
| Feature | Recirculating | External Venting |
|---|---|---|
| Installation difficulty | Easy | Moderate to Hard |
| Air quality | Filters odors, but not smoke | Removes smoke & odors |
| Maintenance | Replace filters regularly | Clean ducts occasionally |
| Best for | Interior kitchens | Exterior walls |
Tips For A Safe And Professional Installation
Many homeowners make small mistakes that lead to bigger problems later. Here are tips to get it right the first time:
1. Double-check Measurements
Microwaves are heavy and difficult to move once installed. Triple-check all measurements before drilling any holes.
2. Use The Right Screws
Don’t substitute screws. Use those provided or recommended in the manual. Wrong screws can fail under weight.
3. Reinforce Cabinets
If your upper cabinet is thin or weak, reinforce it with extra wood strips before mounting.
4. Don’t Ignore Vent Direction
Some microwaves require you to rotate the fan for proper venting. This step is often missed by beginners.
5. Keep Clearance For Safety
Always maintain the minimum clearance between stove and microwave. This prevents overheating and allows proper airflow.
6. Avoid Over-tightening Bolts
Bolts should be tight, but not so tight that they crack the cabinet or damage the microwave.
7. Check Local Codes
Some cities have strict rules for kitchen appliances. Check local building codes before installing.
Common Problems And How To Fix Them
Even careful installers can run into issues. Here are some frequent problems and solutions.
Microwave Not Level
If your microwave isn’t level, loosen bolts and adjust position. Use a level tool. Tighten bolts when the unit is straight.
Loose Or Sagging Microwave
This usually means the bracket isn’t attached to studs. Remove the microwave, reposition bracket, and screw into studs.
Electrical Outlet Placement Issues
If the outlet is behind the microwave, you may need to relocate it. Hire an electrician for safe installation.
Venting Leaks
Seal all duct joints with foil tape. Gaps can cause steam and smoke to leak into your kitchen.
Excessive Noise
Check fan direction and make sure filters are seated properly. Rattling may mean loose bolts or parts.
Cost Breakdown: Diy Vs Professional Installation
Mounting a microwave yourself saves money, but hiring a pro offers peace of mind.
| Cost Factor | DIY Installation | Professional Installation |
|---|---|---|
| Microwave | $250–$500 | $250–$500 |
| Tools & Materials | $25–$75 | Included |
| Labor | $0 | $150–$300 |
| Electrical Work | $0–$150 (if needed) | $0–$150 (if needed) |
| Total Cost | $275–$725 | $400–$950 |
DIY is cheaper, but professionals offer warranties and experience.
Credit: www.whirlpool.com
Real-life Example: Mounting A Microwave In A Small Kitchen
Let’s look at how one homeowner installed a GE JVM3160RFSS microwave in a small apartment kitchen.
- Cabinet width: 30 inches
- Clearance above stove: 15 inches
- Outlet inside cabinet: Already installed
- Venting: Recirculating (no exterior wall nearby)
Process:
The homeowner measured carefully, used the mounting template, and drilled precise holes. With a friend’s help, they lifted the microwave onto the bracket and secured it with bolts. They installed the charcoal filter for recirculating venting. The whole job took about two hours.
Result:
The microwave fit perfectly, provided bright lighting, and the fan worked well for daily cooking. The homeowner replaced filters every six months for best air quality.
Insight:
The most challenging part was drilling through the cabinet without splintering the wood—a sharp drill bit and slow drilling helped. The homeowner also learned that setting the fan direction for recirculating mode was crucial.
Maintenance And Long-term Care
Once your microwave is installed, proper care keeps it running smoothly.
Regular Cleaning
- Clean the exterior with a damp cloth.
- Wipe the inside weekly, especially after spills.
- Clean or replace filters every 3–6 months (for recirculating models).
- Clean vent ducts annually (for external venting).
Checking Bolts And Bracket
Every 6–12 months, check that bolts are tight and the bracket is secure. Vibrations from cooking and use can loosen parts over time.
Replacing Bulbs
Microwave cooktop lights may burn out after a year or two. Replace with the correct bulb type as listed in your manual.
Updating Filters
Charcoal filters lose effectiveness over time. Replace according to manufacturer instructions—usually every 6 months.
Watching For Warning Signs
If you notice excessive noise, loose parts, or electrical issues, turn off the unit and inspect immediately. Don’t ignore small problems.
When To Call A Professional
Some tasks require expert help. Call a professional if:
- You need to move or add an electrical outlet.
- Your cabinet is damaged or weak.
- You’re unsure about venting ductwork.
- You want installation to meet local codes.
- The microwave is very heavy or difficult to handle.
Professional installers can finish the job quickly and safely, often with warranties.
Frequently Asked Questions
How Much Clearance Is Needed Between The Stove And Microwave?
Most manufacturers recommend 13–16 inches of clearance between the stove and the bottom of the microwave. This prevents overheating and allows safe cooking. Always check your specific microwave’s manual for the exact requirement.
Can I Install An Over-the-range Microwave In Any Kitchen?
You can install one in most kitchens, but you need a strong upper cabinet, a dedicated outlet, and enough space above the stove. If your kitchen doesn’t have these, you may need to reinforce cabinets or add electrical wiring.
What’s The Difference Between Recirculating And External Venting?
Recirculating venting uses filters to clean air and returns it to the kitchen. External venting sends air outside through ducts, removing smoke and odors more effectively. Choose based on your kitchen’s layout and cooking habits.
Do I Need Professional Help To Mount A Microwave?
If you’re comfortable with tools and basic electrical work, you can install it yourself. For tricky tasks like adding outlets or vent ducts, or if your cabinets are weak, hiring a professional is safer and faster.
How Often Should I Replace The Filters In My Microwave?
Replace charcoal filters every 3–6 months for recirculating models. For external venting, clean ducts annually. Filters help maintain air quality and keep your microwave working well.
Mounting a microwave over the stove can transform your kitchen’s look and function. With careful planning, the right tools, and attention to detail, most homeowners can complete this project themselves. The process may seem daunting at first, but breaking it into steps makes it manageable. Remember to check measurements, reinforce cabinets, and choose the venting option that matches your cooking style. Regular maintenance will keep your microwave running smoothly for years. If you run into challenges, don’t hesitate to ask for professional help—it’s better to be safe than sorry. For more information on kitchen appliance safety and installation, visit Home Depot’s official guide.
Credit: www.whirlpool.com