
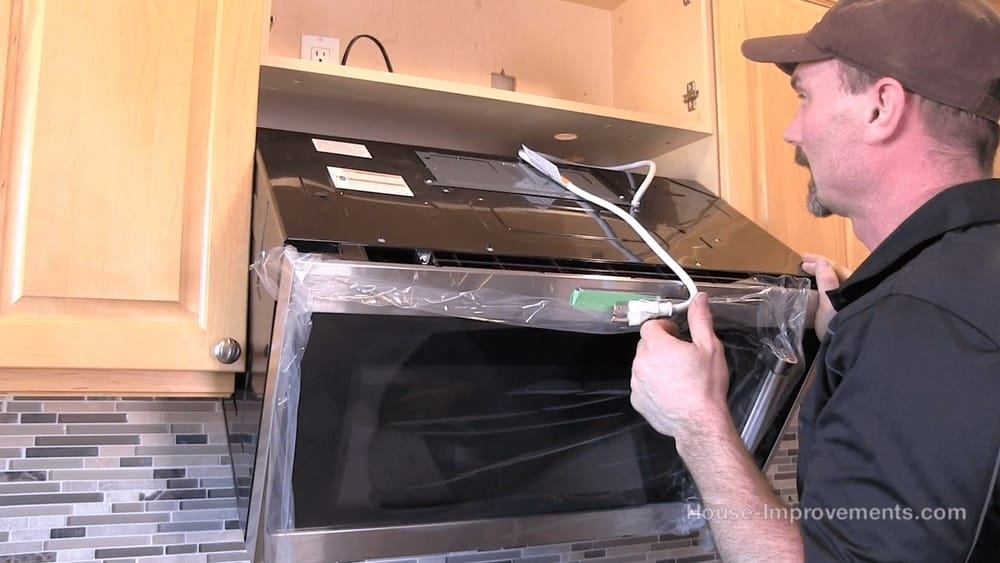
Mounting a microwave can seem tricky if you’ve never done it before, but with the right plan and guidance, it’s a project many homeowners can tackle themselves. Installing a microwave above your stove or countertop can save space, make your kitchen look modern, and keep your cooking area organized.
But to do it safely, you need to understand the tools, steps, and small details that can make a big difference.
This guide will walk you through how to mount a microwave—from choosing the right spot to the final safety checks. You’ll learn about the tools you need, common mistakes to avoid, and tips that most beginners miss. Whether you’re replacing an old microwave or installing a new one for the first time, you’ll finish with confidence and a clean, professional look.
Why Mounting Matters
A mounted microwave can change how your kitchen works. It frees up valuable counter space, makes cooking easier, and creates a more streamlined look. But the benefits go beyond appearance. A properly mounted microwave is safer—it won’t tip over, fall, or become a hazard if someone bumps into it.
Many modern kitchens use an over-the-range microwave. This style combines a microwave and a vent hood, which means you get two appliances in the space of one. But mounting a microwave in this way requires careful measuring, secure anchors, and often some electrical work.
If you’re considering a built-in or under-cabinet microwave, the steps are similar but with a few small changes. No matter the type, following the right process will help you avoid damaging your walls, cabinets, or the microwave itself.
Types Of Mountable Microwaves
Before you start, it’s important to know which kind of microwave you have. Not all microwaves can be mounted. Here are the main types:
| Type | Description | Typical Placement |
|---|---|---|
| Over-the-Range | Microwave with built-in vent for stove | Above stove/oven |
| Built-In | Fits into custom cabinet opening | Wall or cabinet cut-out |
| Under-Cabinet | Compact, designed for mounting below cabinets | Below upper kitchen cabinets |
| Countertop (Non-mountable) | Not designed for mounting | On kitchen counter |
Important: Never try to mount a standard countertop microwave. Only use a model that is designed for wall or cabinet mounting.
Gathering Tools And Materials
Before starting, collect all the tools and parts you’ll need. Most mounting kits include basic brackets and hardware, but you’ll often need a few extra tools. Here’s a typical list:
- Drill (with bits for wood, metal, and masonry)
- Stud finder (essential for finding wall studs)
- Level (at least 2 feet)
- Measuring tape
- Screwdriver set
- Pencil or marker
- Socket wrench set
- Safety goggles and gloves
- Masking tape (for marking)
- Ladder or sturdy step stool
- Microwave mounting template (usually included with the microwave)
- Mounting hardware (bolts, toggle bolts, washers—often included)
- Duct tape (for venting, if needed)
- Cable ties (for organizing wires)
- Stud anchors (if attaching to drywall)
Pro tip: Check that your microwave’s mounting kit is complete before you start. Missing screws or brackets are a common frustration that can delay your project.
Planning Your Microwave Location
Choosing the right spot is one of the most important steps. If you’re mounting above a stove, make sure there’s enough clearance for both safety and convenience.
Ideal Placement
- Height above stove: The bottom of the microwave should be at least 13–18 inches above the stove. The most common standard is 17 inches. This helps prevent burns and gives you space to cook.
- Distance from cabinets: Leave at least 2 inches on both sides for airflow.
- Back wall: The wall must be solid—ideally with studs for strong anchoring.
Power And Venting
- Electrical outlet: There should be an outlet in the upper cabinet above the microwave or nearby on the wall.
- Venting: Over-the-range microwaves need to vent steam and smoke. They can vent outside (ideal), back into the kitchen (recirculating), or up into a cabinet duct.
Measuring For Fit
Use the microwave’s template to mark the exact location of the mounting holes. Double-check your measurements. A common mistake is to drill holes too high or too low, leaving the microwave crooked or with doors that won’t open properly.
Preparing The Space
Before you drill or cut, clear the area. Remove anything from the countertop and stove. Protect your work area with a drop cloth or old sheet.
Check Wall Strength
Use a stud finder to locate the wall studs. Most microwaves require at least one or two mounting bolts to go directly into a stud. If you can’t align with a stud, use heavy-duty wall anchors rated for at least 100–150 pounds.
Inspect Cabinets
If mounting under a cabinet, check that the cabinet is securely attached to the wall. Weak or loose cabinets can be dangerous.
Beginner insight: Many people forget to check the inside of the upper cabinet. You’ll often need to drill a hole for the power cord or vent duct. Plan for this before mounting.
Understanding The Mounting Bracket
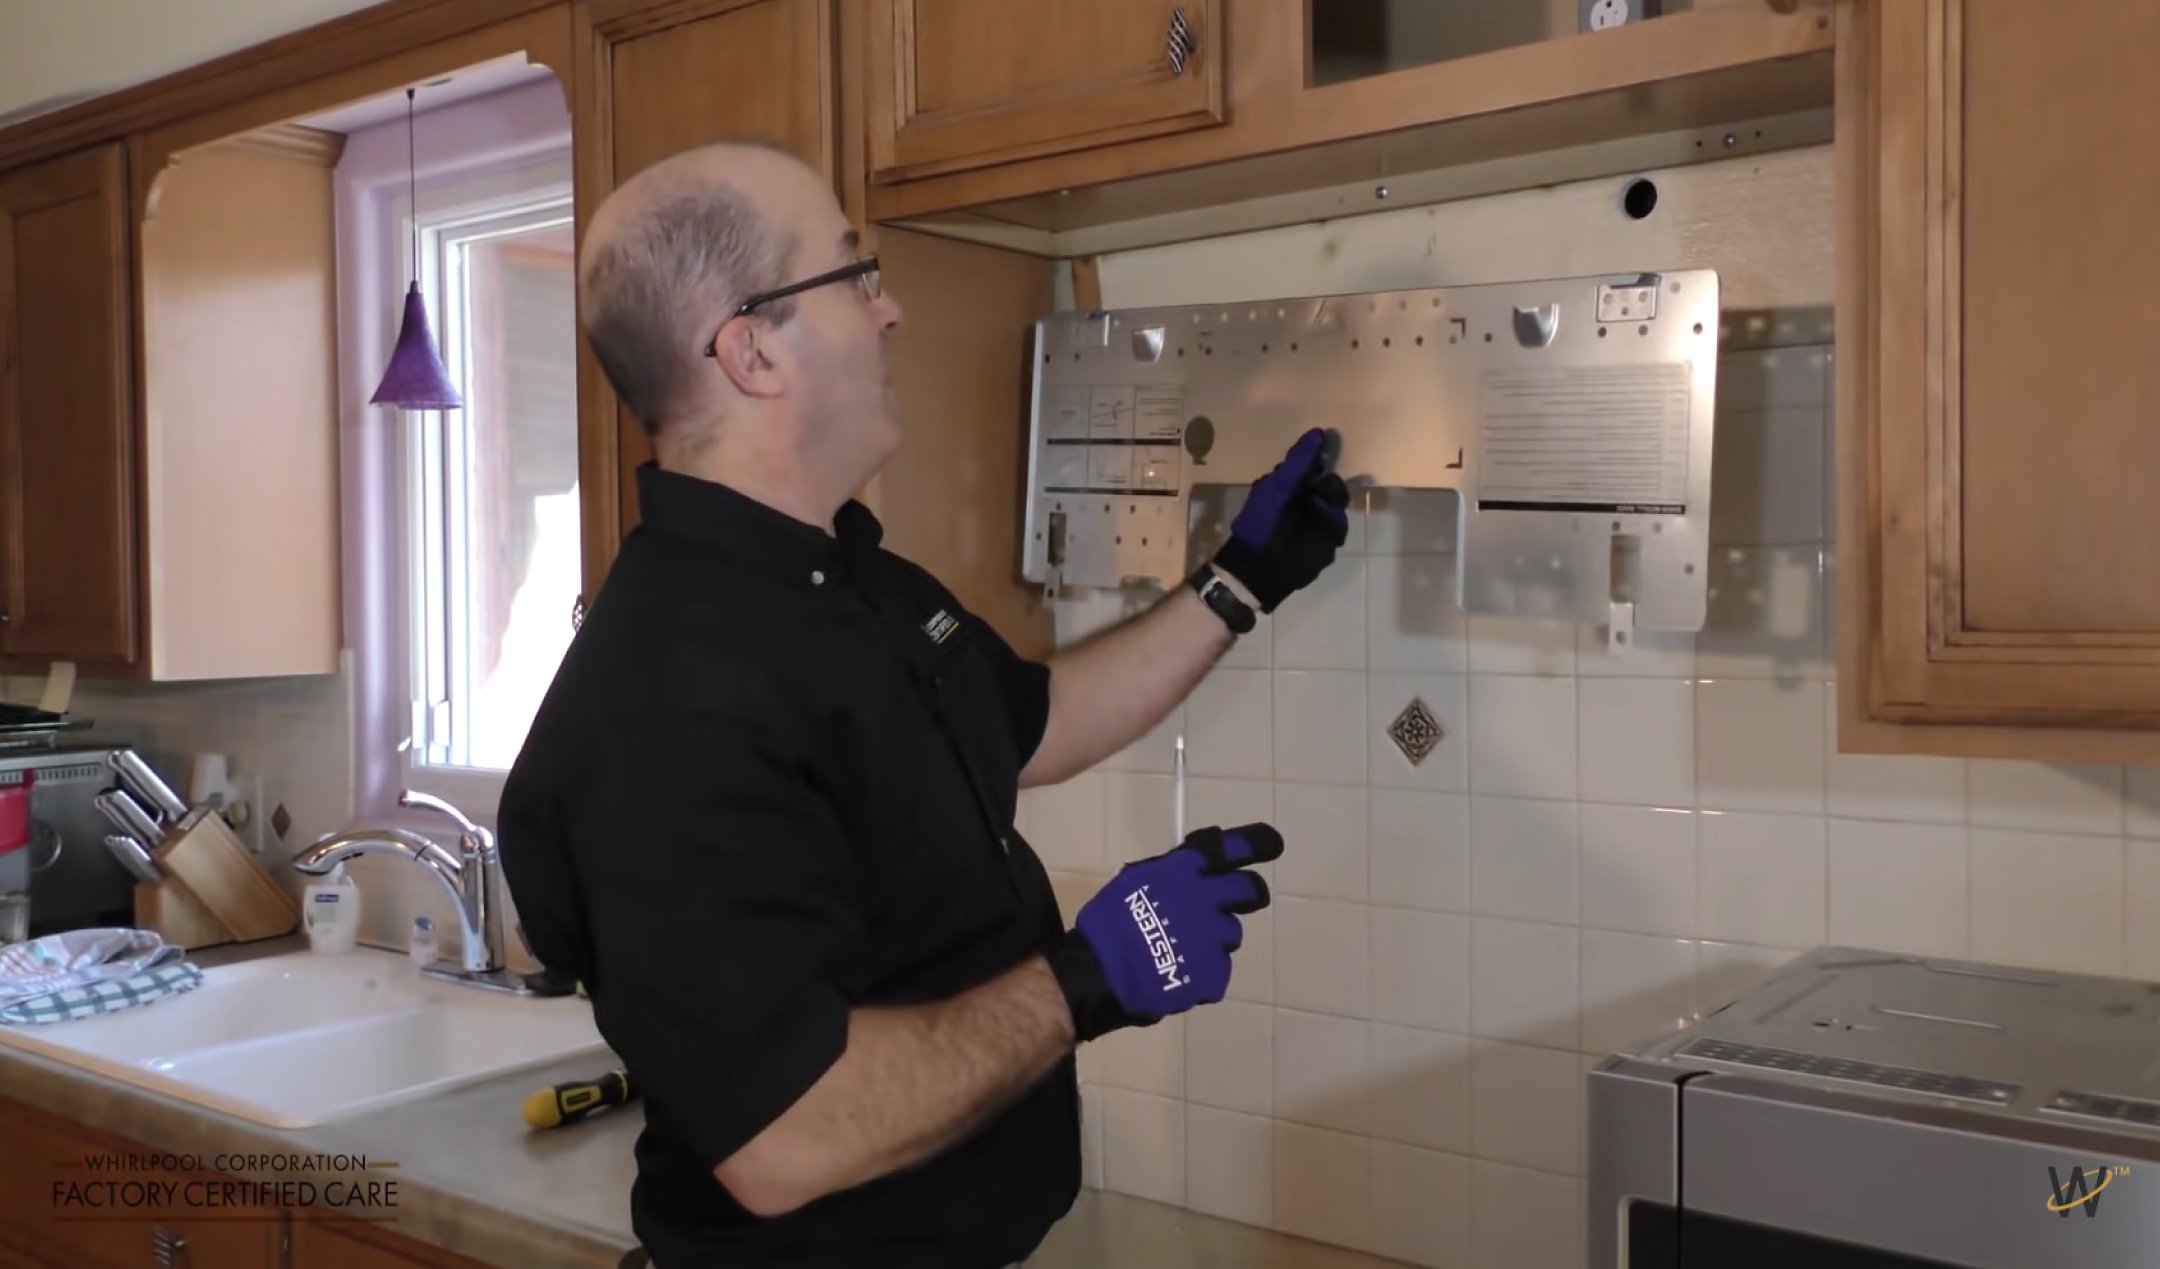
Most microwave mounting kits include a mounting bracket. This is the metal piece that attaches to your wall and holds the weight of the microwave.
Types Of Brackets
| Bracket Type | Where It’s Used | Key Features |
|---|---|---|
| Wall Mount Bracket | Over-the-range, under-cabinet | Holds main weight, attaches to studs |
| Side Support Brackets | Built-in models | Extra support at sides, inside cabinet |
| Top Mounting Bolts | All types | Bolts through cabinet bottom into microwave |
Double-check that the bracket matches your microwave’s brand and model. Using the wrong bracket can void your warranty and cause safety issues.
Credit: www.youtube.com
Step-by-step: How To Mount A Microwave
Let’s walk through the main steps. These apply to most over-the-range and under-cabinet models. Always read your microwave’s manual for specific instructions.
1. Mark The Wall And Cabinet
- Tape the mounting template to the wall and the bottom of the upper cabinet.
- Use a pencil to mark:
- The centerline (lined up with your stove)
- Drill holes for the mounting bracket
- Holes for power cord and vent (if needed)
- Remove the template and double-check all marks with your level.
2. Drill Pilot Holes
- Use the correct drill bit for your wall type (wood, drywall, tile).
- Drill holes at the marked spots.
- If your wall is tiled, place masking tape over the mark to prevent the drill from slipping.
Non-obvious tip: If drilling through tile, start with a small bit and go slow to avoid cracking.
3. Install The Mounting Bracket
- Hold the bracket against the wall, lined up with your pilot holes.
- Attach the bracket using lag bolts or heavy-duty screws directly into wall studs.
- Use wall anchors if you miss a stud, but never rely on them alone for heavy microwaves.
- Check with a level to make sure the bracket is straight.
4. Prepare The Cabinet
- Drill a hole in the bottom of the upper cabinet for the power cord and/or vent duct.
- If venting outside, cut a hole for the ductwork (measure carefully! ).
- Smooth any rough edges with sandpaper or a file.
5. Attach Vent (if Needed)
- For outside venting, connect the ductwork to the microwave and secure with duct tape.
- For recirculating vent, install the charcoal filter as directed in your manual.
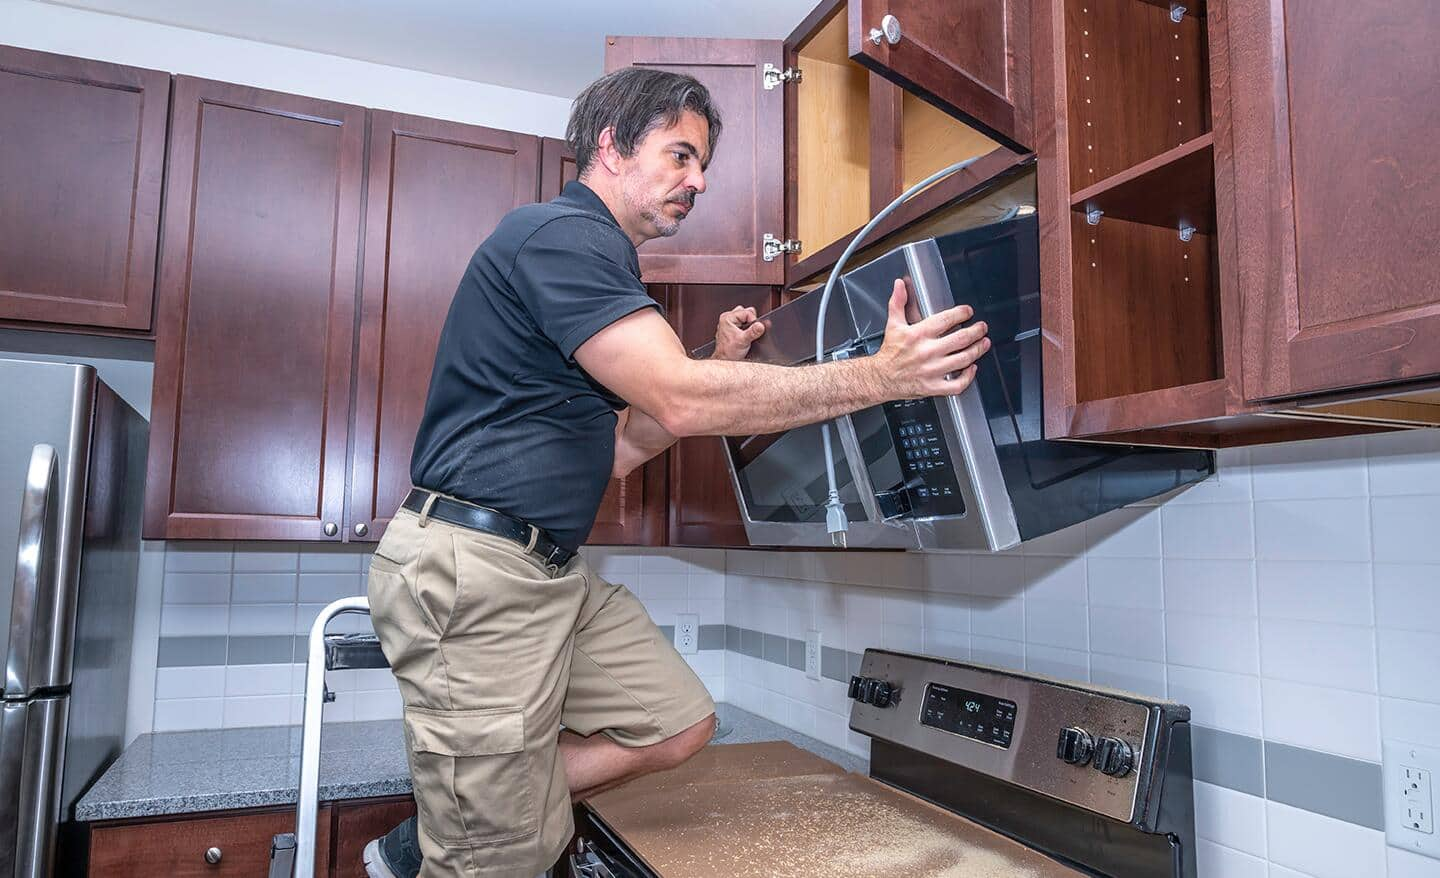
6. Lift Microwave Into Place
This step usually requires two people. Microwaves are heavy and awkward to lift alone.
- Slide the microwave’s back edge onto the wall bracket. It should “hang” on the bracket for support.
- Tilt the front up so it’s flush with the bottom of the cabinet.
- Feed the power cord through the cabinet hole.
7. Secure With Top Bolts
- Insert the long mounting bolts through the cabinet and into the microwave’s top.
- Tighten with a socket wrench, but do not overtighten—this can crack the microwave or cabinet.
- Double-check that the microwave is level side-to-side and front-to-back.
8. Connect Power And Test
- Plug in the microwave.
- If your model requires hardwiring, hire a licensed electrician.
- Test the microwave with a cup of water to make sure it runs.
- Test the vent fan and light.
Common Mistakes And How To Avoid Them
Many first-time installers make small mistakes that lead to big problems later. Here are issues to watch for:
- Skipping the stud finder: Anchoring only into drywall is unsafe.
- Not leveling: A crooked microwave is annoying and can affect door sealing.
- Wrong hole size: Using the wrong drill bit can leave the bracket loose.
- Forgetting vent direction: Some microwaves ship with the vent facing the wrong way. Check before mounting.
- Damaging cabinets: Overtightening bolts can split cabinet wood.
- Not checking clearance: If the microwave is too low, you can’t use large pots on the stove.
- Missing hardware: Always check the kit before you start.
- Ignoring weight ratings: Not all anchors or cabinets can handle the weight.
- Not protecting the area: Dust and debris can damage your stove or countertop.
- Attempting solo lift: Always get help to avoid injury or damage.
Beginner insight: Some microwaves have hidden shipping bolts or foam blocks that must be removed before use. Check your manual carefully.
Advanced Tips For A Professional Look
If you want your installation to look like it was done by a pro, pay attention to these details:
- Hide wires: Use cable ties to keep the power cord neat inside the cabinet.
- Seal vent connections: Use metal tape (not duct tape) for vent joints—this is code in many areas.
- Paint touch-up: If you chip paint while drilling, touch it up to prevent rust.
- Check door swing: Make sure the microwave door opens fully without hitting cabinets or walls.
- Use matching hardware: Stainless screws or bolts will match most modern appliances.
When To Call A Professional
Not every situation is DIY-friendly. Call a licensed installer or electrician if:
- Your kitchen walls are made of concrete, brick, or stone (special anchors and tools are needed).
- You need to install a new dedicated electrical outlet.
- The microwave must be hardwired instead of plugged in.
- You need to cut a new hole for outside venting (especially through exterior walls).
- Your cabinets are weak or damaged.
Professional installation costs between $120 and $250 on average in the US, but it can save you time, stress, and potential repair bills.
Safety Checks After Mounting
Once the microwave is mounted, run through these checks:
- All bolts tight? (But not overtightened)
- Microwave level? (Front, back, and side)
- Door opens and closes smoothly?
- Vent fan works?
- No rattles or movement when in use?
- Power cord secured and not pinched?
- No leftover tools or packaging inside?
Regularly check these points, especially during the first week of use.
Maintenance After Mounting
A mounted microwave is low-maintenance, but a few simple habits will keep it working well:
- Clean the vent filter every month (especially over-the-range models).
- Wipe the exterior with a soft cloth—avoid harsh cleaners that can damage the finish.
- Check mounting bolts every six months to make sure they haven’t loosened over time.
- Inspect for steam or moisture leaks around the vent, which could mean a poor seal.
- Vacuum behind the microwave yearly to clear dust and grease.
Credit: www.whirlpool.com
Real-world Example: Mounting An Over-the-range Microwave
Here’s how a typical homeowner, Alex, mounted a new over-the-range microwave in his 1990s kitchen:
- Alex measured the space above his stove—he had 30 inches between the stove and cabinets.
- He used the mounting template to mark the wall and cabinet, then drilled pilot holes.
- The wall had one stud, so he used lag bolts into the stud and heavy-duty anchors for the other bracket holes.
- With a neighbor’s help, Alex lifted the microwave onto the bracket and fed the cord through the cabinet.
- He connected the vent duct, installed the top bolts, and checked that everything was level.
- The whole process took about two hours.
- Alex tested the microwave and vent. Everything worked, and he enjoyed more counter space and a cleaner look.
Key takeaway: Careful measuring and help with lifting are the two most important steps for a safe, successful installation.
Comparison: Diy Vs Professional Installation
If you’re deciding whether to mount the microwave yourself or hire a pro, consider these factors:
| Factor | DIY | Professional |
|---|---|---|
| Cost | $0–$50 (tools only) | $120–$250 (labor) |
| Time Needed | 2–4 hours (first time) | 1–2 hours |
| Skill Level | Intermediate DIY | Expert |
| Warranty | May be voided if installed incorrectly | Usually preserved |
| Risk of Damage | Higher if inexperienced | Low |
| Flexibility | Install on your schedule | Must schedule appointment |
If your kitchen setup is standard and you’re comfortable with tools, DIY is a good option. For complex installations or if you’re unsure, professional help is worth the cost.
Credit: www.homedepot.com
Environmental And Safety Considerations
Mounting a microwave is not just about convenience—it’s also about safety and efficiency.
- Proper venting reduces cooking fumes and improves indoor air quality.
- Energy efficiency: A microwave that fits well and is properly vented uses less energy.
- Fire safety: Secure mounting prevents the microwave from falling or overheating.
If you’re replacing an old microwave, remember to recycle it according to local laws. Many cities have special drop-off locations for appliances.
Resources For Further Help
If you’re stuck or want to see more examples, major microwave brands like GE, Samsung, and Whirlpool offer video tutorials and downloadable manuals. For building codes or safety rules, check with your local building department.
You can also find helpful installation guides on the Family Handyman website.
Frequently Asked Questions
How Much Weight Can A Typical Wall-mounted Microwave Hold?
Most wall-mounted microwaves are designed to support their own weight plus a small safety margin. The mounting system (bracket, bolts, wall anchors) is usually rated for 100–150 pounds. Never use a bracket or anchors not rated for your microwave’s weight.
Can I Install A Microwave Without A Cabinet Above It?
Yes, but you’ll need a special wall bracket designed for open wall mounting. Most over-the-range microwaves use the upper cabinet for top support, so if there’s no cabinet, make sure your wall bracket is rated for the full weight and follow the manufacturer’s instructions.
Is It Safe To Mount A Microwave Over A Gas Stove?
Yes, as long as you follow the minimum clearance guidelines (usually 13–18 inches from stove to microwave bottom). Make sure the vent fan is working properly to remove cooking fumes. Always check your microwave’s manual for specific safety distances.
What Do I Do If My Wall Has No Studs Where I Need To Mount The Bracket?
Use heavy-duty toggle bolts or wall anchors rated for at least 100 pounds. However, it’s best to hit at least one stud if possible. Avoid mounting only into drywall for heavy appliances.
Do I Need A Permit To Mount A Microwave?
In most homes, you do not need a permit for microwave installation unless you are adding new electrical wiring, venting through an exterior wall, or making other structural changes. Always check local building codes if you’re unsure.
Mounting a microwave is a practical way to upgrade your kitchen—and doing it right means years of safe, convenient cooking. With planning, the right tools, and a careful approach, you’ll enjoy the benefits every day.