
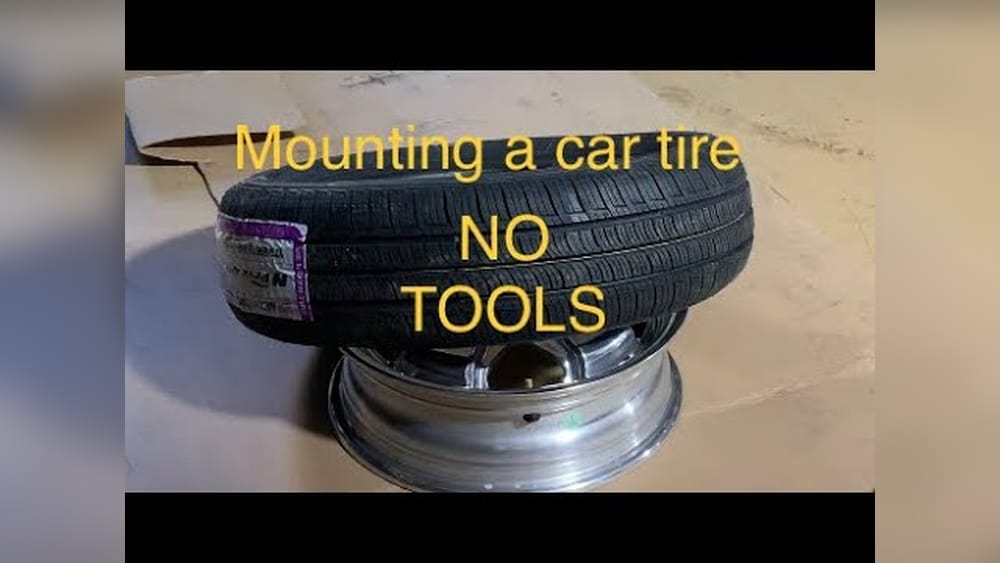
Mounting a tire on a rim can look simple when done by a pro, but many people find the process confusing or intimidating the first time. Whether you want to save money, enjoy DIY car maintenance, or need to fix a flat in an emergency, learning this skill can be empowering.
In this guide, you’ll find every detail needed to mount a tire on a rim safely, efficiently, and without damaging your wheel or tire. You’ll learn about the essential tools, step-by-step instructions, safety tips, and even how to handle tricky situations.
This article is written for both beginners and those with some experience, with clear language and practical advice.
Why Learn To Mount A Tire On A Rim?
You might wonder if it’s worth learning how to mount a tire yourself. After all, professional shops have expensive machines and trained technicians. But there are several good reasons to add this skill to your toolbox:
- Save money on service fees, which can range from $15 to $45 per tire.
- Handle emergencies if you get a flat in a remote area.
- Avoid long waits at busy auto shops.
- Increase confidence in car maintenance and repairs.
Understanding the process also helps you spot mistakes if you have work done by someone else. DIY mounting might not be for everyone, but knowing the basics can help you make better decisions about tire care and replacement.
Tools And Materials Needed
Before you start, make sure you have everything on hand. The right tools make the job much easier and safer. Here’s what you’ll need:
- Tire irons or levers – At least two, preferably three
- Bead breaker – Manual or built-in to your tire changer
- Air compressor – To seat the bead and inflate the tire
- Tire lubricant – Commercial tire lube or a mix of dish soap and water
- Valve core tool – For installing/removing the valve core
- Rim protectors – To prevent scratching alloy wheels
- Tire pressure gauge – For accurate pressure readings
- Gloves and safety glasses – For personal protection
- Floor jack and jack stands (if the wheel is still on the car)
- Torque wrench – For reinstalling the wheel
Optional but helpful:
- Manual or electric tire changer – Makes the process faster
- Rubber mallet – To help seat stubborn beads
Having the right tire mounting tools not only speeds up the process, but also reduces the risk of damaging your rim or tire. Investing in quality tools pays off if you plan to do tire work regularly.
Understanding Tire And Rim Basics
Before jumping in, it’s useful to understand how tires and rims fit together. This knowledge will help you avoid mistakes and work more efficiently.
Tire Structure
A tire consists of several layers:
- Bead: The stiff, inner edge that grips the rim.
- Sidewall: The flexible side section.
- Tread: The part that contacts the road.
The bead is the most critical part during mounting. It must fit tightly on the rim to seal air and keep the tire in place.
Rim Anatomy
A wheel rim has these key features:
- Drop center: The lowest part in the middle, designed to help with tire removal and installation.
- Flange: The edge that holds the tire bead.
- Valve hole: Where the air valve is installed.
Understanding how the bead fits into the drop center is essential for easy mounting. Forcing the bead over the rim flange without using the drop center is a common cause of damaged tires or wheels.
Tire And Rim Sizing
Tires and rims must match in size. For example, a 17-inch tire fits only a 17-inch rim. Mismatched sizes can lead to safety hazards.
Here’s a quick comparison of tire and rim sizing:
| Tire Size | Rim Size (inches) | Common Use |
|---|---|---|
| 195/65R15 | 15 | Compact cars |
| 225/45R17 | 17 | Sedans, coupes |
| 265/70R17 | 17 | Trucks, SUVs |
| 285/35ZR19 | 19 | Sports cars |
Always check the manufacturer’s recommendations before mixing and matching tires and rims.
Preparing For Tire Mounting
Preparation is often overlooked, but it’s just as important as the mounting itself. Here’s how to set up for success.
Clean The Rim
Dirt or corrosion on the rim can prevent a good seal. Use a wire brush or sandpaper to remove debris, especially where the bead sits. Wipe the rim with a clean cloth.
Inspect The Tire
Look for:
- Cracks or dry rot
- Foreign objects stuck in the tread
- Bent or damaged beads
Never mount a tire with bead damage or deep cuts.
Lubricate The Bead
Apply tire lubricant to both beads and the rim edges. This makes mounting easier and reduces the risk of damaging the bead.
Remove The Valve Core
If the tire is being replaced, use the valve core tool to remove the core and let all the air out. This step makes the tire easier to handle.
Use Rim Protectors
If you have alloy wheels, snap on rim protectors before using tire irons. This simple step can prevent ugly scratches.
Step-by-step: How To Mount A Tire On A Rim
This section gives a clear walkthrough for mounting a tire by hand. The process is similar for cars, SUVs, trucks, and motorcycles, but the tools may vary.
1. Position The Rim
Lay the rim flat on the ground or mount it securely on a tire changer. Make sure it won’t move during the process.
2. Install The First Bead
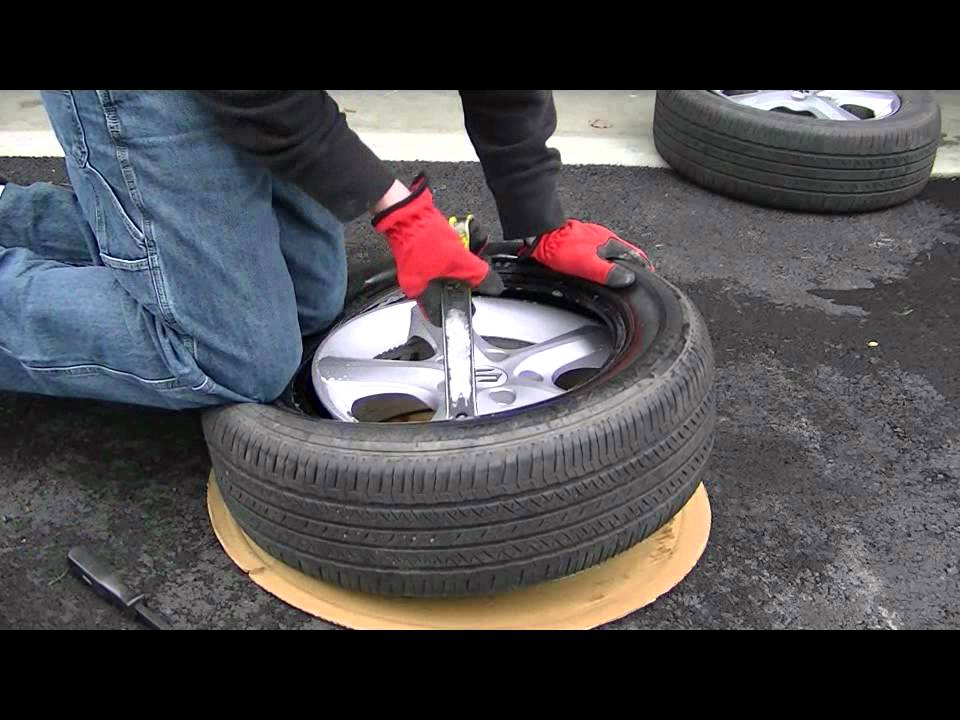
Hold the tire so the lower bead is above the rim. Push part of the bead onto the rim using your hands. With your weight, press the bead into the rim’s drop center.
Use a tire iron to help lever the rest of the bead over the flange, moving in small sections. Keep the bead in the drop center on the opposite side to make it easier.
Pro tip: Don’t force the tire. If it’s too tight, add more lubricant.
3. Install The Second Bead
Lift the upper bead above the rim. Start at the valve stem side to avoid damaging it. Use your hands and tire irons to work the bead over the rim, again keeping it in the drop center.
Some tires are very stiff. If so, use two or three tire irons, spacing them a few inches apart. Work slowly to avoid pinching the bead.
4. Check Bead Placement
Make sure both beads are inside the rim flanges and the valve stem is not pinched.
5. Inflate To Seat The Bead
Before adding air, reinstall the valve core if you removed it. Attach the air compressor to the valve stem and begin inflating.
You’ll hear two loud pops as the beads snap into place. This is normal, but keep your hands and face away from the tire during this step.
Important: Never exceed the tire’s maximum inflation pressure. Usually, 35–40 psi is enough to seat the bead. If the bead doesn’t seat, stop and add more lube or reseat the tire.
6. Check For Leaks
Spray soapy water around the bead and valve stem. Bubbles mean air is escaping. If you see leaks, deflate the tire and try again.
7. Set The Correct Pressure
Use a tire pressure gauge to adjust to the recommended pressure, found on the tire sidewall or in your car’s manual.
8. Reinstall The Wheel
If you removed the wheel from your car, use a torque wrench to tighten the lug nuts to the manufacturer’s spec.
Special Cases And Tips
Some situations call for extra care or a different approach. Here’s how to handle them:
Low-profile Or Stiff Tires
Performance tires with short sidewalls can be tough to mount by hand. These tips help:
- Warm the tire in the sun to soften the rubber.
- Use extra lube.
- Take smaller “bites” with the tire iron.
Motorcycle Tires
Motorcycle rims are narrower and may have a “safety bead” to prevent tire slip. Use rim protectors and be gentle with the bead.
Tubeless Vs Tube-type Tires
- Tubeless: Most modern tires are tubeless. The bead must seal tightly against the rim.
- Tube-type: Insert the tube carefully, and avoid pinching it with the tire iron.
Run-flat Tires
Run-flat tires are extremely stiff and usually require a specialized tire changer. Avoid mounting these by hand.
Alloy Wheels
These scratch easily. Always use rim protectors and plenty of lubricant.

Credit: www.wikihow.com
Common Mistakes And How To Avoid Them
Even experienced DIYers can make mistakes. Here are some to watch for:
- Not using enough lubricant – Causes bead damage and makes mounting harder.
- Forcing the tire – Leads to bent rims or torn beads.
- Pinching the tube (for tube-type tires) – Causes slow leaks or blowouts.
- Over-inflating – Dangerous and can explode the tire.
- Not checking for leaks – Small leaks can become big problems on the road.
- Scratching alloy wheels – Use protectors and don’t rush.
- Incorrect tire direction – Many tires are directional; check the arrow before mounting.
If something feels wrong, stop and re-check your work. Fixing a small issue now is much easier than dealing with a flat or damaged rim later.
Tire Mounting Machines Vs. Manual Mounting
While many enthusiasts mount tires by hand, most shops use machines. Here’s how the two methods compare:
| Method | Pros | Cons | Best For |
|---|---|---|---|
| Manual Mounting | Cheap, portable, good for emergencies | Takes more time and effort, harder for stiff tires | DIYers, off-roaders, classic cars |
| Machine Mounting | Fast, easy, handles all tire types | Expensive equipment, not portable | Shops, frequent tire changes |
If you plan to change tires often, a manual tire changer ($50–$200) is a good investment. For occasional use, hand tools are enough.
Balancing After Mounting
Mounting a tire is just one part of the process. For best results, balance the tire after mounting. Unbalanced tires can cause:
- Vibration at certain speeds
- Uneven tread wear
- Extra stress on suspension parts
Most professional shops use a spin balancer. At home, you can use a bubble balancer or bring the wheel to a shop for balancing. This step is especially important for highway driving.
Safety Tips For Tire Mounting
Mounting tires can be dangerous if you rush or ignore safety. Keep these points in mind:
- Always wear gloves and safety glasses.
- Never stand directly over the tire while seating the bead.
- Don’t exceed the tire’s maximum pressure.
- Use proper lifting techniques to avoid back injuries.
- If using a tire changer, follow the manufacturer’s instructions.
- Keep your work area clean and free of tripping hazards.
A cautious, steady approach reduces the risk of injury or damage.
When To Seek Professional Help
Some jobs are best left to the pros. Consider visiting a shop if:
- The tire is extremely stiff or large (e.g., truck or run-flat tires).
- You don’t have the right tools or space.
- You’re not confident in your skills.
A professional can mount and balance a tire quickly and safely. It’s worth the cost if you’re unsure.
Real-world Examples
Changing A Flat Tire On The Road
Imagine you get a flat tire on a country road. With a spare tire, a jack, and a basic tire iron, you can swap the flat for the spare. But if you have a repair kit and a small compressor, you might be able to repair and remount the original tire on the spot.
Diy Tire Rotation
Some drivers rotate their own tires every 5,000–7,500 miles. By learning to mount tires, you can rotate, inspect, and remount them yourself, catching problems early and extending tire life.

Credit: www.wikihow.com
Environmental Considerations
Disposing of old tires and using lubricants can impact the environment. Always:
- Recycle old tires at approved centers.
- Use biodegradable lubricants if possible.
- Clean up spills to prevent soil and water contamination.
Responsible DIY mechanics help protect the environment as well as their vehicles.
Cost Comparison: Diy Vs Professional Mounting
How much can you save by mounting tires yourself? Here’s a comparison:
| Service | DIY Cost (per tire) | Shop Cost (per tire) |
|---|---|---|
| Mounting only | $0–$5 (tools amortized over time) | $15–$45 |
| Balancing | $0–$2 (with bubble balancer) | $10–$20 |
| Valve stem replacement | $2–$5 | $5–$10 |
For a set of four tires, DIY can save $80–$200, especially if you do the work regularly. But the first-time investment in tools can be $50–$200.
Non-obvious Insights For Tire Mounting
Many guides miss a few practical details that can make mounting smoother:
- Let new tires “rest” indoors before mounting, especially in cold weather. Warmer rubber is much easier to stretch over the rim.
- Mark the heaviest spot on the tire (usually indicated by a colored dot) and align it with the valve stem. This can reduce the amount of balancing weight needed.
- Check for rim tape or wheel weights before mounting. Remove old weights and replace rim tape if worn (especially for motorcycles).
- Avoid using petroleum jelly as a lubricant. It can break down rubber over time. Stick to commercial tire lubes or a mix of dish soap and water.
- Inspect the valve stem. If it’s old or cracked, replace it before mounting the new tire.
These small steps can save time, money, and frustration later.
Frequently Asked Questions
How Do I Know If My Tire Is Mounted In The Correct Direction?
Many tires have a directional arrow or “rotation” marking on the sidewall. Make sure this arrow points in the direction the tire will turn when the car moves forward. If the tire is non-directional, it can be mounted either way.
Can I Mount A Tire Without A Machine?
Yes, it’s possible to mount a tire by hand using basic tools like tire irons, a bead breaker, and an air compressor. It’s harder for low-profile or run-flat tires, but with patience and lubricant, it can be done. A manual tire changer speeds up the process.
What Pressure Should I Use To Seat The Bead?
Most passenger car tires will seat at 30–40 psi. Never exceed the maximum pressure marked on the tire sidewall. If the bead won’t seat, deflate, relube, and try again. Never use explosive methods to seat a bead—this is extremely dangerous.
Is It Necessary To Balance Tires After Mounting?
Yes, balancing is highly recommended after mounting. Unbalanced tires can cause vibration, noise, and premature tire wear. You can use a bubble balancer at home or have a shop perform spin balancing for best results.
Where Can I Learn More About Tire Safety?
For more in-depth tire safety information, visit the National Highway Traffic Safety Administration website. They offer official guidelines and tips for tire maintenance.
Mounting a tire on a rim is a valuable skill for any car owner or DIY mechanic. With the right tools, preparation, and a careful approach, you can save money, learn more about your vehicle, and handle emergencies with confidence.
Take your time, follow safety guidelines, and don’t hesitate to ask for help if you need it. Over time, you’ll find that mounting tires becomes just another useful skill in your automotive toolbox.
Credit: www.youtube.com