
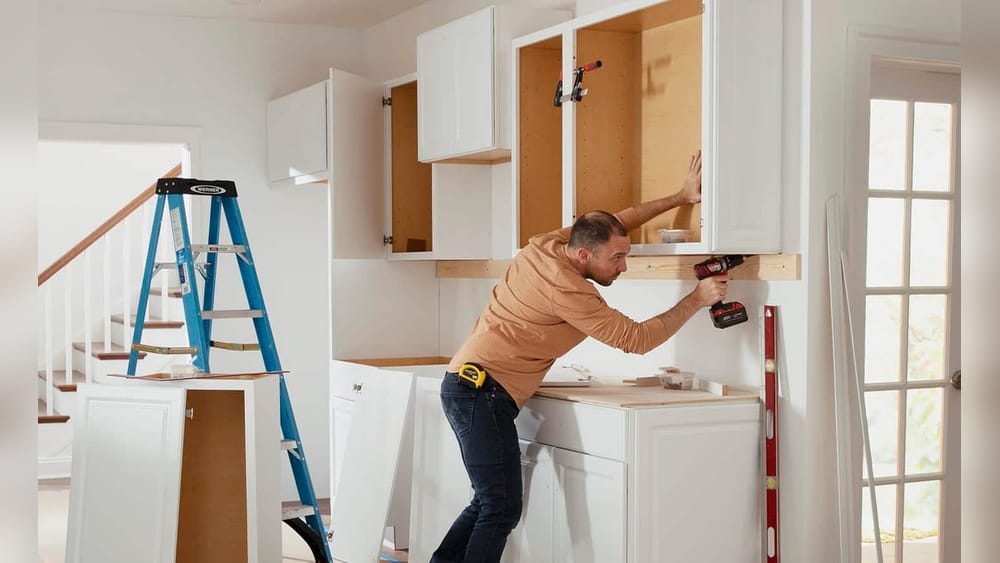
Mounting cabinets to a wall can transform a kitchen, laundry, or garage, adding both style and valuable storage space. But if you’ve never installed cabinets before, the process might seem intimidating. How do professionals make cabinets level, sturdy, and safe?
Is it possible for a DIYer to get great results? The good news is that with the right tools, clear guidance, and careful planning, you can mount cabinets confidently—and achieve a finish that feels custom-built.
This guide will walk you through every step, from preparing your workspace to adding the final touches. Along the way, you’ll discover common pitfalls, pro tips, and the small details that make a big difference in both appearance and safety.
Whether you’re updating a single cabinet or planning a full kitchen remodel, this article will help you avoid mistakes and achieve professional-quality results.
Understanding Wall Cabinets And Their Challenges
Wall cabinets are designed to hold dishes, food, tools, and more—often bearing significant weight. Mounting them incorrectly can lead to sagging, doors that won’t close, or, in the worst case, cabinets pulling out of the wall. That’s why it’s essential to understand a few core principles before you start.
Types Of Wall Cabinets
Wall cabinets come in several standard types. The most common are:
- Pre-assembled cabinets: Arrive ready to mount.
- Ready-to-assemble (RTA) cabinets: Flat-packed, assembled on-site.
- Custom cabinets: Built for your specific space.
Most cabinets are made from plywood, particleboard, or MDF. Each material has its own strength and weight—plywood is the most durable and lightest, while MDF and particleboard are heavier and more prone to sagging if not supported well.
Why Secure Mounting Matters
A typical wall cabinet can hold 30-60 pounds per linear foot—just one row of dishes can weigh more than 40 pounds. If the cabinet isn’t anchored into wall studs (the vertical wooden beams behind drywall), it may fail. Drywall alone cannot support the weight safely. That’s why finding the studs and using the right fasteners is crucial.
Essential Tools And Materials
Before you start, gather everything you’ll need. This will save time and prevent mistakes once you begin mounting.
Tools Checklist
- Stud finder (electronic or magnetic)
- Drill/driver with bits
- Level (4-foot recommended for accuracy)
- Tape measure
- Pencil
- Screwdriver
- Clamps (cabinet and/or quick-release)
- Stepladder
- Hammer
- Utility knife
Materials
- Wall cabinets
- Mounting screws (at least 2.5–3 inches, cabinet-grade)
- Shims (wood or plastic)
- Ledger board (a straight 1×3 or 2×4 board)
- Wood glue (for RTA cabinets)
- Painter’s tape
- Patch/paint supplies (for finishing touches)
One detail beginners often miss is the ledger board. This temporary board supports the cabinets while you secure them, making solo installation much easier.
Safety Equipment
- Safety glasses
- Gloves
- Dust mask (for drilling into drywall or masonry)
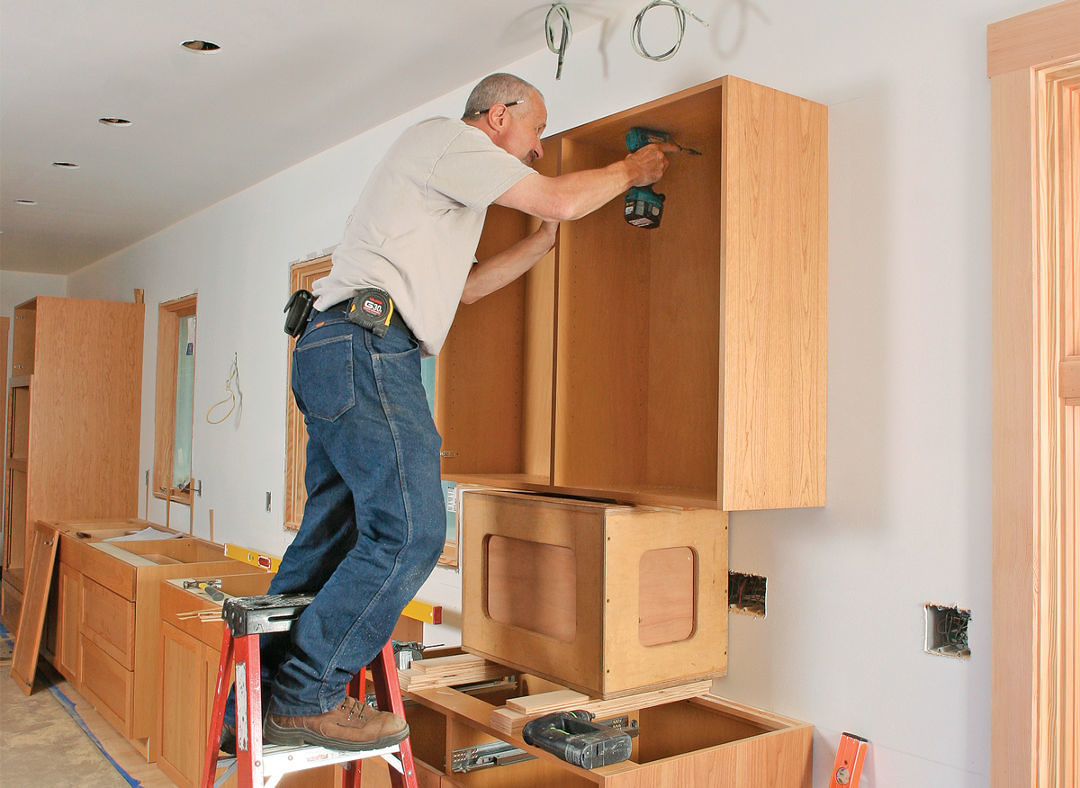
Credit: www.finehomebuilding.com
Planning And Measuring For Cabinet Installation
Careful planning is the single best way to get a flawless result. Measure twice—drill once.
Measure Your Space
- Mark cabinet layout: Use a pencil and level to draw the cabinet outline directly on the wall. Mark the top and bottom edges, making sure your lines are level. For kitchens, standard wall cabinet height is 54 inches from the floor to the bottom of the cabinet (assuming 36-inch base cabinets and 18 inches of backsplash).
- Locate studs: Run a stud finder across the wall. Mark each stud’s center clearly with painter’s tape or pencil.
- Check for obstacles: Make sure plumbing, electrical outlets, or vents won’t interfere with the cabinet backs or mounting screws.
Plan The Order Of Installation
Always hang wall cabinets first, before installing base cabinets. This gives you room to work and avoids damaging lower cabinets.
Dry Fit The Cabinets
Set the cabinets in place temporarily, without screws, to ensure everything fits. Check that doors and drawers open fully.
Table: Standard Cabinet Dimensions
Here is a quick reference for common cabinet sizes:
| Cabinet Type | Height | Width | Depth |
|---|---|---|---|
| Wall Cabinet | 12, 15, 18, 24, 30, 36 in | 12–36 in | 12 in |
| Base Cabinet | 34.5 in | 12–48 in | 24 in |
| Tall/Pantry Cabinet | 84, 90, 96 in | 12–36 in | 24 in |
Preparing The Cabinets And Wall
Proper prep makes mounting much easier and cleaner.
Remove Cabinet Doors And Shelves
Take off all doors, drawers, and shelves. This reduces weight and avoids scratching or damaging them during installation.
Assemble Cabinets If Needed
If you purchased RTA cabinets, assemble them now. Use wood glue and clamps for sturdy joints. Double-check that each box is square by measuring diagonals.
Mark Drill Holes
On the inside back panel of each cabinet, mark where you’ll pre-drill for mounting screws. Place holes about 3 inches from the top and bottom, aligning with where you marked wall studs.
Table: Cabinet Mounting Fastener Comparison
This table shows common fastener types and their best uses:
| Fastener Type | Length | Best Use | Strength |
|---|---|---|---|
| Cabinet Screws | 2.5–3 in | Stud mounting | High |
| Drywall Screws | 1.25–2 in | Light-duty, not for cabinets | Low |
| Toggle Bolts | 2–4 in | Metal studs, hollow walls | Medium |
| Lag Bolts | 2.5–4 in | Heavy cabinets, masonry | Very High |
Use only cabinet screws (sometimes called “washer head” or “truss head” screws) for wood studs.
Installing A Ledger Board
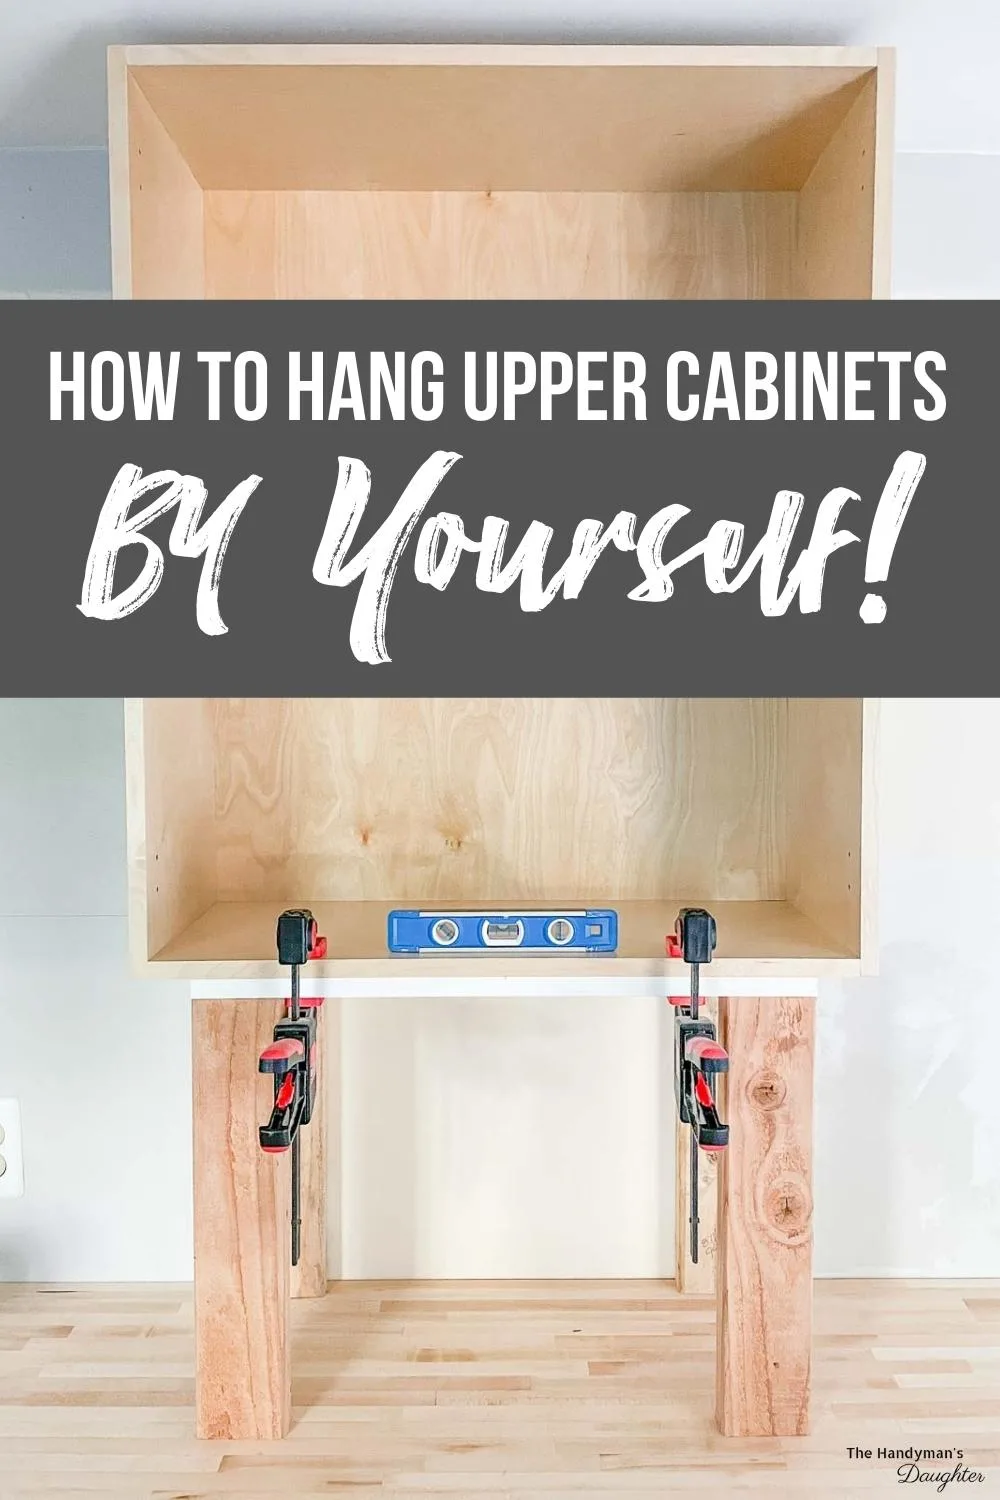
A ledger board acts as a temporary shelf that supports cabinets while you fasten them. It’s especially helpful when working alone.
- Cut a straight board (1×3 or 2×4) to span the length of your cabinet run.
- Screw the board into the wall studs at the correct height for the cabinet bottoms.
- Double-check for level. The ledger must be perfectly straight.
Once the cabinets are secured, you’ll remove the ledger and patch the wall.
Attaching The Cabinets: Step-by-step
Now you’re ready for the main event—mounting the cabinets.
Step 1: Position The First Cabinet
Lift the first cabinet onto the ledger. If it’s a corner unit, start there. Line up its edge with your wall marks. Use shims between the cabinet and wall if needed to keep it plumb (vertical).
Step 2: Clamp Cabinets Together
When installing multiple cabinets, clamp them together side by side. This keeps faces even and prevents shifting as you drive screws.
Step 3: Pre-drill Screw Holes
Drill pilot holes through the cabinet back (or hanging rail) and into wall studs. This prevents splitting and makes it easier to drive screws straight.
Step 4: Drive Mounting Screws
Use cabinet screws to secure the cabinet to the wall studs. Start with the top holes, checking for level as you go. Tighten until snug, but don’t overdrive and crush the cabinet.
Step 5: Attach Additional Cabinets
Repeat the process for each cabinet:
- Set in place on the ledger.
- Clamp to the previous cabinet.
- Pre-drill and screw together through face frames (using shorter screws).
- Secure to the wall studs.
Re-check for level and plumb after each cabinet. Shims can be added as needed behind the cabinet backs to correct for uneven walls.
Step 6: Secure Cabinets Together
For a seamless look, connect cabinets side by side through their face frames. Drill a small pilot hole and use a 2-inch wood screw. Countersink screws slightly, so the heads won’t catch on doors.
Step 7: Remove The Ledger Board
Once all cabinets are mounted and secure, unscrew and remove the ledger. Patch and paint any holes.
Final Steps: Doors, Shelves, And Trim
Reattach Doors And Shelves
Install doors, shelves, and drawers. Adjust hinges to ensure doors are straight and close smoothly. Most modern hinges have three adjustment screws for fine-tuning.
Fill Gaps And Install Trim
Gaps between cabinets and walls are common, especially in older homes. Fill small gaps with color-matched caulk. For larger gaps, use scribe molding or filler strips cut to fit.
Add Finishing Touches
Install light valances, crown molding, or under-cabinet lighting as desired. Wipe down all surfaces to remove dust.
Common Mistakes And How To Avoid Them
Mounting cabinets is not just about screwing boxes to the wall. Here are some mistakes even experienced DIYers sometimes make:
- Missing the studs: Always double-check stud positions. If you miss a stud, the screw will have little holding power.
- Rushing measurements: Take your time measuring and marking. A 1/8-inch error can compound across several cabinets.
- Ignoring wall irregularities: Walls are rarely perfectly straight or plumb. Use shims to correct gaps and keep cabinets level.
- Overtightening screws: This can crush the cabinet back or strip the stud.
- Forgetting to clamp cabinets: Unclamped cabinets may shift, causing uneven door alignment.
- Skipping the ledger board: Trying to hold a heavy cabinet and drive screws is a recipe for dropped cabinets and damaged walls.
A non-obvious tip: Always check cabinet orientation before mounting. Some cabinets have a finished side for exposed ends. If you mount these incorrectly, you may have to uninstall and repeat the process.
Another detail: If your cabinets have a hanging rail (a reinforced strip inside the cabinet), always screw through this rail for maximum strength.
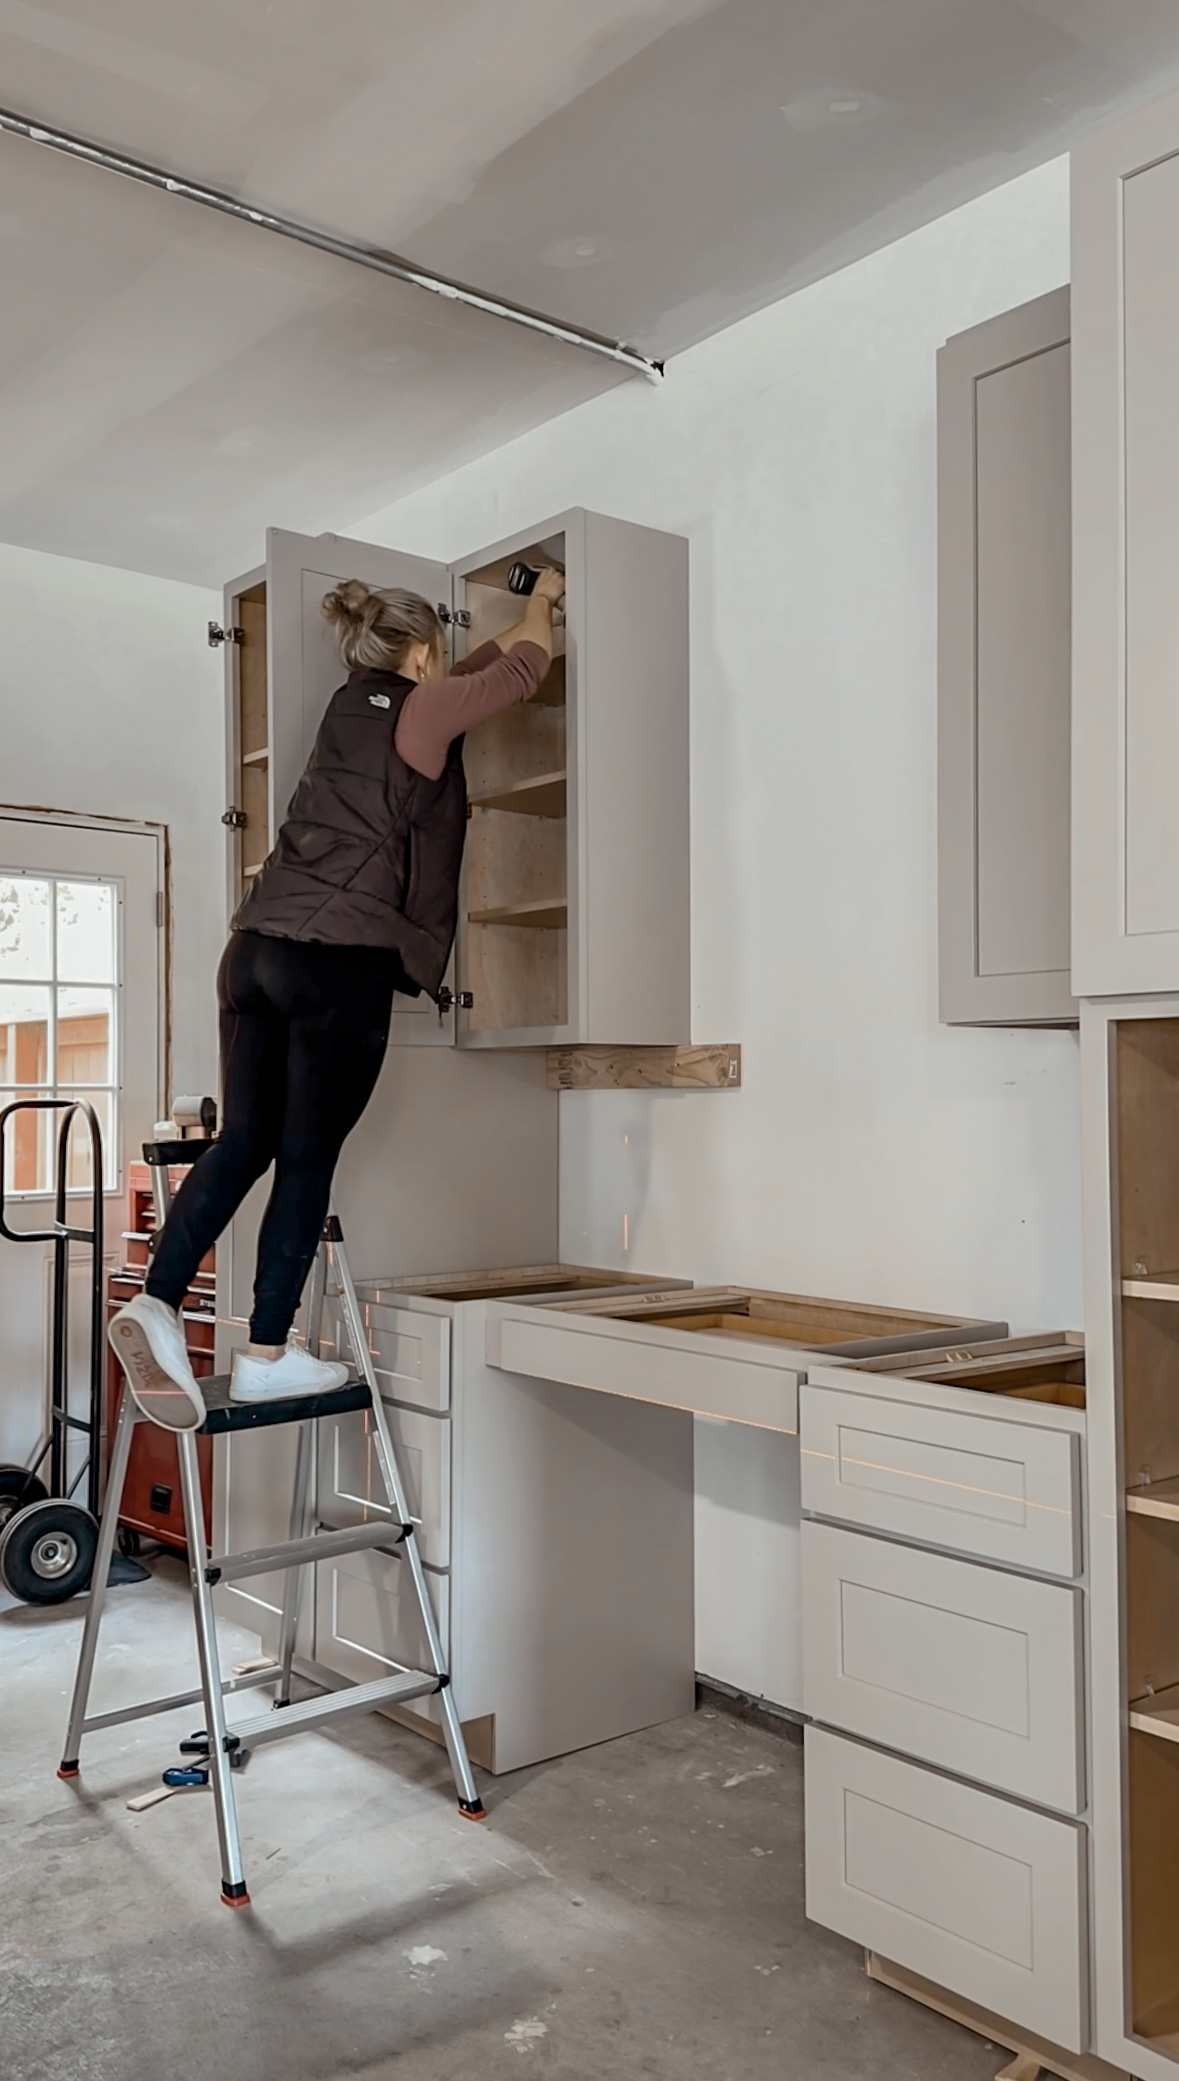
Credit: comestayawhile.com
Mounting Cabinets On Special Wall Types
Not all walls are the same. Here’s how to deal with common challenges:
Masonry Or Concrete Walls
- Use a hammer drill and masonry bits to make holes.
- Insert plastic anchors or use lag bolts with shields.
- Double-check wall thickness before drilling.
Metal Studs
- Use self-drilling screws designed for metal framing.
- Add blocking (wood strips) behind drywall for extra support if possible.
Plaster Walls
- Plaster is brittle. Drill small pilot holes and use anchors rated for heavy loads.
- Try to find the wooden lath behind the plaster for better grip.
Table: Wall Type And Fastener Guide
This chart helps choose the right fastener for your wall:
| Wall Type | Recommended Fastener | Notes |
|---|---|---|
| Drywall over wood studs | Cabinet screws | Must go into studs |
| Masonry (brick, concrete) | Lag bolts with anchors | Use masonry bit |
| Metal studs | Self-drilling screws | Pre-drill if needed |
| Plaster over lath | Long wood screws | Anchor into lath/studs |
Credit: www.thehandymansdaughter.com
Safety Tips During Cabinet Mounting
Safety is as important as accuracy. Here are some must-follow practices:
- Lift with your legs, not your back. Cabinets are heavy and awkward.
- Use a second person for large or tall cabinets.
- Wear safety glasses when drilling or cutting.
- Check for electrical wires before drilling into walls. Outlets, switches, and under-cabinet lighting all hide wires.
- Don’t stand on countertops—use a stable ladder.
A final professional tip: After mounting, load cabinets slowly. Place heavier items near the bottom shelves to reduce stress on fasteners.
When To Call A Professional
Some situations require expert help:
- Uneven or damaged walls: Extensive shimming or repair is needed.
- Very heavy or custom cabinets: These may need extra reinforcement.
- Historic homes: Walls may hide old wiring, pipes, or brittle plaster.
If you are unsure, consult a licensed contractor or carpenter. Mistakes can be costly and dangerous.
Troubleshooting Common Problems
Even careful installers sometimes hit snags. Here are fixes for frequent issues:
- Cabinets not level: Loosen mounting screws, add shims, and re-tighten.
- Gap at wall: Fill with caulk for small gaps; use trim for larger ones.
- Doors won’t close: Adjust hinge screws; check for frame alignment.
- Stripped screws in studs: Move the screw to a new spot or use a larger diameter screw.
- Missed a stud: Remove the screw, patch the hole, and drill into the stud.
Cost And Time Estimates
Mounting cabinets yourself can save substantial money, but it does require time and planning.
- DIY cost: $0–$50 for tools and materials (excluding cabinets)
- Professional installation: $50–$250 per cabinet, depending on complexity
- Time required: 2–4 hours for a row of 2–4 cabinets (with help)
Keep in mind: If you need to patch walls, cut trim, or relocate plumbing/electrical, time and costs rise.
Real-world Example: Kitchen Cabinet Installation
Let’s look at a typical scenario. Jamie, a homeowner, installed four wall cabinets above her kitchen counter. She used a stud finder, level, and a ledger board. Because her walls were slightly bowed, she shimmed the backs of two cabinets.
By measuring carefully, pre-drilling, and clamping cabinets together, she achieved a perfectly straight row. The whole job took one afternoon and cost only $30 in screws and shims—compared to $600 for professional installation.
Pro Tips For A Flawless Finish
- Use painter’s tape to mark stud locations on the wall and inside the cabinet for fast alignment.
- If cabinets are very heavy, reinforce with an extra mounting rail or use longer screws.
- Before tightening all screws, close the doors and check for even gaps.
- For upper cabinets, consider installing under-cabinet lighting before shelves are in place for easier access.
- Always keep a few extra shims and screws handy—they’re easy to misplace mid-project.
Recommended Resources
For more details on cabinet hardware, hinge adjustment, or special situations, the Family Handyman website offers excellent, step-by-step guides with photos.
Frequently Asked Questions
How Can I Mount Cabinets If My Studs Don’t Line Up With The Cabinet Holes?
If the stud spacing doesn’t match your cabinet’s mounting points, drill new holes through the cabinet back or hanging rail at the locations of the studs. Never rely on drywall anchors alone for heavy cabinets. For wide cabinets, you may have to shift the cabinet slightly or add a blocking board behind the wall.
What Type Of Screws Should I Use To Mount Wall Cabinets?
Use cabinet screws 2.5–3 inches long, with a washer or truss head, for wood studs. For masonry, use lag bolts with anchors. For metal studs, use self-drilling sheet metal screws. Avoid drywall screws—they are not strong enough.
Can I Mount Wall Cabinets By Myself?
Yes, but it’s easier with help. Use a ledger board to temporarily support the cabinets while you fasten them. For tall or heavy cabinets, always have a second person to help lift and hold.
How Much Weight Can Wall Cabinets Hold?
Properly mounted cabinets (into studs with cabinet screws) can hold 30–60 pounds per linear foot. Always check manufacturer guidelines. Never overload upper shelves.
What Do I Do If My Wall Is Not Straight?
Use shims behind the cabinet backs to fill gaps and keep cabinets level and plumb. Shim each mounting point as needed, then trim excess shim material before replacing doors and trim.
Mounting cabinets to a wall is one of the most rewarding DIY projects you can tackle. With careful planning, patience, and the right tools, you’ll create a sturdy, beautiful installation that adds value to your home for years to come.