
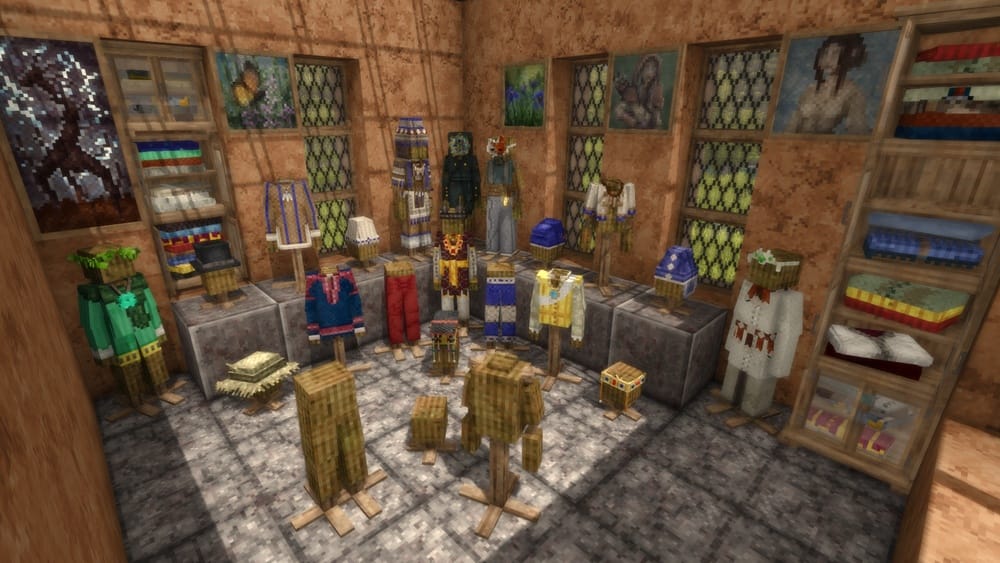
Mounting items on walls in Vintage Story is more than just decoration—it’s a way to express creativity, organize your space, and even boost your gameplay efficiency. Whether you want to display your best tools, keep food handy, or turn your base into a cozy masterpiece, understanding how wall mounting works is a must. While this mechanic might seem simple, there are many details and tricks that can make your wall displays both beautiful and practical. This guide will walk you through everything you need to know, from the basics to advanced tips, so you can master wall mounting in Vintage Story.
Understanding Wall Mounting In Vintage Story
Wall mounting in Vintage Story lets you attach various items to vertical surfaces. This system is both decorative and functional. You can show off rare finds, organize your storage, and make tools easy to grab. At its core, the mechanic relies on the game’s block-based world and its flexible interaction system.
Most new players try to hang an item and find it doesn’t work as expected. That’s because not every item can be mounted, and not every surface is suitable. Some items need special blocks, while others only work on certain walls.
Knowing the rules will save you time and frustration.
What Can Be Mounted?
You can mount a range of objects, including:
- Tools (axes, knives, saws, etc.)
- Weapons (swords, spears, bows)
- Decorative items (paintings, lanterns, shelves)
- Food (cured meats, cheese, bread)
- Armor pieces
- Storage containers (baskets, chests on shelves)
- Signs and plaques
Some items, like ingots or books, need special mounting blocks. Items that are too large or complex may not be mountable directly. Experimenting with different blocks helps you learn what works.
Surfaces For Mounting
Not all walls are the same. The most common surfaces are:
- Raw stone (granite, basalt, etc.)
- Wood planks
- Cobblestone
- Brick and clay walls
Certain decorative blocks, like shelves and item racks, are designed for mounting. Some functional blocks (doors, windows, trapdoors) won’t accept mounted items. If you’re unsure, right-clicking with a mountable item will let you know if it can be placed.
The Physics Of Mounting
Vintage Story uses a logical system. Items mounted on walls stay put, but if the supporting block is broken, the mounted item drops as an entity. This means your displays can be destroyed if you’re not careful. Using sturdy blocks for displays is smart, especially in multiplayer servers where accidents or griefing can happen.
Tools And Materials For Wall Mounting
Before you start mounting, you need the right blocks and items. The game offers several options, each with its own pros and cons.
Key Mounting Blocks
The three most popular mounting tools are:
- Item Racks: These are crafted from sticks and planks. They can hold up to four items and are perfect for tools and weapons.
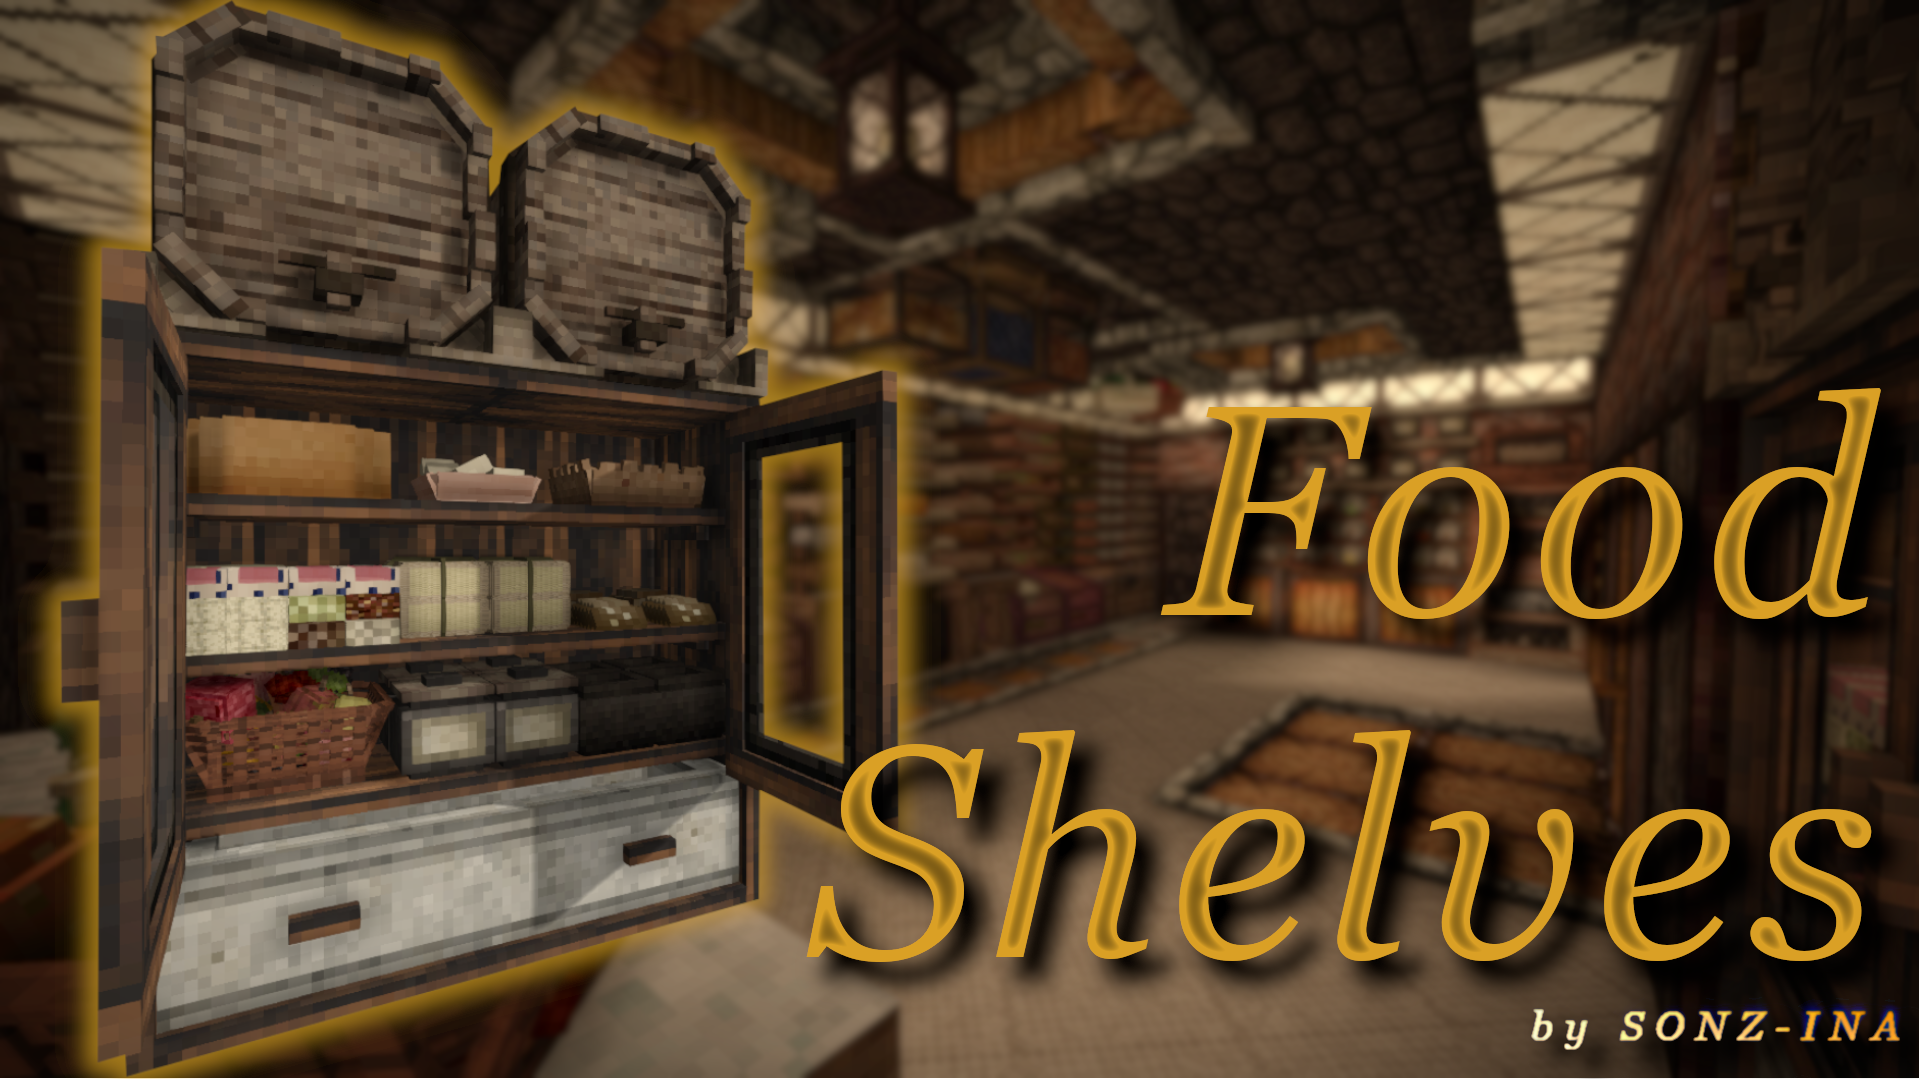
- Shelves: Made from boards, shelves can hold up to four small items. Great for food, books, or decorative objects.
- Display Cases: Glass and wood combine for these cases, which protect and show off valuable items like rare ores or artifacts.
Here’s a simple comparison:
| Mounting Block | Capacity | Best For | Protection |
|---|---|---|---|
| Item Rack | 4 items | Tools, Weapons | None |
| Shelf | 4 small items | Food, Decor | None |
| Display Case | 1 item | Rare Artifacts | Glass shield |
Crafting Mounting Blocks
To get started, you’ll need some basic materials:
- Item Rack: 4 sticks + 2 boards (any wood type)
- Shelf: 6 boards
- Display Case: 5 glass blocks + 2 boards
Crafting recipes can be checked in-game by pressing “H” for the handbook. Gathering wood and glass early on will help you set up your wall displays quickly.
Specialized Mounting
Some players like to use:
- Armor stands for displaying full armor sets
- Signs for labeling racks or shelves
- Lanterns and torches for lighting up displays
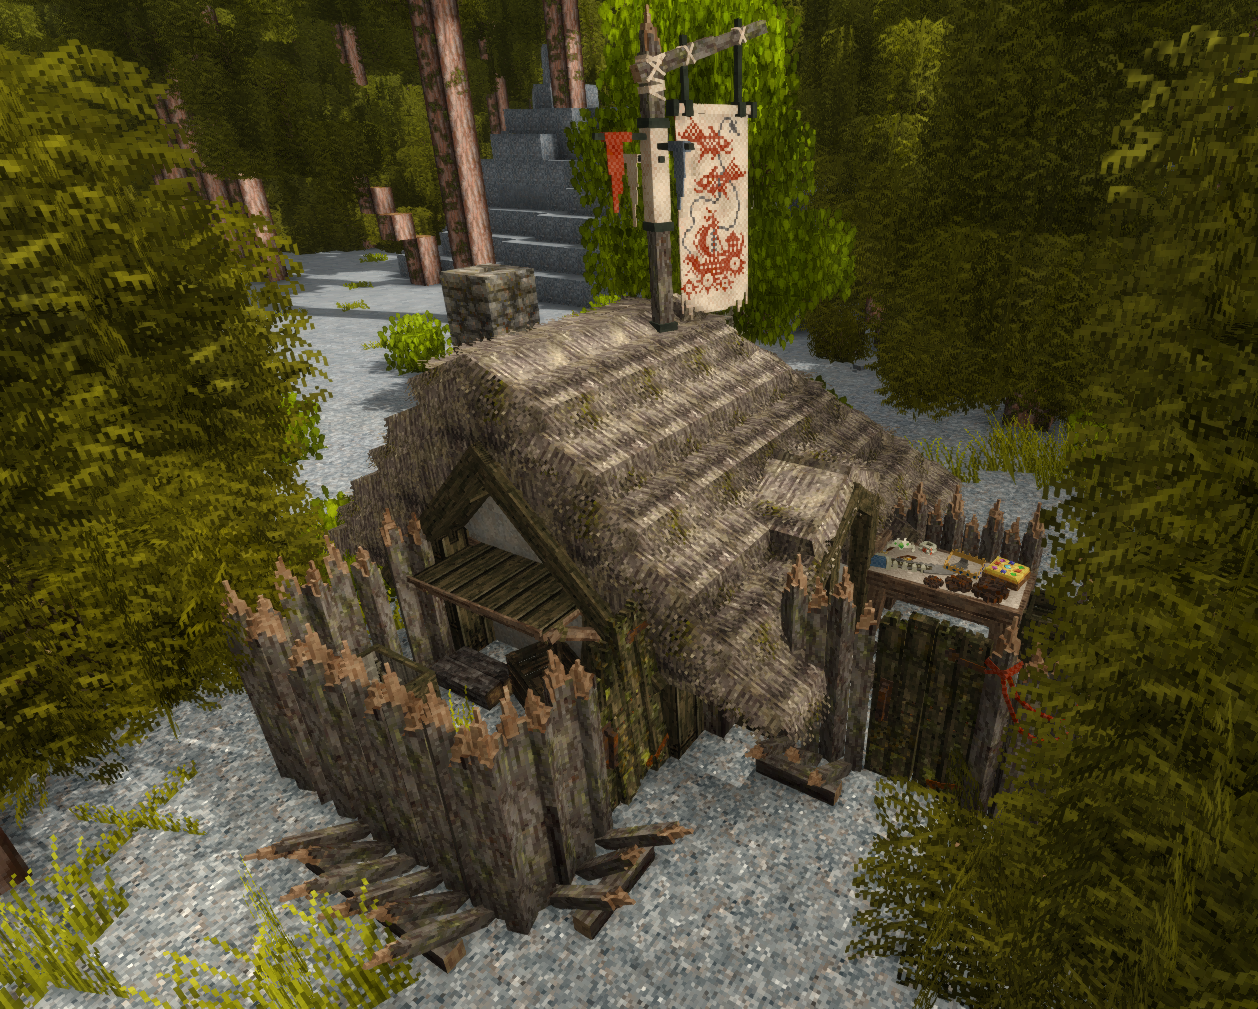
These aren’t always “mounting” in the same way, but they add to the overall wall design and utility.
Credit: www.vintagestory.at
Step-by-step: How To Mount Items On Walls
Mounting items might sound simple, but missing a step can lead to confusion. Here’s a clear process to follow.
1. Choose The Right Wall And Spot
Pick a wall that’s visible and easy to reach. Avoid walls that are likely to be broken or changed often. Make sure there’s enough space for the item or display block.
2. Craft Or Gather Mounting Blocks
Use your crafting grid to make the mounting block you need (item rack, shelf, or display case). Keep extra materials handy for larger displays.
3. Place The Mounting Block
Right-click on the wall with your chosen mounting block. Make sure it faces the way you want. Some blocks can be rotated by sneaking (holding Shift) while placing.
- Pro tip: Place racks or shelves at eye level for the best look and easiest access.
4. Add The Item
Right-click the mounting block with the item you want to display. Most racks and shelves have multiple slots; move your mouse over different slots to choose where the item goes.
- For display cases, the process is the same, but only one item fits inside.
5. Adjust And Organize
If you want to move items around, just right-click them again to take them off, then replace as needed. You can mix and match items for a custom look.
6. Remove Or Relocate Mounts
To move a mount, break the mounting block (pickaxe works best for wood and glass). The block and any items inside will drop for you to pick up.
7. Secure Your Displays
If you play multiplayer, consider using strong blocks behind your mounts. Some servers have protection mods to stop griefing, but it’s always safer to use stone or brick for important displays.
Creative Ideas For Wall Mounting
Once you understand the basics, wall mounting becomes a creative tool. Here are some ways to make your space unique and practical.
Organize Your Tools
Hang your most-used tools (axe, shovel, pickaxe) near your main crafting area. This saves time and keeps your inventory clear. You can also color-code racks by using different wood types.
Food And Cooking Displays
Shelves near your kitchen area can hold bread, cheese, and dried meats. Hanging food not only looks good but also helps you keep track of supplies. Cured meats on hooks above a fire add realism and warmth.
Weapon And Armor Walls
Display your best weapons or a full set of armor in your entryway. This shows off your progress and keeps gear ready for emergencies.
Decorative Art And Lighting
Use shelves and display cases to show off pottery, rare stones, or custom paintings. Hang lanterns and torches nearby for dramatic lighting. Combining light and display draws attention to your best items.
Thematic Rooms
Turn a room into a trophy hall, library, or kitchen by mounting related items. For example, a library wall with shelves full of books and scrolls, or a blacksmith corner with racks of tools and ores.
Multiplayer Showrooms
If you play on a server, wall mounting is perfect for shopfronts or museums. Show visitors what you sell, or display rare finds to impress friends. Use signs to label each item for extra clarity.
Advanced Techniques And Hidden Tricks
While most players stick to the basics, there are some deeper tricks for wall mounting in Vintage Story. These can make your setups more efficient or visually impressive.
Using Vertical Space
Don’t just use a single row—stack racks and shelves vertically. You can reach higher shelves by jumping or using ladders. This is great for storage rooms or tight spaces.
Angled And Rotated Mounts
Some blocks, like item racks, can be rotated. Try placing racks at different heights or angles to add interest. Sneak while placing to change the orientation.
Combining Mounts
Mix shelves, racks, and cases for a layered look. For example, a rack with tools above a shelf of food, with a display case on the end for a rare item.
Secret Storage
Hide valuable items behind false walls or inside display cases with plain items in front. This can slow down thieves on multiplayer servers.
Automating Access
While Vintage Story doesn’t have full automation, you can use clever wall mounting near frequently used machines or chests. This keeps tools and parts at hand, speeding up your workflow.
Weatherproofing Outdoor Displays
If you want to mount items outside, use covered porches or overhangs. Rain and snow won’t affect display blocks, but realism and appearance matter to many players.
Common Mistakes And How To Avoid Them
Even experienced players make mistakes with wall mounting. Here are some frequent problems and easy solutions.
1. Placing Mounts On Weak Walls
Mounting on dirt or sand is risky—these blocks are easily broken. Always use stone, brick, or wood for important displays.
2. Overcrowding
Cramming too many mounts in a small area looks messy and makes items hard to grab. Leave space between mounts for a cleaner look.
3. Forgetting Lighting
Unlit displays can be hard to see and make rooms feel gloomy. Place torches or lanterns near your mounts to highlight them.
4. Blocking Doors Or Windows
Mounts placed too close to doors or windows can block movement or stop you from opening/closing things. Plan your layout before placing.
5. Ignoring Protection In Multiplayer
On public servers, always use strong walls and check for protection mods. Griefers often target visible displays.
6. Not Checking Item Compatibility
Some items just won’t mount, no matter what you try. If you’re struggling, check the in-game handbook or community wikis for compatibility info.
Comparison: Mounting Blocks At A Glance
To help you pick the right mounting block, here’s a quick side-by-side look.
| Block Type | Materials Needed | Items Supported | Visual Appeal |
|---|---|---|---|
| Item Rack | Sticks, Boards | Tools, Weapons | Functional, Rustic |
| Shelf | Boards | Food, Decor | Simple, Clean |
| Display Case | Glass, Boards | Rare Items | Elegant, Protective |
| Armor Stand | Boards, Sticks | Armor Sets | Impressive, Large |
Choosing the right block depends on what you want to display and the style of your build. Sometimes mixing types gives the best results.
Real-world Examples And Inspiration
Looking at what other players have built can spark your creativity. Here are some standout ideas seen in the community:
- Medieval Halls: Grand rooms with rows of racks holding swords, axes, and shields. Torches line the walls for dramatic effect.
- Modern Kitchens: Shelves full of bread, cheese, and clay pots. Lanterns hang above for a cozy, lived-in feel.
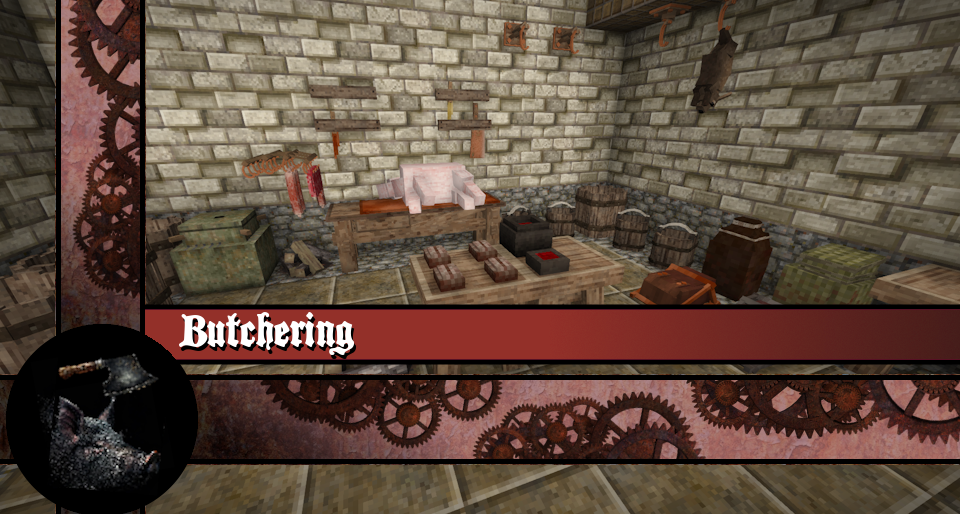
- Museums: Glass display cases protect rare ores, fossils, and crafted artifacts. Signs give information about each exhibit.
- Trophy Rooms: Full armor sets on stands, with weapon racks and rare creature trophies mounted nearby.
- Outdoor Markets: Walls with racks showing off tools for sale, baskets of food, and signs advertising prices.
Many of these builds share key features: smart use of space, good lighting, and thematic grouping of items. You can find screenshots and ideas on the official Vintage Story Wiki.
Credit: mods.vintagestory.at
Non-obvious Insights For Wall Mounting
Most guides talk about the basics, but some deeper knowledge can make a big difference.
First, mounting items can help with inventory management. By keeping tools and food on the wall, your backpack stays uncluttered, letting you carry more resources during mining or exploration trips.
Second, wall-mounted items can’t be accidentally used or consumed. For example, if you hang up your best sword, you won’t swing it by mistake or lose durability until you take it down.
Third, in multiplayer, wall displays can serve as trade signs. Want to show you’re buying copper axes? Mount one on your wall, and players will know at a glance.
Fourth, shelves and racks can be used as “drop-off” points. After a long journey, hang your gear by the door for easy sorting later.
These little tricks aren’t obvious at first, but they can make your gameplay smoother and your builds more efficient.
Optimizing Wall Mounting For Efficiency
If you want your wall displays to be more than just decoration, a bit of planning helps.
- Group items by use: Tools near the forge, food near the kitchen, weapons near entrances.
- Leave gaps for expansion: As you craft new tools or find rare items, you’ll want space to add them.
- Use color and material: Different wood types or block colors help you organize by type or rarity.
- Label shelves and racks: Signs above or below mounts prevent confusion, especially in large bases.
Here’s a quick table showing how to optimize wall mounting in different rooms:
| Room | Mounting Block | Items to Display | Purpose |
|---|---|---|---|
| Workshop | Item Rack | Tools, Spare Parts | Quick Access |
| Kitchen | Shelf | Food, Utensils | Organization |
| Entryway | Armor Stand, Rack | Weapons, Armor | Readiness |
| Showroom | Display Case | Rare Finds | Display |
Troubleshooting Wall Mounting Problems
Sometimes things go wrong when mounting items. Here’s how to fix the most common issues.
Items Won’t Mount
- Check if the item is compatible with the mounting block.
- Make sure the block is facing the right way.
- Try a different block or wall type if it still doesn’t work.
Display Blocks Breaking
- Avoid placing mounts on weak or unstable blocks.
- Use stone or brick for important displays.
- In multiplayer, check for griefing or server lag issues.
Mounted Items Vanish
- If a supporting block is broken, the item drops as an entity. Check the floor nearby.
- Sometimes items fall behind furniture or into hard-to-see corners.
Can’t Reach Upper Mounts
- Use ladders or scaffolding to place or remove items from high shelves.
- Plan displays within easy reach for everyday use.
Visual Clutter
- Rearrange mounts and leave space between them.
- Use matching materials for a cleaner look.
If you’re still stuck, community forums and the official wiki are good resources for help.
Frequently Asked Questions
What Items Can I Mount Directly On Walls In Vintage Story?
You can mount tools, weapons, decorative items, food, and some armor pieces using racks and shelves. Some items, like ingots or books, require special blocks such as shelves or display cases. Not all items are mountable—check the in-game handbook for full compatibility.
How Do I Craft An Item Rack Or Shelf For Wall Mounting?
An item rack is made with 4 sticks and 2 boards. A shelf needs 6 boards. Craft them in your crafting grid, then right-click on the wall to place. Recipes can also be found in the game’s handbook by pressing “H”.
Credit: mods.vintagestory.at
Can Mounted Items Be Stolen Or Destroyed In Multiplayer?
Yes. If someone breaks the block behind your mount, the item drops and can be picked up. Use strong walls like stone or brick, and check if your server has protection mods. Always avoid mounting valuables in public or unprotected areas.
Why Won’t My Item Mount On The Wall?
There are a few reasons: the item may not be compatible with the mounting block, the wall might be the wrong type (some blocks don’t accept mounts), or the mounting block is facing the wrong way. Try different combinations or consult the wiki for details.
Are There Mods Or Updates That Add More Wall-mounting Options?
Yes. The Vintage Story modding community has created mods that add new racks, shelves, and display blocks. Always check mod compatibility with your game version. For more information, visit the Vintage Story Wiki.
Wall mounting in Vintage Story is simple to learn but offers deep possibilities for organization and creativity. Whether you want to make your base more efficient, express your style, or just keep things tidy, mastering this system will make your gameplay more enjoyable. With careful planning, a bit of creativity, and the tips in this guide, you’ll turn your walls into showcases that are both useful and beautiful.