
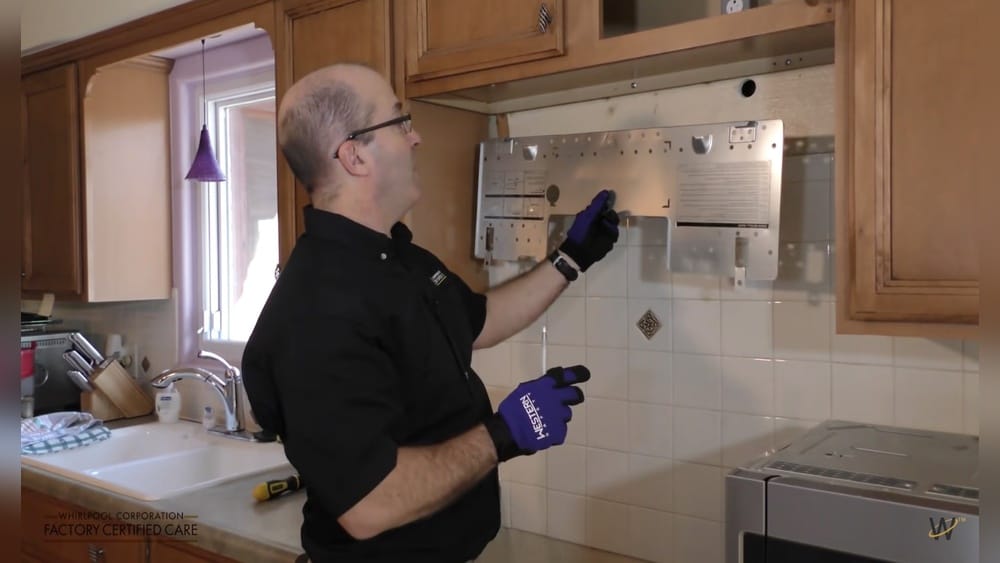
Mounting an over the range microwave can seem challenging, but with the right steps and preparation, it becomes a manageable DIY project. Many homeowners choose this type of microwave because it saves counter space and adds a modern look to the kitchen. Over the range microwaves also combine two functions: cooking and ventilating. If you’re considering installing one in your home, this guide will explain every step in clear, simple language. By following these instructions, you’ll not only gain new skills but also make your kitchen more efficient and attractive.
Understanding Over The Range Microwaves
An over the range (OTR) microwave is designed to be installed above your stove or cooktop. This type of microwave serves two purposes: it heats food and acts as a ventilation system for smoke, steam, and cooking odors. Most OTR models come with built-in fans, lights, and filters.
Compared to countertop microwaves, OTR models free up valuable work space. They usually measure 30 inches wide, matching the width of a standard range. Most have a capacity between 1. 6 and 2. 2 cubic feet, large enough for most families.
The height from the bottom of the microwave to the cooking surface below should be between 13 and 18 inches for safety and convenience.
Benefits Of Mounting An Over The Range Microwave
Choosing an over the range microwave brings several advantages:
- Space Saving: You gain extra counter space, which is especially useful in small kitchens.
- Integrated Ventilation: The built-in fan helps remove smoke, steam, and odors from cooking.
- Aesthetic Appeal: OTR microwaves create a sleek, unified look in your kitchen.
- Convenience: Controls are easy to reach, and lights under the microwave help illuminate the stove.
- Safety: Keeps the microwave away from the reach of young children.
However, you need to make sure your kitchen layout and electrical setup support this type of installation.
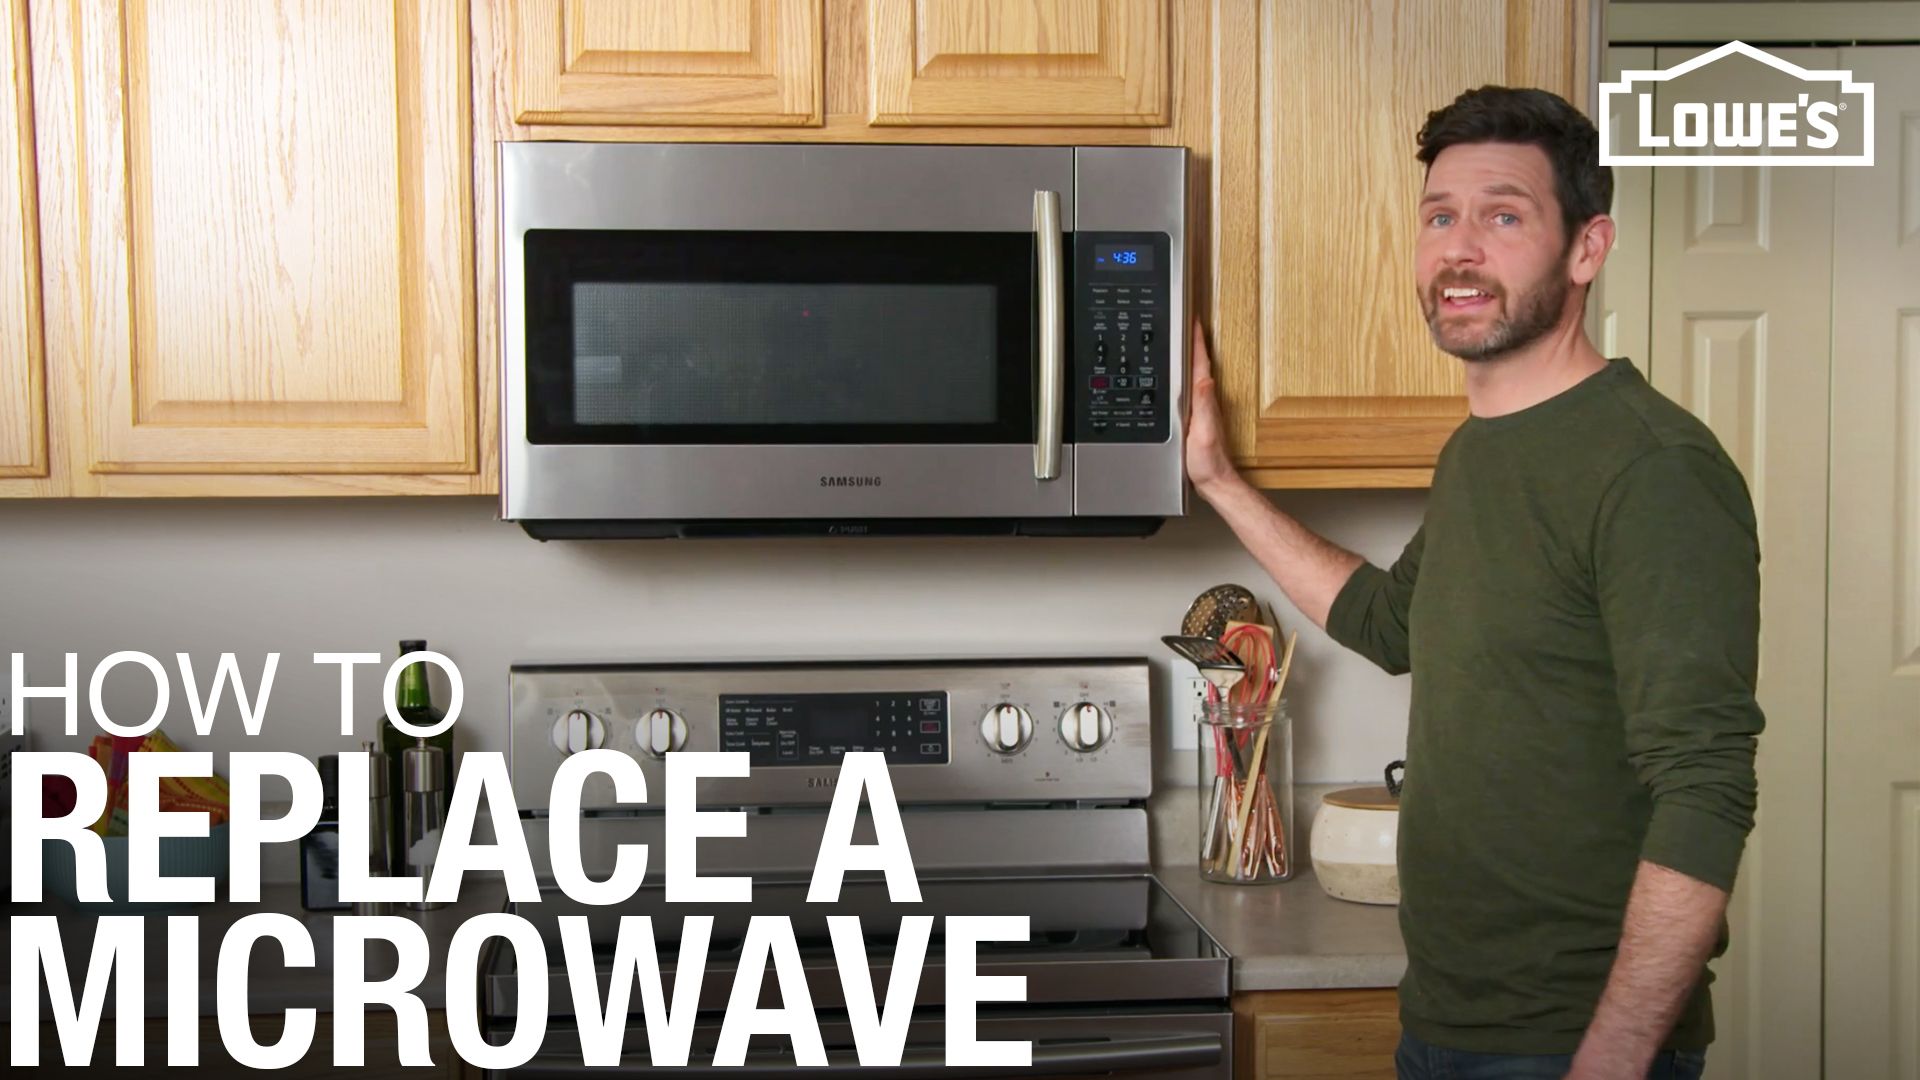
Credit: www.lowes.com
Before You Start: Tools, Materials, And Safety
Proper preparation is key for a smooth installation. Here’s what you’ll need:
Essential Tools
- Drill (with drill bits)
- Screwdriver (Phillips and flathead)
- Measuring tape
- Level
- Stud finder
- Pencil or marker
- Wrench
- Utility knife
- Socket set
- Masking tape
- Safety goggles
- Gloves
Materials
- Mounting template (usually provided with the microwave)
- Mounting bracket (comes with the microwave)
- Toggle bolts or lag screws
- Wood screws
- Wall anchors (if needed)
- Power cord (microwave)
- Exhaust vent kit (if venting outside)
Safety Tips
- Always unplug the microwave before working on it.
- Wear safety goggles and gloves when drilling or handling metal.
- If you’re not confident with electrical work, hire a qualified electrician.
- Never install a microwave directly above a gas range without proper clearance.
- Check local building codes before starting.
Planning The Installation
Planning is just as important as the actual mounting. Start by measuring your space to ensure the new microwave will fit. Most OTR microwaves are 30 inches wide, but depths and heights can vary. It’s important to check the product’s installation manual for exact measurements.
Measuring And Marking
- Width: Measure the width of the space above your range. The standard width is 30 inches.
- Height: The bottom of the microwave should be at least 13 inches above the cooktop, but no higher than 18 inches.
- Depth: Make sure the microwave doesn’t stick out too far or block cabinet doors.
- Power Source: Confirm that there’s an electrical outlet in the cabinet above or nearby.
Using the mounting template, mark the exact drill locations on the wall and the bottom of the cabinet above.
Wall Types And Support
The wall behind your range must be strong enough to support the microwave, which can weigh between 50 and 75 pounds. Use a stud finder to locate wall studs, as you’ll need to anchor the mounting bracket into at least one stud. If no stud is available, use heavy-duty wall anchors.
Venting Options
There are three common venting configurations for OTR microwaves:
- External (upward): Vents through the top of the cabinet and outside.
- External (rear): Vents out the back wall.
- Recirculating: Filters air and returns it to the kitchen.
Choose the venting method that matches your kitchen’s design and your microwave’s capabilities.
Credit: www.whirlpool.com
Step-by-step Installation Guide
Let’s break down the process into clear, manageable steps.
1. Unpack And Inspect The Microwave
Carefully open the box and check for all parts. Look for:
- The microwave itself
- Mounting bracket
- Screws and bolts
- Mounting template
- Exhaust adapter (if included)
Inspect the microwave for any signs of damage. Do not proceed if you notice dents or broken pieces.
2. Prepare The Mounting Area
Remove any objects or obstacles above and around the range. Clean the wall and the bottom of the upper cabinet. Tape the mounting template to the wall, aligning it according to the instructions.
3. Locate And Mark Studs
Use a stud finder to identify wall studs. Mark their locations with a pencil. At least one mounting screw should go into a stud for strong support. If the stud doesn’t align with the template holes, you’ll need wall anchors for the other holes.
4. Drill Holes For Bracket And Bolts
With the template in place, drill the pilot holes for the mounting bracket and for the bolts that will pass through the cabinet above. Be sure to:
- Drill through the template at the marked locations.
- Use the correct drill bit size for your screws and bolts.
- Drill a hole for the power cord if necessary.
5. Attach The Mounting Bracket
Position the mounting bracket on the wall, aligning it with the drilled holes. Attach it using lag screws or bolts, making sure at least one goes into a wall stud. The bracket should be level and tightly secured.
Example Table: Mounting Bracket Fastener Types
| Fastener Type | When to Use | Strength |
|---|---|---|
| Lag Screw | For wood studs | High |
| Toggle Bolt | For drywall, no stud | Medium |
| Expansion Anchor | Concrete or brick wall | High |
6. Prepare For Venting
If your microwave will vent outside, use the exhaust adapter to connect ductwork through the top or back of the cabinet. Cut holes as needed using a utility knife or saw. Secure the vent adapter with screws and seal any gaps.
Venting Comparison Table
| Venting Type | Pros | Cons | Best For |
|---|---|---|---|
| External (Upward) | Removes smoke & odors completely | More difficult installation | Heavy cooking, frying |
| External (Rear) | Effective ventilation | Requires wall modification | Homes with outside wall behind range |
| Recirculating | Easiest install, no ducts needed | Less effective at odor removal | Rental apartments, easy upgrades |
7. Position The Microwave
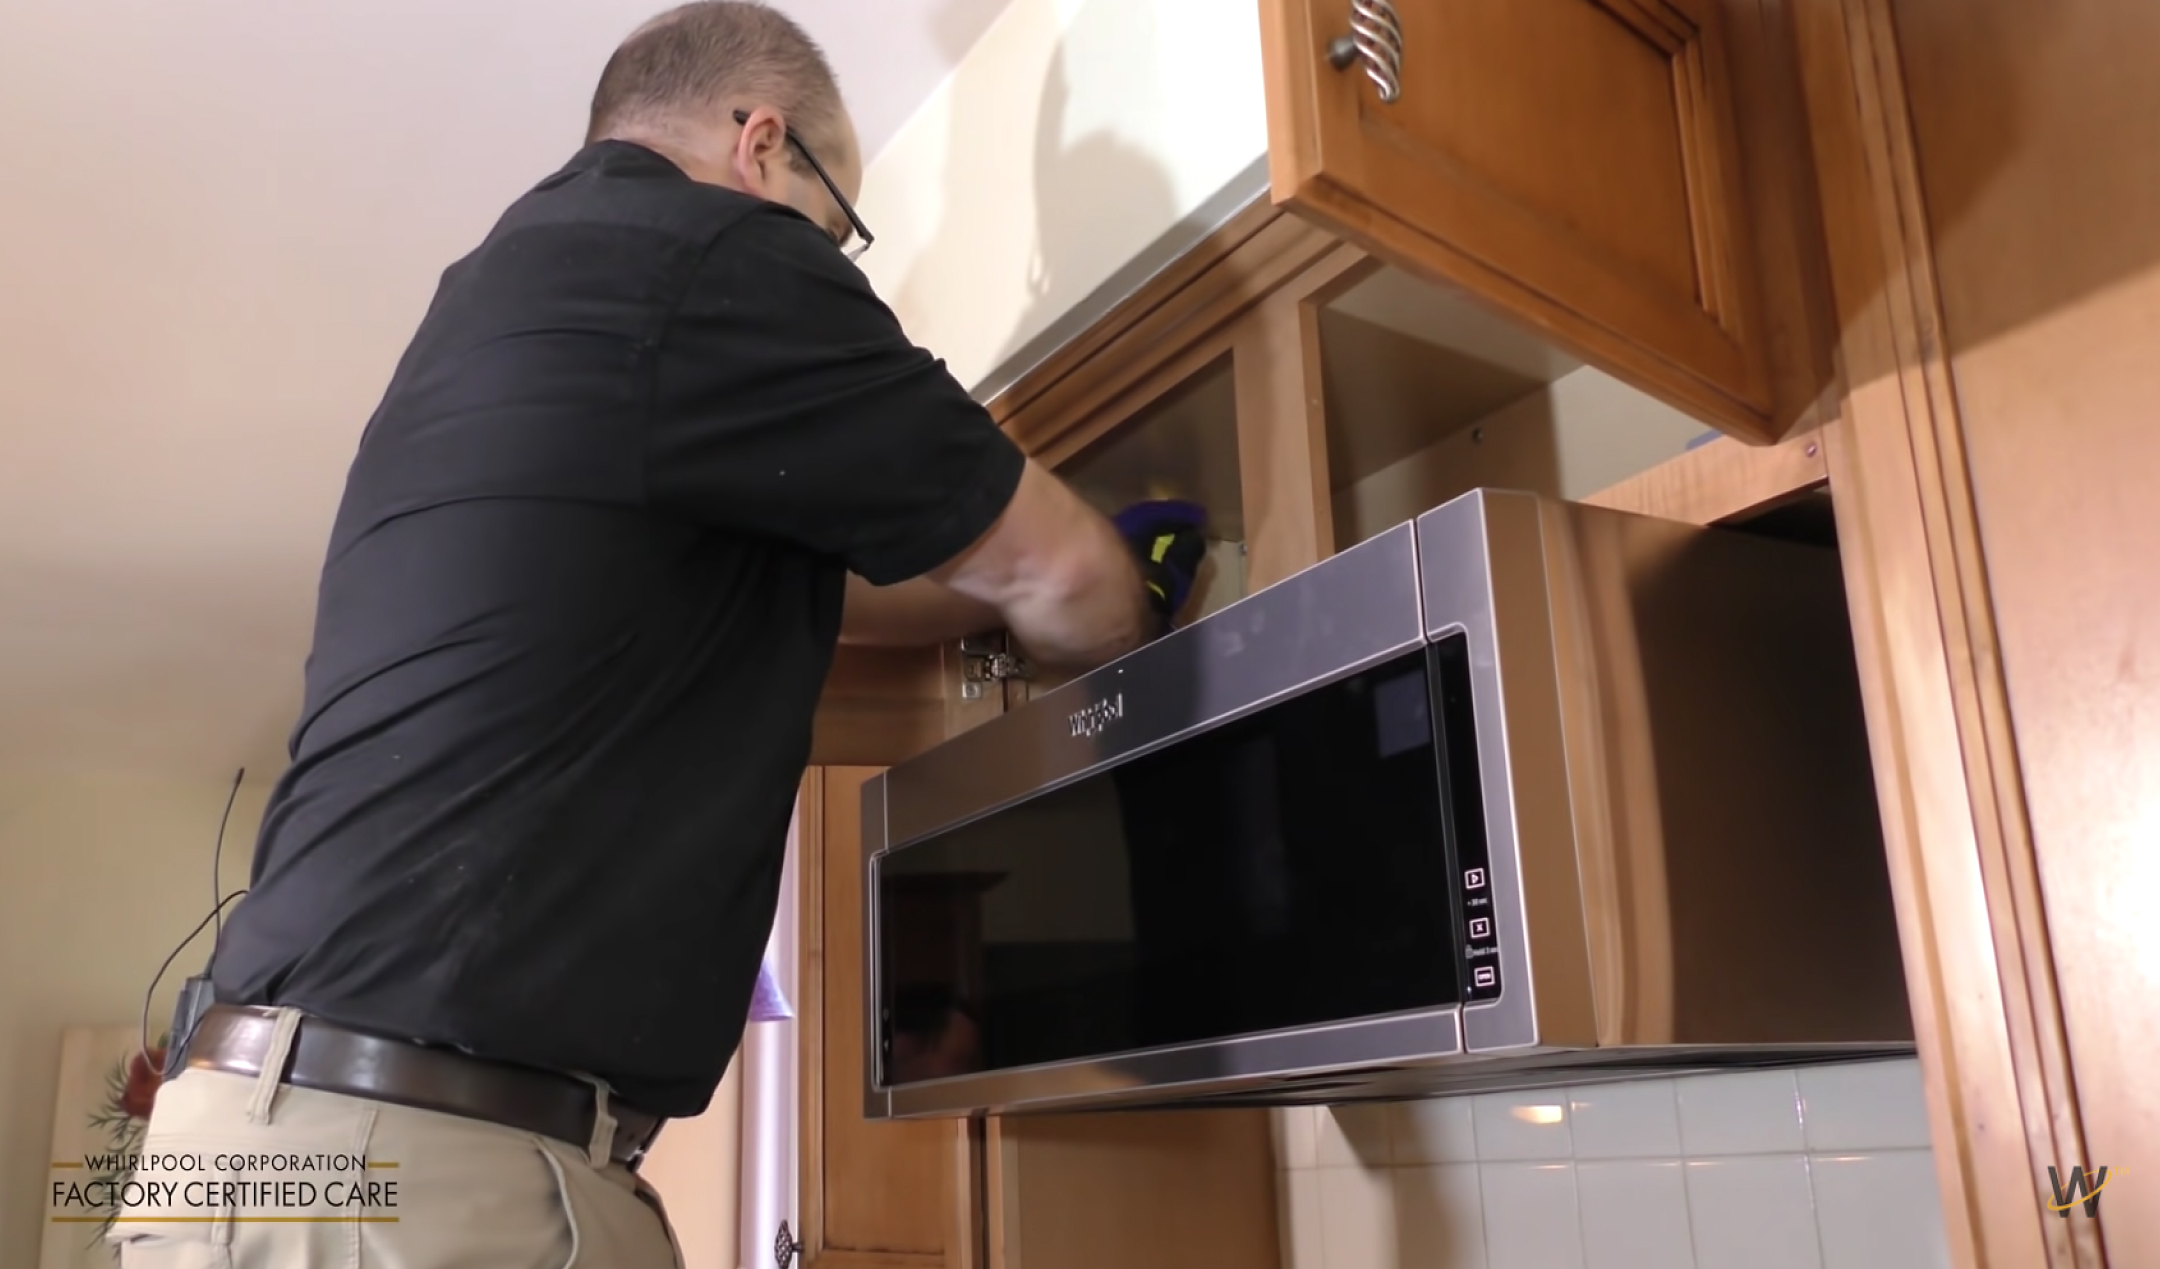
This step may require two people. Carefully lift the microwave and tilt it so the back bottom edge slides into the mounting bracket. Make sure it sits securely.
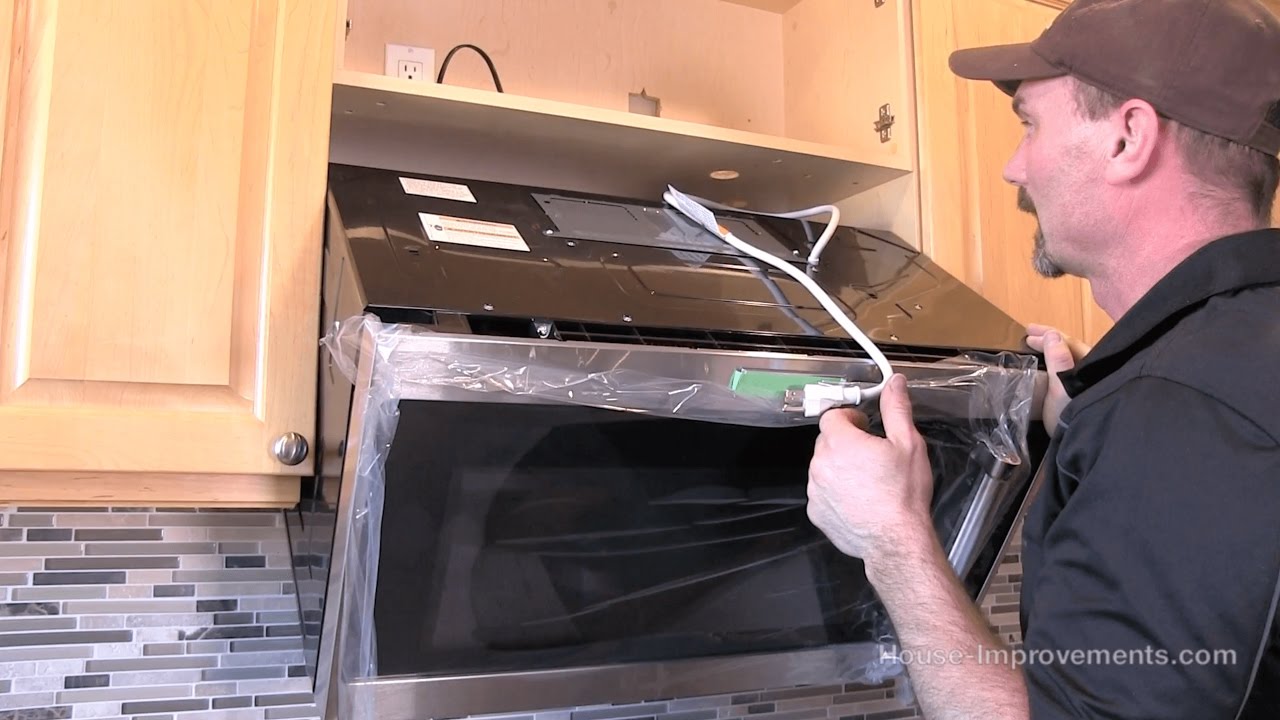
- Thread the power cord through the hole in the upper cabinet.
- Align the top holes of the microwave with the holes in the cabinet above.
8. Secure The Microwave
From inside the upper cabinet, insert the bolts through the drilled holes and into the top of the microwave. Tighten the bolts evenly with a wrench or screwdriver. Do not overtighten, as this can crack the microwave’s case.
Check that the microwave is level and firmly attached to both the wall and the upper cabinet.
9. Connect The Vent
If using external venting, connect the ductwork to the adapter. Secure with clamps or foil tape. Double-check all seals and connections.
For recirculating setups, install the charcoal filter (usually included). Make sure the vent grille is in place.
10. Plug In And Test
Plug the microwave into the outlet. Test all functions:
- Microwave: Heat a cup of water for 1-2 minutes.
- Fan: Turn on the vent to check airflow.
- Light: Make sure the cooktop light works.
- Door: Open and close to ensure smooth operation.
If anything isn’t working, check your connections or consult the user manual.
Practical Tips For A Smooth Installation
Even with clear steps, some small details can make a big difference:
- Work with a partner: Most microwaves are heavy and awkward for one person.
- Double-check measurements: Mistakes here can lead to misaligned holes or gaps.
- Use the right fasteners: Don’t substitute screws or bolts; use what’s recommended.
- Seal ductwork: For external venting, use foil tape (not regular duct tape) to avoid leaks.
- Keep the manual: Every microwave is a little different. Follow the specific instructions for your model.
- Protect your range: Place a thick towel or cardboard on the cooktop to avoid scratches during installation.
Common Mistakes And How To Avoid Them
Many DIYers make similar errors when mounting an over the range microwave. Here’s what to watch for:
- Ignoring stud placement: Anchoring only to drywall can cause the microwave to fall.
- Misaligned templates: Always use a level before drilling holes.
- Incorrect venting: Make sure your vent matches the microwave’s exhaust direction.
- Overtightening bolts: This can damage the microwave shell.
- Poorly sealed ducts: Leaks reduce ventilation and may cause smoke buildup.
- Wrong height: Mounting too high or low can make using the microwave uncomfortable or unsafe.
- Forgetting electrical codes: Some areas require dedicated circuits or specific outlet placement.
Choosing The Right Over The Range Microwave
If you haven’t bought a microwave yet, consider these important features:
Key Features
- Size: Standard is 30 inches wide, but check your space.
- Wattage: 900–1100 watts is common for fast, even cooking.
- Ventilation power: Measured in CFM (cubic feet per minute); higher numbers mean stronger fans.
- Lighting: Most models have LED or halogen cooktop lights.
- Sensor cooking: Adjusts power and time automatically.
- Easy-clean surfaces: Stainless steel or coated interiors are simpler to maintain.
Popular Brands
Some of the top brands for OTR microwaves include GE, Samsung, LG, Whirlpool, and Frigidaire. Each offers models with different features and price points.
Example Table: Brand Feature Comparison
| Brand | Typical Wattage | Vent Power (CFM) | Special Features |
|---|---|---|---|
| GE | 1000 | 300 | Sensor cook, steam clean |
| Samsung | 1000 | 400 | Fingerprint resistant, eco mode |
| LG | 1000–1100 | 400 | ExtendaVent, sensor reheat |
| Whirlpool | 900–1100 | 300 | Steam cooking, adjustable lighting |
| Frigidaire | 1000 | 300 | One-touch options, LED lighting |
Price Range
Over the range microwaves generally cost between $200 and $700, depending on brand, size, and features. Installation kits or venting accessories may add $30–$100.
Special Considerations
Electrical Requirements
Most over the range microwaves need a dedicated 120-volt outlet. The outlet should be located inside the upper cabinet, not behind the unit. Extension cords are not recommended for permanent installations.
Cabinet Modifications
Some kitchens may require minor cabinet changes:
- Drilling holes for bolts and power cords.
- Trimming cabinet bottoms if the microwave is taller than the space.
- Adding support boards if the cabinet is thin or weak.
Professional Vs. Diy Installation
While many homeowners install their own microwaves, hiring a professional can save time and avoid mistakes. Professional installation usually costs between $100 and $300, depending on your location and kitchen setup. If you have little experience with power tools or electrical work, it’s a good investment.
Maintenance After Installation
Keeping your over the range microwave in good condition helps it last longer and work better.
Cleaning Tips
- Exterior: Wipe with a soft cloth and mild soap.
- Interior: Clean spills quickly; steam clean if available.
- Filters: Wash metal grease filters every month; replace charcoal filters every 6–12 months.
- Vents: Check for blockages in external ducts.
Regular Checks
- Inspect mounting bolts for tightness every few months.
- Test the fan and lights regularly.
- Listen for unusual noises when running the microwave.
Ignoring maintenance can reduce performance and even cause safety risks.
Non-obvious Insights For A Trouble-free Install
Many beginners overlook details that can cause headaches later. Here are two important insights:
- Account for cabinet lips: Some cabinets have a small lip or decorative edge that prevents the microwave from sitting flush. Measure and, if needed, trim the lip or use spacers to ensure a tight fit.
- Plan for future removal: Leave enough slack in the power cord and vent connections. This makes it much easier to remove the microwave for repairs or replacement, saving time and avoiding damage to cabinets.
When To Call A Professional
Certain situations make DIY installation risky or impossible:
- No wall studs: If you can’t anchor the bracket properly, call a pro for reinforcement.
- Complex venting: Long duct runs, tight spaces, or difficult exterior wall exits are best handled by experts.
- Electrical upgrades needed: Adding a new outlet or circuit should be done by a licensed electrician.
- Unusual cabinet layouts: Custom cabinets may need precise cutting or reinforcement.
Frequently Asked Questions
What Height Should An Over The Range Microwave Be Mounted?
The bottom of the microwave should be between 13 and 18 inches above the cooktop. This provides enough space to handle large pots and ensures safe clearance from heat. Most manufacturers recommend 17–18 inches for comfort and code compliance.
Can I Install An Over The Range Microwave Without A Vent?
Yes, you can. Many OTR microwaves offer a recirculating option that uses a charcoal filter to clean the air before releasing it back into the kitchen. This is useful if your kitchen doesn’t allow for external venting.
Do I Need A Dedicated Outlet For My Over The Range Microwave?
Most models require a dedicated 120-volt outlet inside the cabinet above the microwave. Using extension cords or shared circuits is not recommended and may violate local codes.
How Much Weight Can My Wall Hold?
As long as you anchor the mounting bracket into at least one wall stud, most kitchen walls can support the weight of an over the range microwave (typically 50–75 pounds). If no stud is available, use heavy-duty wall anchors.
Where Can I Find More Installation Tips And Safety Advice?
Many manufacturers offer detailed instructions and videos. For official safety standards and kitchen appliance guidelines, visit the National Fire Protection Association.
Mounting an over the range microwave may seem difficult at first, but careful planning and step-by-step execution make the job much easier. By understanding the process, choosing the right tools and materials, and following safety guidelines, you’ll create a functional and stylish upgrade for your kitchen.
Take your time, measure twice, and don’t hesitate to seek help if needed. A well-installed microwave not only saves space but also adds convenience and value to your home.
Credit: www.youtube.com