
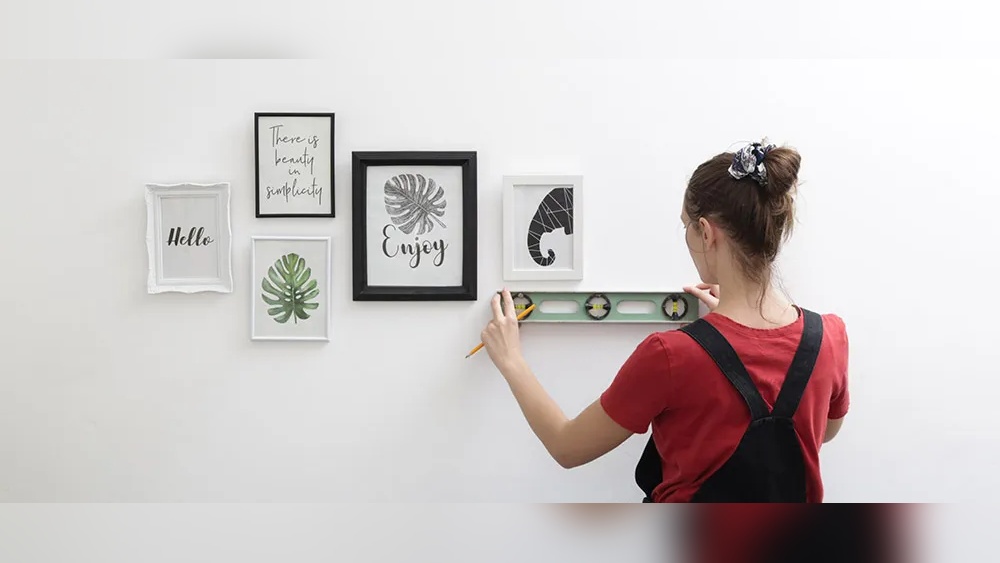
Mounting pictures on your walls can completely transform a space, making it feel more personal and inviting. But what if you rent your home, or simply don’t want to deal with patching nail holes later? Luckily, there are many effective ways to display photos, artwork, or posters without using nails. This guide will show you practical, safe, and creative solutions that keep your walls damage-free, while letting your style shine.
You’ll discover different types of adhesive products, clever hanging systems, and even a few DIY tricks. Whether your walls are painted, tiled, or textured, you’ll find techniques that work for your situation. We’ll cover what really matters when choosing a method, how to avoid common mistakes, and tips to make your pictures stay put.
If you want to hang frames without the hassle, you’re in the right place.
Why Go Nail-free?
Many people think nails are the only reliable way to hang pictures. But there are several reasons to avoid them:
- Rental restrictions: Landlords often ban nails to prevent wall damage.
- Changing displays: You may like to swap out art or photos often.
- Protecting walls: Nails can leave holes, cracks, or chipped paint.
- Quick decorating: Adhesive and alternative systems are usually faster and easier.
It’s not just about avoiding damage. Nail-free methods can actually make your decorating more flexible and creative. You can try new layouts, reposition art, and experiment with your space—without worrying about repairs.
Understanding Your Walls
Before choosing a mounting method, it’s important to know what kind of walls you have. Different materials react differently to adhesives or hooks.
| Wall Type | Common Issues | Best Mounting Methods |
|---|---|---|
| Painted Drywall | Paint can peel, drywall can dent | Adhesive strips, hooks, putty |
| Plaster | Cracks easily, uneven surface | Adhesive hooks, tension rods |
| Brick or Concrete | Very hard, rough texture | Strong adhesive hooks, putty, leaning methods |
| Tile or Glass | Slippery, can chip | Suction hooks, adhesive hooks |
If you’re unsure, tap the wall or try a small patch test with tape. Always check paint condition—peeling or poorly painted walls may not hold adhesives well.
Credit: redknight.com
Main Nail-free Mounting Methods
Let’s look at the most popular and effective ways to mount pictures without nails, including their pros, cons, and best use cases.
1. Adhesive Strips (picture Hanging Strips)
Adhesive strips are one of the easiest and safest options. Brands like Command offer strips with strong, double-sided adhesives that hold frames securely, but remove cleanly.
How to Use:
- Clean the wall and frame back with isopropyl alcohol.
- Stick one side of the strip to the frame, the other to the wall.
- Press firmly for 30 seconds.
- Wait an hour before hanging to let the adhesive bond.
Pros: No tools, easy removal, no residue (if instructions are followed).
Cons: Weight limits (usually up to 16 lbs per frame), not for textured or damp surfaces.
Pro Tip: Use multiple strips for larger frames and always check weight limits. If the strip fails, it’s often due to not cleaning surfaces or not waiting the full bonding time.
2. Removable Adhesive Hooks
Removable hooks use similar technology as strips, but come in hook shapes. They’re great for hanging frames with wires or sawtooth hangers.
How to Use:
- Clean wall and let dry.
- Stick hook, press for 30 seconds.
- Wait recommended time before hanging.
Advantages: Reusable, come in many sizes and finishes, work for objects with hanging hardware.
Drawbacks: Weight limits, may not stick well to uneven or brick surfaces.
Common Mistake: Not pressing long enough, or hanging items before the adhesive sets.
3. Poster Putty And Mounting Tack
Poster putty (also called mounting putty or tack) is a reusable, sticky material you roll into small pieces and stick to the back of lightweight pictures or posters.
How to Use:
- Roll putty into balls.
- Stick to picture corners.
- Press picture onto wall, smoothing out air bubbles.
Best For: Posters, lightweight photos, kids’ art, temporary displays.
Not For: Heavy frames, valuable art.
Tip: For painted walls, test a tiny spot first. Some putties can leave oily spots on flat paint.
4. Double-sided Mounting Tape
Mounting tape is a stronger, double-sided adhesive tape. It’s best for lightweight, flat-backed items like plaques or thin frames.
How to Use:
- Clean surfaces.
- Cut tape to size, apply to item.
- Peel off backing and press onto wall.
Pros: Strong hold, easy to cut.
Cons: Can damage paint if removed harshly, not reusable.
Experience Insight: Quality varies. Some tapes are very strong but may pull off paint when removed. Always check reviews and test on a hidden area.
5. Suction Cup Hooks
Suction cups work well on very smooth, non-porous surfaces like glass, mirrors, and glossy tile.
How to Use:
- Clean surface with rubbing alcohol.
- Slightly moisten suction cup.
- Press firmly and release air.
Best For: Bathrooms, kitchens, glass doors.
Not For: Painted, textured, or dusty walls.
Bonus: Great for holiday decorations or temporary displays.
6. Tension Rods
For hanging pictures in alcoves, windows, or between two walls, tension rods are a clever solution. You can hang string or wire from the rod and clip photos or lightweight art.
How to Use:
- Measure space.
- Twist rod to tighten between surfaces.
- Use hooks or clips to hang pictures.
Benefits: No wall marks, adjustable, perfect for renters.
7. Leaning And Shelf Displays
Sometimes, you don’t need to hang at all. Leaning frames on mantels, shelves, or even on the floor against the wall can look stylish and modern.
How to Use:
- Arrange frames of different sizes.
- Overlap slightly for a layered look.
- Use rubber bumpers to prevent sliding.
Best For: Large frames, art collections, entryways.
Advanced Tip: Combine with adhesive bumpers to prevent shifting, especially in high-traffic areas.
8. Magnetic Paint Or Primer
Magnetic paint is a primer you can brush onto a wall. It turns the surface into a giant magnet board. Use small magnets to attach photos or lightweight frames.
How to Use:
- Apply 2–3 coats of magnetic primer.
- Paint wall color over primer (optional).
- Use strong magnets to hold pictures.
Pros: Fun for kids’ rooms or offices, change displays anytime.
Cons: Only works with lightweight items, primer can be expensive.
Non-Obvious Insight: Magnetic paint works best with neodymium (rare earth) magnets. Standard refrigerator magnets may not hold.
9. Velcro Fasteners
Hook-and-loop fasteners like Velcro strips provide a reusable, secure hold for lightweight frames. You can remove and reposition pictures easily.
How to Use:
- Stick one side to the wall, the other to the frame.
- Press together to secure.
Benefits: Adjustable, reusable, easy for renters.
Downside: Only for smooth walls and lighter frames.
Comparing Methods: Strength, Cost, And Wall Safety
To help you decide, here’s a quick comparison of popular nail-free options:
| Method | Max Weight | Wall Safety | Cost |
|---|---|---|---|
| Adhesive Strips | Up to 16 lbs/frame | Very high | Moderate |
| Adhesive Hooks | Up to 7 lbs/hook | High | Low–Moderate |
| Poster Putty | Up to 1 lb | Very high | Low |
| Mounting Tape | Up to 5 lbs | Moderate | Low |
| Suction Cups | Up to 3 lbs | Very high | Low |
| Tension Rods | Varies | Very high | Low–Moderate |
| Magnetic Paint | Up to 0.5 lbs/magnet | Very high | Moderate–High |
| Velcro Fasteners | Up to 3 lbs | Very high | Low–Moderate |
Key Takeaway: For heavier frames, adhesive strips are usually safest. For posters or photos, putty or tape is cheaper and faster.
Step-by-step: Mounting With Adhesive Strips
Let’s walk through the most common method—using picture hanging strips—in detail. This process works for most standard frames and is trusted by millions.
- Choose the Right Strips: Check the weight of your frame. Buy strips rated for that weight or more.
- Clean Surfaces: Wipe both the wall and the back of the frame with isopropyl alcohol. Avoid household cleaners; they can leave residue.
- Attach Strips: Stick one side of the strip to the frame. Press firmly for 30 seconds.
- Position the Frame: With strips attached, remove the liner from the other side and press the frame against the wall.
- Press and Hold: Apply pressure for at least 30 seconds to bond.
- Wait Before Hanging: Take the frame off the wall (leaving strips on the wall). Press the strips on the wall for another 30 seconds. Wait 1 hour before rehanging.
- Hang the Picture: After the waiting period, press the strips together to secure the frame.
Expert Tip: For very large frames, use extra strips—one in each corner and additional ones for support.
Tips For Success
Mounting pictures without nails is easy, but a few small mistakes can cause frames to fall or damage your wall. Keep these tips in mind:
- Always check weight limits. Go lighter if unsure.
- Clean surfaces first. Dirt, dust, or grease will weaken adhesives.
- Wait before hanging. Let adhesives cure for the recommended time.
- Use level and measuring tools. For straight lines and balanced displays.
- Test with a small item first. Especially for new products or surfaces.
- Avoid placing near heat or humidity. Kitchens and bathrooms may need special products.
Non-Obvious Insight: Frames with smooth, flat backs adhere much better. Deeply textured or wooden backs may need extra support or alternative methods.
Credit: www.youtube.com
Creative Display Ideas
Going nail-free doesn’t mean boring! Try these design tricks to make your wall art stand out:
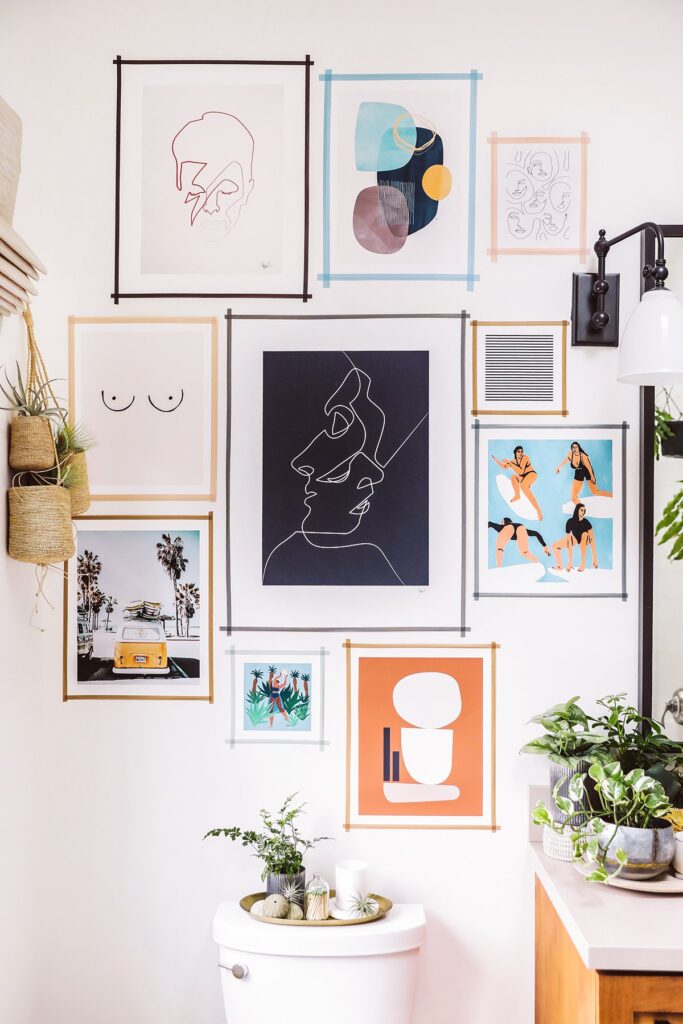
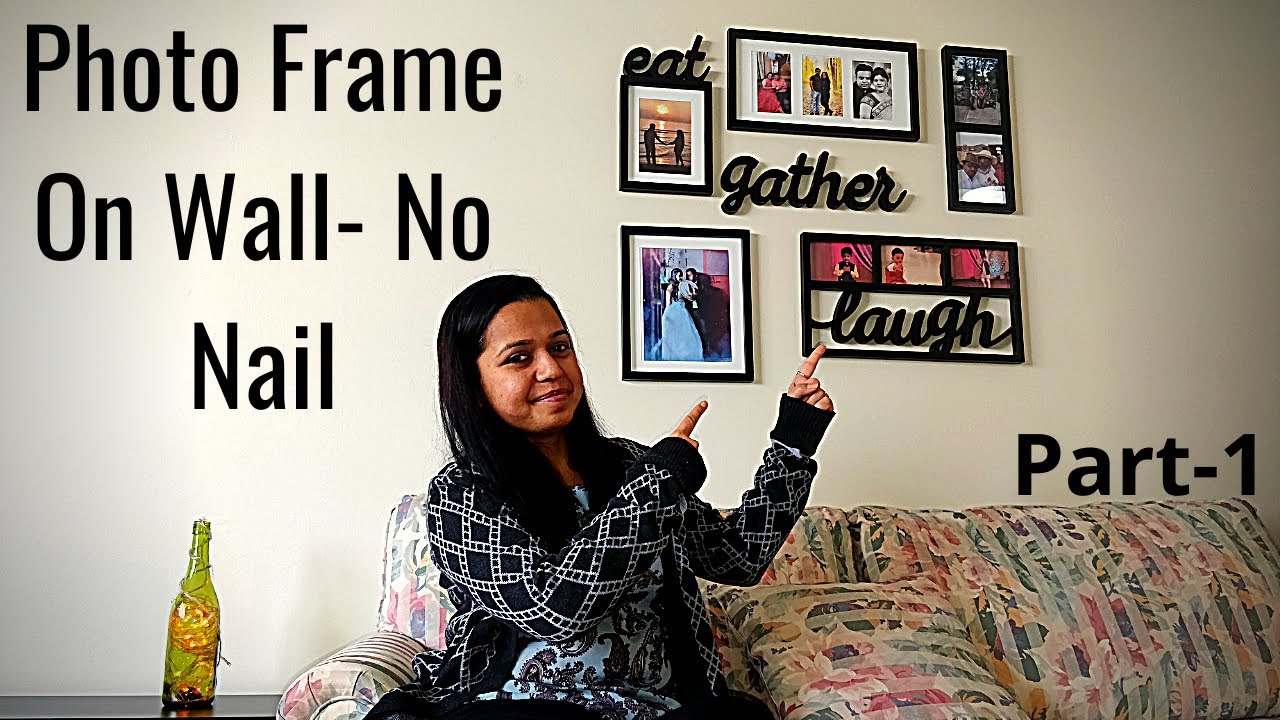
- Gallery Walls: Use strips or putty to arrange several small frames in a grid or organic pattern.
- String and Clips: Hang a string or wire with adhesive hooks and use clothespins for photos or postcards.
- Floating Shelves: Install with adhesive mounting brackets (for light loads) to display small art and decor.
- Magnet Boards: Combine magnetic paint with colorful magnets for kids’ art or rotating photos.
- Leaning Layers: Overlap different frame sizes on a shelf for a casual, modern look.
Example: In small apartments, a tension rod between two bookshelves can hold multiple photos with clips, adding vertical interest and saving table space.
What To Avoid
Not every nail-free solution is perfect for every wall or item. Here’s what to watch out for:
- Heavy or valuable art: If a piece is expensive or sentimental, consider professional hanging or securing with anchors.
- Textured, dusty, or damp walls: Adhesives will not stick well; they may fail unexpectedly.
- Freshly painted walls: Wait at least 7 days after painting before using adhesives.
- Frames with rough or uneven backs: Adhesive products need flat contact surfaces.
Common Mistake: Ignoring weight limits. Even “extra strong” adhesives have a maximum load. Going over can cause sudden falls.
Removing Adhesive Products Safely
When you’re ready to redecorate, removal is simple if you follow instructions:
- Adhesive Strips and Hooks: Pull the tab straight down, slowly. Do not pull out or sideways.
- Mounting Tape: Peel gently; use dental floss to “saw” between tape and wall if stuck.
- Poster Putty: Roll it off gently; remove residue with more putty or a soft eraser.
If paint does peel, touch up with matching paint. For renters, this is much easier than patching nail holes.
Buying Guide: Choosing The Best Nail-free Solution
When shopping for picture mounting products, keep these factors in mind:
Weight And Size
- Heavier frames need stronger adhesives or multiple strips.
- Lightweight photos or posters can use putty or tape.
Surface Type
- Smooth, painted drywall is best for most adhesives.
- Textured, brick, or damp walls may need hooks or leaning methods.
Removability
- If you plan to move art, choose products labeled “removable.”
- For permanent displays, stronger tapes are OK.
Frame Backing
- Flat, smooth backs stick best.
- Deeply grooved or rough wood may not hold adhesives well.
Appearance
- Some hooks are visible; choose clear or matching colors.
- Strips and putty are usually hidden behind frames.
Quick Comparison:
| Product Type | Best For | Removability | Cost |
|---|---|---|---|
| Adhesive Strips | Standard frames, gallery walls | Excellent | Moderate |
| Putty | Posters, lightweight items | Excellent | Low |
| Mounting Tape | Flat, light plaques | Moderate | Low |
| Hooks | Hanging frames with wire | Excellent | Low–Moderate |
| Velcro | Adjustable displays | Excellent | Low–Moderate |
Pro Shopping Tip: Always read reviews and check for “real world” photos before buying. Some brands work much better than others, even if the packaging looks similar.

Credit: www.reddit.com
Maintenance And Long-term Care
After mounting your pictures, a little maintenance will help your displays look great and stay secure:
- Check periodically: Every few months, gently tug on frames to make sure adhesives are still strong.
- Avoid direct sunlight: Prolonged heat can soften adhesives or fade artwork.
- Dust frames and wall edges: Clean displays look better and adhesives work longer.
- Replace strips or putty as needed: If you notice curling, loose corners, or any movement, replace before a fall happens.
When To Use Nails (and When Not To)
While this guide focuses on nail-free solutions, sometimes nails are still the best choice—especially for very heavy, valuable, or irreplaceable art. If you own your home and want a truly permanent display, nails or wall anchors may be safest.
But for most renters, or anyone who likes to change their decor often, nail-free mounting methods offer the perfect balance of safety, flexibility, and style.
Real-world Examples
- College Dorm: Use adhesive strips to hang a photo collage above your bed. Easy to remove at semester’s end.
- Rental Apartment: Lean large art against a living room wall, and use putty for smaller pieces in the hallway.
- Kids’ Room: Magnetic paint lets kids swap out their drawings anytime, with no risk to walls.
- Home Office: Suction hooks on glass partitions hold whiteboards or motivational posters, and remove cleanly for meetings.
These practical solutions work in real homes every day. Try a few and see what fits your space and style.
Frequently Asked Questions
Can I Use These Methods For Very Heavy Frames?
Most nail-free methods are made for light to medium-weight items (up to 16 lbs). For heavier frames or mirrors, look for heavy-duty adhesive hooks or consult a professional. Always check product weight ratings.
Will Adhesive Strips Damage My Paint?
If you follow instructions—clean surfaces, wait the recommended time, and remove gently—adhesive strips are designed not to damage paint. However, on older or poorly painted walls, there is always some risk. Test on a hidden spot first.
Can I Reuse Adhesive Strips Or Hooks?
Most adhesive strips are one-time use only for safety. Some hooks may be reusable with fresh adhesive pads. Poster putty and suction cups can usually be reused many times.
What Is The Best Way To Hang Pictures On Textured Or Brick Walls?
On textured or brick walls, most adhesives won’t hold well. Try leaning art on shelves or furniture, use tension rods, or use heavy-duty adhesive hooks made for rough surfaces. Suction cups and tape won’t work on these walls.
Where Can I Find More Information About Damage-free Mounting?
You can learn more and see detailed guides on the official Command website, which specializes in adhesive strips and hooks for picture hanging.
Bringing art and photos into your space should be fun—not stressful. With these nail-free solutions, you’ll enjoy a stylish, flexible, and landlord-approved way to decorate your walls. Try different methods, mix and match, and let your creativity shine—without a single nail hole in sight.