
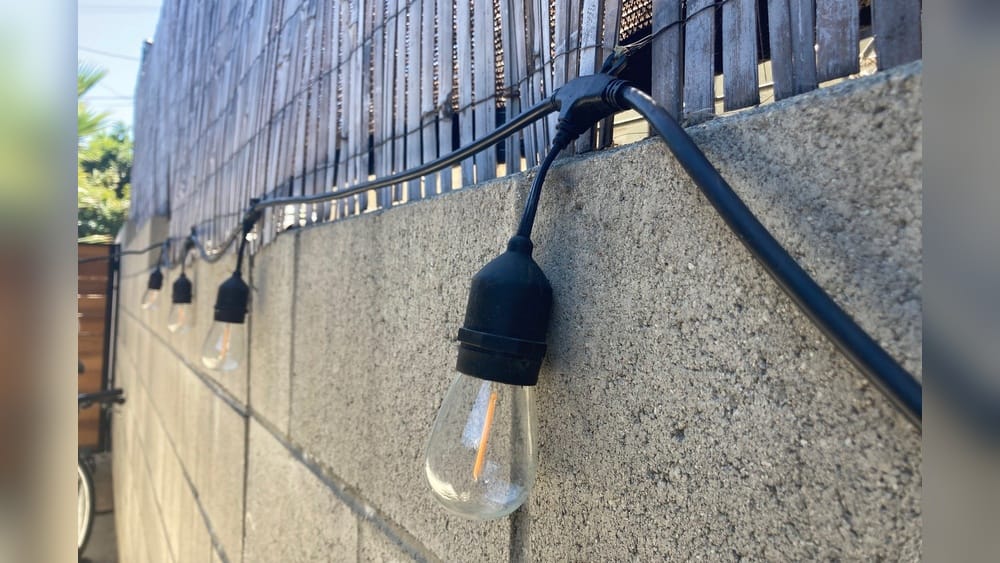
String lights can turn any space into a cozy, magical area. Whether you want to decorate your backyard, balcony, patio, or indoor rooms, mounting string lights is simple with the right approach. This guide will show you how to mount string lights, step-by-step, so you can create a warm atmosphere for parties, relaxing evenings, or everyday enjoyment.
You’ll learn about types of string lights, planning your layout, tools you’ll need, installation methods, safety tips, and creative ideas. By the end, you’ll be confident in mounting your own string lights, avoiding common mistakes, and getting the most out of your project.
Understanding String Lights
String lights are popular for their versatility and beauty. You can use them indoors and outdoors, and they fit almost any style. Before you begin, it’s important to understand the different types so you can pick what’s best for your space.
Types Of String Lights
1. Led String Lights
LEDs are energy efficient and last long. They stay cool, so they are safer for both indoor and outdoor use.
2. Incandescent String Lights
These give a warm glow but use more energy. They’re affordable but get hot and need replacing more often.
3. Globe String Lights
Also called “bistro” or “café” lights, these have bigger round bulbs. They’re trendy for patios and gardens.
4. Fairy Lights
These are very small bulbs on thin wires. They’re perfect for decorating plants, furniture, or for a delicate look.
5. Solar String Lights
Solar lights use sunlight to charge. They’re great for outdoor areas without outlets.
6. Battery-powered String Lights
These don’t need power outlets. They’re good for places where you can’t run cords.
Indoor Vs. Outdoor String Lights
Not all string lights work everywhere. Check the packaging for IP rating (Ingress Protection). Outdoor lights usually have ratings like IP44 or higher, which means they’re safe from rain and dust. Indoor-only lights can break if exposed to water or sunlight.
Bulb Spacing And Length
String lights come in many lengths, from 10 feet to over 100 feet. Bulbs can be spaced 4 inches to 3 feet apart. For a bright effect, pick lights with closer bulbs. For subtle lighting, choose wider spacing.
Planning Your String Light Layout
A good plan makes installation easier and avoids mistakes. Here’s how to prepare your space.
Measuring The Area
Use a tape measure to check the length you need. If you want zig-zag or crisscross patterns, add extra length. For straight lines, measure from point to point.
Sketching Your Layout
Draw your space on paper. Mark where you want to hang the lights, such as walls, trees, poles, or ceilings. This helps you see if you need extra materials.
Choosing Mounting Points
Common mounting points are:
- Walls
- Ceilings
- Trees
- Poles
- Fences
- Pergolas
Make sure each point is strong enough to hold the weight of the lights.
Power Source Location
Check where outlets or power sources are. For outdoor areas, use weatherproof extension cords and outdoor-rated outlets. For solar or battery lights, place the panel or battery pack where it’s easy to access.
Safety Considerations
Avoid mounting near water, flammable materials, or places children can reach. Make sure wires don’t cross walkways where people can trip.

Credit: thediyplaybook.com
Gathering Tools And Materials
The right tools make installation smoother. Here’s what you’ll need:
- String lights (choose type and length)
- Mounting hardware (hooks, clips, nails, screws)
- Extension cords (outdoor rated if outside)
- Ladder (for high areas)
- Tape measure
- Drill and bits (for screws)
- Hammer (for nails)
- Zip ties or cable ties
- Weatherproofing items (for outdoor use, like sealant or electrical tape)
- Safety gear (gloves, safety glasses)
Not every project needs all these items. Pick what suits your space and light type.
Methods For Mounting String Lights
Now, let’s look at the main ways to mount string lights. Each method has its own benefits. Choose what works for your area and style.
Using Hooks And Screws
Hooks and screws are reliable for both indoor and outdoor use.
- Mark your desired mounting points with a pencil.
- Drill pilot holes if needed (especially in wood or masonry).
- Screw in cup hooks or eye hooks.
- Hang the string lights, making sure they’re secure.
- Use zip ties or cable ties for extra support if needed.
This method is strong and lets you hang heavier string lights.
Using Adhesive Clips
Adhesive clips are good for indoor walls, ceilings, or smooth surfaces.
- Clean the area so the adhesive sticks well.
- Peel and stick clips where you want the lights.
- Wait for the adhesive to set (follow manufacturer’s instructions).
- Gently press the string lights into the clips.
These are best for lightweight fairy lights or temporary setups.
Using Outdoor Poles
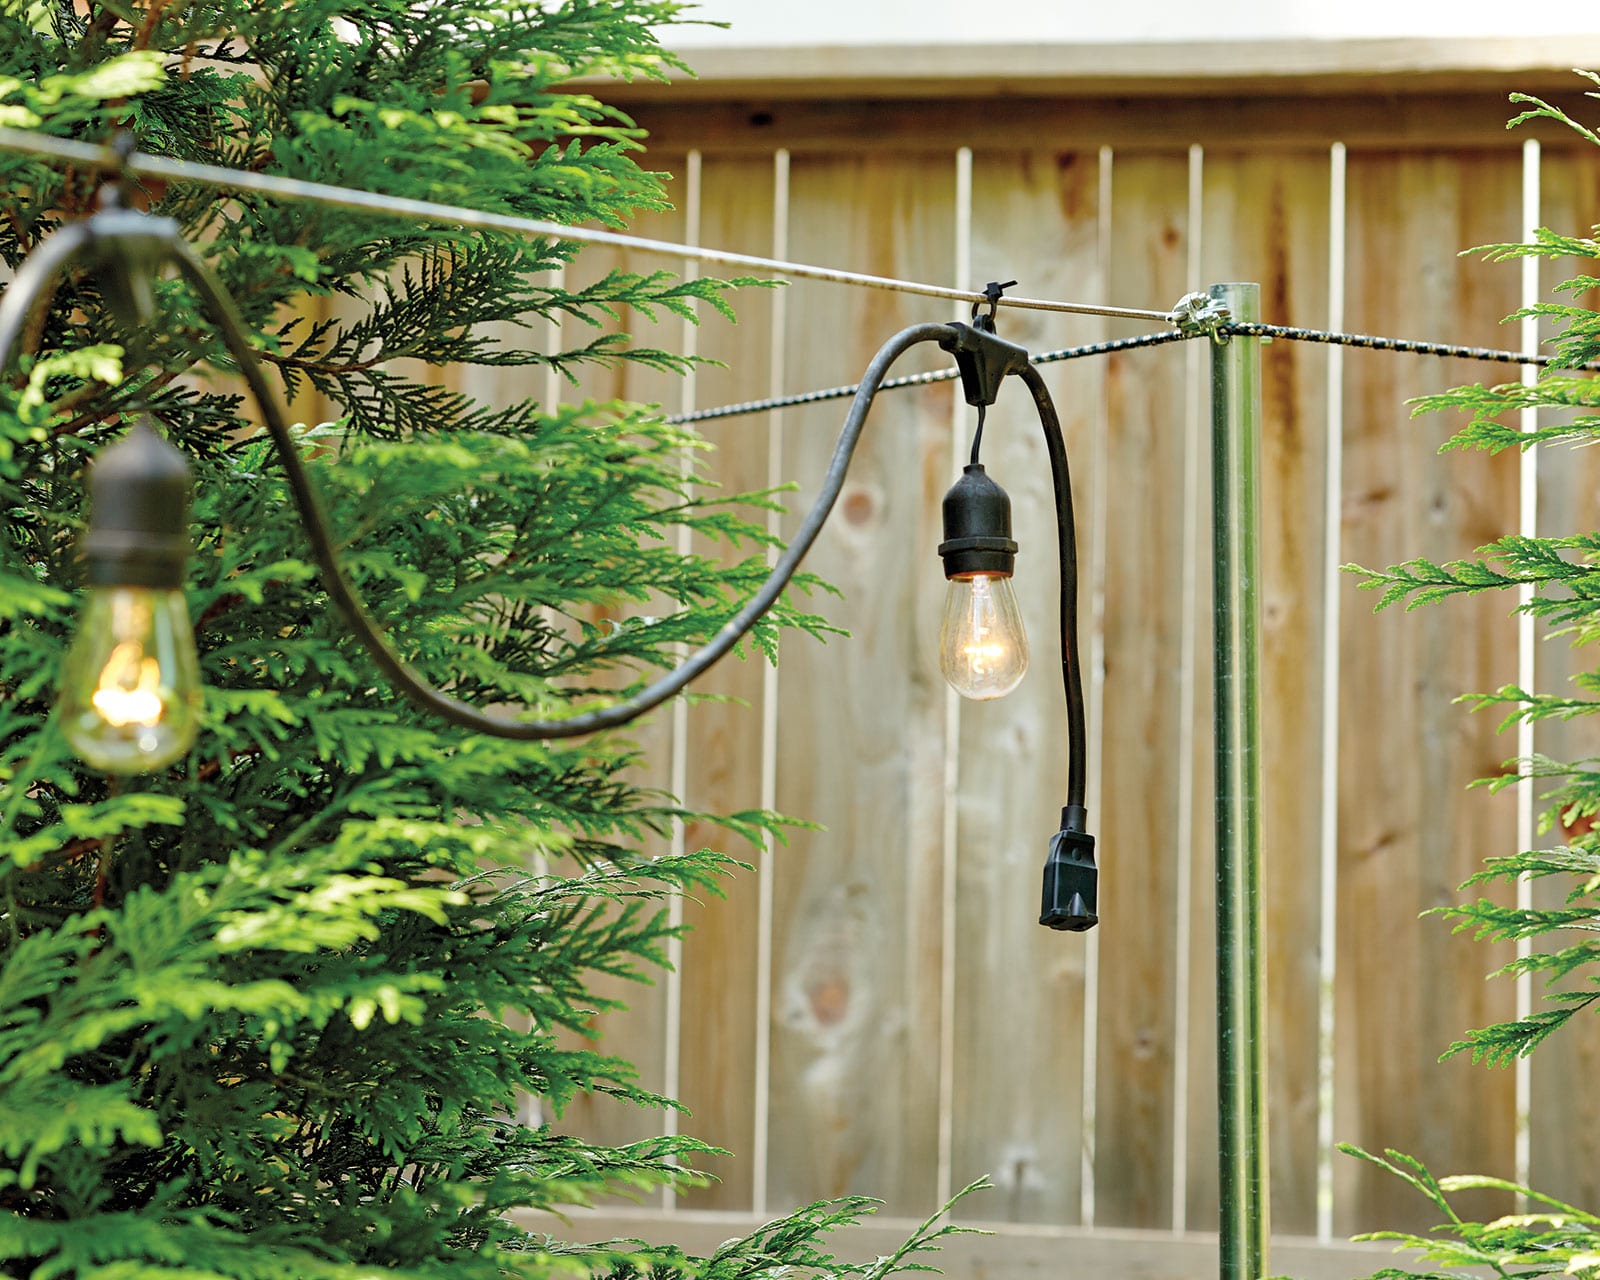
If you don’t have walls or trees, poles are a great option. You can buy ready-made poles or use metal/conduit pipes.
- Place poles in the ground, spaced where you want to string the lights.
- Secure poles with concrete or heavy bases for stability.
- Attach hooks to the top of each pole.
- Run the lights between the poles.
Poles let you create custom patterns like zig-zags or a canopy.
Wrapping Around Trees Or Structures
For gardens or patios, wrapping string lights around trees, pergolas, or fences creates a natural look.
- Start at the base and wrap upward, or run along branches.
- Use zip ties to secure lights without damaging bark.
- Avoid wrapping too tightly to protect plants.
This works well for fairy lights or globe lights.
Creating A Canopy Effect
A light canopy looks beautiful for parties and outdoor dining.
- Attach hooks to the perimeter of your space (walls, poles, or trees).
- Connect the lights in lines from one side to the other, creating a tent-like shape.
- Let the lights hang loosely for a soft, draped effect.
For bigger areas, use stronger hardware and extra support wires.

Credit: www.christmaslightsetc.com
Step-by-step Installation Guide
Let’s walk through mounting string lights in a typical outdoor patio. Adjust steps for your own space.
1. Measure And Mark
Measure the area and mark where you want the lights to hang.
2. Install Mounting Points
Drill holes and install hooks or screws in your chosen spots.
3. Lay Out The Lights
Unroll the string lights and check for damaged bulbs or wires.
4. Hang The Lights
Start at the power source and hang the lights along your mounting points. Don’t pull too tight—leave a bit of slack for expansion.
5. Secure The Lights
Use zip ties or cable ties to fasten the lights. Make sure they don’t sag too much.
6. Connect Power
Plug in the lights. For outdoor use, ensure your outlet is weatherproof.
7. Test And Adjust
Turn on the lights and check for even spacing and brightness. Adjust as needed.
Example: Patio Canopy Setup
Suppose you have a 20×20 foot patio and want a crisscross pattern. You’ll need about 100 feet of string lights for four lines.
- Install four poles at each corner.
- Attach hooks to each pole top.
- Run string lights diagonally from one corner to the other.
- Use zip ties for extra support.
- Plug in and test.
Tips For Safe And Effective Mounting
Safety and durability matter. Here are some expert tips:
- Use outdoor-rated lights and cords for outside areas.
- Avoid overloading outlets. Don’t plug too many strings together; check manufacturer limits.
- For long runs, use support wires (guide wires) to prevent sagging and strain.
- Weatherproof connections with electrical tape or sealant.
- Check lights for damage before mounting.
- Keep lights away from flammable materials.
- For permanent setups, consider using UV-resistant cable ties.
- Store extra bulbs and replacement parts.
Non-obvious Insights
- For windy areas, use heavier-duty poles and anchors. Lights can act like sails and strain mounts during storms.
- If your string lights have replaceable bulbs, keep a few spares nearby. Different brands may use unique bulb types, so replacements aren’t always easy to find.
Creative Ideas For String Light Mounting
String lights are not just for patios. Here are some unique ways to use them:
- Bedroom headboard: Attach fairy lights behind a headboard for a soft glow.
- Outdoor dining area: Hang globe lights above the table for café vibes.
- Garden pathway: Stake poles along a path and run lights overhead.
- Balcony railing: Wrap lights around railings for city apartments.
- Living room: Use adhesive clips to outline windows or ceilings.
- Tree trunks: Wind lights around tree trunks for dramatic effect.
- Pergola roof: Run zig-zag lights under a pergola for shade and ambiance.
Experiment with patterns: zig-zag, parallel lines, circles, or clusters.
Comparing Mounting Methods
To help you choose, here’s a comparison of the main mounting methods for string lights:
| Method | Best For | Strength | Difficulty | Reusable |
|---|---|---|---|---|
| Hooks & Screws | Permanent setups | High | Medium | Yes |
| Adhesive Clips | Temporary/indoor | Medium | Easy | Sometimes |
| Poles | No walls/trees | High | Medium | Yes |
| Wrapping | Trees/fences | Low-Medium | Easy | Yes |
Choosing The Right String Lights
With so many options, picking the right string lights can feel overwhelming. Here’s what matters most:
Key Factors To Consider
- Location: Indoor vs. outdoor use
- Power source: Plug-in, battery, or solar
- Bulb type: LED for energy saving, incandescent for warmth
- Length: Enough to cover your planned layout
- Durability: Weatherproof for outside
- Style: Globe, fairy, vintage Edison, etc.
Common Buyer Mistakes
- Buying too short a string—measure twice before buying.
- Ignoring IP ratings for outdoor use.
- Forgetting extra bulbs or replacement parts.
- Not checking the maximum number of strings that can be connected.
Example: Led Vs. Incandescent Comparison
Here’s a simple comparison of LED and incandescent string lights:
| Feature | LED | Incandescent |
|---|---|---|
| Energy Use | Low | High |
| Bulb Life | Up to 50,000 hours | 1,000-2,000 hours |
| Heat Output | Cool | Hot |
| Cost | Higher upfront | Lower upfront |
| Brightness | Variable | Warm glow |
Troubleshooting Common Problems
Even well-mounted string lights can run into problems. Here’s how to fix them:
Lights Not Turning On
- Check the power source and plug connections.
- Inspect for blown fuses in the string (many have small fuses in the plug).
- Replace burnt-out bulbs.
- Look for damaged wires.
Sagging Or Uneven Lights
- Use more mounting points or support wires.
- Adjust cable ties for tighter support.
- Avoid hanging heavy lights on weak hooks.
Flickering Lights
- Loose bulbs or connections—tighten bulbs.
- Damaged wires—replace the section.
- Overloaded circuits—reduce the number of connected strings.
Weather Damage
- For outdoor setups, always use weatherproof hardware and seal connections.
- Remove string lights during storms if possible.
Maintenance And Longevity
String lights can last years if cared for properly. Here’s how to extend their life:
- Clean bulbs gently with a dry cloth.
- Store lights indoors during bad weather or winter.
- Inspect wires and connections before each use.
- Replace damaged bulbs quickly.
- For permanent setups, check mounts and hardware yearly.
Non-obvious Insight
Some LED string lights lose brightness over time even if the bulbs don’t burn out. If you notice dimming, check the power supply and connections. Using the right voltage keeps the lights brighter longer.
Data: Cost And Energy Savings
String lights are affordable, but long-term costs depend on your choices. Here’s a quick data comparison:
| Type | Average Cost (20 ft) | Estimated Energy Use (per year) | Expected Lifespan |
|---|---|---|---|
| LED | $20–$30 | ~10 kWh | 5+ years |
| Incandescent | $10–$20 | ~70 kWh | 1–2 years |
| Solar | $25–$40 | Zero (self-powered) | 3–4 years |
| Battery | $15–$25 | Depends on battery | 1–3 years |
LEDs cost more at first but save money over time. Solar lights are best for areas with sunlight and no outlets.
Real-life Examples
Many people use string lights to create beautiful spaces. Here are a few examples:
- Backyard party: String globe lights across a yard for an outdoor celebration. Use poles for flexibility.
- Wedding tent: Hang fairy lights in a tent canopy for a romantic effect.
- Apartment balcony: Use adhesive clips to outline the railing, making a small space feel bigger.
- Restaurant patio: Combine overhead string lights with wall-mounted lanterns for a lively, inviting atmosphere.
Safety Standards And Regulations
String lights should meet safety standards. Look for UL-listed or ETL-listed products. These are tested for electrical safety. For outdoor use, check for IP44 or higher ratings. If you live in an area with strict building codes, check local rules before installing permanent mounts.
For more safety information, visit Consumer Product Safety Commission.
Credit: www.ballarddesigns.com
Frequently Asked Questions
How Many String Lights Can I Connect Together?
Most manufacturers allow connecting 3–5 strings (usually 100 feet total) for plug-in lights. Always check the label. Connecting too many can cause overheating or electrical failure.
Can I Leave String Lights Outside Year-round?
Yes, if they are outdoor-rated and weatherproof. For harsh winters or storms, remove them and store indoors for longer life.
What’s The Best Way To Hang String Lights Without Drilling?
Use adhesive clips for smooth surfaces, or wrap lights around existing structures like railings, fences, or tree branches. For outdoor setups, use poles with hooks.
How Can I Prevent String Lights From Sagging?
Add more mounting points or use a guide wire (steel cable) for support. Space the mounts every 4–6 feet for heavy strings.
Are String Lights Safe For Children And Pets?
Yes, if used correctly. Keep wires out of reach, use low-voltage or LED lights, and avoid placing lights near water or flammable materials. Always check safety ratings.
String lights can transform any space when mounted properly. With careful planning, safe installation, and the right materials, you’ll enjoy beautiful lighting for years to come. Whether you choose a classic patio setup, a creative indoor design, or a festive outdoor canopy, the steps and tips above will help you mount string lights confidently and safely.