
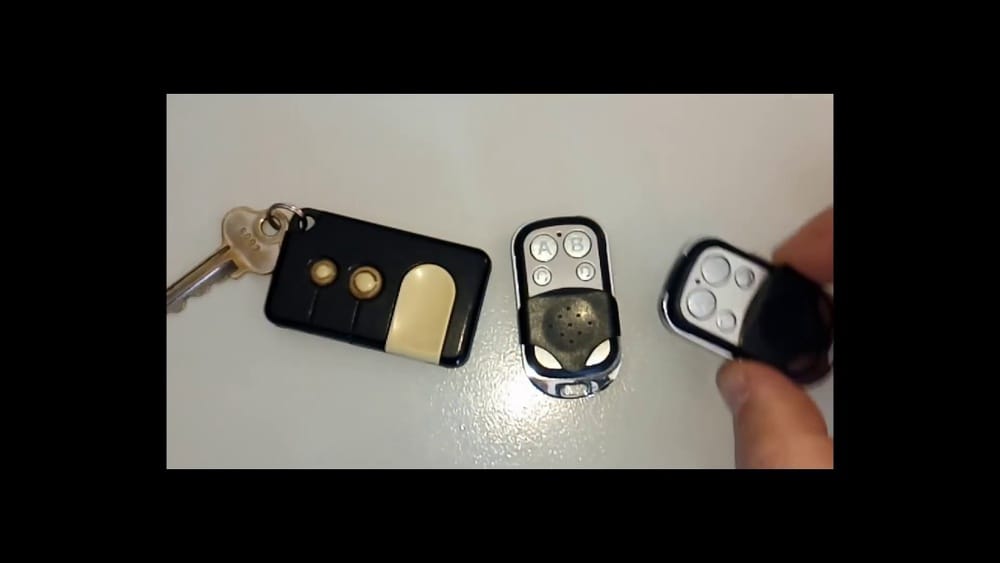
Programming a garage door remote control can seem confusing at first. Many people worry about pressing the wrong button or making a mistake. But the process is actually simple when you know what to do. With the right steps, you can set up your remote in just a few minutes.
This guide will help you understand how garage door remotes work, what tools you need, and how to program your remote safely and correctly. Whether you’re setting up a new remote or replacing an old one, you’ll find clear instructions and practical advice here.
Let’s make your garage door remote work like new—without any stress.
What Is A Garage Door Remote Control?
A garage door remote control is a small device that lets you open and close your garage door wirelessly. It usually uses radio frequency (RF) signals to communicate with your garage door opener. When you press the button on your remote, it sends a coded signal to a receiver inside the opener. If the code matches, the door opens or closes.
Modern remotes are designed for security and convenience. Many use rolling codes—this means the code changes each time you press the button. Rolling codes help prevent thieves from copying your remote signal. Older remotes use fixed codes, which are less secure.
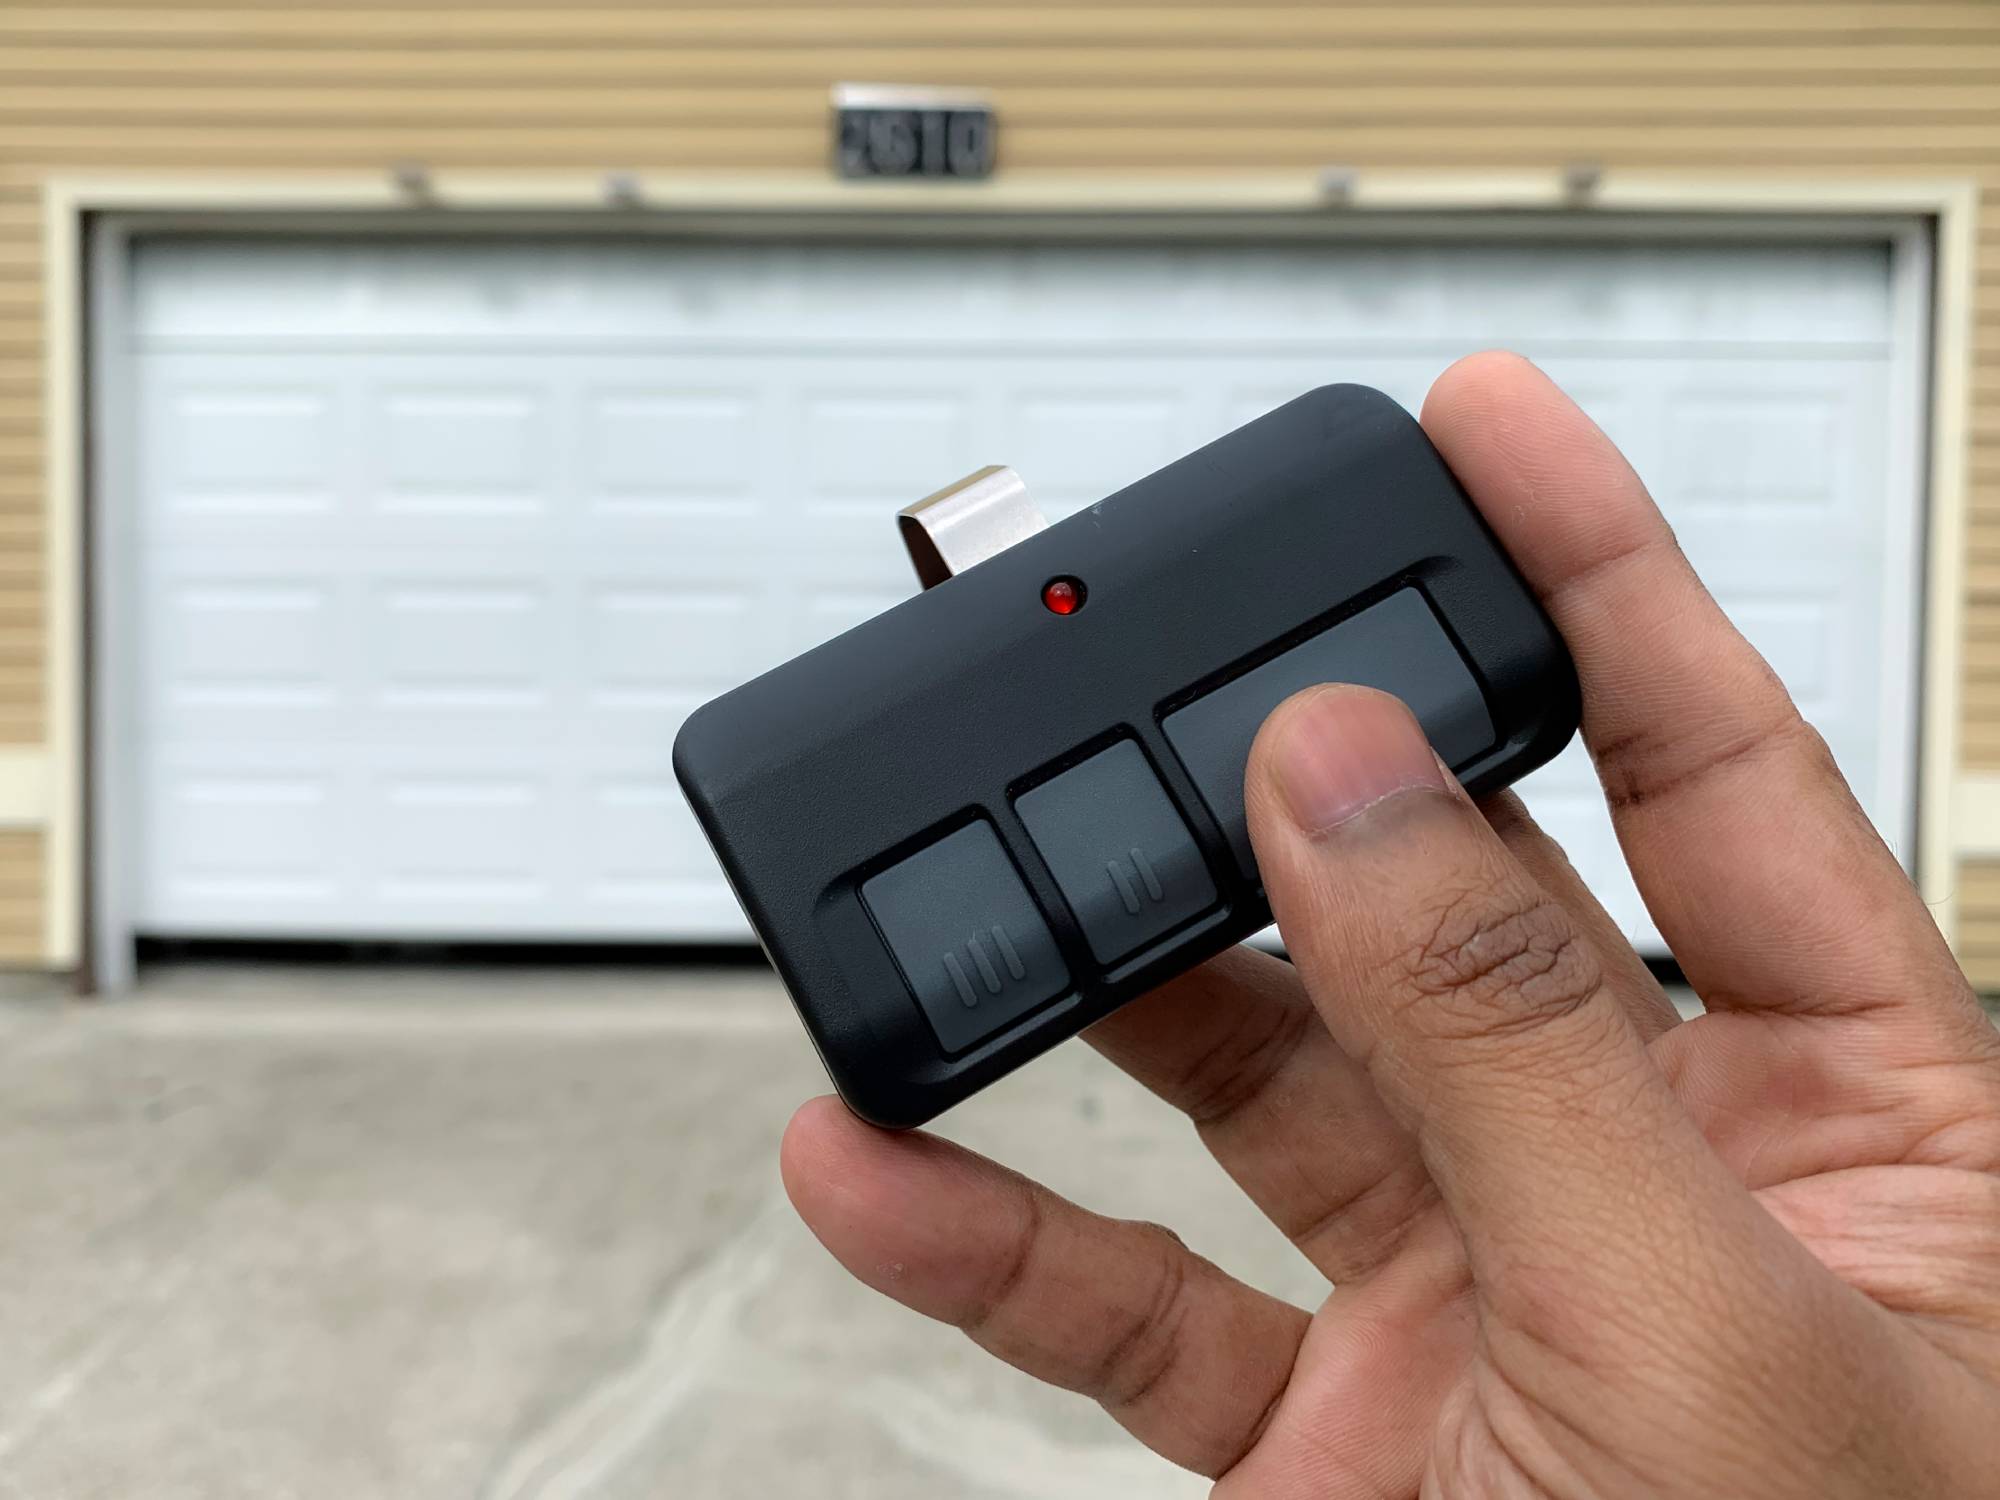
Most garage door remotes have one to three buttons. Some control only one door, while others can control multiple doors or gates. Remotes are powered by small batteries—usually coin cell or AAA.
Common Types Of Garage Door Remotes
Different garages use different remotes. Here are the most common types:
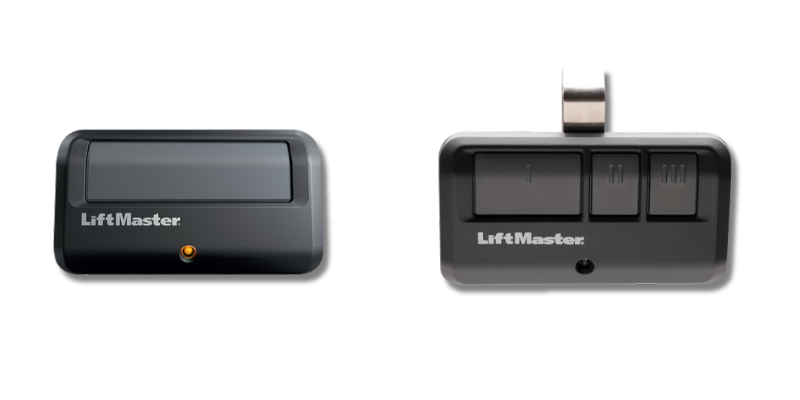
- Single-door remotes: One button, controls one door
- Multi-door remotes: Multiple buttons, each controls a different door or gate
- Universal remotes: Can be programmed to work with many brands and models
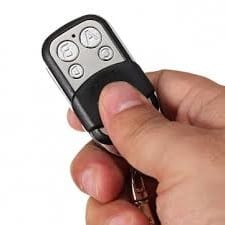
- Keychain remotes: Small, portable, attach to your keys
Garage Door Opener Brands
Some popular brands of garage door openers and remotes in the US are:
- LiftMaster
- Chamberlain
- Genie
- Craftsman
- Linear
- Marantec
Each brand may have its own programming steps, but most share similar methods.
How Garage Door Remotes Work
Understanding how your garage door remote functions can help you program it correctly. The remote sends a coded signal to the opener. The opener has a receiver that listens for signals. If the signal matches the opener’s memory, the door moves.
Fixed Codes Vs Rolling Codes
Older remotes use fixed codes—the code never changes. This makes them easy to program but less secure. Newer remotes use rolling codes. Each time you press the button, the code changes. This makes it harder for someone to “sniff” or steal your code.
Frequency
Most remotes use 315 MHz or 390 MHz frequencies in the US. The frequency must match your opener. If you buy a universal remote, check that it supports your opener’s frequency.
Security Features
Many modern remotes include extra security features:
- Rolling code encryption
- Auto-lock functions
- Battery check indicators
These features help keep your garage safe from break-ins.
Tools And Materials Needed
Before you start programming, gather these tools:
- Garage door remote (new or replacement)
- Garage door opener unit (mounted inside your garage)
- Step ladder (to reach the opener)
- Small screwdriver (for battery changes)
- Owner’s manual (optional but helpful)
- Fresh batteries (if your remote is old or not working)
Having the right tools will make programming easier and safer.
Step-by-step Guide To Programming A Garage Door Remote Control
Let’s walk through the process. This guide covers most modern garage door openers, including LiftMaster, Genie, and Chamberlain.
1. Safety First
Before you begin, make sure:
- The garage door area is clear—no people or pets nearby.
- The ladder is stable if you need to climb.
- Your hands are dry, and you’re not touching any wires.
2. Locate The “learn” Button
The Learn button is usually on the back or side of your garage door opener unit. It may be under a light cover or near the wire terminals.
Learn button colors:
- Purple: LiftMaster, Chamberlain (newer models)
- Red/orange: LiftMaster, Chamberlain (older models)
- Green: Genie
The color may help identify your opener’s compatibility.
3. Prepare The Remote
If your remote is new, insert the battery. Use a screwdriver if needed. If your remote is old, check the battery and replace it if weak.
4. Press The Learn Button
- Climb the ladder safely.
- Press and release the Learn button. A light may blink, or you may hear a beep. This means the opener is ready to accept a new remote signal.
- You have about 30 seconds to complete the next step.
5. Press The Remote Button
- Stand near the opener.
- Press and hold the button on your remote that you want to use.
- If successful, the opener’s light will flash, or you’ll hear a click/beep.
- The remote is now programmed.
6. Test Your Remote
- Step back from the opener.
- Press the remote button.
- The garage door should open or close.
- If not, repeat steps 4 and 5.
7. Programming Multiple Remotes
If you have more than one remote, repeat steps 4 and 5 for each. Most openers can store 5–8 remotes in memory.
8. Clearing Old Remotes
Sometimes you want to erase old remotes (for example, if you lost one or moved to a new house).
- Hold the Learn button for 10–15 seconds.
- The opener’s light will blink or beep.
- This erases all programmed remotes from memory.
- Now reprogram the remotes you want to use.
9. Programming Universal Remotes
Universal remotes follow similar steps but may need extra programming. Follow the instructions in your universal remote’s manual. Usually, you select your opener’s brand and frequency, then press the Learn button.
10. Programming Built-in Car Remotes (homelink)
Many cars have built-in garage door buttons (Homelink). To program:
- Hold the Homelink button and your remote together.
- Press both buttons until the car’s indicator light changes.
- Press the Learn button on the opener, then press the car’s Homelink button.
- Test the car button to see if it works.
Common Mistakes And Troubleshooting
People often make mistakes when programming remotes. Here’s what to watch for:
- Not pressing the Learn button correctly (hold vs tap)
- Waiting too long after pressing Learn
- Using weak or dead batteries
- Programming from too far away (stand close to the opener)
- Using the wrong remote model or frequency
If your remote does not work, check these points first.
Credit: thompsongaragedoors.com
Data Table: Common Garage Door Opener Brands And Learn Button Locations
Here’s a quick reference showing where to find the Learn button for the most popular brands.
| Brand | Learn Button Color | Location |
|---|---|---|
| LiftMaster | Purple/Red/Orange | Back panel under light cover |
| Chamberlain | Purple/Red/Orange | Back panel near wire terminals |
| Genie | Green | Side panel or behind light lens |
| Craftsman | Purple/Red/Orange | Back panel under light cover |
| Linear | Yellow | Control board, front side |
| Marantec | Blue | Control panel, side or back |
Data Table: Remote Compatibility By Frequency
Not all remotes work with all openers. Check this compatibility chart before buying a new remote.
| Brand | Common Frequency | Remote Compatibility |
|---|---|---|
| LiftMaster | 315/390 MHz | LiftMaster, Chamberlain, Craftsman |
| Chamberlain | 315/390 MHz | LiftMaster, Chamberlain, Craftsman |
| Genie | 315/390 MHz | Genie only |
| Linear | 318 MHz | Linear, Multi-Code |
| Marantec | 315 MHz | Marantec only |
Data Table: Number Of Remotes Supported By Opener Models
Some opener units can store more remotes than others. Here’s a comparison:
| Brand | Model | Max Remotes Supported |
|---|---|---|
| LiftMaster | 8500W | 8 |
| Chamberlain | B970 | 6 |
| Genie | SilentMax 1000 | 7 |
| Linear | LDCO 800 | 5 |
| Marantec | Synergy 300 | 4 |
Practical Tips For Programming Garage Door Remotes
Programming your remote is simple, but these tips can make the process smoother and safer.
Use Fresh Batteries
Many programming problems are caused by weak batteries. Always start with new batteries, especially if your remote is old or not responding.
Stand Close To The Opener
Radio signals can be weak if you’re too far away. Stand within 5 feet of the opener during programming.
Clear All Remotes If You Move
If you move to a new house, erase all remotes from the opener’s memory. This prevents old owners from accessing your garage.
Use Universal Remotes For Multiple Brands
If you have different brands of openers, a universal remote can control them all. Check compatibility before buying.
Keep Your Owner’s Manual
Owner’s manuals have specific instructions for your opener model. If you lost it, you can often find PDFs online.
Avoid Programming During Electrical Storms
Power surges can interfere with programming. Wait for clear weather before starting.
Programming For Multiple Doors
If you have more than one garage door, label your remotes. This prevents confusion and accidental openings.
Real-life Example: Programming A Liftmaster Remote
Let’s walk through a real example—programming a LiftMaster remote.
- Get your new LiftMaster remote and a step ladder.
- Climb up to the opener unit.
- Find the purple Learn button under the light cover.
- Press and release the Learn button. The LED light blinks.
- Within 30 seconds, press and hold the button on your remote.
- The opener’s light flashes, confirming the code is stored.
- Test the remote. The door opens and closes.
If the remote does not work, repeat the steps. Make sure the battery is strong and you’re close to the opener.
How To Reset Garage Door Remotes
Resetting your remote means erasing all stored codes from your opener. Do this if you lose a remote or want to remove old codes.
- Find the Learn button.
- Hold the button for 10–15 seconds.
- The opener’s light will blink.
- All remotes are erased.
- Reprogram your remotes as needed.
This is important for security, especially if you move or lose a remote.
Credit: pinnaclegaragedoors.com.au
Programming Garage Door Remotes: Advanced Options
Some modern garage door openers have advanced features. Here’s how to use them:
Smartphone Apps
Many newer openers let you control your garage door with a smartphone app. You can program the app to act like a remote.
- Download the opener’s app (LiftMaster, Genie, Chamberlain, etc.)
- Connect the app to your Wi-Fi-enabled opener.
- Set up your phone as a remote.
- You can open, close, and monitor your garage door from anywhere.
This adds extra convenience and security.
Keypad Entry
You can also program a wireless keypad outside your garage. This lets you enter a PIN to open the door.
- Press the Learn button on the opener.
- Enter your PIN on the keypad.
- Press Enter.
- The keypad is now programmed.
Keypads are useful for family members or guests.
Smart Home Integration
Some garage door openers work with smart home systems like Amazon Alexa or Google Home. You can set up voice commands or routines.
- Connect your opener to your smart home hub.
- Program routines (for example, “close garage door at 10 PM”).
- Use voice commands to operate your door.
This is useful for automation and safety.
Safety And Security Tips
Programming your remote is just one part of garage safety. Follow these tips to stay secure:
Change Codes Regularly
If you suspect someone may have your remote code, erase all remotes and reprogram them.
Keep Remotes Out Of Sight
Don’t leave remotes in your car’s visor or dashboard. Thieves often look there. Use a keychain remote or store it in your pocket.
Use Rolling Codes
Rolling codes are more secure than fixed codes. If your opener is older, consider upgrading to a new model.
Check For Signal Interference
Other devices (baby monitors, Wi-Fi routers) can cause interference. If your remote works poorly, check for nearby electronics.
Inspect Your Garage Door Regularly
Programming is only useful if the door works well. Check springs, tracks, and sensors often.
Two Non-obvious Insights For Beginners
- Remote Distance Matters: Many people try to program from across the garage. Always stand close to the opener—within 5 feet. Radio signals are weaker than you might expect.
- Learn Button Timing: Some openers require you to press and hold the Learn button, while others need a quick tap. Read your opener’s instructions or experiment. The wrong timing can prevent programming.
Programming Garage Door Remotes: Common Questions
Beginners often wonder about these issues:
- Can I program a remote without the original?
- Yes, if you have the Learn button and a compatible remote.
- Does programming erase other remotes?
- No, unless you clear all codes first.
- Can I use a universal remote?
- Yes, if it matches your opener’s frequency and brand.
- How many remotes can I program?
- Usually 4–8, depending on the opener.
- What if my remote doesn’t work after programming?
- Check battery, distance, and frequency. Try reprogramming.
Credit: www.doorvana.com
Frequently Asked Questions
How Do I Know If My Garage Door Opener Uses Rolling Codes?
Most openers made after 1996 use rolling codes. Check your opener’s manual or look for a sticker on the unit. Rolling code models often say “Security+” or “Intellicode.” If your remote has a “Learn” button, it likely uses rolling codes. You can also search your model number online for details.
Can I Program A Remote For More Than One Garage Door?
Yes, many remotes support multiple buttons. Each button can be programmed to a different opener. For example, you might use button 1 for the main garage and button 2 for a side garage. Universal remotes can support several doors if compatible with the openers.
What Should I Do If My Remote Stops Working After Programming?
First, check the battery. Weak batteries are the top cause of remote failure. Next, make sure you programmed the remote close to the opener. If the remote still fails, erase all codes and reprogram. Check for radio interference from other electronics.
If nothing works, consult your owner’s manual or call a technician.
How Do I Erase A Lost Or Stolen Remote From My Opener’s Memory?
Find the Learn button on your opener. Hold it for 10–15 seconds until the light blinks. This erases all remotes from memory. Then reprogram the remotes you still have. This is a good security step if you lose a remote or move to a new house.
Can I Use My Smartphone As A Garage Door Remote?
Yes, many modern garage door openers support smartphone apps. You need a Wi-Fi-enabled opener and the manufacturer’s app (such as LiftMaster’s MyQ or Genie’s Aladdin Connect). Install the app, connect to your opener, and set up your phone as a remote.
You can open, close, and monitor your garage door from anywhere.
Final Thoughts
Programming a garage door remote control is easier than most people think. With a few simple steps, you can connect your remote and enjoy reliable access to your garage. Always start with fresh batteries, stand close to the opener, and follow the correct timing for your Learn button.
Clearing old codes is important for security, especially if you move or lose a remote. Advanced features like smartphone apps and smart home integration offer even more convenience.
If you ever feel stuck, check your owner’s manual or visit trusted resources like Homelink Official Programming Guide. Remember, the right remote and careful setup will keep your garage secure and make your daily routine smoother. Take a few minutes to follow these steps, and your garage door will work perfectly every time.