
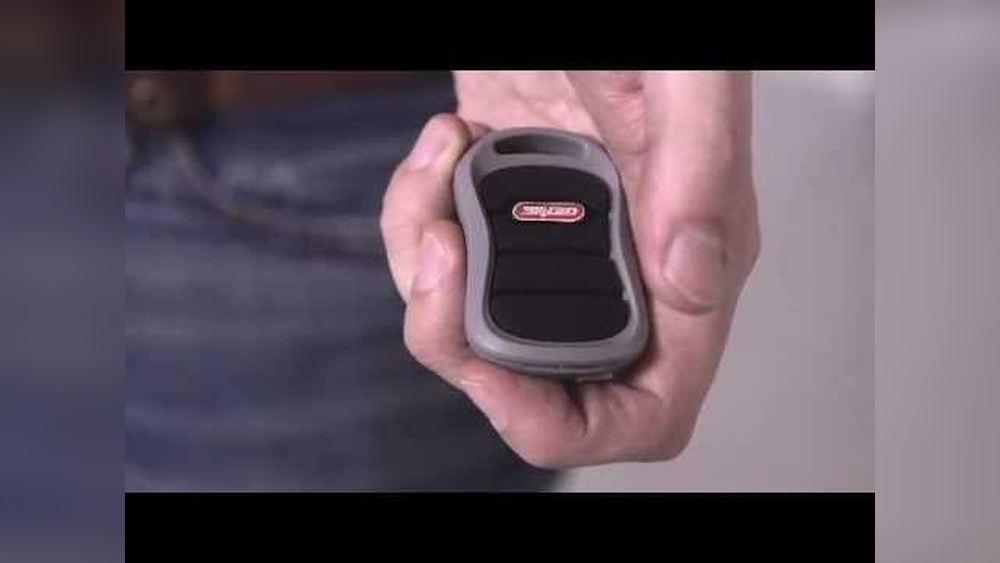
Programming a Genie garage door opener remote control can seem complicated, especially if you are new to home automation. But with the right steps and clear guidance, it becomes a simple task. Many homeowners need to program a new remote, replace a lost one, or add extra remotes for family members.
Understanding how to do this properly is important for safety, convenience, and peace of mind. This guide walks you through every step, explains essential details, and shares useful insights that most beginners overlook. Whether your Genie model is old or new, you’ll find everything you need here.
Understanding Genie Garage Door Opener Remote Controls
Genie is one of the most popular brands for garage door openers in the United States. Their remote controls are designed to be reliable and easy to use. Before you start programming, it’s helpful to know how these remotes work and what types are available.
Most Genie remotes use rolling code technology, which changes the code each time you use the remote. This improves security because it prevents code theft. Genie remotes generally operate on a frequency of 315 MHz or 390 MHz, depending on the model. Some remotes are compatible with multiple Genie openers, while others work only with specific models.
Types Of Genie Remote Controls
- Single-Button Remotes: These control one garage door.
- Multi-Button Remotes: Can operate two or three Genie garage doors.
- Keychain Remotes: Compact, easy to carry, often single-button.
- Wireless Keypads: Mounted outside for PIN access.
Knowing your remote type helps you follow the correct programming steps. Check the model number, usually printed on the back of the remote or inside the battery compartment.
Common Genie Opener Models
Some popular Genie opener models include:
- Genie QuietLift
- Genie SilentMax
- Genie Chain Drive
- Genie Screw Drive
Each model may have a slightly different programming process. Always check your opener’s manual for model-specific instructions, but most follow a similar pattern.
Why Programming Matters
Programming your Genie remote ensures that only your authorized remotes can operate the garage door. This is crucial for home security. If you buy a new remote, move into a new home, or lose a remote, programming (or reprogramming) is necessary to prevent unwanted access.
Preparing To Program Your Genie Remote
Before starting, gather the necessary items and information. Preparation can save time and prevent mistakes.
What You Need
- Genie garage door opener remote
- Genie garage door opener unit
- Step ladder (if opener is mounted high)
- Owner’s manual (optional, but helpful)
- Fresh batteries for the remote
Safety Precautions
- Make sure the garage door area is clear.
- Never stand directly under the door during programming.
- Keep children and pets away during the process.
- If you’re unsure about electrical safety, consult a professional.
Checking Compatibility
Genie remotes are not always universal. Older Genie openers (pre-1997) may not support newer remotes. Check compatibility using Genie’s official website or the owner’s manual. If unsure, look for the learn button color on your opener:
- Red/Orange: Most newer remotes work.
- Green: May need a special remote.
- Purple/Yellow: Follow specific programming steps.
Step-by-step Guide To Programming A Genie Garage Door Opener Remote
Programming a Genie remote usually takes less than five minutes. Follow these clear steps for most Genie models.
1. Locate The Learn Button
The learn button is usually on the back or side of the opener unit, near the hanging ceiling motor. It may be under a light cover or a small access panel. It is often colored (red, purple, green, yellow).
2. Prepare The Remote
Insert fresh batteries into your remote. Weak batteries can cause programming failures.
3. Enter Programming Mode
- Climb the step ladder safely.
- Press and hold the learn button for about 2 seconds. The indicator LED will light up or blink, signaling programming mode.
- Release the button.
4. Program The Remote
- Within 30 seconds of pressing the learn button, press the desired button on your Genie remote.
- Hold the remote button until the opener’s LED blinks or flashes, confirming programming.
- If successful, the LED will turn off or blink rapidly.
5. Test The Remote
Step down safely. Stand clear of the door and press the programmed button on your remote. The garage door should open or close.
6. Repeat For Additional Remotes
If you want to program more remotes, repeat steps 3–5 for each one.
Quick Troubleshooting Tips
- If the remote doesn’t work, check battery strength.
- Repeat programming steps, ensuring you press the remote button within 30 seconds of activating the learn button.
- If multiple remotes fail, reset the opener by holding the learn button for 10 seconds, then try programming again.
Programming Genie Remotes With Wireless Keypads
Wireless keypads are useful for PIN access. Programming them is similar but involves extra steps.
1. Locate The Learn Button
Find the learn button as described above.
2. Enter Programming Mode
Press the learn button on the opener.
3. Set Your Pin
- On the keypad, enter your chosen 4-digit PIN.
- Press the Enter button.
- The keypad will blink or beep to confirm.
4. Test The Keypad
Enter your PIN and press Enter. The garage door should operate.
Changing The Pin
If you need to change the PIN, follow the instructions in the keypad’s manual. Usually, you press a reset button, enter the old PIN, then set a new one.
Programming Multiple Genie Garage Doors With One Remote
Some Genie remotes can operate two or three garage doors. This is useful if you have more than one opener.
How To Program Multiple Doors
- Program the first door as described above.
- Press the next button on the remote and repeat the programming steps for the second opener.
- For a third door, use the third button.
Example
If you have a Genie remote with three buttons and three garage doors:
- Button 1: Program with opener 1’s learn button.
- Button 2: Program with opener 2’s learn button.
- Button 3: Program with opener 3’s learn button.
Each button will control a different door.
Erasing All Remote Codes From Your Genie Opener
Sometimes you need to erase all existing remote codes, for example after moving into a new home or losing a remote. This prevents old remotes from working.
Steps To Erase All Codes
- Locate the learn button.
- Hold the learn button for 10 seconds until the LED turns off or blinks rapidly.
- All programmed remotes are now erased.
- Reprogram your remotes as needed.
Why Erasing Codes Is Important
Erasing codes helps protect your home from previous owners, lost remotes, or unauthorized access. Always erase codes if you’re unsure about who has access.
Common Programming Mistakes And How To Avoid Them
Many beginners make simple mistakes during programming. Here’s how to avoid the most frequent problems.
Mistake 1: Not Pressing Remote Button Fast Enough
The opener stays in programming mode for only about 30 seconds. If you wait too long, the process fails. Be ready with your remote.
Mistake 2: Using Weak Batteries
Low batteries cause unreliable programming. Always use fresh batteries.
Mistake 3: Wrong Remote Type
Not all Genie remotes work with all openers. Double-check compatibility.
Mistake 4: Not Clearing Previous Codes
If you buy a home with existing remotes, erase all codes before programming your own. This prevents unwanted access.
Mistake 5: Ignoring Safety
Never stand under the garage door or allow children near during programming.
Genie Remote Compatibility: A Practical Comparison
To help you choose the right remote, here’s a comparison of common Genie models and their compatibility.
| Remote Model | Compatible Openers | Frequency | Special Notes |
|---|---|---|---|
| Genie GITR-3 | Most Genie openers (1997+) | 315/390 MHz | Multi-button, works for 3 doors |
| Genie G1T-BX | Genie openers (2011+) | 315 MHz | Single-button, easy setup |
| Genie GM3T-R | Genie & older models | Multi-frequency | Universal, works on most brands |
| Genie GK-R Keypad | Genie openers (1997+) | 315/390 MHz | Wireless keypad, PIN access |
Check your opener model and choose the remote that fits. If you’re unsure, visit Genie’s official support page.
Genie Garage Door Opener Programming: Data And Trends
According to the Home Improvement Research Institute, about 65% of US homes with garages use automatic garage door openers. Genie is among the top three brands in market share, with millions of units sold. Most garage door opener issues reported are related to remote control failures, often due to incorrect programming or battery issues.
Security tip: Rolling code technology has reduced garage break-ins by over 80% since its adoption. Programming your remote correctly is key to keeping your home safe.
Troubleshooting Genie Remote Programming Problems
If your Genie remote fails to program, there are steps you can take to fix it. Here are practical troubleshooting tips.
1. Remote Won’t Program
- Try replacing the batteries.
- Make sure you’re within range (stand within 10 feet of the opener).
- Repeat programming steps carefully.
2. Remote Works Sometimes
- Check for interference from other electronics.
- Move other wireless devices away from the opener.
3. Keypad Not Working
- Confirm PIN entry.
- Check for worn-out keypad batteries.
- Reprogram the keypad.
4. Opener Light Blinks But Door Doesn’t Move
- Check for obstructions under the door.
- Inspect the safety sensors for alignment.
5. Remote Stopped Working After Power Outage
- Sometimes, power loss resets codes.
- Reprogram the remote after outages.
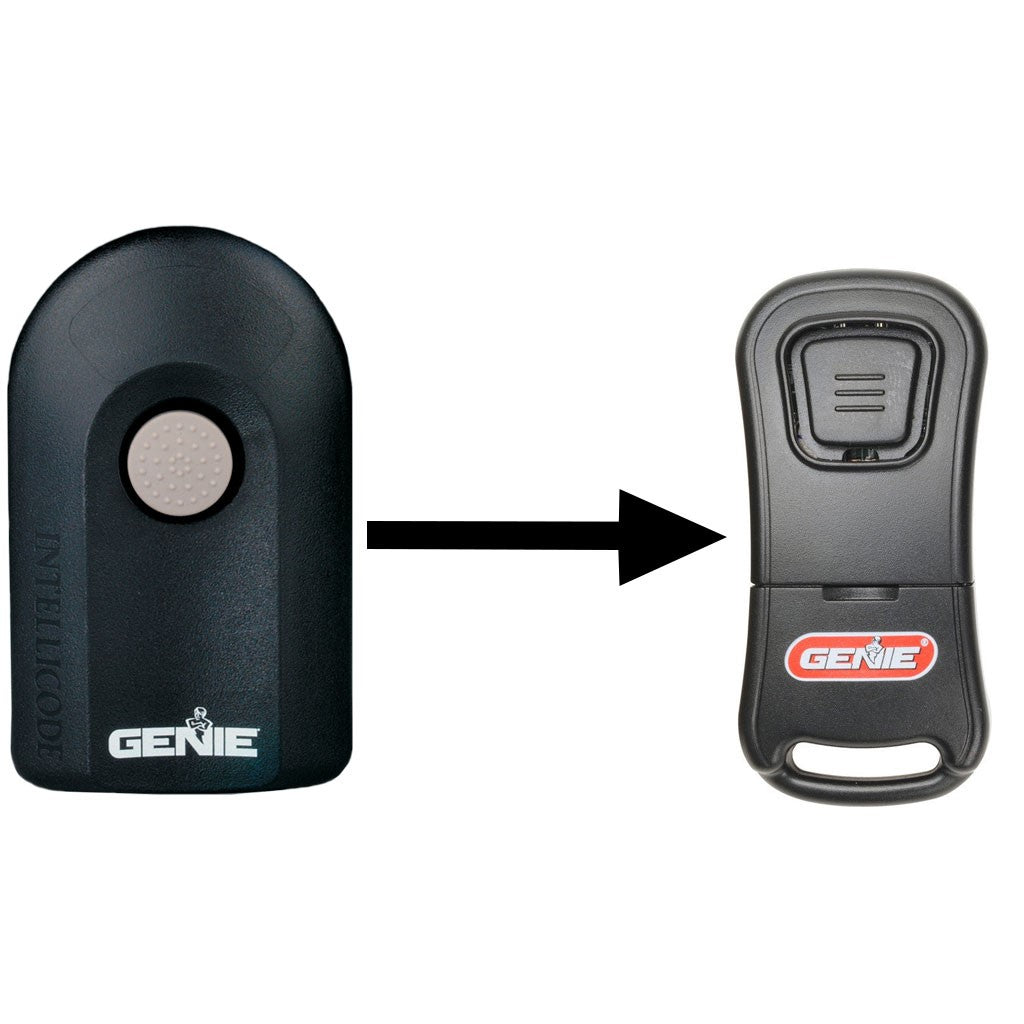
Credit: store.geniecompany.com
Advanced Programming Tips For Genie Remotes
Most guides stop at basic programming, but there are deeper tips that can help.
Using Genie Remotes With Home Automation
Many newer Genie openers work with smart home systems. If your opener supports Wi-Fi, you can connect it to Amazon Alexa, Google Home, or Genie’s own app. This allows remote operation from your phone.
- Download Genie’s app.
- Follow the app’s instructions to connect your opener.
- Program the app’s virtual remote just like a physical remote.
Programming Remotes From Older Genie Models
Older Genie models (pre-1997) use dip switches instead of learn buttons. To program these:
- Open the remote’s battery compartment.
- Set the dip switches to match the opener’s switches.
- Close the compartment and test.
Resetting The Opener
If you encounter persistent issues, a full reset may help:
- Unplug the opener for 30 seconds.
- Plug it back in.
- Erase all codes and reprogram.
Genie Garage Door Opener Programming: Comparison With Other Brands
Genie programming is usually easier than with other brands like Chamberlain or LiftMaster. Here’s a comparison of main programming features.
| Brand | Programming Method | Security | Ease of Use |
|---|---|---|---|
| Genie | Learn button, rolling code | High (rolling code) | Simple |
| Chamberlain | Learn button, rolling code | High | Moderate |
| LiftMaster | Learn button, smart systems | Very high | Moderate |
| Craftsman | Dip switches, rolling code | Medium | Complex for older models |
Genie’s learn button method is fast and easy for most users. If you want smart home features, Genie and LiftMaster are both strong choices.

Credit: store.geniecompany.com
Genie Remote Programming For Rental Properties
If you rent or manage properties, programming Genie remotes is even more important. Here are best practices:
- Always erase codes before new tenants move in.
- Keep a master remote for emergency access.
- Provide clear instructions to tenants.
- Use wireless keypads for easy PIN changes.
Replacing A Lost Genie Remote
Losing a Genie remote is common. Here’s what to do:
- Buy a compatible Genie remote.
- Erase all codes on your opener.
- Program new remotes for all users.
- Consider upgrading to a wireless keypad for more secure access.
Don’t just program a new remote without erasing old codes, as lost remotes could be used by someone else.
Genie Remote Battery Replacement And Maintenance
A well-maintained remote lasts longer and works reliably.
Battery Replacement Steps
- Open the battery compartment, usually on the back or bottom.
- Remove the old battery (often CR2032 or AAA).
- Insert a new battery, matching the polarity.
- Close the compartment.
Maintenance Tips
- Clean the remote regularly with a dry cloth.
- Avoid dropping or exposing to water.
- Replace batteries every 12–18 months.
Genie Garage Door Opener Remote Programming: Real-life Example
Let’s look at a real example:
Case: John moved into a new home with a Genie SilentMax opener. The previous owner left three remotes.
Steps John took:
- Erased all codes by holding the learn button for 10 seconds.
- Bought two new Genie GITR-3 remotes.
- Inserted fresh batteries.
- Programmed each remote by pressing the learn button, then each remote button.
- Tested each remote.
- Installed a wireless keypad for his kids.
Result: John ensured only his family had access, improved security, and learned to maintain the system.
Genie Remote Programming: Data Table For Common Steps
To recap the programming process, here’s a quick data table:
| Step | Action | Time Required | Success Indicator |
|---|---|---|---|
| Locate Learn Button | Find on opener unit | 1 min | LED ready |
| Press Learn Button | Enter programming mode | 2 sec | LED lights up |
| Press Remote Button | Program remote | 10 sec | LED blinks |
| Test Remote | Press button to operate door | 1 min | Door moves |
This quick summary helps you remember the steps and timing.
When To Call A Professional
Programming Genie remotes is usually simple, but sometimes you need help:
- If the opener is hard to reach or damaged
- If you have electrical concerns
- If you suspect a malfunctioning opener
A professional can quickly diagnose and fix complex issues. It’s worth the cost for peace of mind.

Credit: store.geniecompany.com
Genie Garage Door Opener Remote Programming: Additional Security Tips
Security is a top concern for homeowners. Here are some advanced tips:
- Change remote codes annually.
- Use a wireless keypad with a strong PIN (avoid birthdays or simple numbers).
- Don’t leave remotes in your car’s visible area.
- If you lose a remote, erase codes immediately.
These habits make your garage safer and prevent break-ins.
Frequently Asked Questions
How Do I Know If My Genie Remote Is Compatible With My Opener?
Check the model number of your opener and remote. Genie’s official website or owner’s manual lists compatible remotes. Look for the frequency (315 MHz or 390 MHz) and the color of the learn button for quick guidance.
Can I Program A Genie Remote Without The Learn Button?
Older Genie openers use dip switches instead of a learn button. Set the remote’s dip switches to match the opener’s pattern. If your opener has no learn button or dip switches, it may not support remote programming.
How Many Genie Remotes Can I Program To One Opener?
Most Genie openers support up to 7 remotes and 1 wireless keypad. Check your opener’s manual for specific limits. If you reach the maximum, you must erase codes to add more.
What Should I Do If My Genie Remote Stops Working?
Start by replacing the batteries. If it still fails, reprogram the remote. If none of your remotes work, check for interference, inspect the opener, or call a professional.
Is It Safe To Program My Genie Remote Myself?
Yes, programming is safe if you follow instructions and basic safety precautions. Keep the garage area clear, don’t stand under the door, and keep children away during programming.
With these steps, tips, and insights, you can confidently program your Genie garage door opener remote control. The process is straightforward, but attention to detail and safety makes all the difference. If you need more guidance, Genie’s official website offers detailed manuals and support: Genie Official Support. With the right approach, your garage is secure and your remote is reliable.