
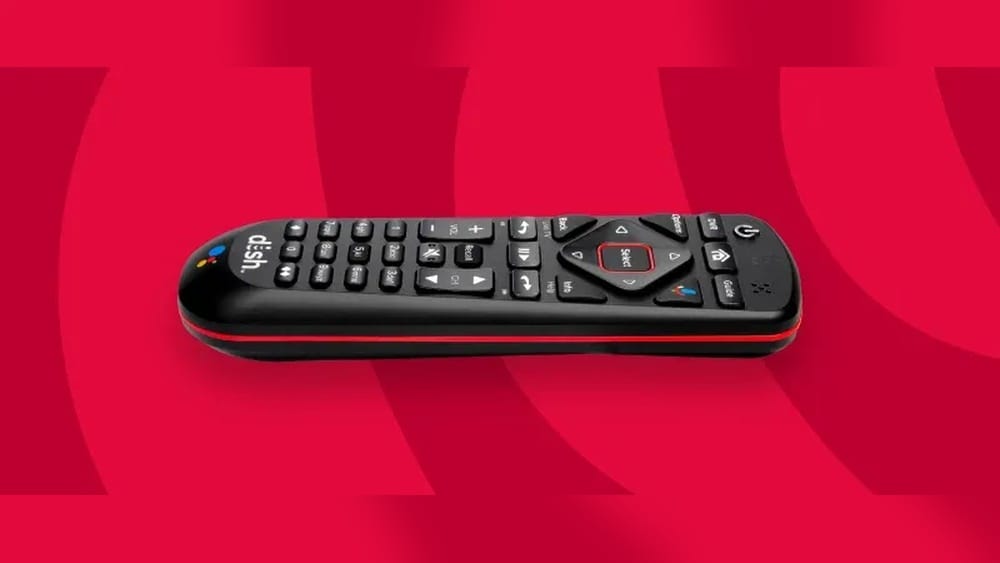
Programming your Dish Network remote control to your TV might sound tricky at first, but with a little guidance, you can do it in just a few minutes. Whether you’ve just set up a new TV, replaced your remote, or your old configuration has reset, having your Dish remote control your TV’s power and volume makes life easier. The right setup means you don’t need to juggle multiple remotes every time you watch your favorite shows or movies. This guide will walk you through everything you need to know about programming your Dish Network remote to your TV—no matter the model or situation.
You’ll get step-by-step instructions, troubleshooting advice, and tips that even many tech-savvy users miss. Along the way, you’ll see how remote models differ, what features you can unlock, and how to avoid common mistakes. You’ll also find tables comparing remote models, code entry methods, and other key details.
By the end, you’ll have the confidence to program your remote like a pro.
Understanding Dish Network Remote Control Models
Before you start programming, it’s important to know which Dish remote model you have. Dish Network has released several types of remotes over the years, each with small but important differences. The steps for programming can change depending on your remote’s version.
| Remote Model | Common Name | Main Features | Programming Method |
|---|---|---|---|
| 40.0/50.0/52.0/54.0 | Hopper/Joey/4K/Voice Remote | Voice search, Bluetooth, Backlit | Pairing button, code search, auto scan |
| 20.1/21.1/21.0 | Basic IR Remote | Infrared, no voice, basic controls | Manual code entry, auto scan |
| 6.3/6.4 | Old Standard | Universal programming, colored buttons | Manual code entry |
Most users today have the 40.0 to 54.0 series remotes. These work with Hopper, Joey, Wally, and some other modern Dish receivers. If your remote looks different, check the back or battery compartment for a model number. Knowing your remote’s type will help you follow the correct programming steps and avoid confusion.
What You Need Before Programming
Programming your Dish Network remote is simple if you prepare a few things first:
- Your Dish remote control (with fresh batteries)
- Your TV (powered on)
- Dish receiver (powered on and connected)
- Model number of your remote (check the label)
- TV brand name and model (for finding correct codes)
You don’t need any special tools or extra devices. However, having the TV’s user manual or knowing the exact brand helps when selecting the right code.
Tip: If you have more than one TV, make sure you’re in the correct room. Programming the remote for the wrong TV can cause confusion.
How Programming Works: Code Entry Vs. Automatic Scan
There are two main ways to program your Dish remote:
- Manual code entry – You enter a specific code for your TV brand.
- Automatic code scan – The remote cycles through possible codes until it finds one that works.
Each method has its advantages. Manual code entry is fast if you know your TV’s code. Auto scan is useful if you don’t have the code or your TV brand isn’t listed.
| Method | When to Use | Pros | Cons |
|---|---|---|---|
| Manual Code Entry | You have the code from Dish or TV manual | Quick, direct | Need correct code |
| Auto Code Scan | Code not known, rare TV brands | No code needed, covers many TVs | May take longer |
Step-by-step Guide: Programming Dish Remote To Tv
The following steps will help you program most Dish remotes. The process is similar for all models, but there are differences in button labels and sequences. Refer to your remote’s button layout as you follow along.
1. Identify Your Remote Model
- Look for a label inside the battery compartment or on the back.
- Check if your remote has voice, a “SAT” button, or colored mode buttons.
2. Find The Correct Tv Code (for Manual Entry)
- Visit the official Dish Network remote code site or check your TV’s manual.
- Note the 3-digit or 4-digit code for your TV brand.
- Write it down to avoid mistakes during entry.
Example: For a Samsung TV, common codes are 505, 656, 738.
3. Manual Code Entry Method
Follow these steps for most remotes, especially 20.1, 21.1, and 6.4 models:
- Turn on your TV.
- Press and hold the TV button on the remote until all mode buttons light up (about 3 seconds).
- Enter the TV code using the number buttons.
- Press the # button (if your remote has one). The TV button should flash three times.
- Test the remote by pressing POWER, VOLUME UP/DOWN, and MUTE.
- If the TV responds, programming is complete. If not, repeat with a different code.
Non-obvious insight: On some remotes, you need to press *Record* instead of *#* as the final step.
4. Automatic Code Scan Method
If manual entry doesn’t work:
- Turn on your TV.
- Press and hold the TV button until all mode buttons light up.
- Press the Power button once (TV button stays lit).
- Press the Up button every 2 seconds until the TV turns off.
- When the TV powers off, press # or Record to lock in the code.
Tip: Be patient. If you go too fast, you might skip the correct code. If you do, start over.
5. For Hopper/joey/voice Remotes (40.0–54.0 Series)
Newer remotes often use a “pairing” method:
- Press the Home button twice (or Menu once) on your remote.
- Select Settings > Remote Control > Pairing Wizard.
- Choose your TV brand from the list.
- Follow on-screen instructions to test power and volume.
- If it works, select Finish. If not, try the next code.
Some remotes have a Pairing button inside the battery compartment. Hold this while pointing at the TV for advanced pairing.
Practical tip: Use the on-screen wizard if available—it’s updated with new codes more often than printed lists.
6. Test All Functions
After programming, always test:
- Power (on/off)
- Volume up/down
- Mute
- Input/source (if supported)
Not all codes unlock every function. If only some buttons work, try programming with a different code.
7. Save Your Code (if Needed)
Some remotes lose the programmed code if batteries are removed for too long. Write down your final code for future use.
Common Problems And How To Fix Them
Programming doesn’t always go perfectly. Here are solutions for the most common issues:
Remote Not Responding
- Make sure the batteries are fresh and inserted correctly.
- Remove obstacles between the remote and the TV’s sensor.
- Point the remote directly at the TV.
Tv Only Responds To Some Buttons
- Try programming with a different code.
- Some codes only enable basic functions (power/volume, but not input).
- Double-check your TV model and brand—similar brands may use different codes.
Multiple Tvs Or Devices
- Always program the remote in the same room as the TV you want to control.
- For dual receivers (like Dish 322), use Address 1 for TV1 and Address 2 for TV2 (see your receiver manual).
Resetting The Remote
If you make a mistake or want to start over:
- Remove the batteries for 60 seconds.
- Reinsert batteries and try programming again.
For Hopper/Joey remotes: Go to Settings > Remote Control > Unpair Devices, then reprogram.
Rare Or Unlisted Tv Brands
- Use the auto scan method.
- Try codes for similar brands (e.g., use Sanyo codes for some Emerson TVs).
- Contact Dish Network support if all else fails.
Non-obvious insight: Some lesser-known TV brands are manufactured by larger companies, so their codes may work. For example, an Insignia TV might respond to LG or Toshiba codes.
Special Features After Programming
Once your Dish remote is paired with your TV, you unlock several convenient features:
- Single remote control for both Dish receiver and TV.
- Volume and mute control directly from the Dish remote.
- Input/source switching (on supported TVs).
- Power sync—turns both TV and receiver on/off with one button.
Some advanced remotes let you use voice commands or control soundbars and audio systems too. If your TV supports HDMI-CEC (Consumer Electronics Control), you may be able to control even more functions automatically.
Table: Which Features Work With Each Remote Model?
Here’s a quick comparison of what you can control, depending on your remote:
| Remote Model | Power | Volume | Input | Voice |
|---|---|---|---|---|
| 40.0–54.0 (Hopper/Joey) | Yes | Yes | Yes | Yes |
| 21.1/20.1 (IR) | Yes | Yes | Sometimes | No |
| 6.4/6.3 | Yes | Yes | No | No |
Check your TV’s manual to see which features are supported. Some older TVs may not allow input/source switching from a universal remote.
Tips For A Smooth Programming Experience
Programming your remote isn’t hard, but these tips can save you time and frustration:
- Try the on-screen wizard first if your receiver supports it.
- Program the remote in the same room as the TV and receiver.
- Keep a list of tried codes—don’t repeat ones that failed.
- Check for software updates on newer receivers. Sometimes, a firmware update adds support for new TV models.
- Replace weak batteries before starting.
- Avoid strong sunlight or fluorescent lights, which can interfere with infrared signals.
Programming Dish Remote For Other Devices
Many Dish remotes can control more than just TVs. You can also program them for:
- Soundbars
- AV receivers
- DVD/Blu-ray players
The process is similar: find the correct code for your device brand and follow the same entry or scan steps. Not all features will be supported, but power and volume usually work.
Key Differences: Dish Remote Vs. Tv Remote
Some users wonder if they should just use their TV’s original remote instead. Here’s how the Dish remote compares:
- Dish remote can control both TV and receiver with one device.
- TV remote usually can’t control the Dish receiver.
- Advanced Dish remotes offer voice search and smart features.
- Using the Dish remote simplifies your setup—fewer remotes to lose or confuse.
Pro tip: Keep your original TV remote nearby for accessing advanced settings (like picture calibration or smart TV apps) that the Dish remote can’t reach.
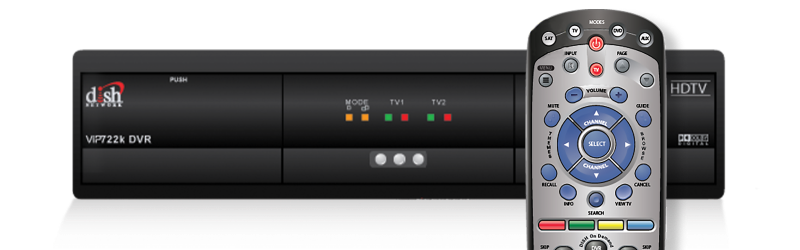
Credit: support.dish.com
When To Reset Or Reprogram Your Remote
You might need to reprogram your Dish remote if:
- You get a new TV
- The remote stops controlling the TV’s volume or power
- You replace the remote or receiver
- You notice lag or missed button presses
Resetting and reprogramming usually solves most problems. If you have frequent issues, consider replacing the remote or checking for signal interference.
Dish Remote Codes: Where To Find Them
The easiest way to find codes is:
- Check the printed code list in your remote’s package.
- Visit the official DISH Network code lookup tool.
- Search your TV brand and model for up-to-date codes.
Warning: Not all codes online are correct. Always use Dish’s official resources for the most reliable results.
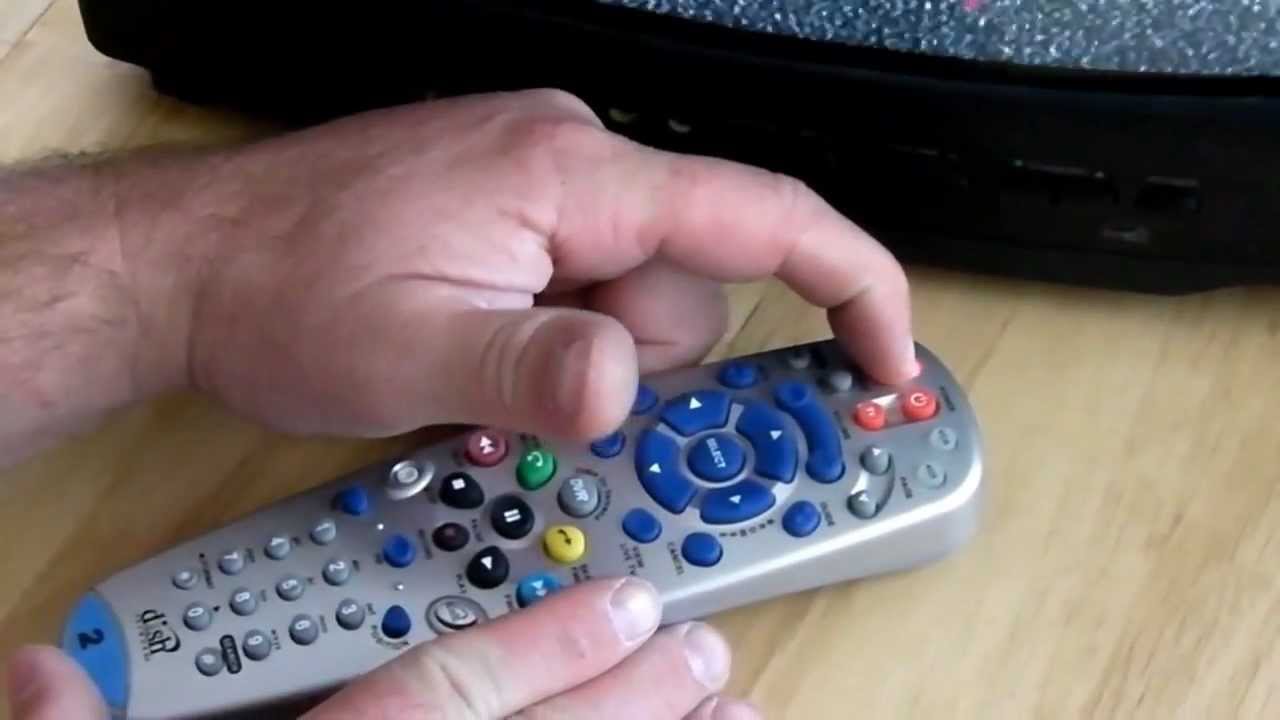
Credit: www.youtube.com
How Dish Remote Programming Helps Accessibility
For seniors or users with disabilities, programming the Dish remote to the TV brings real benefits:
- Larger buttons and simple design help those with limited vision or dexterity.
- Voice control (on newer remotes) can make navigation much easier.
- Fewer remotes means less confusion for anyone with memory challenges.
If you’re setting up for a family member, test all buttons and explain how the remote works. Consider using stickers or colored tape to highlight key buttons.
Troubleshooting Advanced Issues
Sometimes, you run into issues that basic steps can’t solve:
The Remote Won’t Pair With A Smart Tv
- Some smart TVs (like newer Samsung or LG models) use unique IR codes or Bluetooth.
- Update your Dish receiver software to the latest version.
- Try auto scan and manual entry for similar brands.
Dish Remote Controls Wrong Tv
- Make sure the remote is set to the correct mode (TV, SAT, AUX).
- For multi-TV setups, label each remote and TV for clarity.
- If using RF pairing, check that the remote is paired to the intended receiver.
Power Sync Only Works One Way
- Some TVs need HDMI-CEC enabled in the TV’s settings.
- If volume works but power doesn’t, try a different code.
The Remote Loses Programming
- Some older remotes lose codes when batteries die completely.
- Replace batteries quickly to avoid memory loss.
Non-obvious insight: If you have a universal remote from a third party, Dish’s codes may not work. Check compatibility before buying a replacement.
Future-proofing Your Remote Setup
As technology changes, Dish is updating remotes to add features like:
- Bluetooth pairing for better range and reliability.
- Software updates that add codes for new TV brands.
- Smart home integration (like Alexa support on voice remotes).
If you’re upgrading your receiver or TV, consider getting the latest Dish remote for full compatibility. This investment can save you from headaches later, especially with new smart TVs.
Frequently Asked Questions
How Do I Find My Dish Remote’s Model Number?
Open the battery compartment and look for a label with a number (like 40.0 or 21.1). You can also check the back or bottom of the remote. The model number tells you which programming steps to follow.
Why Do Some Tv Functions Not Work After Programming?
Not all codes provide full support for every TV brand. Sometimes, only power and volume will work. Try another code for your brand or use the auto scan method. Some advanced TV features may not be accessible from a universal remote.
Can I Program My Dish Remote To Control My Soundbar Or Audio System?
Yes, most Dish remotes support basic functions for soundbars and audio receivers. Look up your device’s brand code and follow the same programming steps. Remember, advanced functions (like surround modes) may still need the original remote.
Do I Need To Reprogram My Remote After Changing Batteries?
Modern Dish remotes usually keep their codes during battery changes, but older models may lose programming if left without power for too long. To be safe, replace batteries quickly and keep your TV code handy.
Where Can I Get Help If None Of The Codes Work?
Start with the official Dish Network support page or contact their customer service. They may have updates for new TV models or troubleshooting tips. You can also try searching forums or community sites for advice from other users.
Programming your Dish Network remote control to your TV is a simple way to make your home entertainment system easier to use. With the right code or the auto scan method, you can control your TV’s power and volume with the same remote you use for your Dish receiver.
Remember to check your remote model, use the latest codes, and test all functions after programming. If you run into trouble, don’t hesitate to try different codes or reach out to Dish support. With a little patience, you’ll save time and enjoy a smoother TV experience every day.

Credit: www.youtube.com