

A touch panel is a common part of many devices—smartphones, tablets, ATMs, laptops, and even home appliances. When the touch screen stops working, using the device becomes difficult or even impossible. Many people think a broken touch panel means the device is lost.
But in many cases, you can repair it at home with basic tools and careful steps. This guide gives you practical advice on how to repair a touch panel, what to check first, common problems, and tips to avoid mistakes.
Understanding How Touch Panels Work
Before you start fixing anything, it helps to know how a touch panel operates. A touch panel is a thin glass or plastic sheet that detects your finger or a stylus. There are three main types:
- Resistive: Made of two layers that touch when you press. They are used in older devices or simple machines.
- Capacitive: Found in modern smartphones and tablets. They use the electric charge from your finger.
- Infrared: Use sensors and LED lights. Often used in kiosks and larger screens.
Each type has a different repair approach. For example, capacitive panels are sensitive and need gentle handling, while resistive ones can be a bit tougher.
Non-obvious insight: Many people do not realize that even a small crack or a single dead zone does not always mean the whole panel is broken. Sometimes, a loose connector or simple cleaning solves the problem.
Common Touch Panel Problems
Touch panel issues come in many forms. Here are the most typical ones:
- Unresponsive screen: Touches do not register at all.
- Ghost touches: The screen responds by itself, opening apps or moving items.
- Partial response: Only some areas work; others are dead.
- Cracked or scratched glass: The screen is physically damaged, but sometimes it still works.
- Flickering or display issues: The screen flashes or shows odd colors.
Non-obvious insight: Ghost touches are often caused by water or dirt trapped under the edges, not always by hardware failure.
Initial Checks Before Repair
Many touch panel issues do not need full disassembly. Start with these steps:
- Restart the device. Some issues are caused by software glitches.
- Remove screen protectors or cases. Sometimes, a poorly placed protector can cause problems.
- Clean the screen. Use a microfiber cloth and a bit of isopropyl alcohol. Dust or oil can affect touch sensitivity.
- Check for moisture. Dry the device completely if it was exposed to water.
- Update software/firmware. Manufacturers often fix touch bugs in updates.
If none of these steps help, you might need a hardware repair.
Safety Precautions
Before opening any device, consider these safety rules:
- Turn off and unplug the device.
- Use antistatic tools if possible. Static electricity can damage sensitive parts.
- Work on a clean, flat surface.
- Keep small parts organized. Use bowls or trays to store screws and pieces.
- Wear safety glasses to protect your eyes from glass shards.
Capacitive screens can be sharp if broken. Handle with care to avoid cuts.
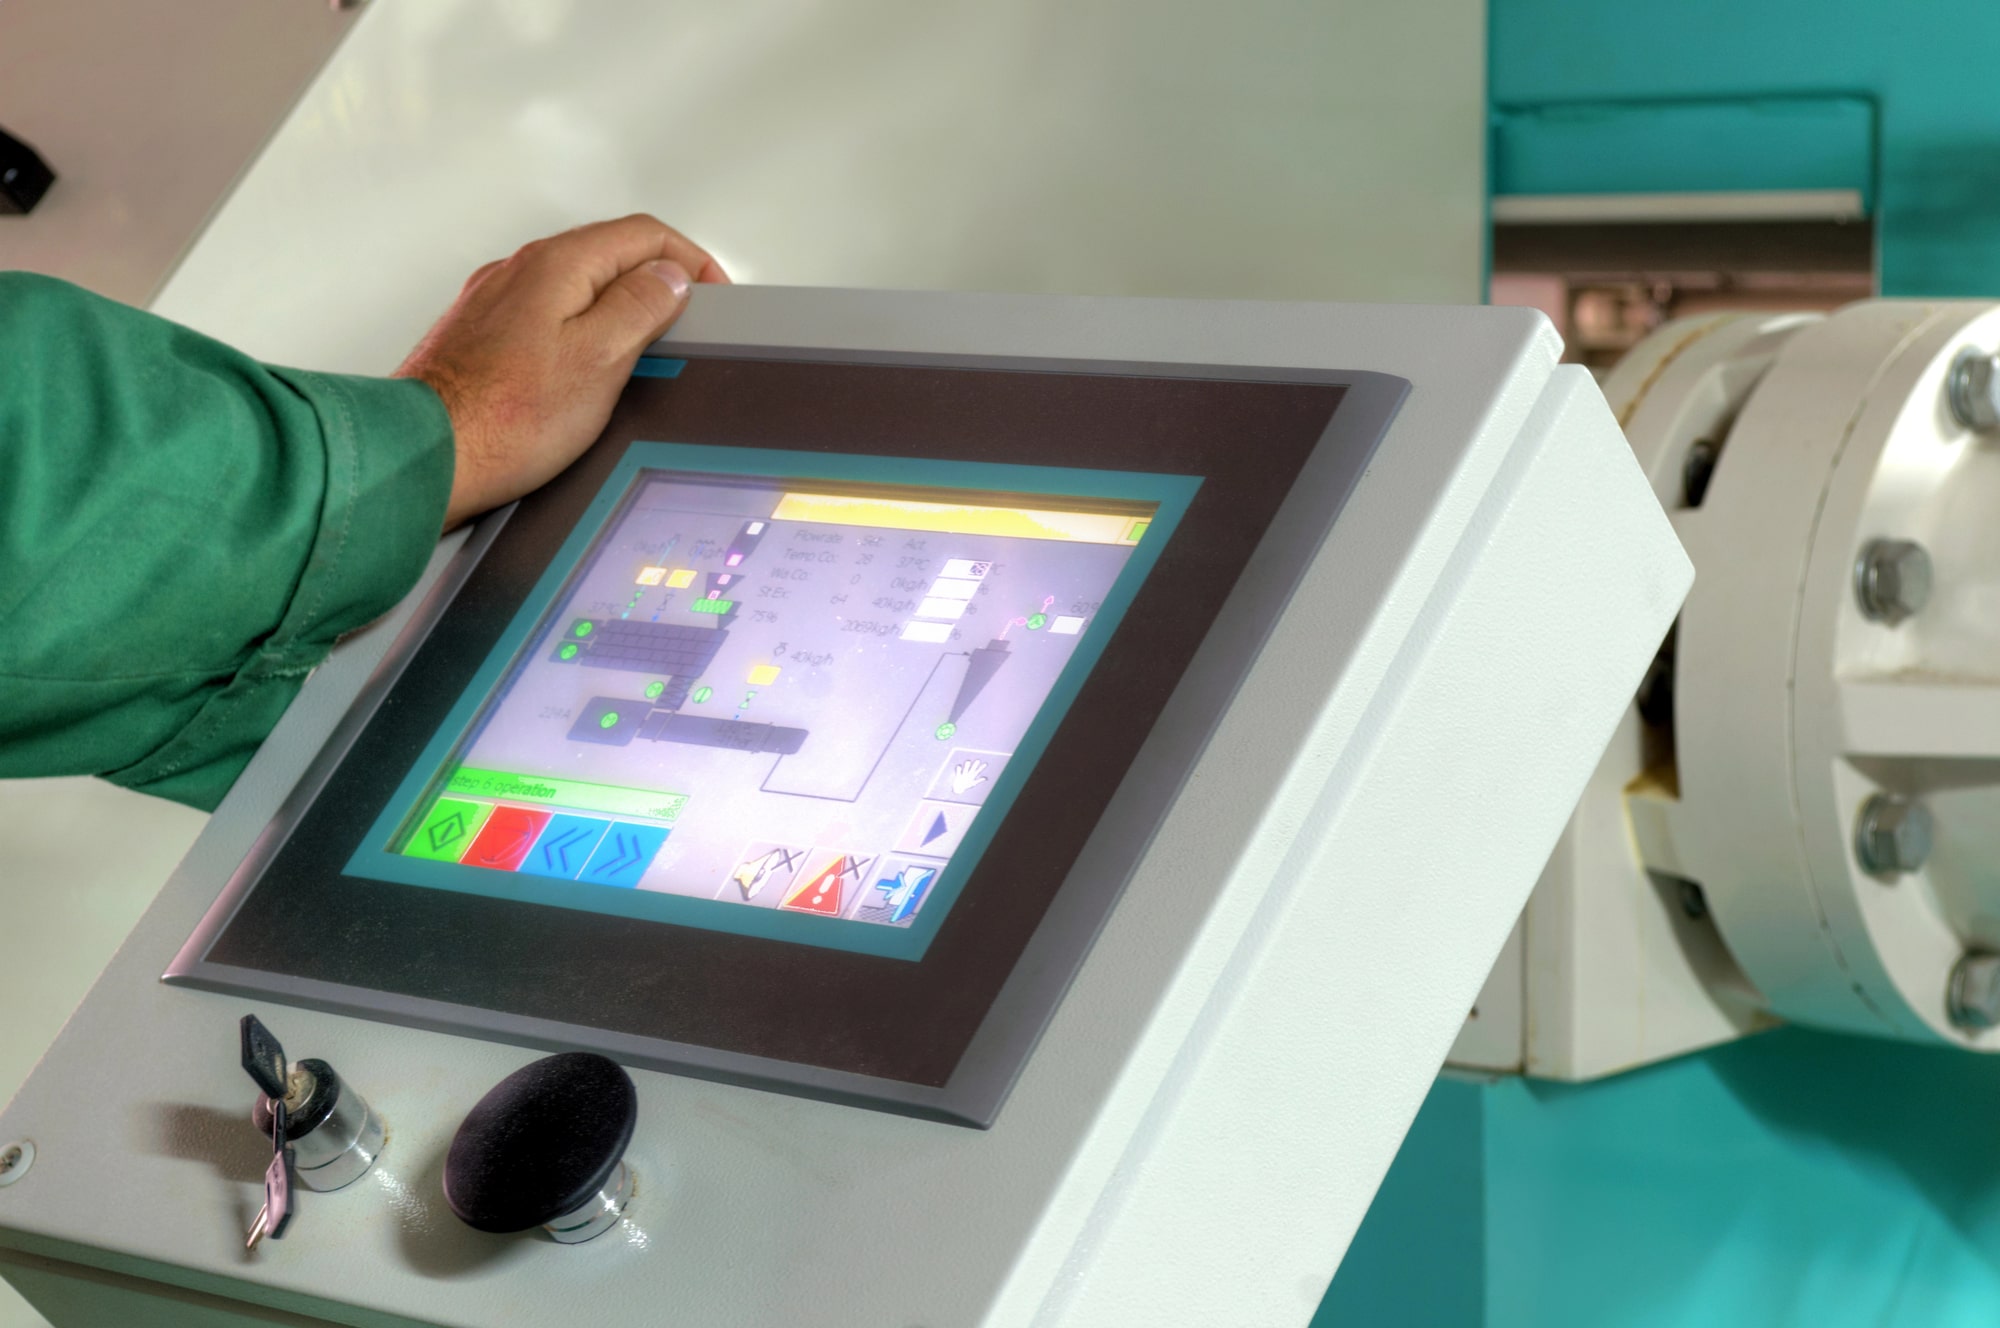
Credit: blog.acsindustrial.com
Tools And Materials Needed
You do not need expensive tools for most touch panel repairs. Basic items include:
- Plastic pry tools or guitar picks (to open the case)
- Small Phillips and flathead screwdrivers
- Tweezers
- Suction cup (for lifting glass)
- Adhesive tape (double-sided, for reassembly)
- Isopropyl alcohol and microfiber cloth (for cleaning)
- Replacement touch panel or digitizer (if needed)
- Heat gun or hair dryer (to soften glue)
- Multimeter (to check for broken connections)
Buying a full repair kit is often cheaper than buying tools separately.
Diagnosing The Touch Panel Problem
Knowing the real problem saves time and money. Follow these steps:
Checking For Physical Damage
First, look for visible cracks or chips. If the glass is broken but the screen still displays, only the touch layer might be damaged. If the display is black, both the LCD and the touch panel could be affected.
Testing For Dead Zones
Try swiping across the screen in all directions. If some areas do not respond, the digitizer (the touch layer) is likely damaged.
Assessing Ghost Touches
If the screen acts on its own, clean the edges carefully. If the problem stays, it may be a damaged digitizer or loose internal connection.
Using Diagnostic Apps
Many devices have built-in test modes. For example, entering a special code on Android phones (like *#0*#) brings up a touch test. This helps you see exactly where the screen is unresponsive.
Checking Connectors
If you feel confident, open the device and gently check the ribbon cable connector between the touch panel and the motherboard. Loose or dirty connectors are a common reason for touch failure.
Step-by-step Touch Panel Repair
The process varies with device type, but here is a general guide for smartphones and tablets.
1. Power Off And Remove Battery (if Possible)
Never work on a powered device. For phones with removable batteries, take the battery out.
2. Remove Case And Screws
Use the right screwdriver to remove all visible screws. Some are hidden under stickers or rubber feet.
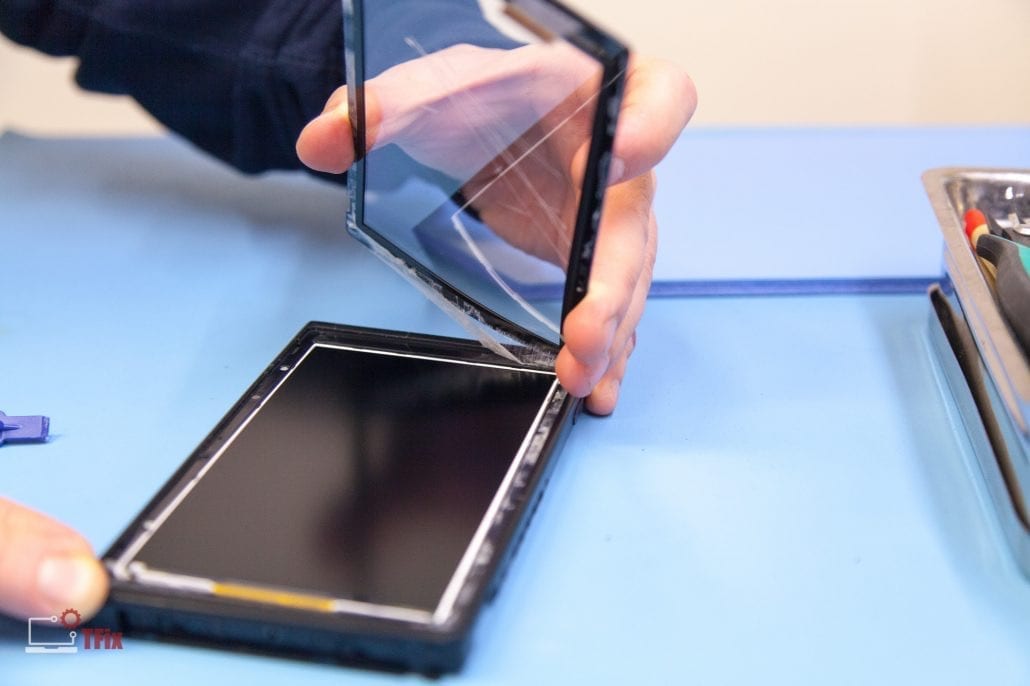
3. Separate The Screen Assembly
Use a plastic pry tool to gently lift the screen. Do not use metal tools, as they can damage the frame or cut wires. If the glue is strong, use a hair dryer or heat gun to warm the edges for 1–2 minutes.
4. Disconnect The Touch Panel Ribbon Cable
Find the ribbon cable connecting the touch panel to the motherboard. Gently lift the latch and slide the cable out.
5. Remove The Damaged Touch Panel
If the panel is glued to the display, use a thin plastic card or a special cutting wire. Work slowly to avoid breaking the LCD underneath.
6. Clean The Frame And Lcd
Remove all old glue and glass pieces. Use isopropyl alcohol and a microfiber cloth. Leftover glass can cause uneven touch or damage the new panel.
7. Install The New Touch Panel
Remove any protective film from the new panel. Align it perfectly with the frame and connect the ribbon cable. Do not force the cable—if it does not fit, check alignment.
8. Test Before Final Assembly
Before closing the device, power it on and test the touch function. Try all areas of the screen. If everything works, turn it off again.
9. Reassemble The Device
Secure the panel with double-sided adhesive or the original glue. Reconnect all cables and screws. Replace the battery and back cover.
10. Final Testing
Turn on the device and check the touch panel. Open several apps, swipe in all directions, and check for ghost touches or dead zones.
Special Cases: Laptop And Large Device Touch Panels
Repairing touch panels on laptops or large devices (like kiosks) is similar but usually more difficult. Screens are bigger, heavier, and often attached with more glue.
- Laptops: Some have the touch glass separate from the LCD, others are fused. If fused, you may need to replace the whole screen assembly.
- ATMs and kiosks: Often use infrared or resistive panels. Replacement is easier, but panels are larger and require two people for safety.
Always check the device’s repair manual or manufacturer’s website for guidance.
Comparing Touch Panel Types And Repair Difficulty
Here is a quick comparison of touch panel types and how hard they are to repair:
| Touch Panel Type | Common Devices | Repair Difficulty | Typical Cost |
|---|---|---|---|
| Resistive | Old GPS, POS machines | Easy | Low |
| Capacitive | Smartphones, tablets | Medium | Medium |
| Infrared | Kiosks, ATMs | Hard | High |
Tip: If you do not know the type, search the device’s model number online.
When To Replace Instead Of Repair
Sometimes, replacing the touch panel makes more sense than repairing it. Here are signs you should replace:
- The glass is deeply cracked with sharp edges.
- More than half the screen is unresponsive.
- The LCD (display) is also damaged (shows lines, no image, or black spots).
- The touch panel is fused with the LCD and cannot be separated.
Many manufacturers sell the digitizer (touch layer) and LCD as one unit. This is more expensive but safer for beginners.
Sourcing Replacement Parts
Getting the right part is critical. Here’s how to choose:
- Match the model number exactly. Even small differences can mean the part will not fit.
- Buy from trusted sellers. Look for high ratings and return policies.
- Check for included tools. Some sellers give free tools with the screen.
- Ask if the adhesive is included. Some panels need special double-sided tape.
If you are unsure, compare the old part with the new one before removing the protective film.
Common Mistakes To Avoid
Many beginners make these errors:
- Forcing the screen open: This can break the LCD or cut cables.
- Touching the LCD with bare hands: Leaves oil or creates lines.
- Losing screws: Many devices use different lengths. Mixing them can cause damage.
- Not testing before full assembly: If you close the device and something does not work, you must open it again.
- Using too much glue: Excess glue can block sensors or make the screen uneven.
Practical tip: Take photos as you disassemble. This makes reassembly easier.
Quick Repair Vs. Professional Help
You can repair many simple touch panel problems at home. But some cases need a professional:
- LCD and digitizer are fused and require special tools.
- The device is under warranty (opening it may void warranty).
- You are not confident with small parts or electronics.
Repair shops can often finish the job in 1–2 hours for common devices. The cost is higher but includes a warranty.
Cost Comparison: Diy Vs. Professional Repair
Here’s a look at typical costs for a smartphone touch panel repair:
| Repair Method | Parts Cost | Labor Cost | Total Cost | Warranty |
|---|---|---|---|---|
| DIY | $20–$60 | $0 | $20–$60 | No |
| Professional | $20–$60 | $30–$100 | $50–$160 | Yes (30–90 days) |
Non-obvious insight: Even if a shop charges more, they often use higher-quality parts. Cheap parts from unknown sources can fail quickly.
Tips For A Successful Repair
- Watch video tutorials for your exact device model.
- Lay out screws and parts in the order you remove them.
- Work in good light—small parts are easy to drop or lose.
- Double-check connector alignment before closing the device.
Most importantly, do not rush. Many mistakes happen when people feel frustrated or hurry the steps.
When Repair Fails: Other Solutions
Not every repair is successful. If your touch panel still does not work:
- Check all connections again. Ribbon cables can come loose.
- Try a different replacement part. The first one might be faulty.
- Try external touch solutions. For some laptops, you can use a USB mouse or keyboard as a temporary fix.
- Consult a repair shop. They can diagnose deeper problems, like a damaged motherboard.

Credit: www.amazon.com
The Role Of Software In Touch Panel Problems
Sometimes, the hardware is fine, but software causes the issue. For example:
- App conflicts: Some apps can freeze the touch screen.
- Firmware bugs: Especially after updates.
- Calibration errors: Some devices need to recalibrate the touch panel.
Try restarting in safe mode (Android) or running a factory reset (as a last resort). Always back up data before resetting.
How To Maintain Your Touch Panel After Repair
Prevention is easier than repair. These tips help keep your touch panel working well:
- Use a screen protector. This guards against scratches and cracks.
- Clean with a microfiber cloth. Avoid paper towels—they can scratch.
- Keep away from water and extreme heat.
- Do not press too hard. Modern screens respond to light touches.
- Avoid cheap chargers. Power surges can damage the touch controller.
Comparing Diy Repair Success Rates
Studies show a wide range of results for home repairs. Here’s a summary:
| User Experience Level | Success Rate | Common Issues |
|---|---|---|
| Beginner | 60% | Broken LCD, lost screws |
| Intermediate | 80% | Connector not seated |
| Advanced | 95% | None or minor issues |
If you are new to repairs, start with an old device before working on your main phone or tablet.
Useful Resources For Further Learning
If you want to learn more, check out guides and videos on platforms like iFixit, YouTube, and device-specific forums. For a technical overview, see the Wikipedia Touchscreen article.
Credit: www.greasley.co.uk
Frequently Asked Questions
What Is The Difference Between A Touch Panel And A Digitizer?
The touch panel is the glass or plastic sheet you touch. The digitizer is the electronic layer underneath that senses your touch and sends the signal to the device. In many devices, they are fused together, but not always.
Can I Repair A Cracked Touch Panel Without Replacing It?
If the crack is small and does not affect touch, you can use clear tape or a screen protector as a temporary solution. However, this is not a true fix. For deep cracks or touch problems, replacement is needed.
How Do I Know If My Lcd Is Damaged Too?
A damaged LCD shows black spots, lines, or does not display anything. If the screen lights up and shows images but touch does not work, the digitizer is likely the only problem.
Is It Safe To Repair My Touch Panel At Home?
Yes, if you follow safety steps: power off the device, use the right tools, and work slowly. For expensive devices or if you are unsure, professional help is safer.
Where Can I Buy Quality Replacement Touch Panels?
Buy from trusted sources like manufacturer websites, popular online stores (Amazon, eBay), or local repair shops. Always check reviews and return policies.
Fixing a touch panel can save money and extend your device’s life. With patience and careful steps, many common problems are repairable at home. If you are not confident, professional repair is still a good choice. Remember, every device is different—always check your exact model and follow safe repair practices.