
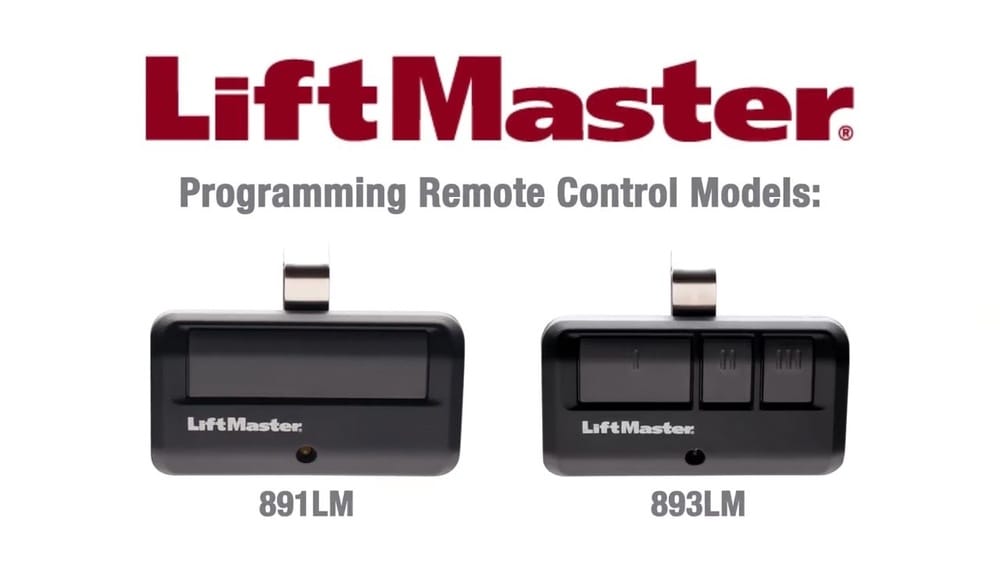
Reprogramming a Liftmaster remote control might sound complicated if you have never done it. But with the right steps and a bit of patience, anyone can master this task—even if you are not a technical expert. Many people find themselves needing to reprogram their Liftmaster remote after moving into a new home, replacing an old remote, or adding an extra one for convenience.
Understanding this process not only makes life easier but also keeps your garage and home more secure.
Liftmaster is one of the most trusted brands for garage door openers in the United States, and millions rely on their systems every day. If your remote stops working or you buy a new one, reprogramming is a necessary skill.
This guide will walk you through every step, explain potential problems, and share tips that even experienced users sometimes miss. Whether you own an older Liftmaster model or the latest smart system, the advice here will help you confidently reprogram your remote and avoid common mistakes.
Why Reprogramming Your Liftmaster Remote Matters
Many homeowners never think about their garage door opener until something goes wrong. But reprogramming your remote is crucial in several scenarios:
- Lost or stolen remotes: If you lose a remote, anyone who finds it can access your garage. Reprogramming prevents this risk.
- New remotes: When adding or replacing a remote, you must program it to your opener.
- Security upgrades: Sometimes you need to erase all codes and start fresh for better protection.
- Moving homes: Previous owners may have programmed extra remotes. Resetting ensures only your family has access.
Regularly updating your remote’s programming is a simple but effective way to protect your home. It also keeps your garage door system working smoothly.
Types Of Liftmaster Garage Door Openers
Before starting, it’s important to know which Liftmaster opener model you have. The programming steps depend on the type of opener and remote. There are three main categories:
- Older Dip Switch Models: These use physical switches inside the remote and opener. They are rare today but still found in some homes built before 1993.
- Learn Button Models: Most modern Liftmaster openers have a ‘Learn’ button. This button is usually found on the back or side of the opener unit, often under a light cover.
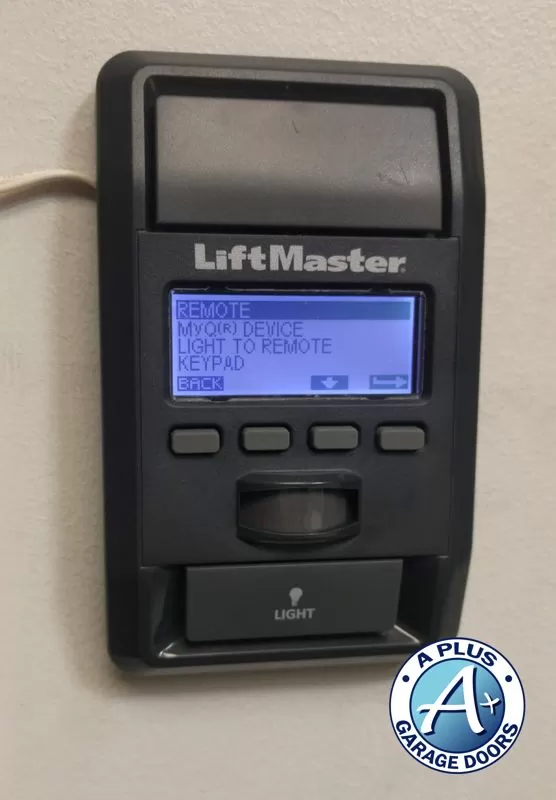
- Smart/Wi-Fi Enabled Models: Newer systems support smartphone control and MyQ technology. These models can be programmed through an app or control panel as well as with remotes.
Each model has slightly different steps for programming. If you’re unsure which one you own, check the label on your garage door opener or consult the user manual.
| Model Type | Programming Method | Year Introduced |
|---|---|---|
| Dip Switch | Manual switch alignment | Before 1993 |
| Learn Button | Press & program | 1993 – Present |
| Smart/Wi-Fi | App or control panel | 2015 – Present |
Credit: utahgaragedoors.net
Tools And Preparation
Before you start, gather these essential items:
- Your Liftmaster remote control (new or existing)
- Access to your garage door opener unit (usually mounted on the ceiling)
- A sturdy ladder for reaching the opener
- The user manual for your specific model (optional, but helpful)
- A pen and paper (to note codes or settings if needed)
Safety tip: Always unplug the garage door opener or switch off the power if you need to open any covers. Stay clear of the door path during testing.
Step-by-step Guide: How To Reprogram A Liftmaster Remote Control
Let’s break down the process for the three main types of Liftmaster systems. Choose the section that matches your opener.
For Learn Button Models (most Common)
Most homeowners will use this method. The Learn button is usually red, orange, yellow, purple, or green.
Step 1: Locate The Learn Button
Find the Learn button on your opener unit. It’s often behind the light cover or on the back panel. The color can help you identify your opener’s technology (see the table below).
| Learn Button Color | Compatible Remote Frequency | Years Used |
|---|---|---|
| Yellow | Security+ 2.0 (315 MHz/390 MHz) | 2011 – Present |
| Purple | 315 MHz | 2005 – 2011 |
| Red/Orange | 390 MHz | 1997 – 2005 |
| Green | 390 MHz | 1993 – 1997 |
Step 2: Prepare The Remote
If you have a new remote, insert fresh batteries. Weak batteries are a common reason for failed programming.
Step 3: Press The Learn Button
- Press and release the Learn button. The indicator light will turn on for 30 seconds.
- Do not hold the button down too long unless you want to erase all codes (more on this later).
Step 4: Program The Remote
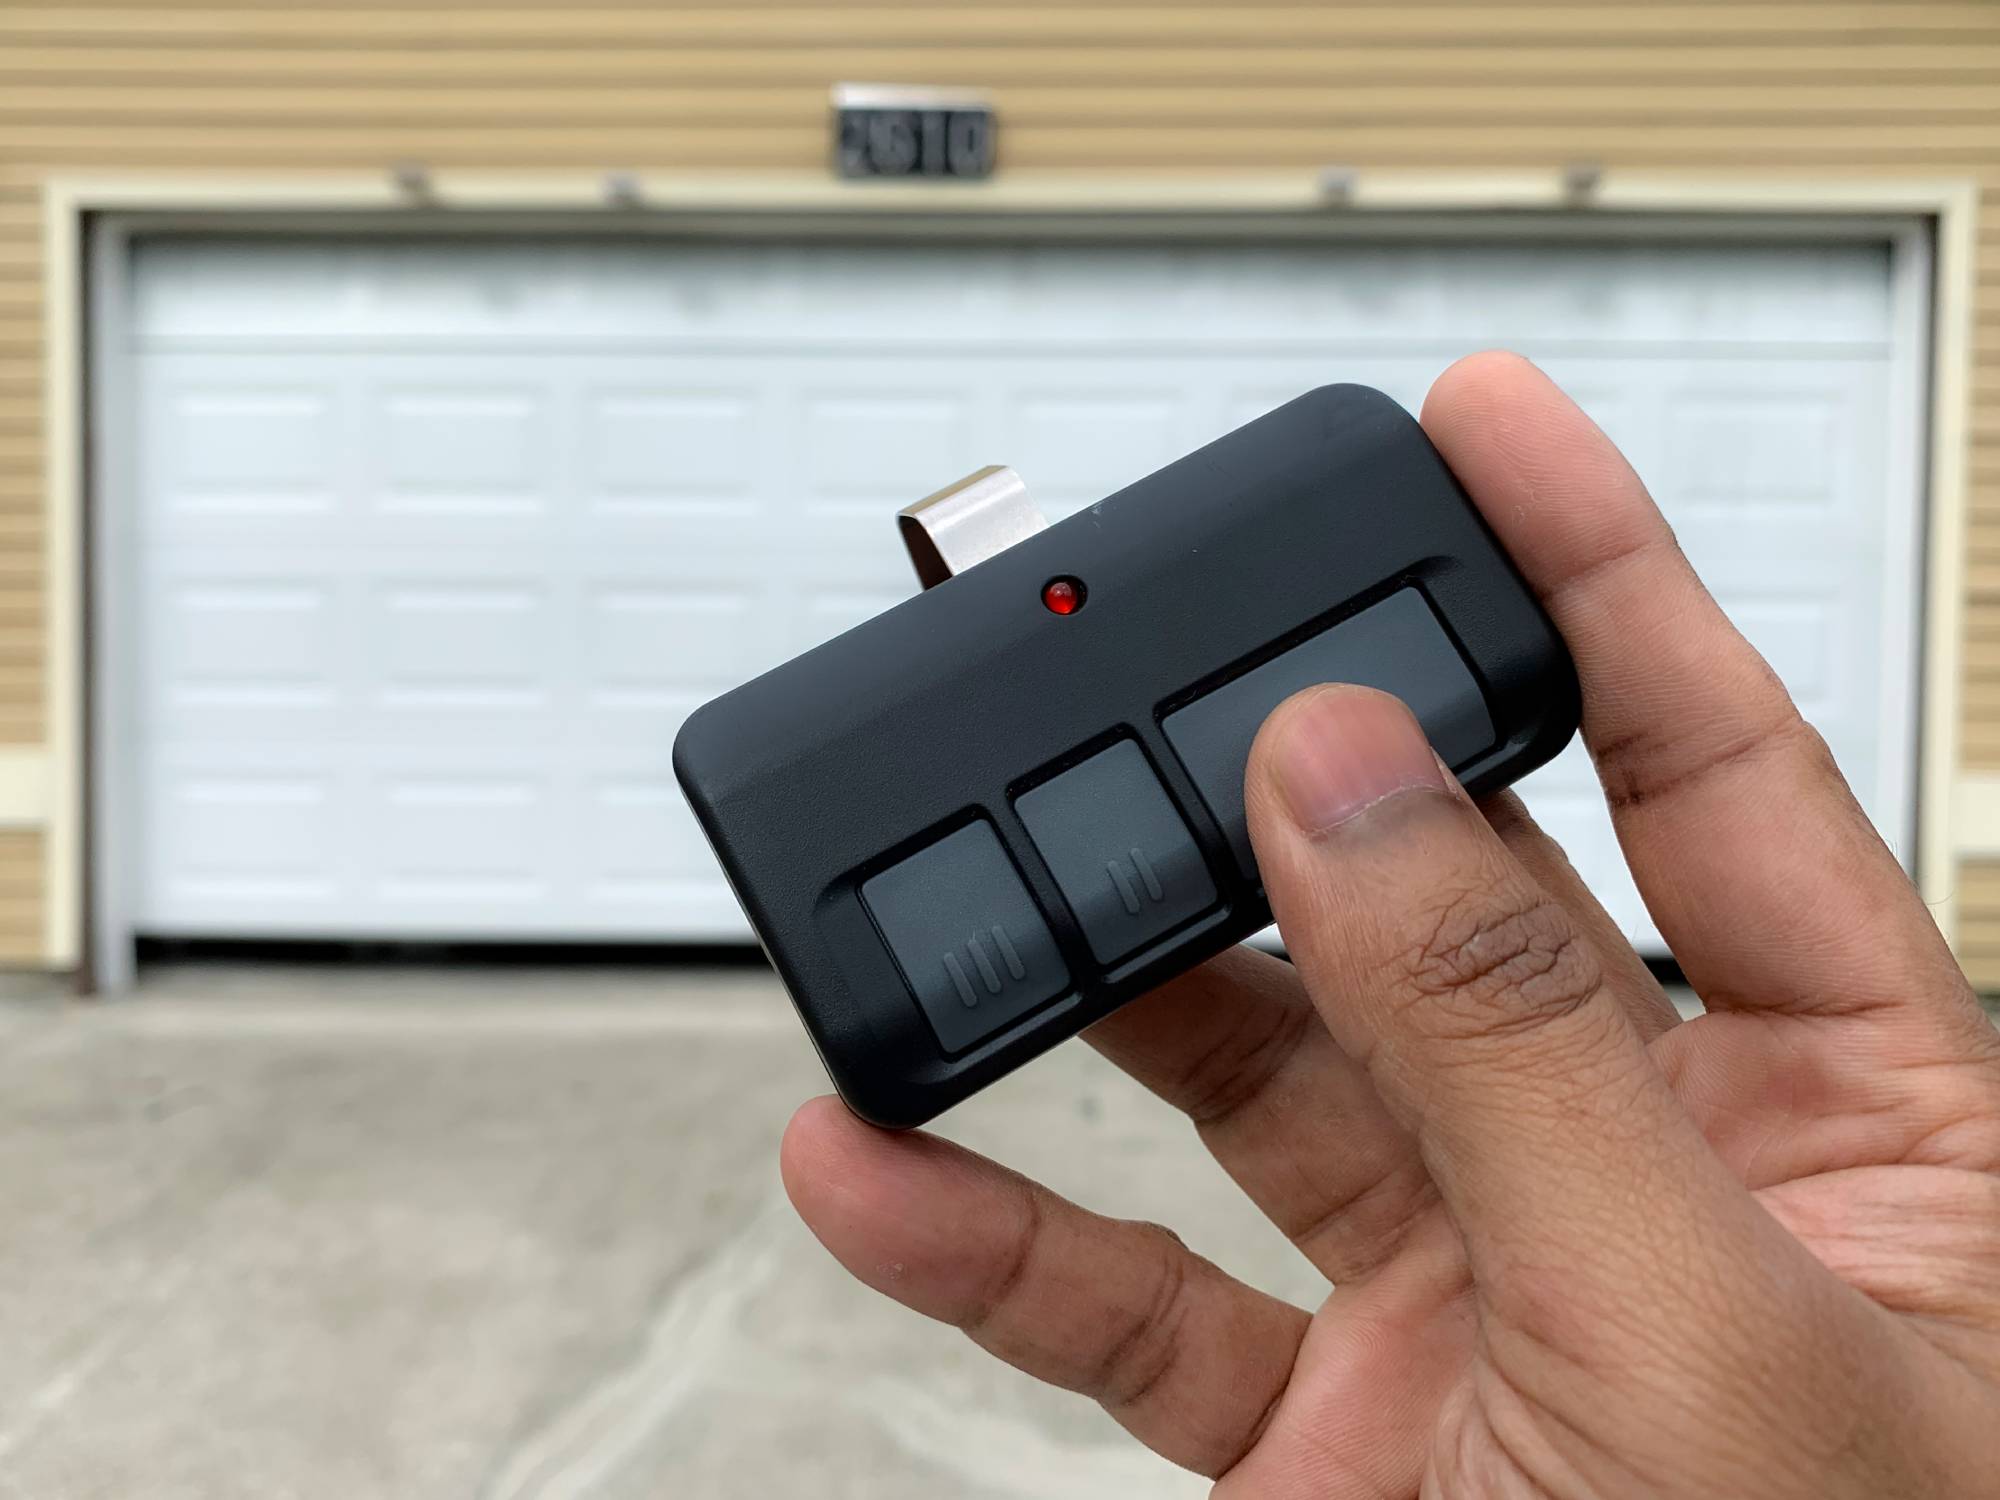
- Within 30 seconds, press and hold the button on your Liftmaster remote that you want to program.
- Hold it for 3-5 seconds, or until you hear a click or see the garage door opener lights flash. This means the programming was successful.
Step 5: Test The Remote
- Stand clear of the garage door and press the programmed button.
- The door should open or close. If it doesn’t, repeat steps 3 and 4.
Non-obvious tip: If you’re adding a second or third remote, repeat steps 3 and 4 for each one. Each remote must be programmed individually.
For Dip Switch Models (older Units)
If your opener uses dip switches, the process is different. These are small switches found inside the remote and opener.
Step 1: Open The Remote And Opener
Carefully open the battery compartment of your remote to reveal the dip switches. Use a small screwdriver for the opener unit.
Step 2: Match The Switches
Align the dip switches in the remote to match the pattern in the opener. The sequence must be identical for the remote to work.
Step 3: Test The Remote
After matching the switches, test the remote. If the door doesn’t move, check the switch positions again.
Non-obvious insight: Dip switch systems are less secure, as there are limited combinations. Consider upgrading for better security.
For Smart/wi-fi Enabled Liftmaster Models
Modern openers often use MyQ technology and can be programmed via smartphone apps or wall panels.
Step 1: Access The Myq App Or Control Panel
Open the MyQ app on your phone or use the Smart Control Panel on your garage wall.
Step 2: Add A Remote
- In the app, select ‘Device Management’ > ‘Add Remote’ or similar.
- Follow on-screen prompts to pair your remote.
Step 3: Test The Remote
Try opening or closing the garage door with the newly programmed remote.
Pro tip: Some smart models allow you to set schedules, temporary access, or see usage history—features not available on older remotes.
Erasing Old Codes: When And How To Do It
Sometimes, you must erase all previous codes from your opener’s memory. This is critical if:
- You lost a remote and want to prevent unauthorized access
- You just moved into a new home
- You want to start fresh for security
How To Erase All Codes
- Press and hold the Learn button (on the opener unit) for about 6-10 seconds.
- The indicator light will go out. All remotes and wireless keypads are now erased.
- Reprogram your remotes as described earlier.
Warning: This step removes access for all remotes and keypads. Make sure to reprogram all devices after erasing.
Common Problems And Troubleshooting
Even when you follow instructions carefully, things can go wrong. Here are frequent issues and solutions:
Remote Doesn’t Work After Programming
- Check battery: Weak or dead batteries are the top cause.
- Signal interference: LED bulbs, Wi-Fi routers, or metal objects near the opener can block signals.
- Wrong remote model: Not all Liftmaster remotes work with all openers. Check compatibility.
- Programming too slow: You have only 30 seconds after pressing the Learn button.
Garage Door Opens Randomly
- Stuck button: Clean your remote. Dirt or debris can cause a button to stick.
- Interference from neighbors: Rare, but possible if your opener uses old dip switches.
- Faulty wiring: Inspect for damaged wires or contacts in the wall button.
Remote Range Is Short
- Weak battery: Replace with a new battery.
- Antenna position: The opener’s antenna should hang straight down.
- Physical obstacles: Metal doors, concrete walls, or nearby electronics can block signals.
Lights Flash But Door Doesn’t Move
- Safety sensors blocked: Check that nothing is in the door’s path and sensors are clean/aligned.
- Manual lock engaged: Release the manual lock on your garage door.
Myq App Can’t Pair Remote
- Wi-Fi signal: Ensure the opener and your phone have strong Wi-Fi connections.
- Firmware update: Update the MyQ app and the opener’s firmware if needed.
- App permissions: Allow the app to access Bluetooth and location if required.
Security Features And Best Practices
Garage security is more important than many people realize. A single lost remote can put your home at risk. Here’s how to keep your system safe:
Use Rolling Code Technology
Liftmaster remotes made after 1993 use rolling code technology. This changes the code every time you use the remote, making it nearly impossible for thieves to copy.
Regularly Update Codes
If you give a remote to a contractor, neighbor, or friend, erase and reprogram it after they return it. This prevents old remotes from being used without your knowledge.
Upgrade Old Systems
If your opener uses dip switches, upgrade to a modern model. Newer systems are much harder to hack and provide extra features like smartphone control.
Keep Remotes Secure
Treat your garage remote like a house key. Don’t leave it in your car, especially if you park outside.
Monitor Access
With smart models, check access logs and set up alerts. This helps you notice any suspicious activity quickly.
Programming Multiple Remotes And Keypads
Many families need several remotes or a wireless keypad for easy access. Here’s how to program them:
Adding Additional Remotes
Repeat the programming steps for each new remote. Most openers can remember 5-7 remote codes at once.
Programming A Wireless Keypad
- Press the Learn button on the opener.
- Within 30 seconds, enter your chosen PIN on the keypad and press Enter.
- Test by entering your PIN again.
Expert tip: Change your keypad PIN regularly, especially after moving or giving temporary access to someone.
Credit: thompsongaragedoors.com
Real-world Examples
Let’s look at a few real-life situations where reprogramming is important:
Example 1: New Homeowner
Sarah bought a house with a Liftmaster garage door system. She didn’t know how many remotes the previous owner had programmed. By erasing all codes and reprogramming her own remote, she ensured no one else could enter her garage.
Example 2: Remote Lost On Vacation
James dropped his remote while on vacation. He worried someone might find it and use it to enter his home. When he returned, he erased all codes from his opener and programmed a new remote for peace of mind.
Example 3: Family Adding Remotes
The Lee family wanted each member to have their own remote. They bought extra remotes and programmed them one by one, so everyone could access the garage easily.
How To Know If Your Remote Is Compatible
Not every Liftmaster remote works with every opener. Here’s how to check:
- Look at the Learn button color: This tells you which frequency and technology your opener uses.
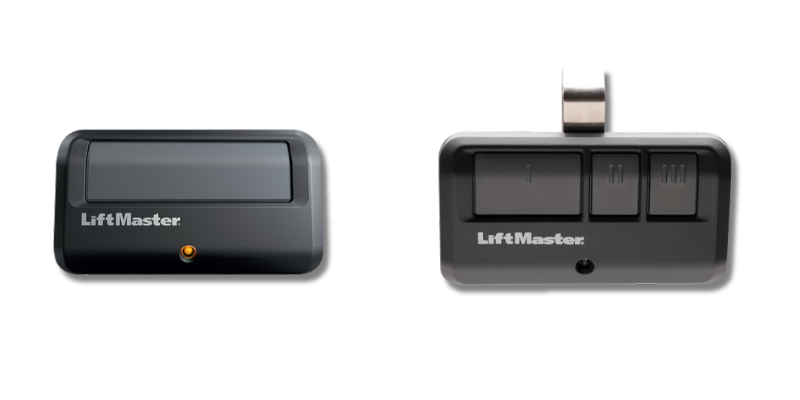
- Check the remote model number: Usually printed on the back or inside the battery compartment.
- Consult the Liftmaster website: They provide compatibility charts and product guides.
- Ask a professional: If unsure, a garage door technician can help.
Buying the wrong remote is a common mistake. Always confirm before purchase.
When To Call A Professional
Sometimes, DIY isn’t the best option. Call a garage door expert if:
- You feel unsafe climbing a ladder or working with electrical units
- Your opener or remote is damaged
- Programming fails after several attempts
- You want to upgrade to a new system
Professional help can save time and prevent accidents.
Cost Of Reprogramming Liftmaster Remotes
Most people can reprogram remotes themselves for free. But if you hire a technician, expect to pay:
- Service call: $50–$100 on average
- New remote: $30–$60 each
- System upgrade: $200–$500 for a new opener
Some companies may offer a free programming service if you buy remotes from them.
Credit: www.doorvana.com
Tips For Smooth Reprogramming
- Read the manual: Every model has small differences. The manual often explains special features.
- Work in daylight: It’s easier to see buttons and switches.
- Have a helper: Someone can hold the ladder or hand you tools.
- Keep remotes labeled: Mark each remote for family members to avoid confusion.
Data On Remote Security And Usage
Statistics show how important garage door security is:
- Over 70% of homeowners in the US use the garage as a main entry point.
- Around 10% of burglaries involve entry through a garage, often using lost or stolen remotes.
- Upgrading from dip switch to rolling code technology reduces hacking risk by over 90%.
These numbers highlight why knowing how to manage your Liftmaster remotes is essential for home safety.
Comparison: Liftmaster Vs. Other Brands
How does Liftmaster stack up against competitors for remote programming and security?
| Brand | Programming Ease | Security Features | Smart Features |
|---|---|---|---|
| Liftmaster | Easy (Learn button/App) | Rolling code, MyQ | Yes |
| Chamberlain | Easy (Similar to Liftmaster) | Rolling code | Yes |
| Genie | Moderate (Intellicode) | Rolling code | Limited |
| Craftsman | Easy/Moderate | Rolling code | Some models |
Liftmaster and Chamberlain lead in both ease of programming and smart features, making them popular choices for homeowners.
Preventing Remote Control Problems In The Future
You can avoid many common issues by following a few simple habits:
- Check batteries yearly: Most remotes last 1–2 years on a set of batteries.
- Keep the opener clean: Dust and cobwebs can block sensors or buttons.
- Update firmware: For smart models, check for software updates in the app.
- Store remotes safely: Avoid leaving them in hot cars or exposed to moisture.
Resources For Further Help
If you need more details or run into complex problems, try these options:
- Liftmaster’s official website: Offers manuals, videos, and compatibility guides.
- YouTube tutorials: Many step-by-step videos are available for popular models.
- Professional technicians: For repairs or advanced programming.
- Home improvement forums: Other homeowners often share practical advice.
For additional reading on garage door opener safety and technology, visit the Wikipedia page for garage door openers.
Frequently Asked Questions
How Do I Know If My Liftmaster Remote Needs Reprogramming?
If your remote stops opening or closing the garage door, or after you replace its battery, it may need reprogramming. Also, if you buy a new remote or lose one, always reprogram to ensure only authorized remotes work.
Can I Program Multiple Remotes To One Liftmaster Opener?
Yes, most Liftmaster openers can store 5–7 remote codes. Simply repeat the programming steps for each remote. Remember, if you erase all codes, you must reprogram every remote you want to use.
What Should I Do If My Learn Button Is Hard To Find?
Check your opener’s manual or look for a colored button under the light cover or on the back panel. The color helps identify the technology used. If you still can’t find it, search for your model number online for images and videos.
Is It Safe To Reprogram My Remote Myself?
For most people, it’s safe if you use a sturdy ladder and follow basic safety rules. If you feel unsure, or if your opener is difficult to reach, consider hiring a professional.
What If My Remote Still Doesn’t Work After Following All Steps?
Double-check the battery, remote compatibility, and make sure you pressed the Learn button correctly. Remove sources of interference like LED bulbs or metal objects nearby. If problems continue, contact Liftmaster support or a qualified technician.
Reprogramming a Liftmaster remote control is a valuable skill that saves time and enhances your home’s security. With the steps and insights shared here, you can confidently manage your garage access and keep your family safe.