
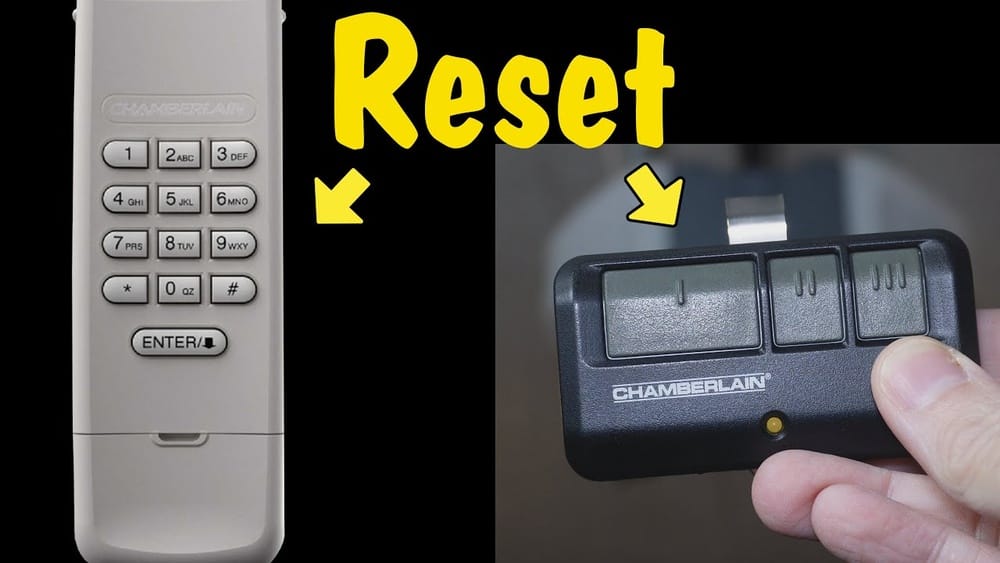
Resetting your Liftmaster remote control may sound technical, but it’s often simple when you know the steps. Garage door remotes are essential for daily convenience, and when they stop working, daily routines can quickly get disrupted. Whether you’ve lost your remote, bought a new one, or need to clear all existing remotes for security reasons, knowing how to reset your Liftmaster remote is valuable for every homeowner. This guide will walk you through every detail, from understanding your Liftmaster system to handling common problems, with practical tips that most beginners miss.
Understanding Liftmaster Remote Controls
Before diving into the reset process, it helps to know what makes Liftmaster remotes unique. Liftmaster is a leading brand in garage door openers, known for their reliability and advanced features. Their remotes use rolling code technology—each time you press the button, a new code is sent, making it hard for intruders to gain access. Most models work with a Learn button on the opener unit itself, making programming and resetting straightforward.
There are several types of Liftmaster remotes:
- Single-button remotes: Control one garage door.
- Multi-button remotes: Can control multiple doors or gates.
- Keychain remotes: Small and portable, perfect for carrying on your keys.
- Universal remotes: Compatible with many brands and models.
Understanding your specific model can help you follow the correct reset procedure. Always check your opener’s manual or the back of your remote for model numbers.
Why You Might Need To Reset A Liftmaster Remote
People often wonder when it’s necessary to reset their remote. Here are the most common scenarios:
- Lost or Stolen Remote: If you lose your remote, someone else could gain access to your garage. Resetting ensures only authorized remotes work.
- Remote Stops Working: Sometimes, remotes stop responding due to interference, dead batteries, or a need to resync with the opener.
- Adding New Remotes: When adding new remotes, you may need to clear older ones, especially if your opener’s memory is full.
- Selling or Moving: If you’re moving out, it’s wise to erase all remotes from the system for the new owner’s safety.
- Security Upgrades: Upgrading to newer remotes or openers with better security features often requires a reset.
A reset is an effective way to regain control and maintain the security of your home.

Credit: utahgaragedoors.net
Tools And Preparation
Before you begin, gather the following:
- A ladder (if your opener is ceiling-mounted)
- The Liftmaster remote you wish to reset or program
- Access to the garage door opener unit
- Your opener’s manual (optional, for model-specific instructions)
- Fresh batteries for your remote (if in doubt)
Tip: Always check the batteries before starting. Weak batteries cause most remote issues and can make the reset process fail.
Locating The Learn Button
The Learn button is central to resetting any Liftmaster remote. It’s usually on the back or side of the garage door opener motor unit, often behind a light cover. The color of the Learn button can indicate the technology used and help you match compatible remotes.
Here’s a quick reference:
| Learn Button Color | Compatible Remote Series | Typical Opener Years |
|---|---|---|
| Yellow | Security+ 2.0 (891LM, 893LM) | 2011–Present |
| Purple | 315MHz (371LM, 373LM) | 2005–2011 |
| Red/Orange | 390MHz (971LM, 973LM) | 1997–2005 |
| Green | 390MHz (81LM, 83LM) | 1993–1997 |
Non-obvious insight: Many users confuse the “Learn” button with a “Reset” button. Liftmaster openers do not have a “reset” button—everything is done via the Learn button.
How To Reset A Liftmaster Remote Control
Resetting a Liftmaster remote means erasing it from the opener’s memory and reprogramming it (if needed). The process varies slightly by model, but the basics are similar.
Step 1: Clear All Remote Controls From The Opener
If you want to erase all existing remotes (for example, if one was stolen), follow these steps:
- Locate the Learn button on your opener.
- Press and hold the Learn button for about 6–10 seconds. The LED light next to it will turn off or go out.
- Release the button. All remotes and keypads are now erased from the system.
Example: If you had three remotes and a keypad, none of them will work until reprogrammed.
Warning: This step clears every remote and wireless keypad, not just one. You must reprogram any remotes you still want to use.
Step 2: Reprogram Your Remote Control
Now, program the remotes you want to keep:
- Press the Learn button once (do not hold it down this time).
- Within 30 seconds, press and hold the button on your remote that you want to program.
- The garage door opener lights may blink or you may hear a click, indicating a successful programming.
- Release the remote button.
Repeat for each remote you want to add.
Practical tip: Stand on a secure ladder and keep your remote handy. You must press the remote button within 30 seconds, or the opener will exit programming mode.
Step 3: Test The Remote
After programming, test each remote:
- Stand a few feet away and press the button.
- The door should respond immediately.
If not, repeat the programming steps or check the battery.
Resetting A Single Remote Without Erasing All
Sometimes, you want to reset just one remote, not all. Unfortunately, Liftmaster systems do not allow erasing a single remote—you must erase all and reprogram the ones you want to keep. This is a security feature to ensure lost remotes cannot be used by unauthorized people.
Non-obvious insight: Some users try to “delete” just one remote, but this is not possible. You must reset the opener and re-add only the remotes you still have.
How To Reset Keypad Entry Systems
If you use a Liftmaster wireless keypad (for example, to enter a code for opening the door), resetting follows a similar process but with extra steps:
- Press the Learn button once.
- Within 30 seconds, enter your new PIN on the keypad and press the “Enter” button.
- The opener’s lights will blink, confirming the new code.
If you erased all remotes previously, you must reprogram the keypad as well.
Troubleshooting Common Issues
Sometimes, even after following the steps, your remote doesn’t work as expected. Here are the most frequent issues and how to resolve them:
Remote Not Responding
- Check the battery: Replace with a fresh one, even if the LED light on the remote turns on.
- Interference: LED bulbs or nearby electronics can interfere with signals.
- Distance: Stand closer to the opener when testing after reset.
Learn Button Doesn’t Respond
- Power cycle: Unplug the opener for 30 seconds, then plug it back in.
- Sticky button: Sometimes the Learn button sticks due to dust—press gently with a pen.
Opener Memory Full
- Most Liftmaster openers remember 5–12 remotes. If the memory is full, erase all and reprogram only the ones you need.
Remote Works Only Sometimes
- Antenna position: Check the small wire antenna on the opener; it should hang straight down.
- Obstructions: Metal objects or walls can reduce signal strength.
Factory Reset Vs. Remote Reset
- A factory reset erases all codes and settings, including remote codes, timer settings, and smart features. For most users, clearing the remotes (as explained) is enough.
Programming Universal Remotes
Some users prefer to use a universal remote. These remotes can control different brands and openers. Programming them for Liftmaster follows the same process:
- Put the universal remote in programming mode (check its manual).
- Press the Learn button on your Liftmaster opener.
- Press the desired button on the universal remote.
- Wait for confirmation (blinking lights or a click).
Note: Not all universal remotes work with all Learn button colors. Check compatibility before buying.
Resetting Liftmaster Remotes With Myq Technology
Newer Liftmaster openers support MyQ smart technology, allowing you to control your garage with a smartphone. Resetting a MyQ-enabled remote involves both the physical remote and the MyQ app:
- To erase all remotes: Use the Learn button as described above.
- To remove MyQ app access: In the app, remove the device from your account settings.
Pro tip: If you sell your house, always remove the opener from your MyQ account and reset all remotes for security.
Comparing Liftmaster Remote Models
Different models have unique features. Here’s a quick comparison:
| Model | Buttons | Frequency | Notes |
|---|---|---|---|
| 893LM | 3 | 310/315/390 MHz | Security+ 2.0; yellow Learn button |
| 373LM | 3 | 315 MHz | Purple Learn button |
| 971LM | 1 | 390 MHz | Red/Orange Learn button |
| 890MAX | 2 | Universal | Works with most openers |
Tip: Always match your remote to your opener’s Learn button color for best compatibility.
Security And Privacy Considerations
Garage door openers are often a weak point for home security. Resetting your Liftmaster remote can protect you from unwanted entry, especially after moving or losing a remote. Here’s how to stay safe:
- Reset after moving: Always erase all remotes when you move into a new home.
- Don’t share codes: Never share keypad codes with people you don’t trust.
- Upgrade old remotes: Older remotes (pre-1993) lack rolling code security. Upgrade to newer models for better protection.
- Be aware of hacking: While rare, there have been cases where thieves use code grabbers. Newer Security+ 2.0 systems are much more secure.
Non-obvious insight: If you use a wireless keypad, use a PIN that is not easily guessed (avoid 1234, birthdates, etc.).
Step-by-step Example: Resetting A Lost Remote
Let’s say you lost one of your remotes and want to make sure it can’t be used.
- Climb a ladder and locate the Learn button on your opener (yellow button).
- Press and hold the Learn button for 6–10 seconds. The LED turns off.
- All remotes and keypads are erased. Test your remaining remote—it won’t work.
- Press the Learn button once.
- Within 30 seconds, press the button on your remaining remote. The opener’s light blinks.
- Repeat for any other remotes or keypads.
- Test all programmed remotes. The lost one will no longer work.
This simple process gives you peace of mind.
When To Call A Professional
While most people can reset their Liftmaster remote themselves, sometimes you may need help:
- The Learn button is broken or unreachable.
- The opener does not respond after several tries.
- There are wiring or electrical issues with the opener.
In these cases, a licensed garage door technician can diagnose and repair more complex problems.

Credit: www.youtube.com
Common Mistakes To Avoid
Even with a clear guide, it’s easy to make small errors. Here are mistakes to watch for:
- Not replacing batteries: Always use fresh batteries before resetting or programming.
- Pressing the wrong button: The Learn button is on the opener, not the remote.
- Holding the Learn button too long: Holding it clears all remotes. A quick press is for programming.
- Waiting too long: You have about 30 seconds after pressing Learn to program the remote.
- Forgetting to reprogram keypads: After erasing all remotes, don’t forget your wireless keypad.
Practical tip: Label your remotes and keep a list of who has each one for easier management.
Advanced Features And Smart Home Integration
Many homeowners now use smart home systems. Liftmaster’s MyQ lets you:
- Open/close your garage from your phone.
- Receive alerts if the door is left open.
- Integrate with Amazon Key for package delivery.
If you reset your opener, you may need to reconnect it to your WiFi and MyQ account. Instructions are in the MyQ app or at the Liftmaster official website.
Pro tip: After resetting, check all smart integrations still work as expected.

Credit: utahgaragedoors.net
Comparing Liftmaster Reset Process To Other Brands
For those considering other garage door openers, here’s how Liftmaster compares to some popular brands:
| Brand | Reset Method | Remote Capacity | Smart Integration |
|---|---|---|---|
| Liftmaster | Learn button | 5–12 remotes | MyQ |
| Chamberlain | Learn button | 5–8 remotes | MyQ |
| Genie | Learn button or dip switches | 7 remotes | Aladdin Connect |
| Craftsman | Learn button | 5 remotes | AssureLink |
Most modern brands use similar technology, but Liftmaster’s MyQ is one of the most popular smart platforms.
Maintenance Tips To Avoid Future Problems
Keeping your Liftmaster remote and opener in good shape will save you headaches:
- Change remote batteries yearly.
- Clean the Learn button area to prevent dust buildup.
- Inspect the antenna for bends or breaks.
- Test all remotes every few months.
- Update MyQ app and firmware for best security.
Pro tip: Write down your remote serial numbers and store them with your home documents.
Frequently Asked Questions
Why Is My Liftmaster Remote Not Working After Resetting?
The most common reasons are dead batteries, incorrect programming, or signal interference from nearby devices. Try replacing the battery, reprogramming from scratch, and moving electronic devices away from the opener before testing again.
How Many Remotes Can I Program To My Liftmaster Opener?
Most Liftmaster openers support 5 to 12 remotes and one or two wireless keypads. If you reach the limit, you must erase all remotes and reprogram only the ones you need.
Can I Reset My Liftmaster Remote Without A Ladder?
If your opener is mounted high on the ceiling, a ladder is usually necessary for safe access to the Learn button. Some wall-mounted openers or those in low garages may be reachable without one, but never stand on unsafe objects.
What Does The Color Of The Learn Button Mean?
The Learn button color tells you what frequency and security technology your opener uses. For example, yellow means Security+ 2.0, purple means 315MHz, and red/orange or green means older systems. Always match your remote to the Learn button color for best results.
Is Resetting The Same As Reprogramming A Remote?
Resetting usually means erasing all remotes from the opener’s memory. Reprogramming means adding a specific remote back to the system. You must reprogram any remotes you want to use after a reset.
Resetting your Liftmaster remote control is a straightforward process that gives you better security and peace of mind. By following these steps and tips, you can handle most problems yourself without calling a technician. Always be sure to maintain your opener, keep track of your remotes, and use the right programming steps for your specific model. When in doubt, check your manual or visit the Liftmaster official website for more support.