
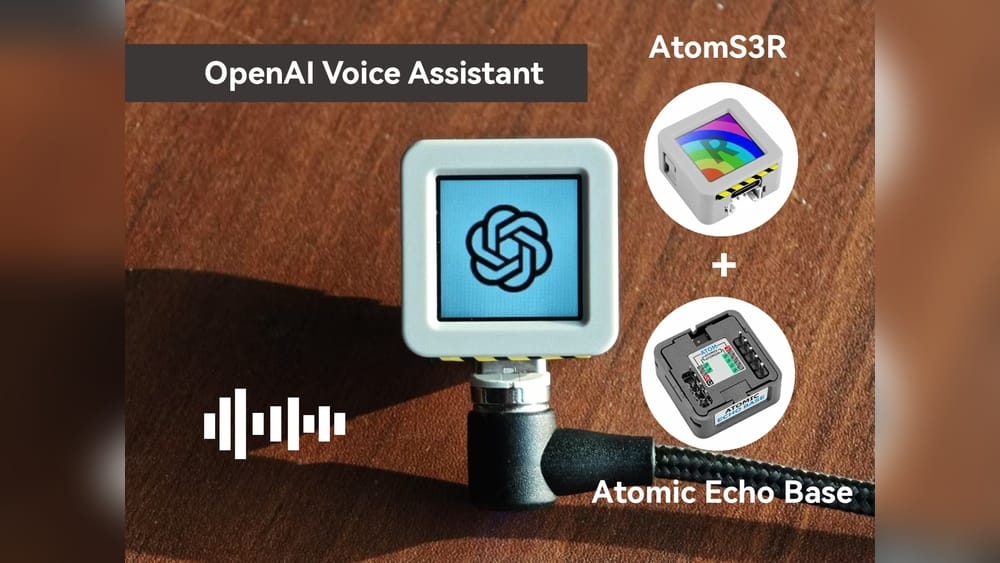
Imagine having your very own voice assistant, ready to respond to your commands anytime, without relying on big tech companies. What if you could build this smart helper yourself using an affordable ESP32 microcontroller?
In this guide, you’ll discover simple steps to turn your ESP32 into a powerful voice assistant. Whether you’re new to electronics or a seasoned maker, you’ll find easy-to-follow instructions that make this project exciting and doable. Ready to bring your ESP32 to life and control your world with just your voice?
Keep reading, and let’s make it happen together.
Esp32 Voice Assistant Basics
The ESP32 is a popular microcontroller used in many DIY projects. It can be turned into a simple voice assistant. This guide explains the basics of the ESP32 voice assistant.
Understanding the core features helps to build your own voice assistant with ESP32. It listens to commands and responds intelligently. This device is affordable and easy to program.
What Is Esp32
The ESP32 is a small, low-cost microcontroller with built-in Wi-Fi and Bluetooth. It has two processor cores for fast performance. Many sensors and devices can connect to it easily. It works well in smart home and IoT projects. The ESP32 supports audio input and output, which is key for voice assistants.
Voice Assistant Features
An ESP32 voice assistant can recognize simple commands. It understands voice input and processes it locally or online. You can ask it to control lights, appliances, or play music. It can answer basic questions or provide weather updates. Many voice assistant projects use open-source software on ESP32. This makes it flexible and customizable.
Required Hardware Components
Building your own voice assistant using an ESP32 requires a few key hardware parts. These parts work together to capture your voice, process commands, and give responses. Choosing the right components helps your assistant run smoothly and understand you clearly.
The ESP32 is the main controller. It handles the voice input and output and runs the assistant software. The microphone picks up your voice, while the speaker plays back answers. Other accessories help improve the device’s performance and make it easier to use.
Esp32 Board Options
The ESP32 board is the core of your voice assistant. Popular models include ESP32-WROOM-32 and ESP32-S2. These boards have built-in Wi-Fi and Bluetooth for connectivity. Choose a board with enough pins for your microphone and speaker. Some boards have a built-in DAC for better sound output.
Microphone And Speaker Choices
A good microphone is crucial for clear voice recognition. MEMS microphones are small and work well with the ESP32. Analog microphones need an amplifier to connect to the board. For sound output, small speakers or buzzer modules fit well. Active speakers with built-in amplifiers give louder and clearer audio.
Additional Accessories
Extra parts make your voice assistant easier to build and use. A USB power supply keeps the ESP32 running steadily. Buttons can add manual controls for reset or wake-up. Some projects use OLED displays to show status or messages. A case protects the components and gives a neat look.
Setting Up The Development Environment
Setting up the development environment is the first step to create your S Voice Assistant with ESP32. This setup lets you write, compile, and upload code to the ESP32 board. A proper environment saves time and avoids errors. Follow the steps carefully for a smooth start.
We will cover three main parts: installing the Arduino IDE, configuring the ESP32 board, and adding the required libraries. Each step is important to get your voice assistant working.
Installing Arduino Ide
Download the Arduino IDE from the official website. Choose the version for your operating system. The IDE is a simple program to write and upload code. Install it by following the on-screen instructions. Open the IDE after installation to check if it runs correctly.
Esp32 Board Configuration
Open the Arduino IDE. Go to File > Preferences. Find the “Additional Boards Manager URLs” box. Paste the ESP32 URL: https://dl.espressif.com/dl/package_esp32_index.json. Click OK. Next, go to Tools > Board > Boards Manager. Search for “ESP32” and install the package. After installation, select your ESP32 board under Tools > Board.
Required Libraries
Your ESP32 voice assistant needs specific libraries to work. Go to Sketch > Include Library > Manage Libraries. Search and install libraries like “WiFi,” “ESPAsyncWebServer,” and “ArduinoJson.” These libraries help with network connection, web server, and data handling. Installing them ensures your code runs without missing parts.
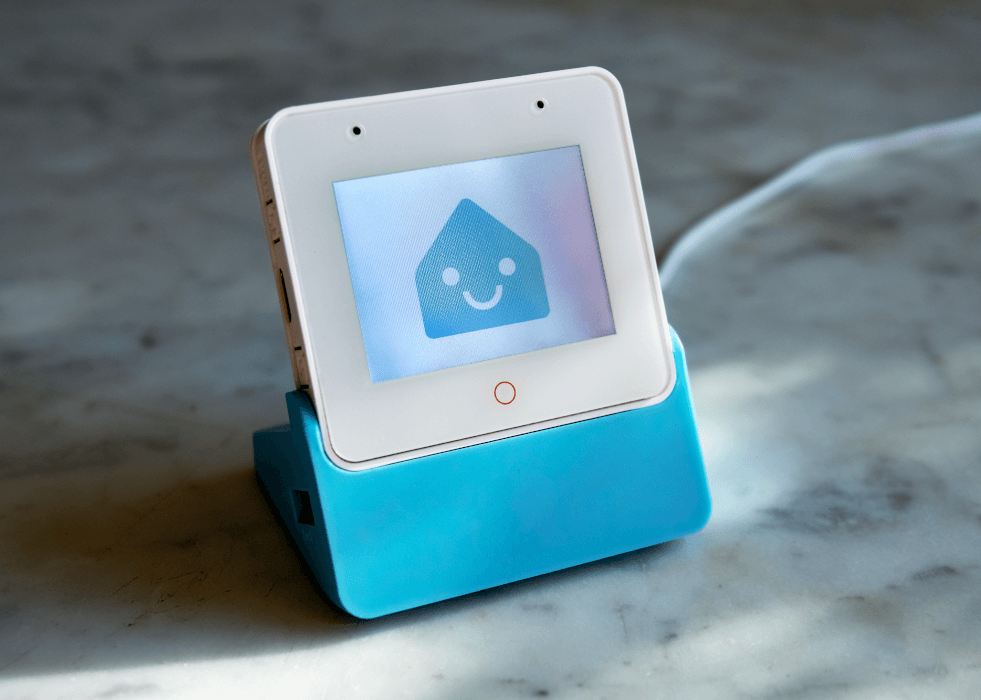
Credit: community.home-assistant.io
Voice Recognition Techniques
Voice recognition is key to building an S Voice Assistant using the ESP32. It lets the device understand spoken commands. Choosing the right technique affects speed, accuracy, and privacy. Some methods work without internet, others need online services. This section explains common voice recognition options for ESP32 projects.
Offline Vs Online Recognition
Offline recognition runs entirely on the ESP32. It does not need internet access. This method protects user privacy and works anywhere. It uses less power but has limits on accuracy and vocabulary size.
Online recognition sends audio to cloud servers for processing. It requires internet but offers better accuracy. These services handle complex language and large vocabularies. The drawback is dependency on network quality and data privacy concerns.
Using Google Speech Api
Google Speech API is a popular online voice recognition service. It converts spoken words into text with high accuracy. Integrating it with ESP32 involves sending audio data to Google servers. The API supports many languages and accents.
ESP32 needs Wi-Fi to access the API. The service processes speech quickly and returns results. Developers must manage API keys and handle internet connectivity. This method suits projects with reliable network access and complex commands.
Implementing Pocketsphinx
PocketSphinx is an offline speech recognition engine. It fits well with ESP32’s limited resources. PocketSphinx recognizes simple phrases and predefined commands.
It runs locally, so no internet is needed. Setup requires training the model with target words. This method offers privacy and responsiveness. Its accuracy is lower than cloud services but enough for basic voice control.
Text-to-speech Integration
Text-to-Speech (TTS) integration is key to making your ESP32 voice assistant speak clearly. It converts written text into spoken words. This feature helps the device respond with a natural voice. The ESP32 has limited power, so choosing the right TTS method matters. Proper setup ensures smooth, fast voice output.
Tts Options For Esp32
Several TTS options work well with ESP32. Some use external services like Google TTS or Amazon Polly. These require an internet connection. Offline TTS libraries like ESP8266SAM or Talkie run directly on the device. They offer faster responses but simpler voices. Pick one based on your needs and connectivity.
Configuring Tts Libraries
Set up TTS libraries carefully for best results. Start by installing the library in your Arduino IDE. Adjust settings like sample rate and voice speed. Test with short phrases to check output quality. Use serial monitor for debugging errors. Proper configuration avoids lag and voice glitches.
Improving Voice Quality
Voice quality depends on several factors. Use a good speaker or headphone with ESP32. Increase sample rates for clearer sound. Optimize audio buffers to reduce delays. Some libraries allow voice pitch and speed tuning. Experiment with settings until the voice sounds natural.
Building The Voice Command System
Building the voice command system is the core of your ESP32 voice assistant. This system listens to your spoken words and turns them into actions. It needs to recognize commands clearly and respond correctly. The process involves three key parts: parsing the commands, creating custom commands, and handling errors. Each part helps your assistant understand and act on your voice.
Good voice command systems make your assistant smart and easy to use. Let’s break down how each part works and how you can build it on your ESP32.
Command Parsing Logic
Command parsing logic is how your ESP32 understands what you say. It breaks the voice input into smaller pieces, like keywords and phrases. These pieces help the system identify the command’s meaning.
The logic compares the spoken words with a list of known commands. It uses simple rules to match the input with commands stored in the system. This process must be fast and accurate to avoid confusion.
Custom Command Creation
Custom command creation lets you add your own commands to the assistant. You decide what actions your ESP32 should take. This feature makes the assistant flexible and personal.
To create custom commands, write clear instructions for each command. Assign a unique keyword or phrase to trigger it. Keep commands simple and easy to remember for better recognition.
Error Handling
Error handling helps the assistant manage mistakes or unclear commands. Sometimes, the system may not understand what you say. It needs a way to respond politely and ask for clarification.
Implement error messages that guide users to speak again or try different words. This feature improves the user experience and keeps the conversation smooth.
Connecting To External Services
Connecting your ESP32 voice assistant to external services expands its abilities significantly. It lets your device access online data and control smart gadgets. This connection makes your assistant more useful and interactive.
Setting up a stable internet connection is the first step. Then, you can link to various APIs for extra features. Control smart home devices with simple voice commands.
Wifi Setup
Start by configuring the ESP32 to join your WiFi network. Use the Arduino IDE or ESP-IDF to write the code. Include your network name (SSID) and password. The ESP32 will connect to the internet automatically. Check the connection by pinging a website or using serial output.
Api Integration Examples
APIs allow your assistant to get weather updates, news, or jokes. Use HTTP requests to fetch data from public APIs like OpenWeather or NewsAPI. Parse the JSON response to extract useful information. Speak the result through the ESP32’s speaker. These simple calls add rich content to your voice assistant.
Smart Home Control
Control lights, fans, or smart plugs via your ESP32. Connect to services like Home Assistant or MQTT brokers. Send commands with your voice to switch devices on or off. This feature makes your ESP32 a practical smart home helper. It turns voice commands into real actions fast.
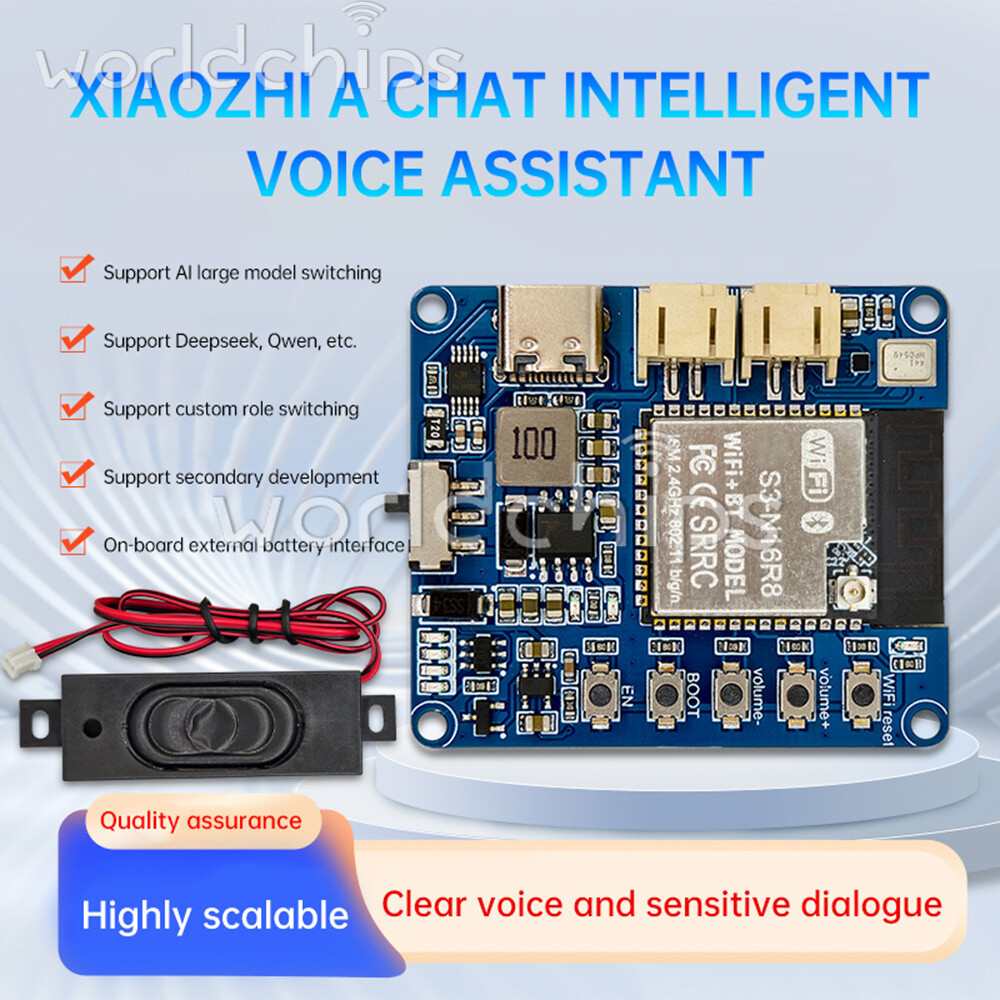
Credit: www.ebay.com
Testing And Debugging
Testing and debugging are key steps in building your ESP32 voice assistant. They help find problems early. Fixing these issues improves how well your device works. This section guides you through common problems, tips to debug, and ways to boost performance.
Common Issues
Voice recognition may not work properly. Sometimes, the microphone input is weak or noisy. Network connection problems can stop the assistant from responding. Code errors or missing libraries cause the program to crash. Power supply issues may lead to resets or slow responses.
Debugging Tips
Use serial output to track what the ESP32 is doing. Print messages at key points in your code. Test the microphone with simple audio recording first. Check Wi-Fi settings and signal strength. Update your libraries and firmware to the latest version. Break your code into small parts and test each separately.
Performance Optimization
Reduce background noise to improve voice detection. Use efficient code to save processing time. Limit the number of active tasks running at once. Increase the ESP32 clock speed if possible. Optimize network requests to reduce delay. Ensure stable power supply for consistent operation.
Enhancing With Ai And Machine Learning
Enhancing your ESP32 voice assistant with AI and machine learning makes it smarter. It helps the device understand speech better and respond more naturally. These technologies allow the assistant to learn from interactions and improve over time.
AI can process voice commands more accurately. Machine learning models help the assistant recognize different accents and languages. This makes your ESP32 voice assistant more useful and adaptable.
Incorporating Nlp
Natural Language Processing (NLP) helps the assistant understand human speech. It breaks down sentences into parts that the ESP32 can process. NLP allows the device to identify commands, questions, and requests.
With NLP, the ESP32 can handle complex commands. It recognizes keywords and context to respond correctly. This makes the interaction feel natural and easy.
Training Custom Models
Custom models teach the assistant to understand specific phrases or commands. You can train these models using your own voice data. This improves recognition accuracy for your unique needs.
Training models involves collecting voice samples and labeling them. The ESP32 uses these samples to learn patterns. This personalizes the voice assistant for better performance.
Future Upgrades
AI and machine learning on ESP32 can improve with updates. New models and algorithms can be added over time. This keeps your voice assistant up-to-date and smarter.
Future upgrades may include better language support and faster processing. They will allow the device to handle more tasks. This extends the assistant’s usefulness and capabilities.

Credit: www.home-assistant.io
Frequently Asked Questions
What Is An Esp32 Voice Assistant?
An ESP32 voice assistant uses the ESP32 microcontroller to recognize and respond to voice commands. It enables hands-free control of devices and applications, making IoT projects more interactive and user-friendly.
How Do I Program Esp32 For Voice Recognition?
You program ESP32 for voice recognition using Arduino IDE or ESP-IDF. Libraries like Arduino Speech Recognition or TensorFlow Lite simplify this process. Code processes audio input, detects keywords, and triggers actions accordingly.
What Hardware Is Needed For Esp32 Voice Assistant?
You need an ESP32 board, a microphone module for audio input, and optionally a speaker for responses. Additional components like power supply and Wi-Fi connectivity enhance functionality.
Can Esp32 Handle Offline Voice Commands?
Yes, ESP32 can process offline voice commands using lightweight speech recognition models. This allows privacy-focused applications without relying on cloud services or internet connectivity.
Conclusion
Turning an ESP32 into an S Voice Assistant is simple and fun. You can control devices using your voice. This project helps you learn about coding and electronics. It also saves money compared to buying ready-made assistants. Try adding new commands to make it smarter.
Keep experimenting to improve your voice assistant skills. Enjoy the process and share your results with friends. This small project opens many possibilities for future tech ideas. Give it a try and see what you can create!